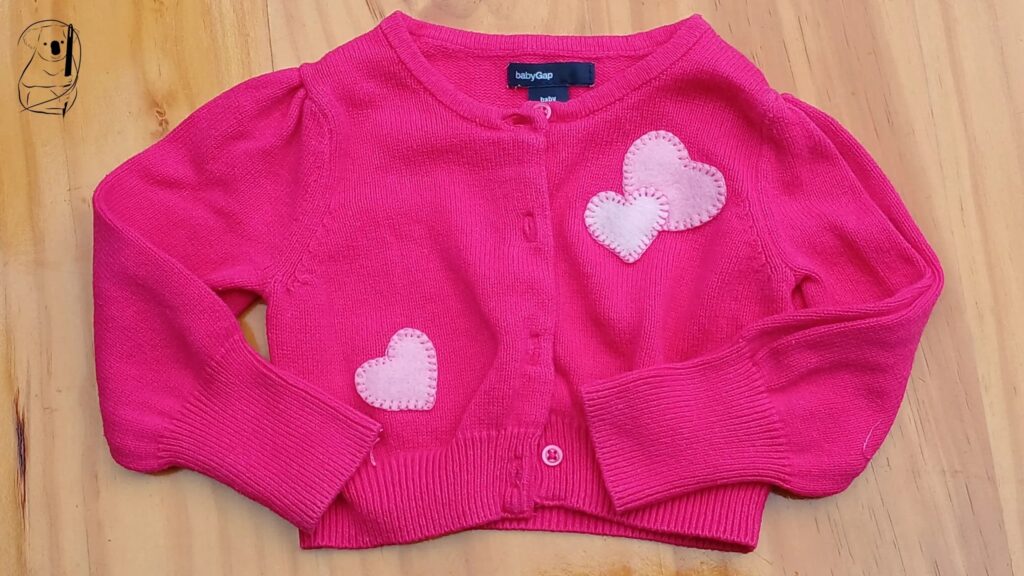
I confess that I do love little clothes, and I also have a weakness for pink. When I found this little cardigan, it didn’t take long to dream up a project. Have kids? Then you know how rough they can be on clothes, even ones that are rarely worn. So, I imagined a hole in the knit fabric. Repairing a hole is easy. Repairing a hole invisibly is currently beyond my skill set. So, if I repaired my imaginary hole, there would be a blemish in the surface of the knit fabric. How to disguise this? A patch. Or three.
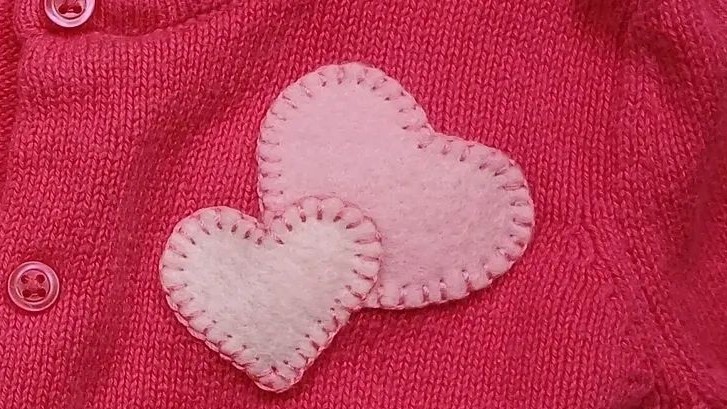
Blanket stich is a time-honoured method for securing applique shapes to a foundation, and felt is an ideal fabric to use for a shaped patch, because it does not fray. So, I dug into my stash of felt squares to find some pinks that would coordinate with the little cardigan. As for shapes, hearts are a perennial motif, and especially apt for the love put into repairing a garment for the special little someone.
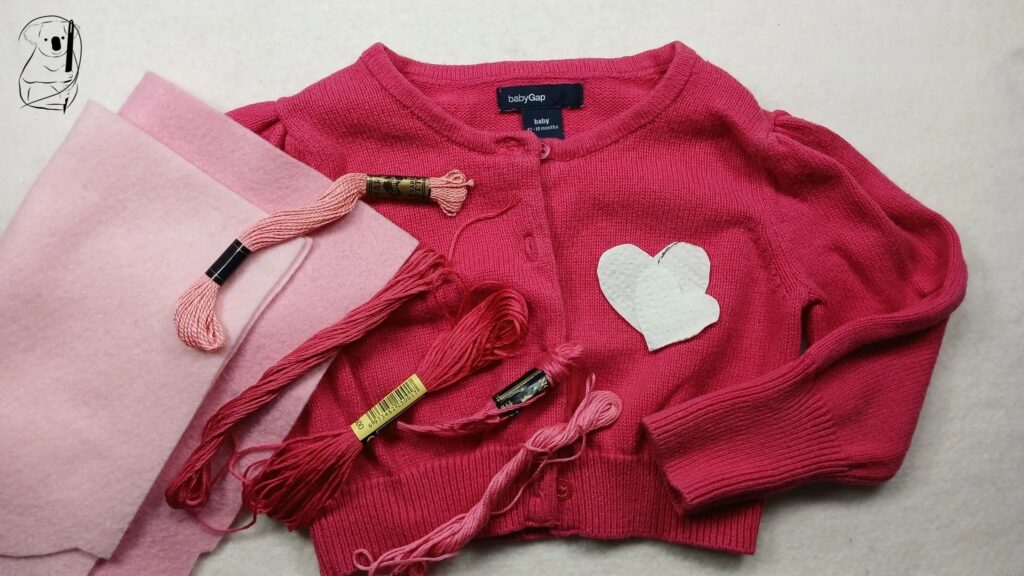
The pink of the cardigan is very strong, with clear blue undertones, so any fabric or thread needs to have similar tonings. The best two felts in my stash were pale, and I had number of threads to choose from. Initially, I went with one that almost matched the cardigan perfectly.
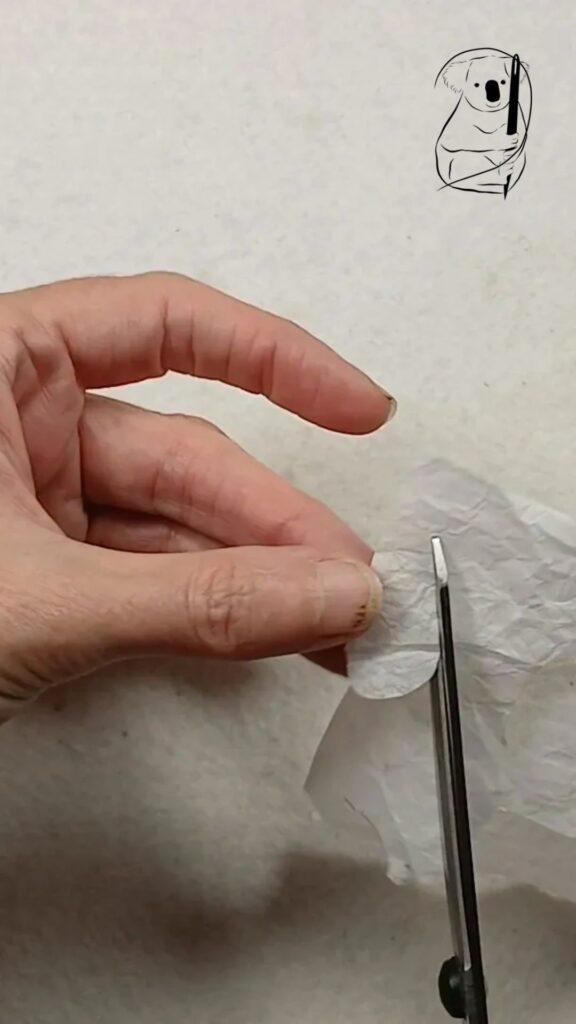
The heart shapes were cut directly out of some tissue. I can’t believe that it was only a few years ago that I discovered the method of cutting out a heart by folding the paper in half and cutting both sides at once.
Apparently people have been doing it this way for years. I must say that it makes drawing and cutting an even heart shape so much easier!
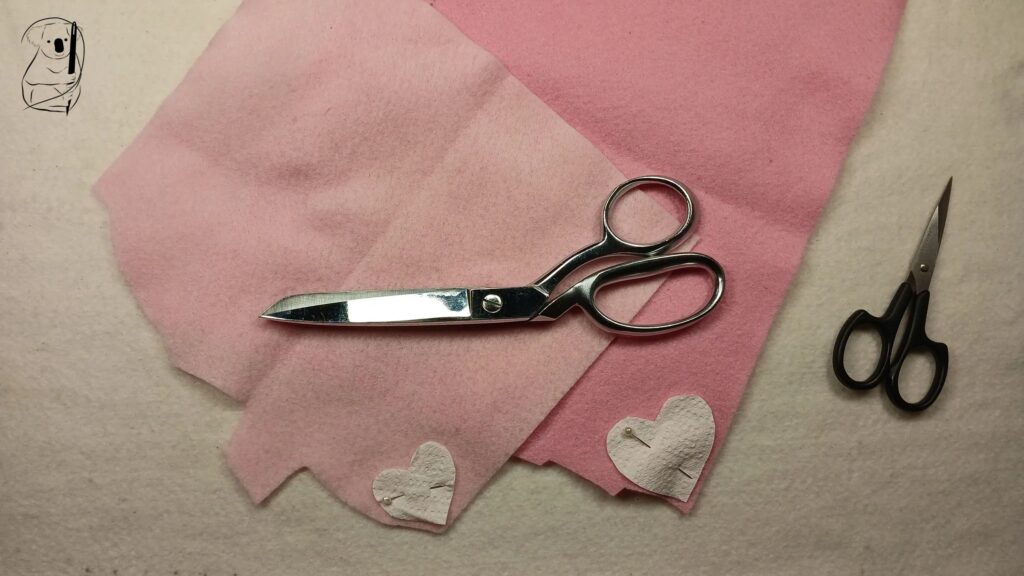
I started with two hearts, which I cut from the felt, one in each shade, and positioned on the front of the cardigan.
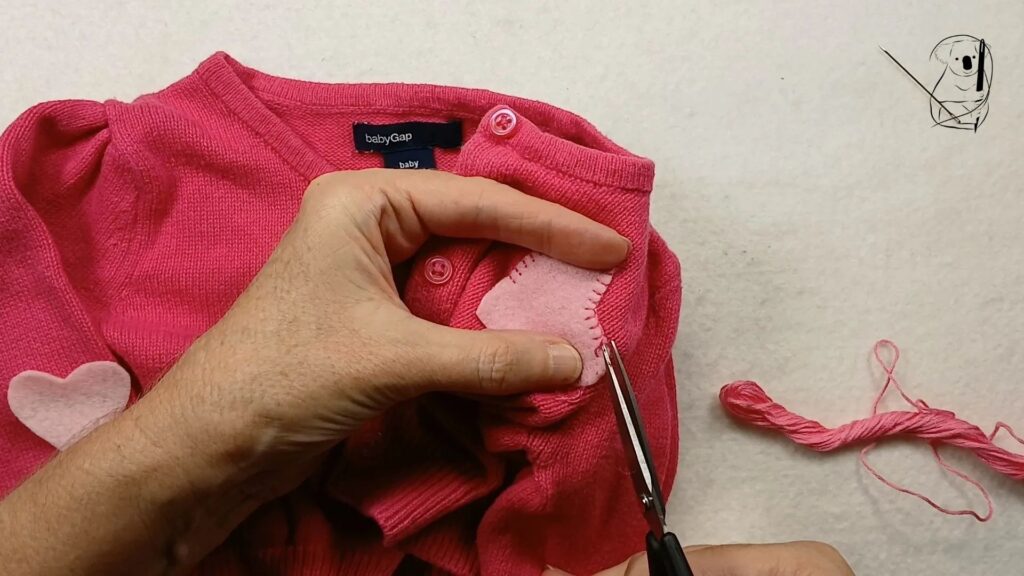
Once happy with the position, I sewed the first heart on using blanket stitch and the darker shade, but when I looked at the finished stitching,I decided that it was too close in colour to the garment, making the thread around the edge of the shape disappear.
As the purpose of the blanket stitch is to be both functional and decorative, I decided to remove this stitching, and changed my thread to one that was between the garment and the darker of the two felts.
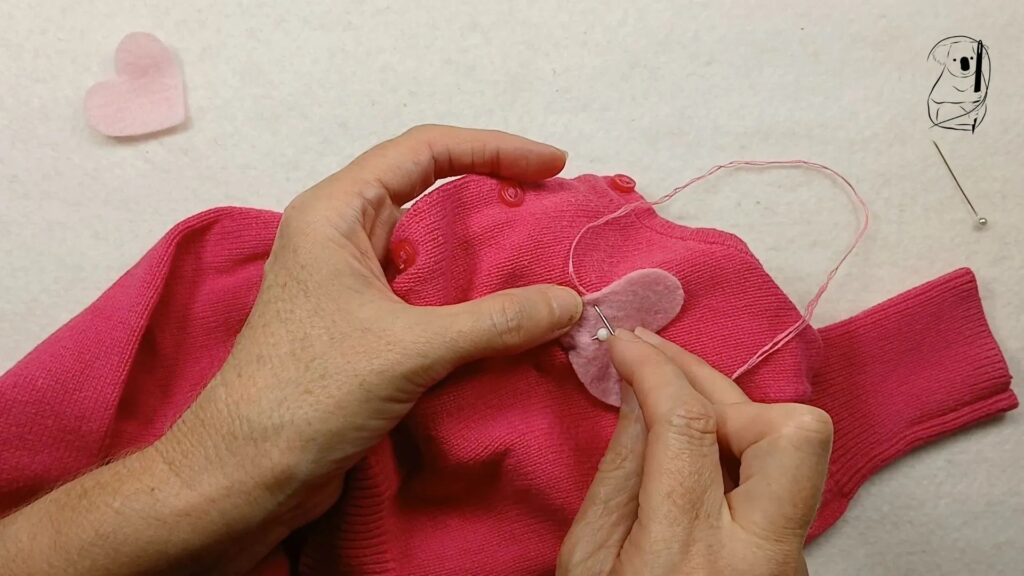
When sewing, the start of each thread was secured by a knot, which was sandwiched between the garment and the patch, the needle brought up to the edge of the patch to start working the blanket stitch.
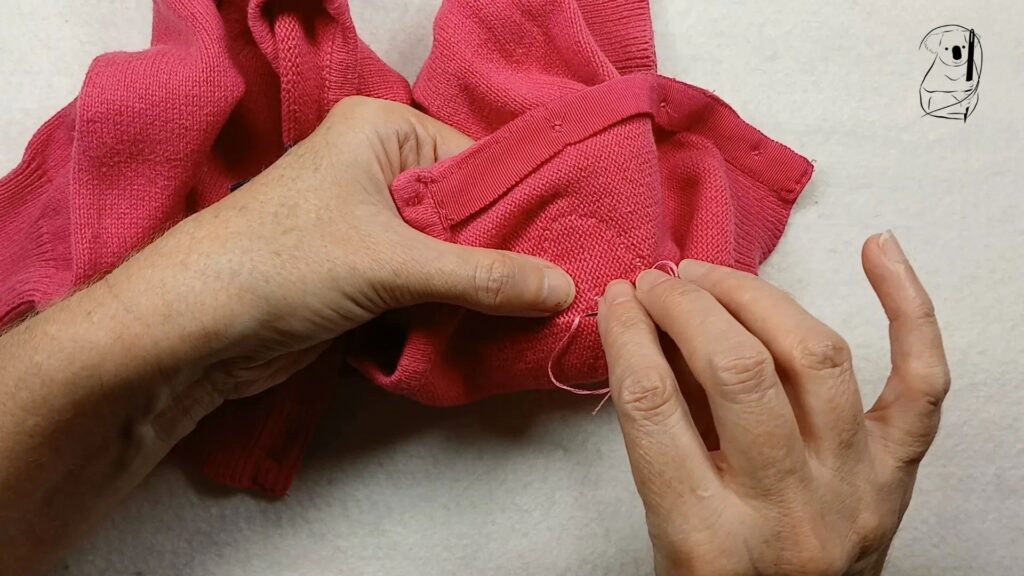
The threads were secured by a few small back stitches on the inside of the garment, with the final stitch taking the tail away from these stitched, again to be sandwiched between the garment and the patch.
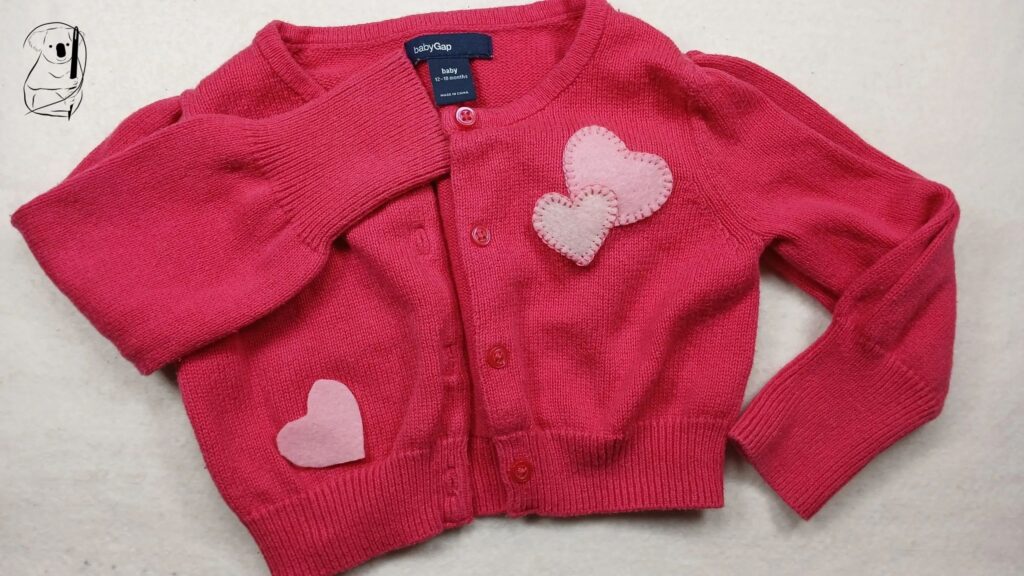
After sewing the first two hearts onto the cardigan, I felt that the balance wasn’t quite right, so I cut a third heart to sew to the other side.
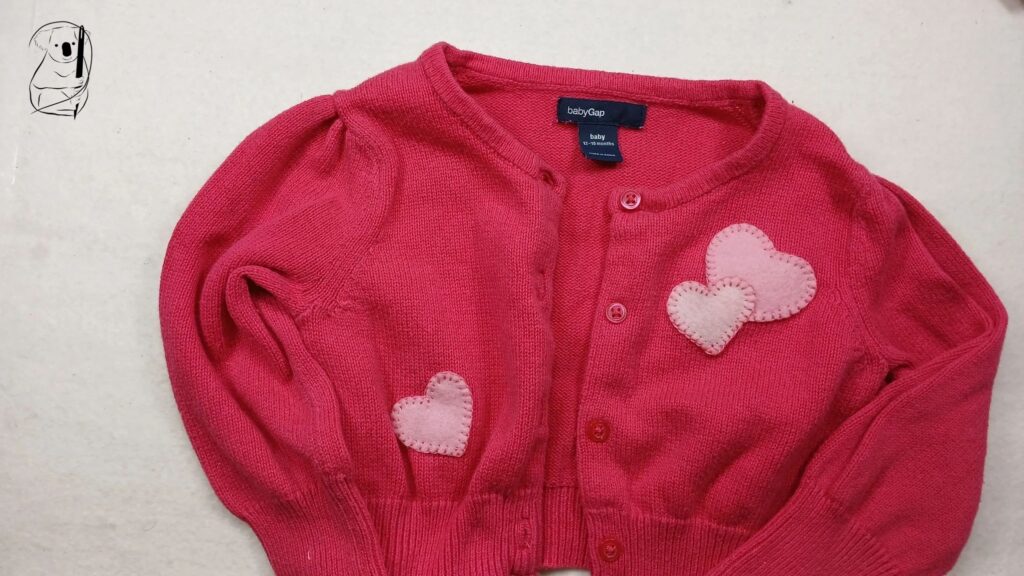
The materials for this project were a baby’s cardigan and unbranded thread from a thrift shop, felt squares from my stash, chenille needle, scissors and some tissue for the heart patterns. I don’t think I even drew the shapes before cutting.
This was a quick project to complete as the shapes were small. A simple solution to my imagined problem, it is cute and easy to sew and took less than an hour, even with unpicking for my change of mind regarding the thread colour. A beginner friendly project to add a personal touch, or disguise a repair.
Find our free downloadable resources here.
Go to the Blanket Stitch blog page here for a refresher on sewing blanket stitch.
See the Blanket Stitch tutorial video here including video of the making of Clara.