Apologies in advance for making Christmas decorations into an educational opportunity, but mums out there will understand. It can be hard to let such a thing pass by, especially when it is simple and colourful.
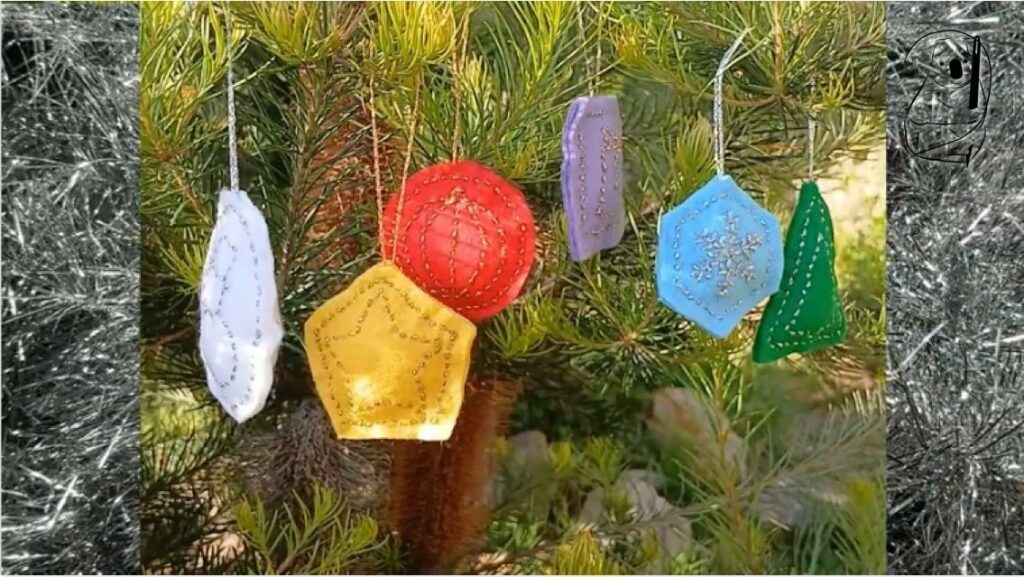
When I started planning this project, I was struck by how simple the shapes were. The bauble was round. The star was a pentaon. The tree a triangle and the snowflake a hexagon. It didn't take long to think of suitable designs for a square and an oval, and thus the Shapes of Christmas were born.
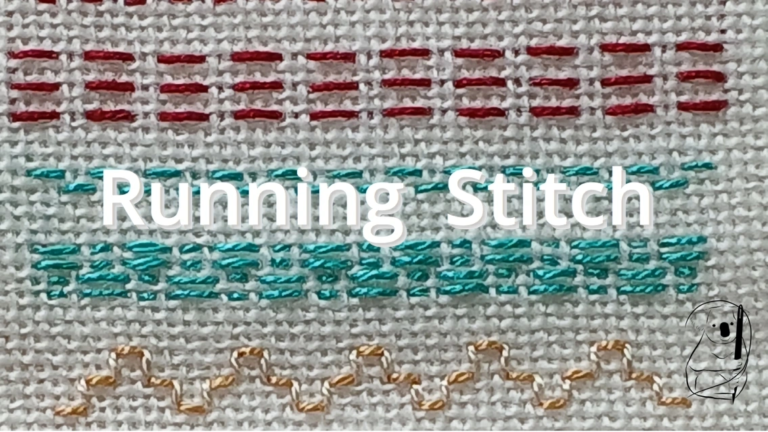
This project was put together with simplicity in mind. As the feature stitch is running stitch, if you have a youngster nearby who enjoys working with fabric, needle and thread, then it is one that you could do together. Fun holiday memories are made of this.
I made these shapes dimensional by creating two of each and adding a little stuffing when I stitched them together. This lends them a very tactile appeal as well, because they are squishy, but of course, they should be kept out of reach of very young children who might want to put things in their mouths.
As mentioned, the driving idea for this project was simplicity. I used felt sheets which don't require any edge finish. The main stitch used is running stitch. For the most part, the outlines are straight forward, the snowflake being a little more complex.
I used a water dissolving film to trace out the designs, but after stitching through the lines, instead of using water to remove the film, I tore along the stitching lines to remove the film. This action came from impatience to get on with making the decorations, but it did have the advantage of needing no waiting time for the shapes to dry before assembling them.
The thread used is Milford Metallic by Semco, in Yellow Gold and Silver. This thread is a monofilament loosely knitted into a fine cord so there are many reflective surfaces along the length of thread, giving it a glittery finish, and adding a little sparkle to the finished decorations. A length of the same metallic thread makes a hanging loop.
After removing the film, the shapes were cut with a generous border around the stitched shape, and hand sewn together using a matching machine thread. I used a little back stitch, then went forward and through to the other side, and repeated the little back stitch, tucking them behind the running stitch of the shape. On its edge, the action of this stitch resembles herringbone stitch.
The shapes were lightly stuffed with clean polyester toy stuffing, although felt scraps or thread ends would also do the job, and tidy your work space into the bargain. After joining the two shapes, I trimmed the edges to make the two sides more evenly matched.
I have repeated the motif on the back of the ornament, but if you wanted to make it a little faster, you could simply stitch on one side only before assembling them.
Another idea for display is to attach them to tape, and hang as flags or bunting against a wall. A number of each shape in a repeated pattern perhaps?
The materials used in this project are:
Acrylic felt in red, yellow, green, light blue, purple and white - A$1.50 - A$2.00 each
Milford Metallic thread in Yellow Gold and Silver - A$9.50 each
Matching machine threads - from my stash
Polyfil toy stuffing - from my stash