
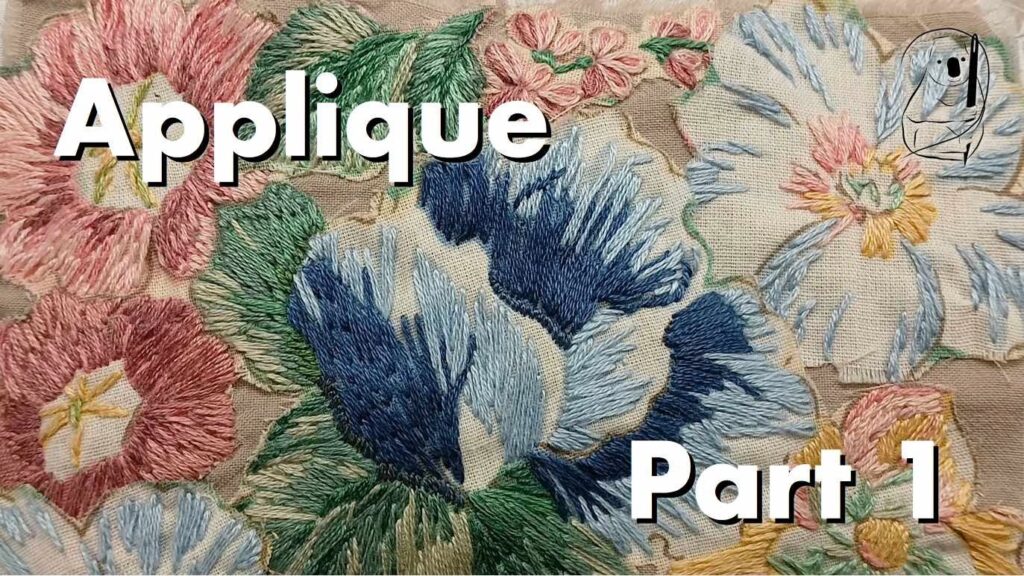
Sewing things onto our garments must be almost as old as sewing the garments themselves. And there are so many things that we can use for applique beyond fabric shapes. Beaded motifs, felt shapes, embroidered motifs, lace motifs, lace by the metre, embroidered badges.
Here we look at 12 applique techniques, starting from very simple, and progressively developing the techniques.
Technique 1 – Raw edge, simple stitch.
Can’t get much simpler than this. An unfinished edge, the piece stitched on with running stitch. Cut your shape, pin it to the fabric, and then stitch it on. Very easy and very quick. The problem with this technique is that it won’t wear very well. A woven fabric will fray, especially when washed. This leads us to….
Technique 2 – Raw edge, embroidery stitch.
Here, we take the technique up a step, and cover the raw edge with an embroidery stitch. By capturing the raw edge like this, you reduce the amount of wear likely on the edges of the fabric. But what if you want to remove the raw edge all together?
Technique 3 – Turned edge, simple stitch.
By turning the raw edge under, you eliminate any concerns about fraying edges. This piece has been attached using whip stitch, which is almost invisible around the edge of the shape. There are a few different ways of turning an edge when attaching a shape. How you choose to do this will depend on the shape itself, the fabric, and the size of the piece. Straight edges can easily be ironed. Curved edged might be turned as you stitch around the shape. And if you would like a more decorative effect?
Technique 4 – Turned edge, embroidery stitch.
This is a simple hexagonal shape with a turned edge, attached using feather stitch. The feather stitch captures the edge of the shape, with the stitches formed on either side of the edge. The stitching can be around a single shape, or along the joining lines where two shapes meet.
Technique 5 – Raw edge, bias tape – also known as Stained Glass Applique
In this sample, we take two pieces of fabric lying flat on the fabric, and cover their raw edges with a piece of bias tape. Here whip stitch is used to anchor the bias over the edges of the fabric. Completed in larger-scale quilts, this can be a very effective way of securing and defining the edges in a design.
Technique 6 – Raw edge, couched thread.
Here a light knitting tape has been stitched around the edge of the applique shape, covering the raw edge. Care needs to be taken to ensure the stitching catches the shape and the tape covers the edge. This method for applying a shape to a larger piece of fabric would probably not withstand much washing, but could produce lovely results in a decorative or slow stitch piece.
Technique 7 – Broderie Perse
A very old fashioned applique technique, here a motif is cut from some fabric and sewn to a larger piece, often using blanket stitch to cover the edges. This was used to transfer embroidered motifs from old gowns to new ones.
Technique 8 – Purchased motif
It might be a badge of some type, letters to spell out a word, a butterfly or a flower, but there are many different finished motifs available to stitch onto your clothes. Some even come with fusible glue, so you can iron them on. Often they have a satin stitch finish around their edge, so an overcast stitch (also known as eyelet stitch) in a matching colour can attach the motif invisibly.
Technique 9 – Freezer Paper
Using freezer paper is a great way to prepare an applique shape before attaching it to the fabric. The paper has a smooth side that is coated with a plastic film. When ironed, this film lightly adheres the paper to the fabric shape, making it possible to press under the seam allowance or turned edge neatly around the shape. Once cool, the paper can be peeled away from the shape, and the turned edge keeps its crease. Bonus – the freezer paper can be used more than once for more shapes.
Technique 10 – Card shape
While freezer paper can be handy for irregular shapes, fabric in simple shapes such as circles can be gathered around a light cardboard template, then pressed. Once the fabric has cooled, the gathers can be released a little, and the template removed before stitching the shape on.
Technique 11 – Lace motif
Stitching on a lace motif is a fun and easy way to decorate with applique. You can cut a motif from a sheet of lace fabric, buy motifs in a length or individually. Depending on the finish of the lace, you can choose from whip stitch, overcast stitch, or running stitch around the edge of the motif to secure it.
Technique 12 – Lace motif – cut ground
Taking the lace motif applique one step further, once the motif is secured to the fabric ground, you can cut away a shape of the fabric beneath the lace. Now you are not just playing with textures, but also with the solidity of the main fabric.
Applications of Applique
So why might we want to applique something onto a garment or a bag? The first reason I can think of is decoration. We take something plain and make it a bit prettier. But applique can also be very practical. Felt shapes can cover a hole in a much loved top. Or crocheted flowers can disguise a stain in that favourite dress. And don’t stop at just one. Add enough to make a pattern, or scatter them randomly to make a statement. If you’re going to use it for repair, take it a little further and make it look intentional.
You can buy fabric by the metre with appliqued flowers. Not the right colour? Make your own fabric, just putting them where you need them for your pattern.
Want to do something but not sure where to start? Have a look around. This tiny scrap isn’t useful for very much, but by removing a petal from one of the flowers, you can see how the flowers are constructed. The 5-petal flower shape, folded into quarters, means that each flower is just a little irregular. The leaves are cut out and left with a raw edge, then attached at just each end, adding another dimension to the surface decoration. The sequin centres and beaded stems add a little sparkle and weight to the fabric. Maybe something similar on the bodice of a dress could lift it from okay to fabulous.
In Applique Part 2, we look at another 12 ways to applique. We’re only looking at hand-stitched methods, and this list isn’t exhaustive, but even so, there is lots of food for thought already.
Left or right handed, the techniques remain the same. Just change your stitching direction for your own comfort.
Watch these techniques in the Applique Part 1 video on YouTube.
See how we add some more dimension to a thrifted top in Adele.