
Stitching beads to garments is a great way to add movement and drama.
Where can you find the beads to put on your projects? You can buy them new, or you can source them second hand. Often beads can be found at the thrift store still in their packets. And hunting on the bargain rack can also bag you a garment with beads, sequins or diamantes that you can remove and put on something else.
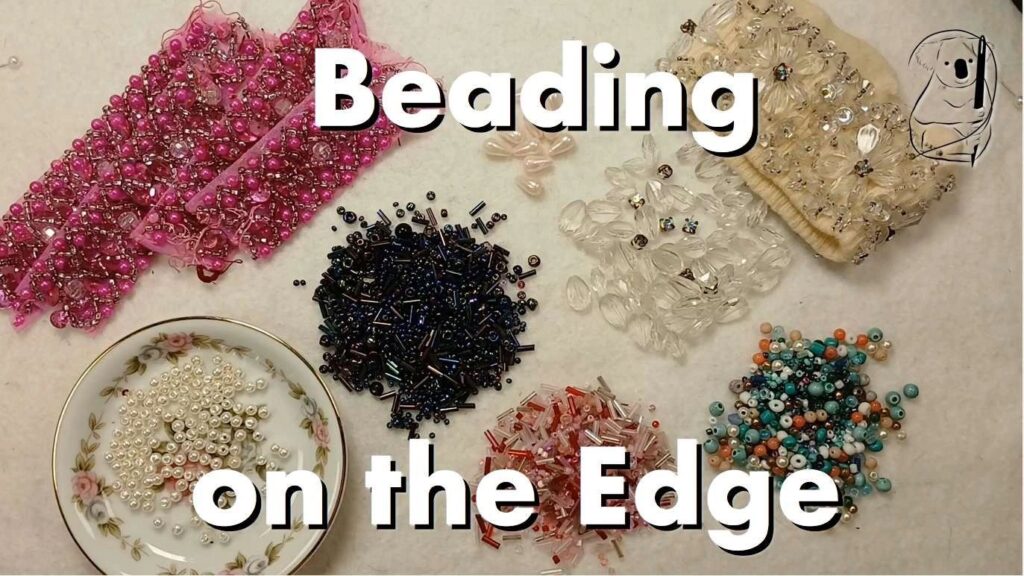
In this third video on beading, we look at four more easy ways to add beads to an edge.
Technique 1 – Running stitch
If the edge is folded, it is easy to make a running stitch through the crease of the fabric, and attach your beads that way.
A tiny back stitch every few beads can help secure the beads against pulling.
Technique 2 – Whip Stitch
Whipping along the edge of the fabric is a quick way to add beads. An extra whip stitch between each bead can not only help secure the beads, but help keep the spacing even.
This was done in our project Genevieve, where beads were whip stitched along the hem of the sleeves.
Technique 3 – Simple Picot
A little like lazy stitch off the edge, the simple picot makes a loop of beads that hangs off the fabric. By making a knot at the end of each picot, they are more secure against pulling. Add a little space between each loop, so each one hangs free, or join them by bringing the needle back through the first and last bead of each loop.
Once you’ve mastered the simple picot, another row of beads can build up the design.
Technique 4 – Fringe
A series of strands of beads hanging off the edge (whether real or created) can make a fringe that adds drama and movement to the garment. By taking the thread through all the beads, then back up from the second to last, the strand will swing and swish. Make a small knot (eg coral stitch) at the top of each strand, then take the thread along a little for the next one. For a regular fringe try to keep you spacing even and the number of beads the same. But fringes can vary to a pattern, or if you feel adventurous, make a random fringe.
In our project dress Jessica, again it was the style of the dress that inspired the placement of the beads. The diagonal line makes a great place to hang a bead fringe, and for this project, instead of beading directly onto the garment, the beads are stitched onto a strip of bias tape that can be removed at a later time and attached to something else.
Have a look at our video tutorial on ways to add beads on the edge