
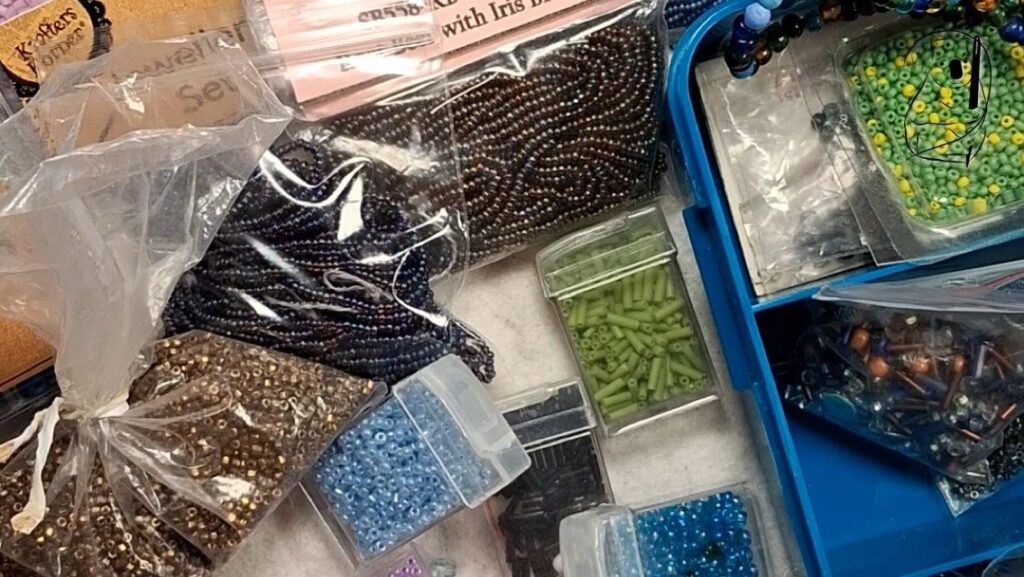
Adding beads to things, especially garments, is one of the many joys of sewing.
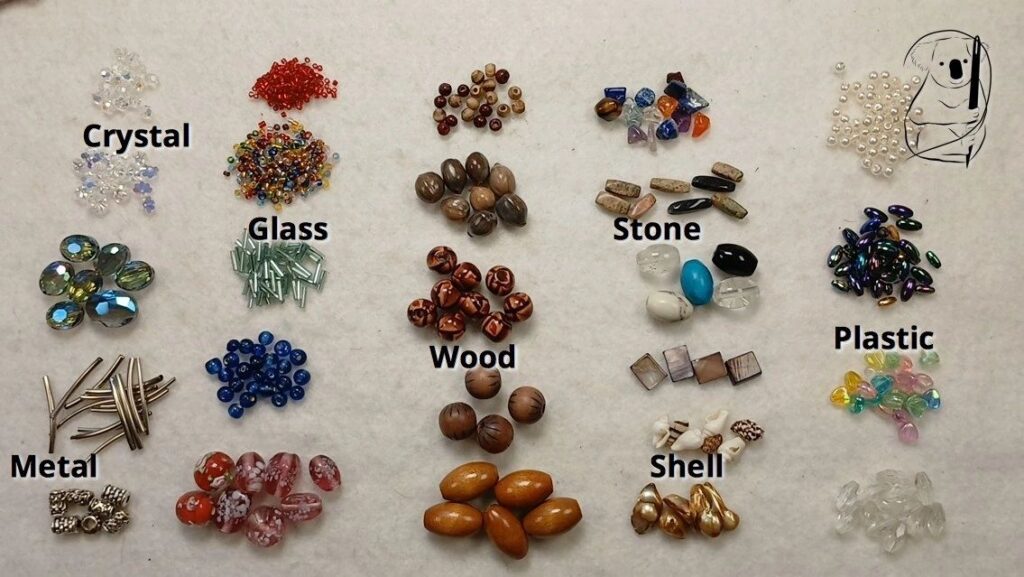
Beads come in many sizes and are made of lots of different things – crystal, metal, glass, wood, shell, stone and plastic.
In this first video on beading, we look at four easy ways to add beads to a flat surface.
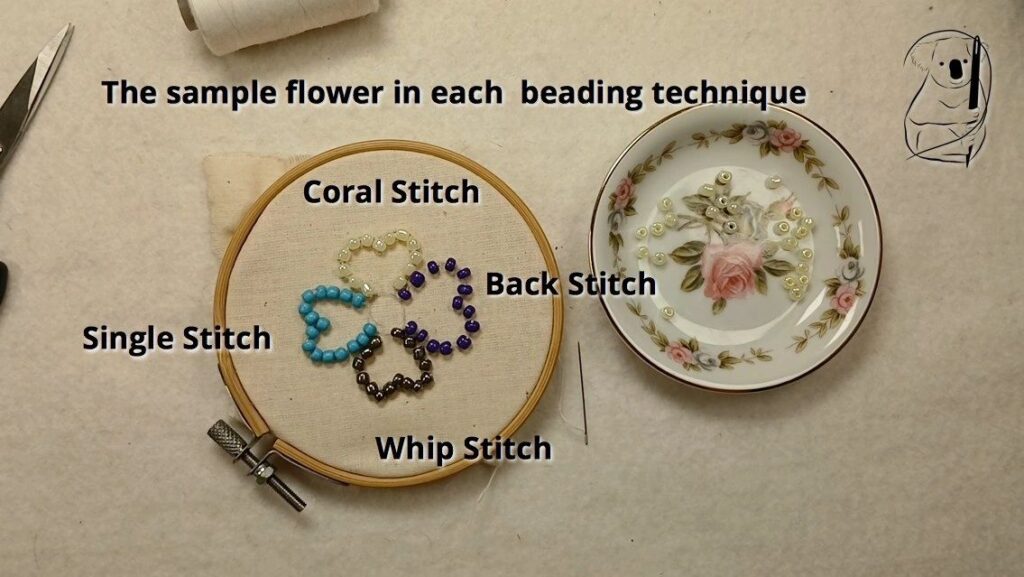
Technique 1 – single stitch
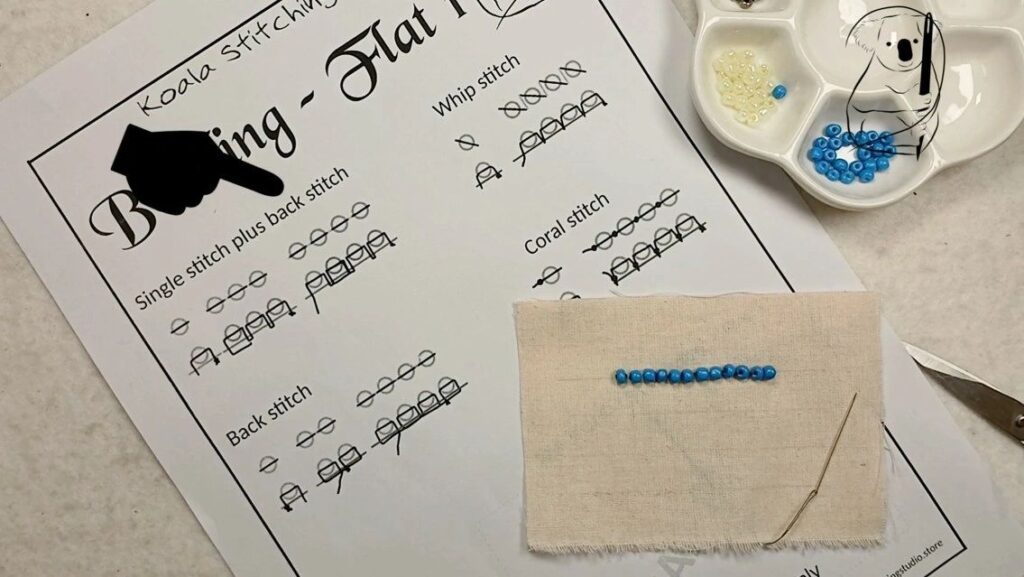
When using single stitch to add a bead, you attach a single bead for a single stitch. The stitch is much like running stitch. The closer the stitches are to each other, the closer together the beads will sit on the fabric.
This is a quick way to attach the beads. Its biggest drawback is that if the thread breads and is pulled, the beads will slip off. To counter this, a back stitch can be made every three beads or so, taking the thread through the bead twice to anchor the stitching.
Technique 2 – whip stitches
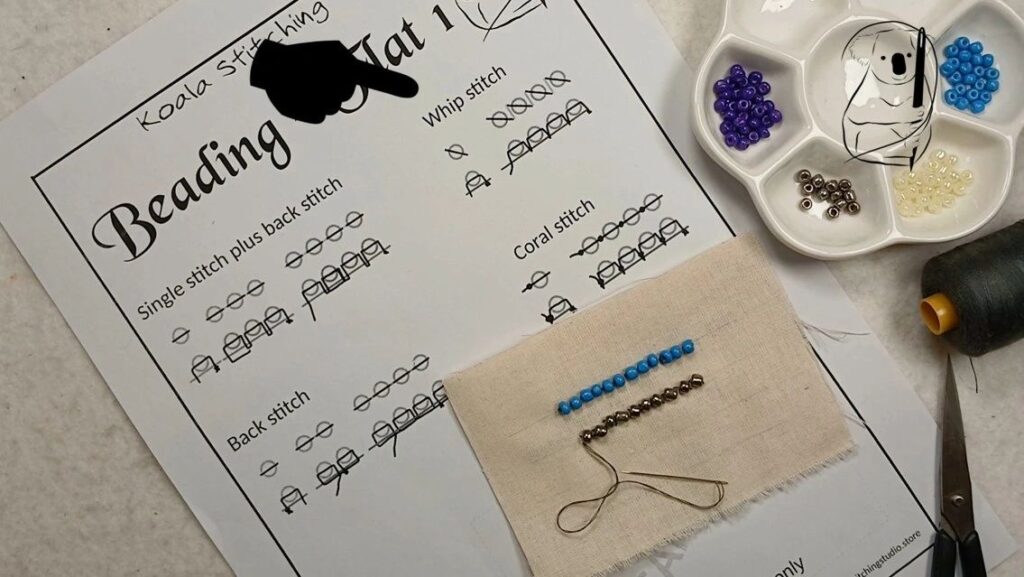
Whip stitch is another very quick way to add beads, again with one bead per stitch. The beads can end up lying on the surface of the fabric at a bit of an angle, but if your stitching is even, they will all line up together, neatly facing the same way along the stitching line.
To secure your beads, you can add an extra whip stitch along the way. An extra whip stitch between each bead can help space the beads out, or an extra whip stitch every third bead or so will add an extra anchor. Because the whip stitch goes across the stitching line, it is less likely to simple pull out if the thread is strained.
Technique 3 – back stitch
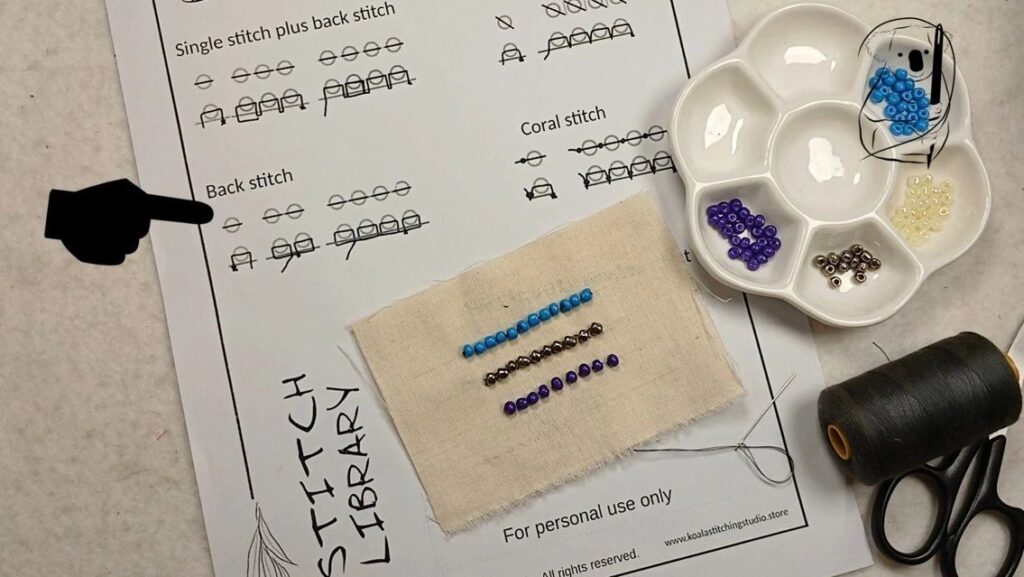
This is a secure way to add your beads, as the thread travels back for each bead, making the likelihood of the thread pulling very low. The beads are also nicely spaced along the stitching line.
Technique 4 – coral stitches
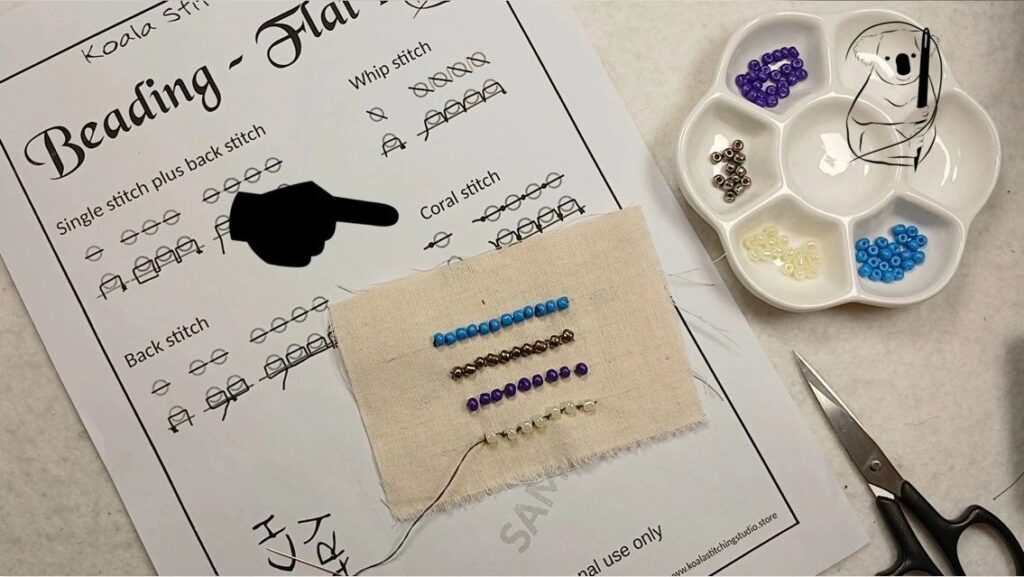
By placing a coral stitch or knot between each bead, they beads are all very securely attached to the fabric. The knot prevents the thread from pulling between the stitches, and if the thread should break it is very unlikely that more than one bead would come away from the fabric.
When beading onto a garment, there are a few different ways you can create your design.
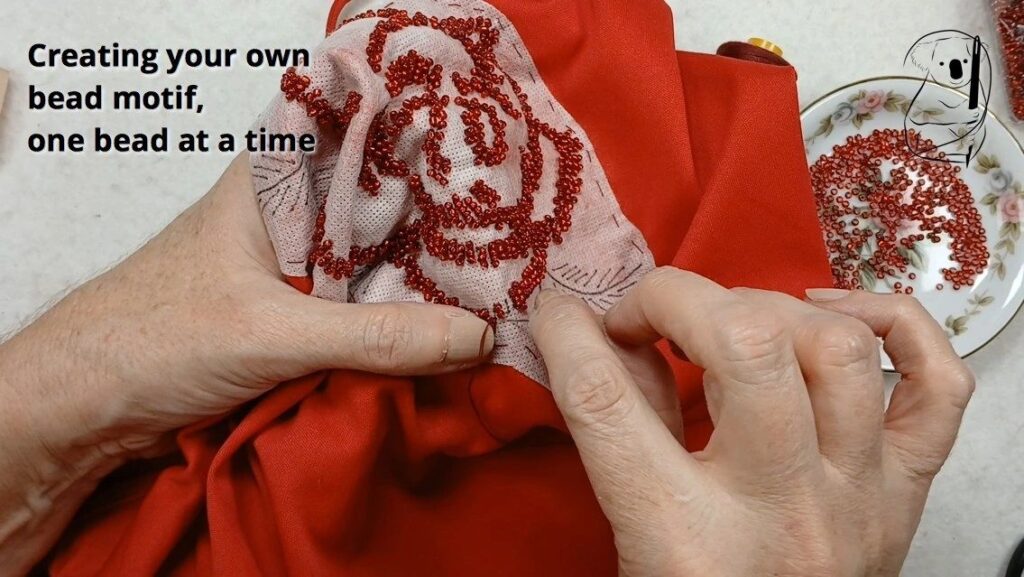
Applications for Beading
You can create your own motif, as we did in our top Callie.
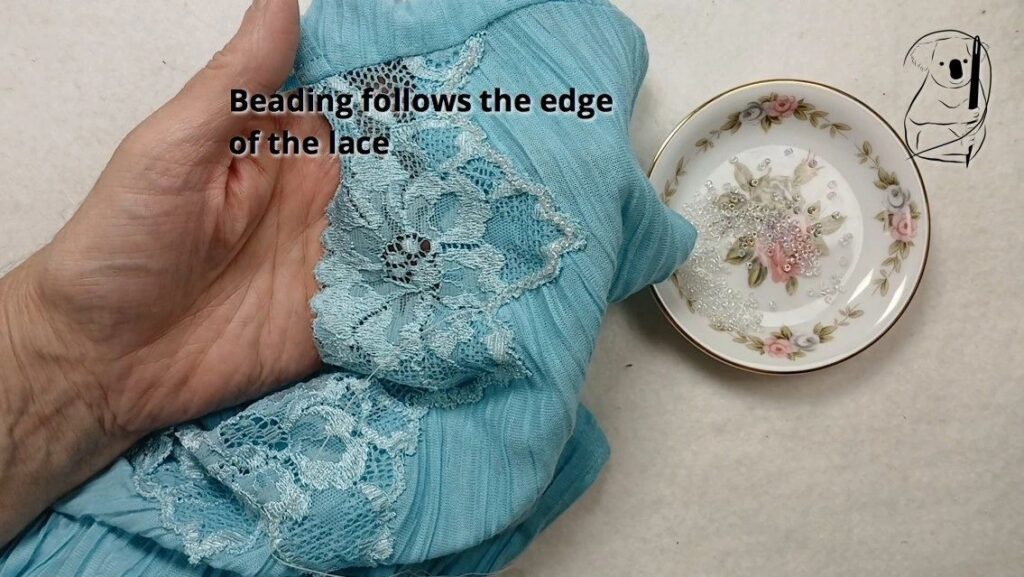
You can use the lines of the garment to inspire your bead placement, as seen in this top, where the beading is being stitched along the edge of the lace around the neckline.
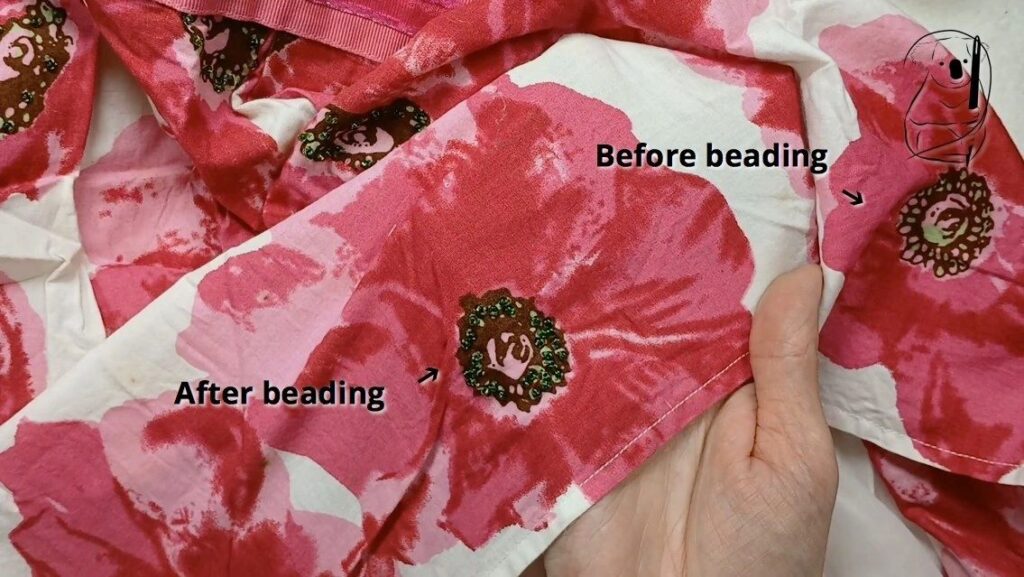
Or you can use the patterns on the fabric to suggest where to place your beads, like this little dress, where the printed flowers are used to add a special touch. Small patches of green in the flowers are stitched with a single green bead to create a special texture and look.
Our sample flower with the petals beaded.
Beading Project - Callie - Beaded Camisole top
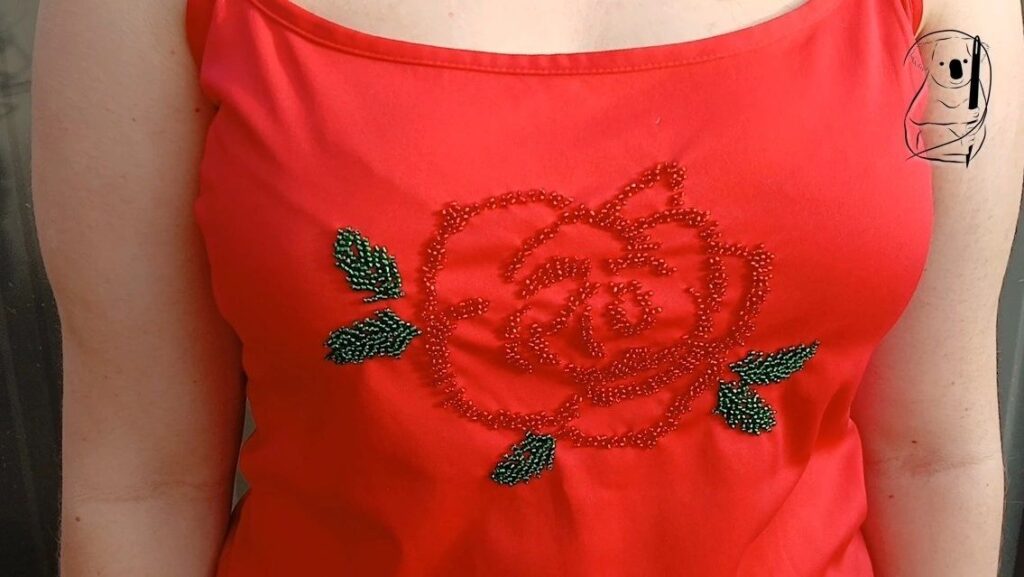
Watch our beading project – Callie – to see how a plain top can be made into something special with the addition of beads.
See our review of the project on our website.
Create your own sample using our stitch guide, to add to your Stitch Library. Download the stitch guide for free from our Resources to Download page.
This is a resource that you can come back to for inspiration, or a reminder of how to complete a stitch that you haven't used for a while.
Find all our Stitch Library Stitch Guides here.
Watch our video tutorial on ways to add beads on the flat part 1
If you need a refresher, have a look at our video tutorials for the stitches used in this video:
Running stitch
Whip stitch
Back stitch
Coral stitch