
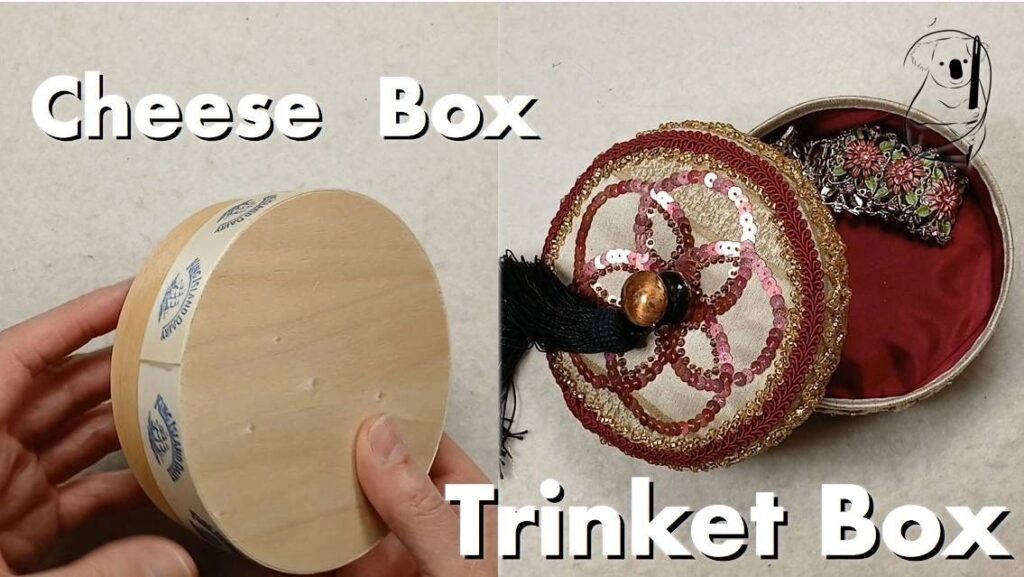
Here is a fun challenge. Can I take a box that my cheese was packaged in, and make it into something pretty? I think I did that. Watch the video, and let me know what you think.
I love unusual packaging, and the cheese box was a fun piece of very lightweight wood. It would be useful enough just as is, but not very pretty, and not quite as sturdy. The wood is very lightweight.
I went hunting specifically for the cover fabric, and picked up a couple of scraps of fabric in the craft section of the local thrift shop. I think they were intended to become a cushion cover before they were donated. Apart from that, I think I already had most of what I used in my stash.
The lining and wadding were also bought second hand in a previous purchase, and were waiting for the opportune moment. Wait no longer.
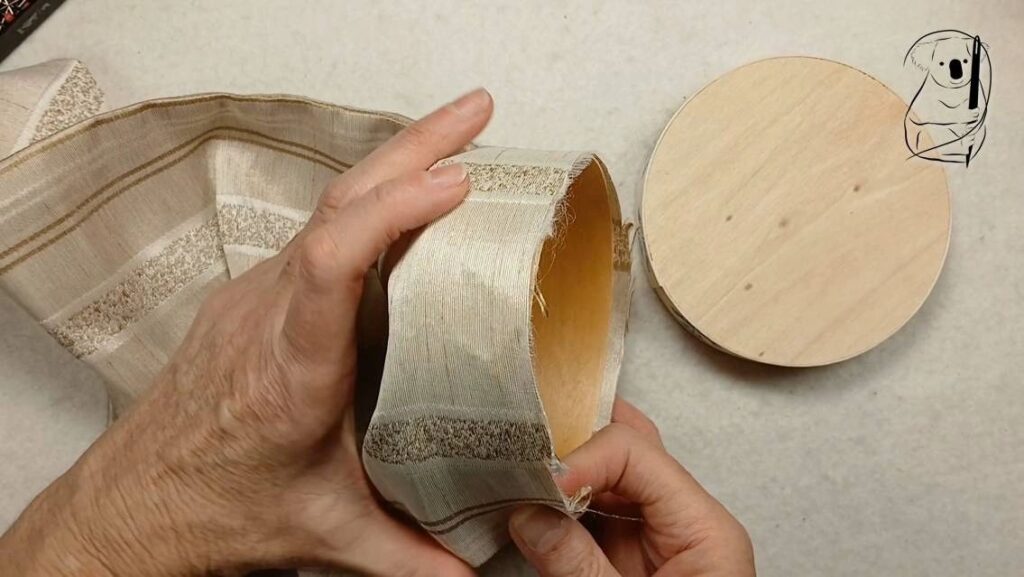
There wasn’t much intentional measuring involved in creating the covering for the cheese box. The outer fabric was wrapped around to find the join. The top and base, both internal and external, were traced trimmed to size.
I did measure the width of the bias strip that became the inside side lining to make sure there would be plenty of turning allowance under the base and over the top edge. The first time I cut out this piece, I did it on the straight, but soon realised that the strip had no give when sewn into the loop. Once in place, it had enough give to turn over the edge of the box, while still sitting snuggly against the inside wall.
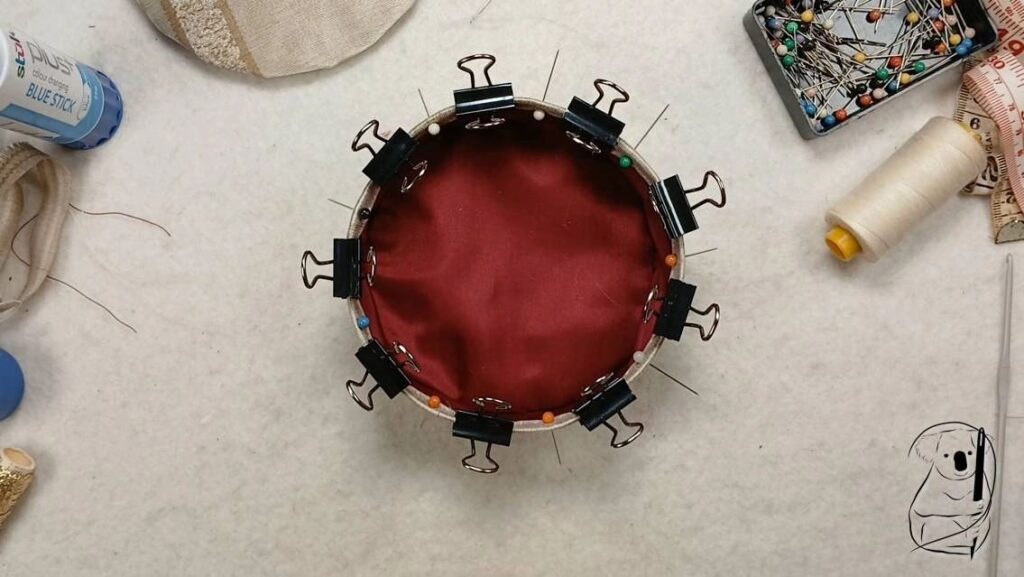
The construction of the cover changed a couple of times on the fly. The biggest change was securing the top of the sideswhere it folds over the edge and covers the top of the lining. I had planned to glue this, but that proved completely unsatisfactory, so instead I stitched through all the layers of fabric and wood, to keep it all in place. The wood was very lightweight. I din’t even need a thimble.
Pleating the cover fabric rather than gathering helped to reduce bulk, so the top and base could sit flat.
To decorate the box, I tried to use techniques from the past series of videos – beads, sequins, braids, applique, fringes and hardware. I didn’t use many of the trims originally selected, but that is often the way with free-form projects.
The pink sequins were in a bag of mixed beads which were possibly quite old. They contained some sequins that were made of cellulose instead of plastic. They have become damaged over time, and are not suitable to wash as they will dissolve. Something to keep in mind if you are reclaiming trims from older garments. They need to withstand the appropriate laundering.
I tried the lace around the lid. I decided it didn’t have enough contrast even with the dark ribbon, but then it worked just fine around the base. The maroon gimp was the perfect way to cover the join around the top of the lid.
The curved needle was a bit fiddly to keep hold of, but worked well where a straight needle would have struggled. While I could possibly have decorated the cover and then slipped it over the box, I didn’t want to suffer stitching shrinkage and find that the finished cover wouldn’t fit.
I toyed with the idea of leaving the looped fringe around the edge of the lid free. It did have a lovely, sparkly swish, but as you needed to grip that edge to take off the lid, the risk of damage to the loose fringe was high.
The lid is finished off with a reclaimed drawer handle, and attached to that is a tassel made from a piece of fringing. Strands of gold embroidery thread have been added to the fringe skirt. A plait of strands from the fringe made the loop at the top of the tassel, and the loop slides just enough to change how tightly the loop sits around the handle.
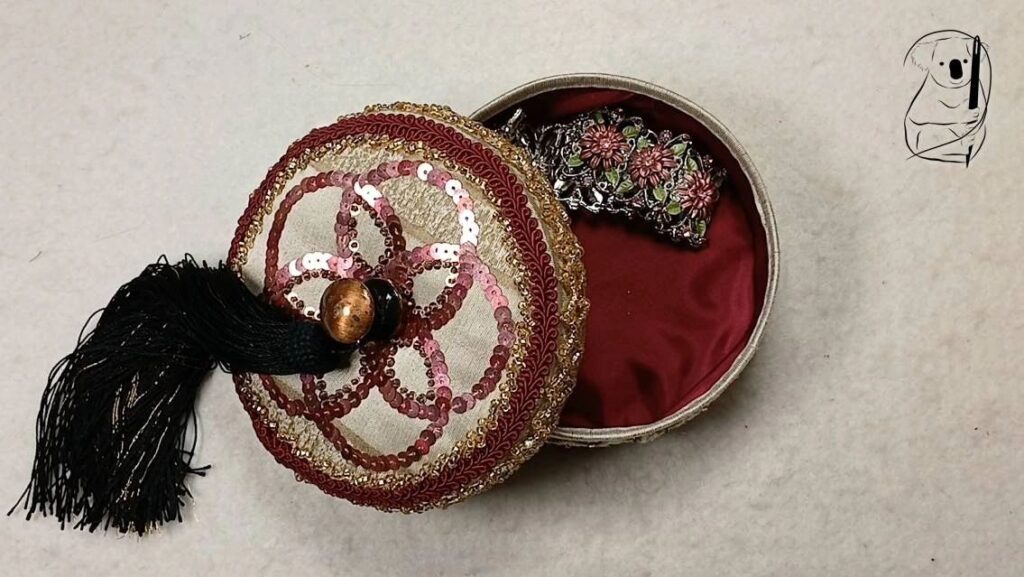
I’m really happy with how this project turned out. I wanted to make something decorated by using lots of different bits, a little in the Victorian style, but I also didn’t want to go too far overboard, and end up with something tacky rather than pretty. I might be toeing that line just a little but either way, I think the end result is a good one.