
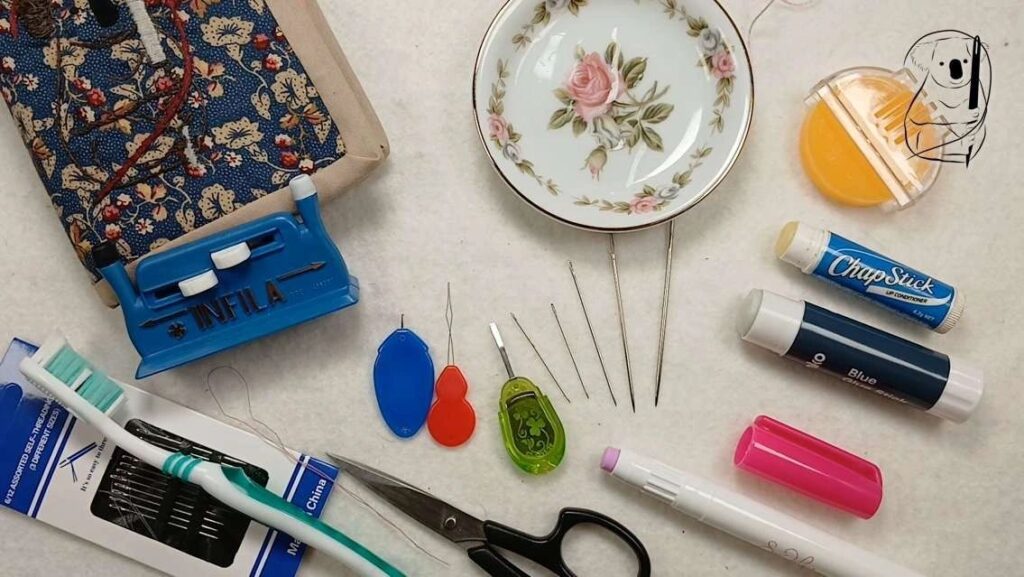
Getting the thread into the needle is the beginning of the actual stitching process. and while it might seem to be simple task, it isn't always an easy thing to do. Here are some different ways we have explored, to make the task of threading your needle easier.
Needle threading techniques
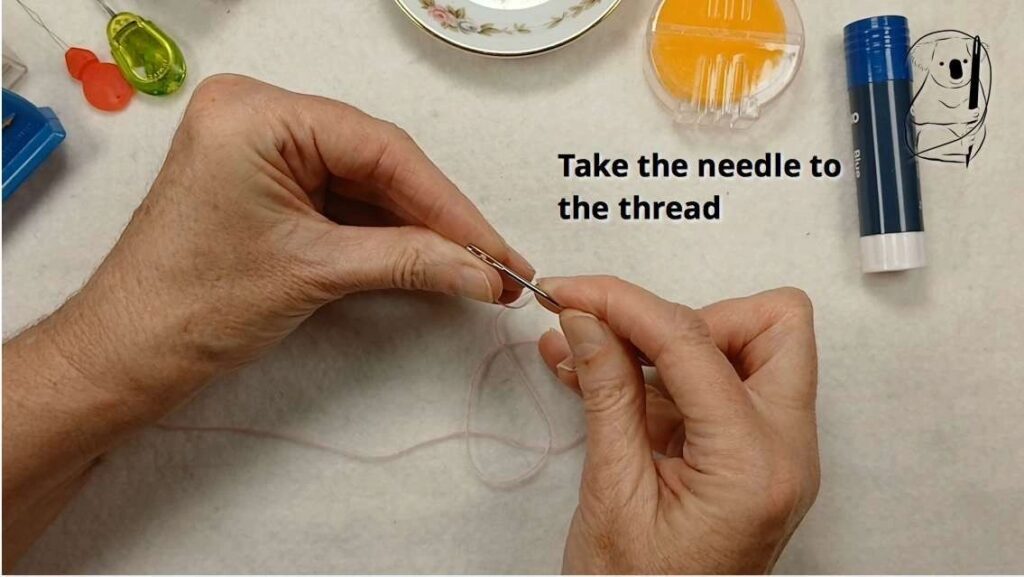
The first technique to consider is how you get the needle and thread together. If you try to take the thread to the needle, it can flap and bend around, and never quite make it. But, if you hold the thread quite short, and take the needle to the thread, you have a much greater chance of success. In fact, you can manage thicker than expected threads that are a bit fuzzy at the end this way.
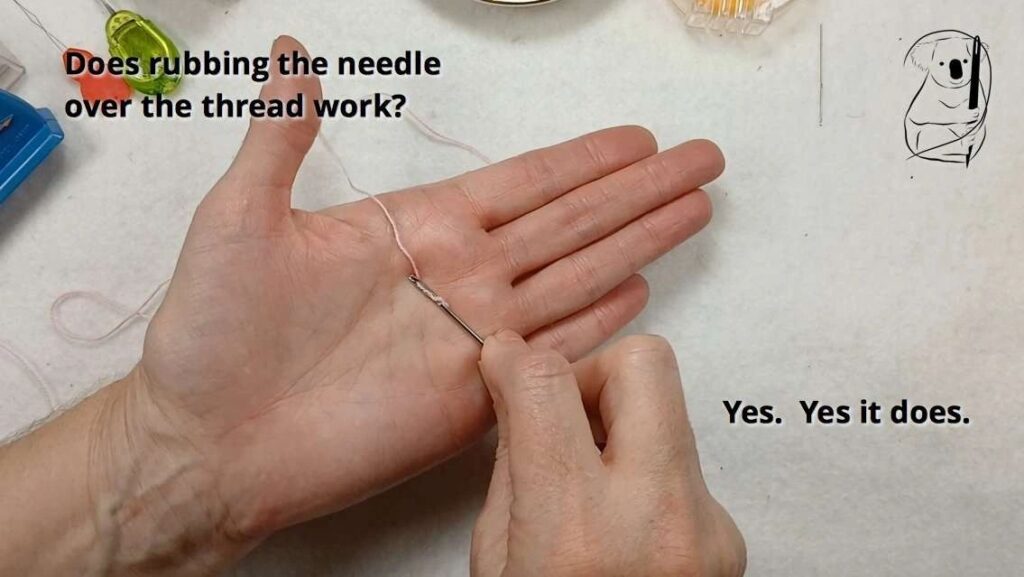
And although I had never tried it before, I know people who swear by the "rubbing the needle over the thread" method. So, does it work? We tried it, and yes, it does.
Taming your Thread
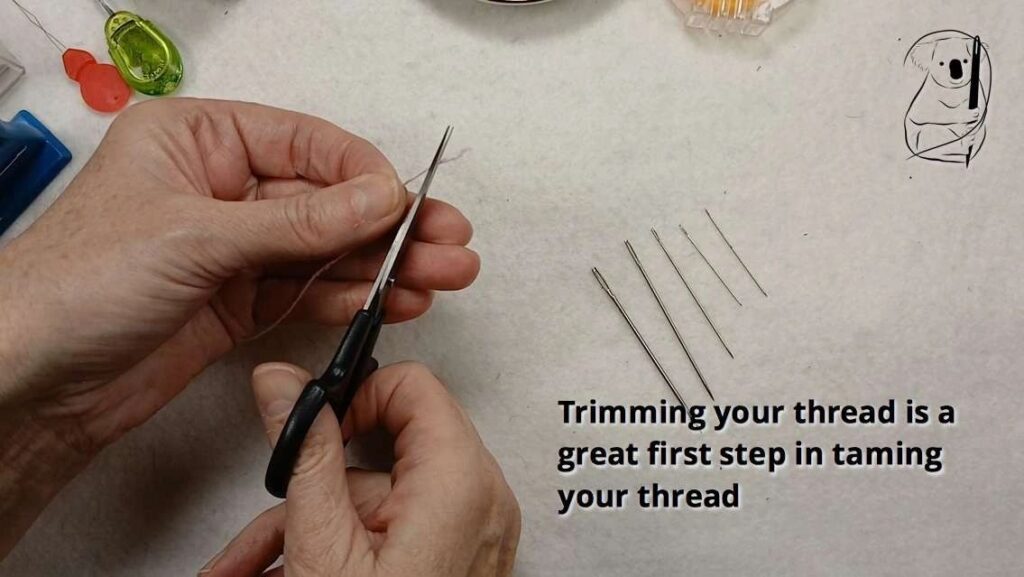
Our first group of tips are around working with the thread. Sometimes, the end just needs a little trim to neaten it up. Sometimes some type of product is useful. We've tried a few, all with pretty good results.
And before we even start with any tools, one simple action can help with a thread that is proving tricky.
Fold the thread. This produces a cleaner and slightly stiffer thread end to present to the needle.
Trimming the thread so it is neat and without any stray fibres is a clear choice. There is some debate around whether the cut should be on an angle, to produce a point, or straight across. Your choice here might be influenced by the thread itself. If one doesn't work, try the other.
Some of the products we tried included water, wax, fabric glue, paper glue and lip balm.
Water: In the tests, I was using a 100% cotton thread, which soaked up the water, and became swollen and heavy. Before it would go through the needle, most of the water needed to be squeezed out. Instead of having a dish of water nearby, many stitchers lick their threads, bringing the fibres together with a little bit of saliva. I haven't seen anyone actually recommend this method, but I've seen many people use it when they have nothing else to hand.
Wax is a very traditional material in hand sewing. The wax can bring the fibres at the end of the thread together so they don't splay out while leaving the thread soft. There is no oily residue on the thread to spoil your work. In fact, beeswax was often used to coat and protect threads used in beading, extending the life of the natural fibres.
Fabric Glue: Here I have used a temporary fabric glue stick that is designed for piecing patchwork. Once dry, the becomes stiff and easy to pass through the eye of the needle. A little patience is required to wait for the glue to dry, although because it is in a solid form, this doesn't take too long.
Paper Glue: I tried using a coloured glue stick that goes clear once the glue is dried. Like the fabric glue, the thread becomes stiff once the glue dries, and is easy to pass through the eye of the needle. I have to admit that I did cheat and removed excess glue, allowing it to dry a little faster.
Lip Balm is very much like the wax. It brings the fibres together and stays soft. A note of caution - the lip balm is not as solid as the wax, and may contain oils that will spoil on your fabric over time, so it is best to trim the end of the thread before you start stitching.
Getting the Needle right
Is your needle just too small for the thread? If your needle is too small, even if you succeed in threading it, when you pass the needle through the fabric, it will not make a hole in the fabric large enough for the thread. Every stitch will then become a little tug-of-war, and the thread will drag through the fabric causing unnecessary wear.
If you are having trouble with the needle, but you know it is the right size because you've threaded it before, try turning the needle over, so the other side of they eye is facing the thread. Due to manufacturing processes, both sides of the eye are not always the same. I couldn't detect a difference in the needles that I was using, but I have heard that this can help, so why not give it a try?
Self-threading Needles are a great invention. I have seen ones that thread from the top and others that thread from the side. If you use a self-threading needle, loop the thread around your finger so it is easy to bring the needle to the thread. The rules about using a needle that is the right size for the thread still apply. A thread that is too thick will be difficult to get through the "lock" of the needle, and even if you do succeed, you don't want to be playing tug-of-war with every stitch.
The Long-Eyed Beading Needle is a revelation for working with tiny beads if you don't have a specialist thread like a mono-filament. The Long-eyed beading needle is made from two strands of metal fused at each end and sharpened to a point, with a long section between the ends that can be gently opened as an eye.
Needle Threaders
Needle threaders come in all shapes and sizes, and some have very specific applications. They can be complex or simple. The most important thing is that they help.
Hook Threaders have a tiny hook on the end of a shaft that is fused into a little plastic handle. They work with a range of needle sizes, but are best for finer threads, as the hook is quite small and can split thicker threads.
The Bird Threader is similar to the hook threader, but the gap is cut into the shaft of the threader. Again, these work best with finer threads.
Wire Threaders have been around forever. They are a simple idea, with a kink of wire attached to a handle which can be plastic or metal. The reason they have lasted so well is that they work for a wide range of thread sizes and needle eyes.
Embroidery Needle Threaders are similar to wire threaders, but they have a flat strip that goes through the eye of the needle. They are specifically made for embroidery needles or long-eyed needles, and the thread sits above and below the needle threader, making it easier to pull the full needle threader through.
Automatic Desktop Needle Threaders are great when you need to thread a lot of needles. They are best for small to medium-sized needles and fine threads, and often used by quilters. As they push the thread through the eye of the needle it is possible for the arm to catch on the thread, and damage it. If this happens, check that the damaged thread will not appear on the front of your stitching.
A loop of thread: Create your own instant needle threader by passing a loop of finer thread through the needle, and using that to pull your working thread through the eye of the needle. Great for a range of needle sizes and thread types.
Toothbrushes have fine, stiff bristles, and in a pinch can be used to push the thread through the eye of the needle. A couple of notes for this technique - line the thread up with they needle eye to maximise the space for the thread to push through, and once the thread is through take care lifting the needle off the bristles, as the thread can catch and pull straight back out of the needle.
I've said it before, and I'll say it again. It is important that the needle is big enough for the thread you have chosen to use. Equipment breakage can happen when you try to force a thread through a needle eye that is too small. I guess if you break two matching needle threaders, you could make earrings with them.
Keeping the thread in the needle
Some threads are harder to work with than others, being slippery (like rayon) or stiff (like DMC Light Effects). To combat this, there are a couple of ways to thread your needle to reduce the chance of the thread slipping out of the needle.
Double threading - take your thread through the eye of the needle, and then take it through again. This will not lock the thread in place, but it does slow down the slipping.
Loop threading - make a loop at the end of the thread just a little longer than the needle. Put the loop through the eye of the needle, then take the loop over the tip of the needle. Gently draw the thread tail back through the eye of the needle until the loop rests against the eye. This will lock the thread in place.
And now, you can get on with your stitching!