
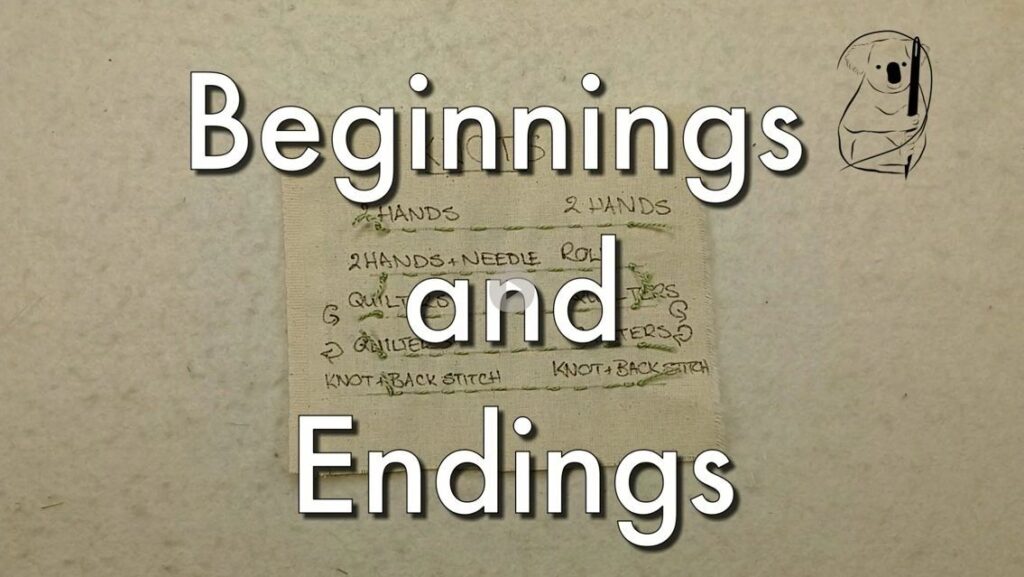
While the exciting bit of stitching might be the sewing in the middle, the beginning and endings of your stitching are pretty important. Here, we look at a variety of ways to start and end your stitching, giving you options so you can choose that which best suits the work you are doing.
Beginnings Using knots
There are lots of ways to make knots. Some are faster than others, some need a little practice to gain proficiency and speed. And while some people don't like the look of knots on the back of their embroidery, it is very much a personal choice as to how you start and finish your thread.
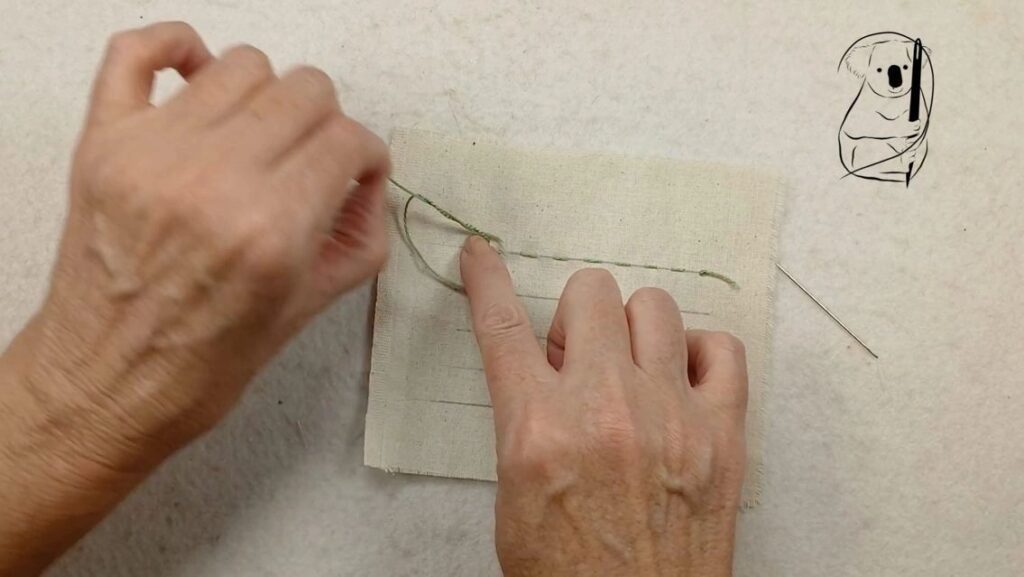
Using two hands to tie a knot
This is the most straight forward way to tie a knot in your thread. You can vary the size of the knot by the number of times you wrap the end of the thread through the loop. Some people make a larger knot by creating a second knot over the first. Personally, I find it quite difficult to get the second knot to land in the right place. This is a skill that probably needs some practice to master.
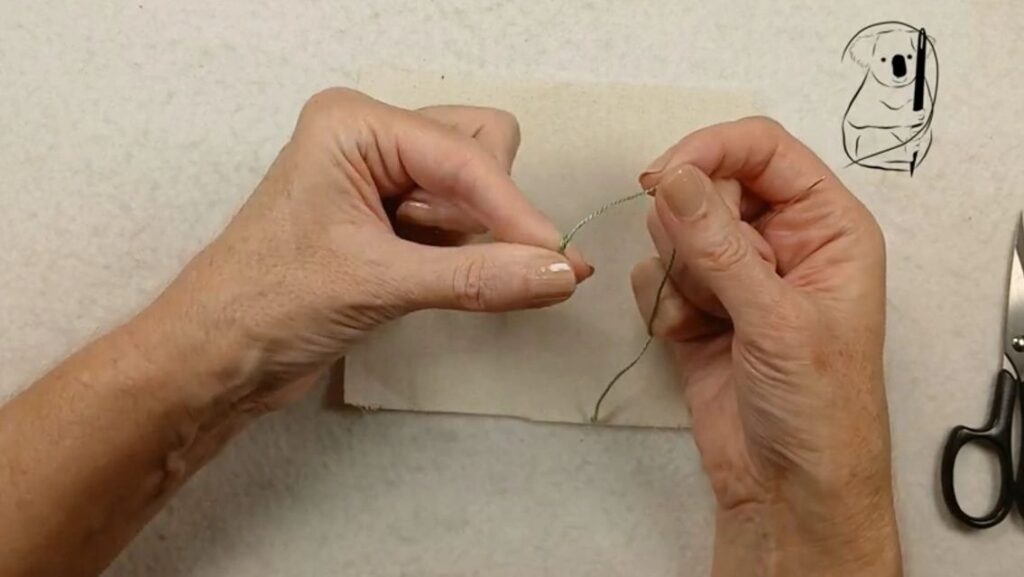
Rolling the thread off your finger
By wrapping the end of the thread around your finger a couple of times, when you roll it off, you create a knot with the tail of the thread. This was once my go-to knotting method. The finished size of the knot can be variable, and if the tail isn't tucked in quite right, you can find your knot a long way from the end of the thread.
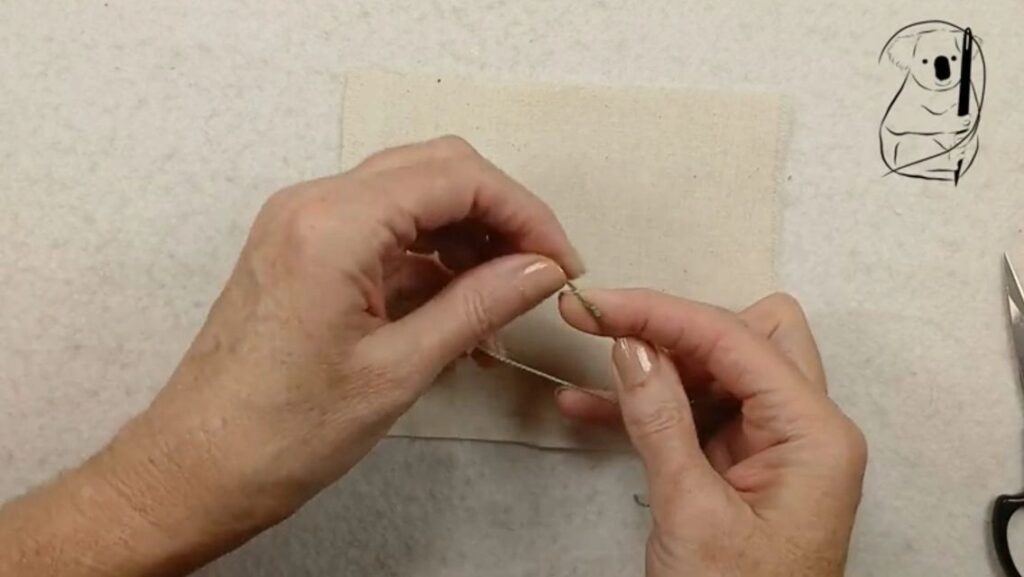
Quilter's knot
Now my favourite knot, the quilter's knot involves wrapping the tail of the thread around the needle, and pulling the thread through the wraps to create the knot. It is easy to vary the size of the knot, by changing the number of wraps. The knot is made where the thread wraps around the needle, so you can keep the knot close to the end of the thread. If you have the end of the thread too close to the wraps however, you can end up with a tail that pokes out of the knot at an angle. Fast and reliable, it takes a bit of practice to remember how it's done, but once muscle memory kicks in, this is a handy knot to know. When tying the quilter's knot, it's handy to know that it doesn't matter whether you wind your thread clockwise or anticlockwise around the needle. This means that whether you are left or right handed, you can wind the way that feels most natural to you.
Endings Using knots
Using two hands to tie a knot
Just as you can tie a simple knot to begin, you can also tie a knot with just your fingers to end a thread. The tricky thing here is getting the knot close to the surface of the fabric.
Using your hands and a needle
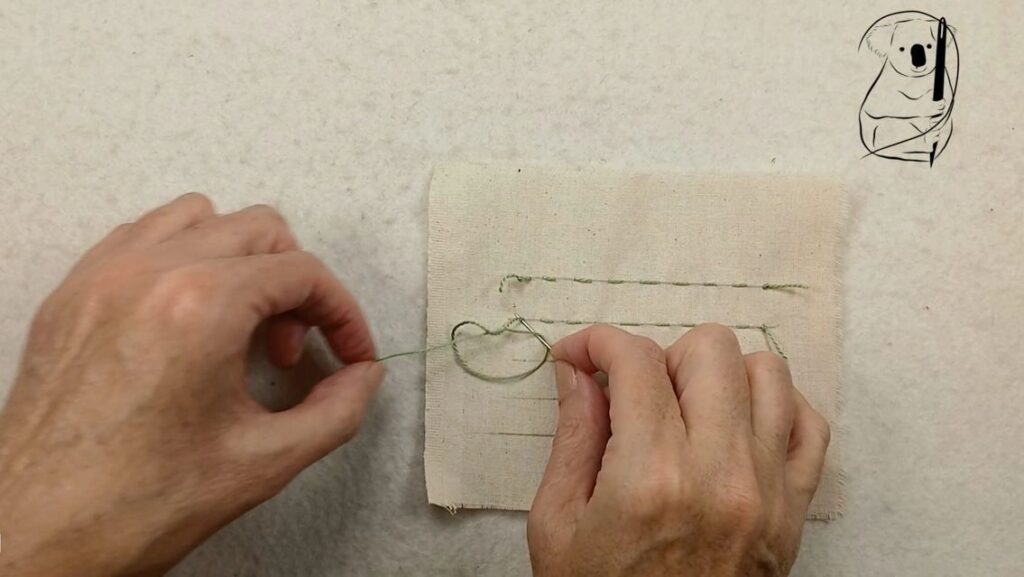
Adding a needle to the knot-tying equation helps get your knot closer to the surface of the fabric. This is also a great way to finish off threads when you've stitched almost to the end of the thread.
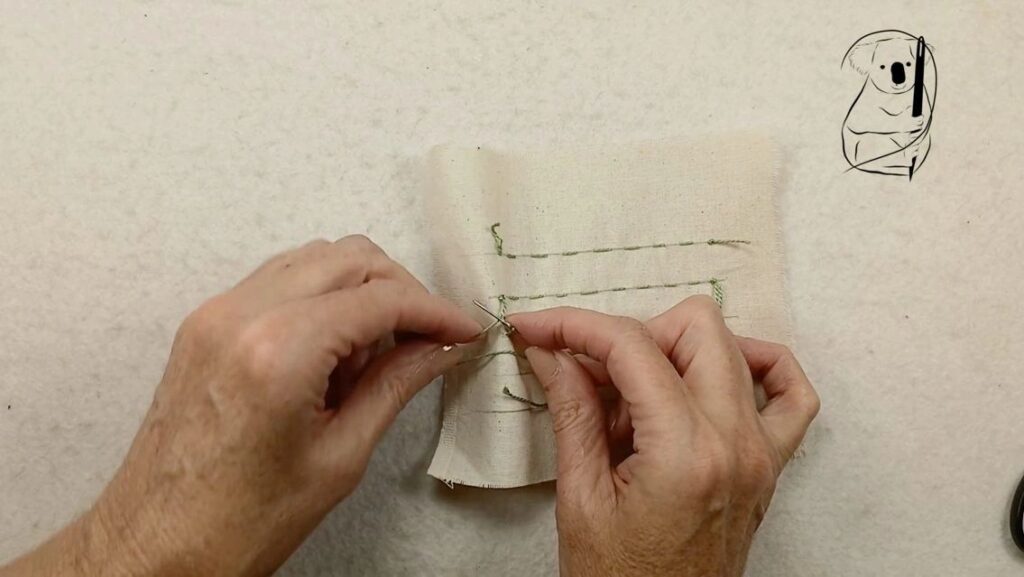
Quilter's knot
And just as you can create a knot by winding the thread around the needle to begin, you can also do so at the end. Wrap the thread around the needle, then slide the wraps close to the surface of the fabric. Pull the needle through, and with care you have a quick knot right where you need it. Again, it doesn't matter which way you wind the thread around the needle.
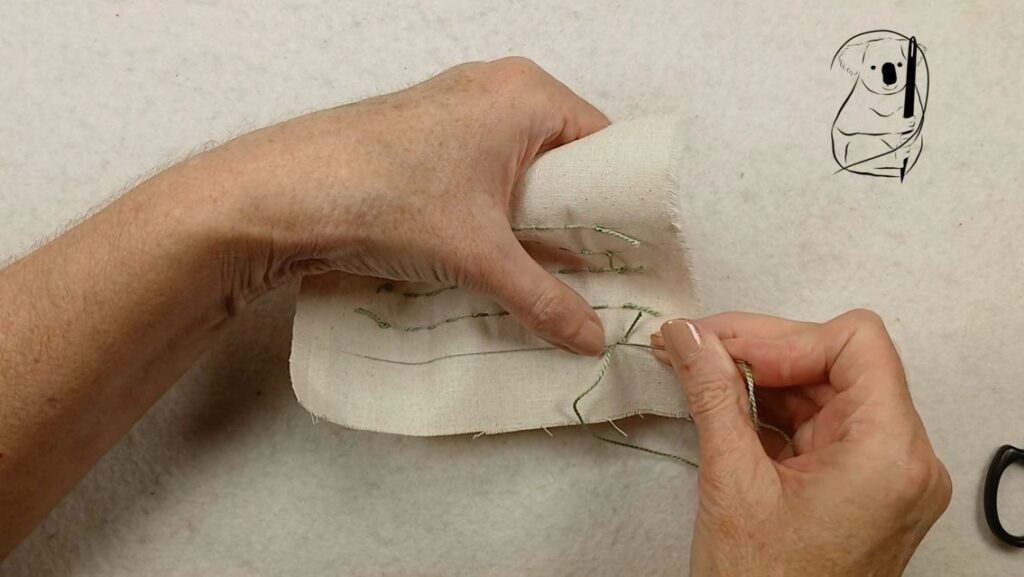
A Knot plus a Stitch
A little bit belt-and-braces, using both a knot and a stitch is a very secure way to start and end your thread. This is particularly useful with a line of running stitch, where making a small stitch just next to the knot will prevent the knot pulling through when pressure is placed on the thread.
Stitching without Knots
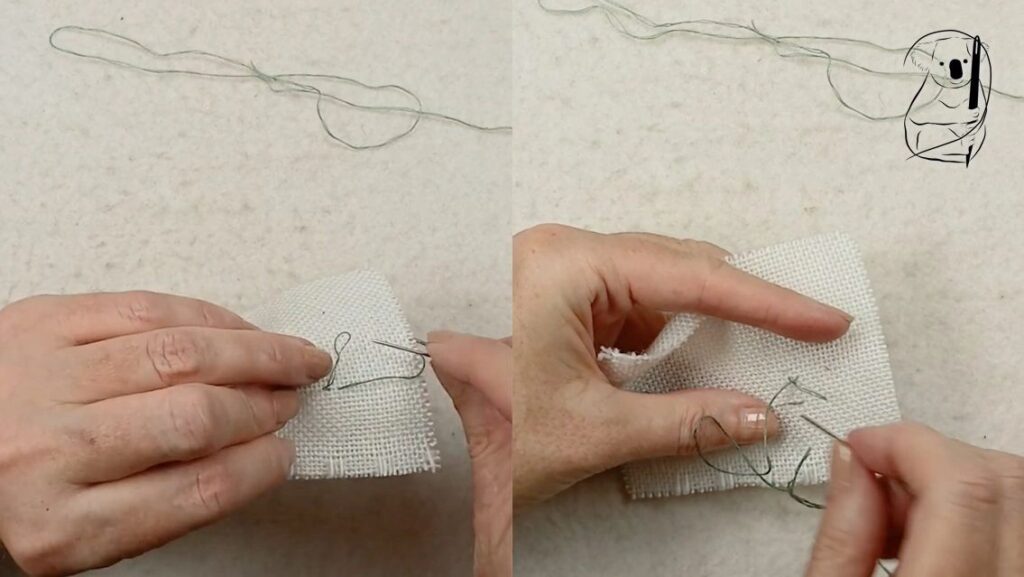
The Loop Start
The loop start is a great way to start stitching, when you have coarse fabric that a knot might slip through, or sheer fabric where a knot might be seen from the front. By folding a single thread in half you create a double thread with a loop at the end. Take the needle through the fabric and then back again, and pass it through the loop. This creates a very secure, invisible start to your stitching. If you don't mind the look of the knot, but it will easily pull through the weave of the fabric, you can tie a knot in the end of your thread, and pass the needle back through the loop that this creates.
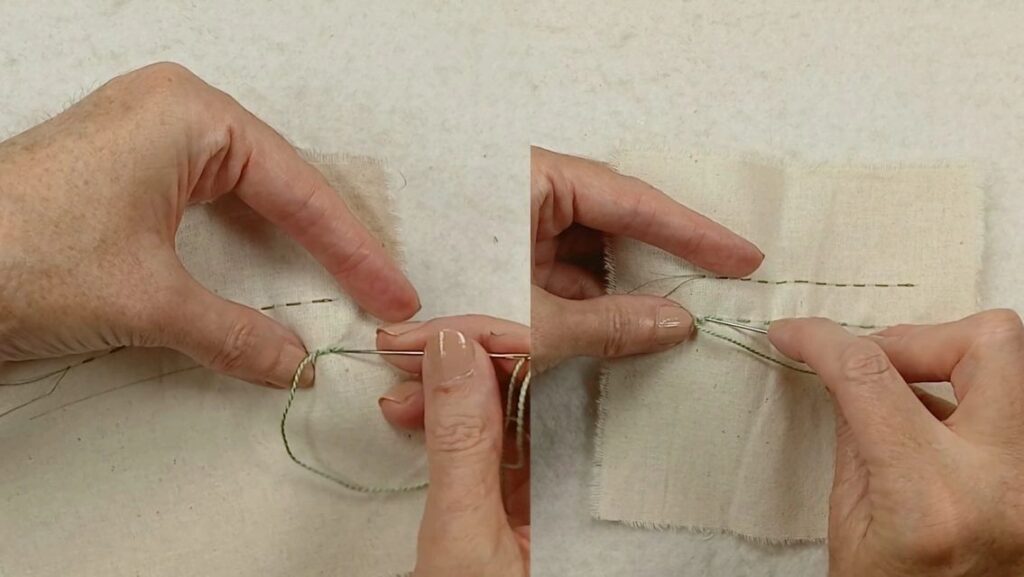
3 x Back Stitches
If you don't want to use a knot, another handy way to start and end your stitching is with 3 small back stitches, very close to each other. This is easy to do when you have existing stitching, or a double layer of fabric to stitch into, so the little back stitches won't be seen on the front of the fabric. If you use this technique on internal seams, then you have less concern for trying to keep them invisible on the right side of the fabric.
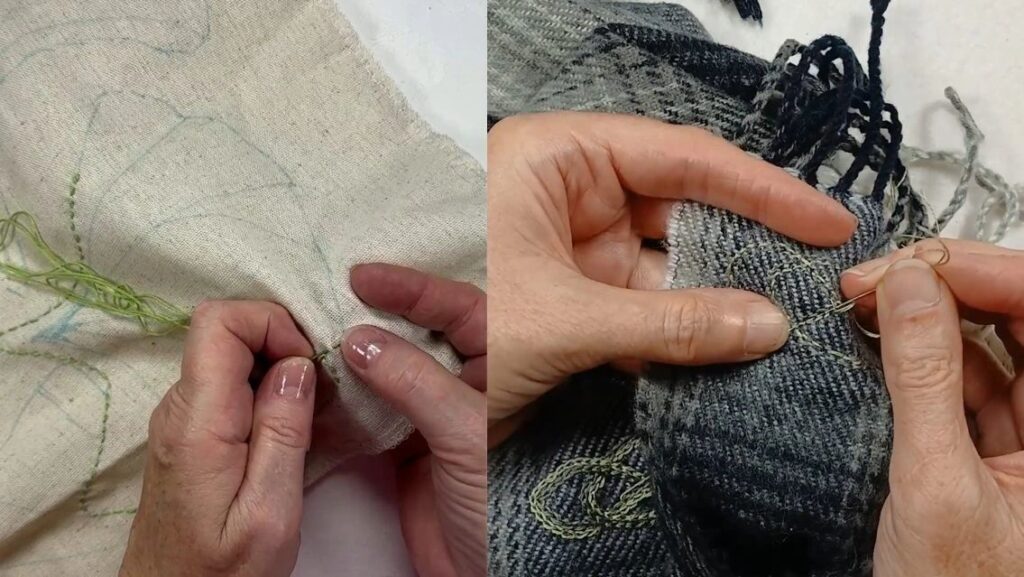
Go over your stitches
In this method, you stitch back toward the start of your stitching line, then turn and stitch forward. And when you get to the end of your stitching line, you turn and stitch back the way you came.
This is an invisible way of starting and ending threads in Sashiko stitching, where you carefully match the running stitch placements in each direction. A short tail is left on the wrong side of the stitching, to ensure the thread doesn't pull through.
When sewing a stitch with a more dense coverage, eg chain stitch, it is possible to create a very neat start by making a short running stitch up to your starting point, then stitching over the running stitch with the decorative stitch. And the end of the stitching line, a few running stitches back in the opposite direction can be made without going all the way through the decorative stitch.
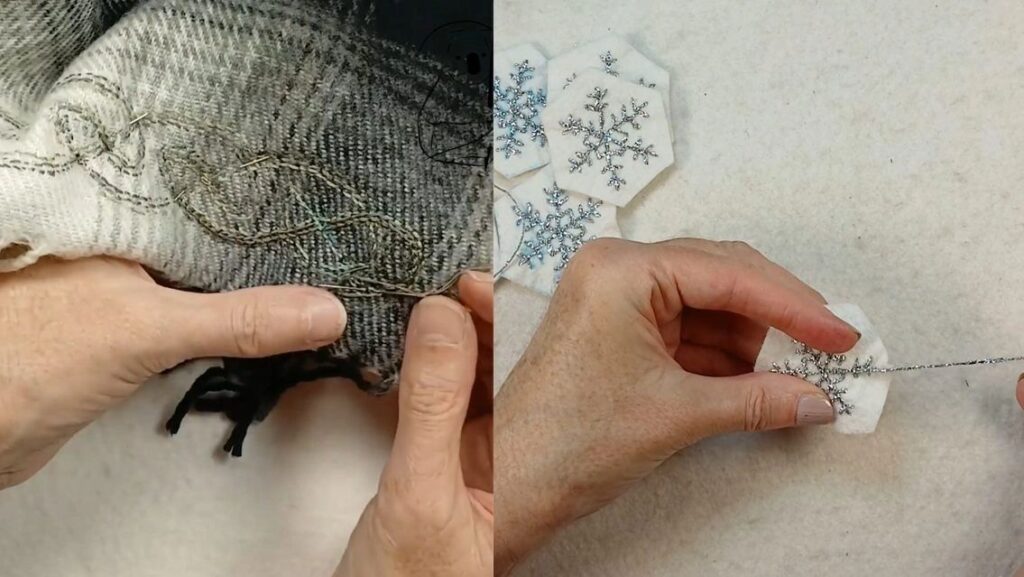
Double sided stitching
When you are stitching something that can be viewed from either side, knots are not really what you want to see. This is where going back over your stitches comes into its own.
A double sided piece may have stitching on both sides of the fabric, hiding the thread ends under the decorative stitches. Or it might rely on making your stitches in a precise sequence, again hiding the thread ends under the stitches.
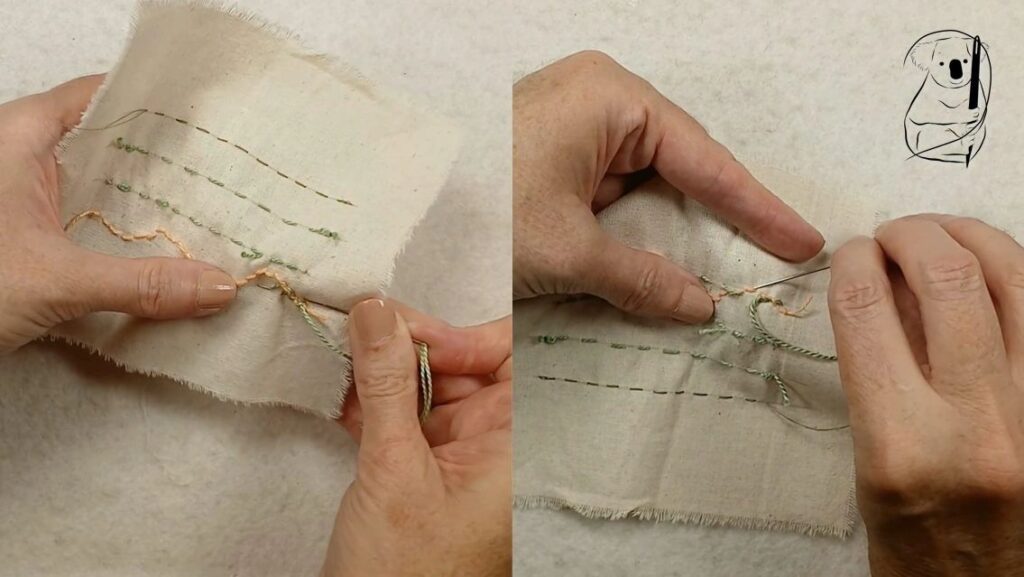
Sewing through existing stitches
A little like going over your stitches, this method makes use of other stitches already worked in the piece as a secure and hidden (from the front) place to begin your line of stitches. It works equally well for both the beginning and end of the thread.
When no knot is required
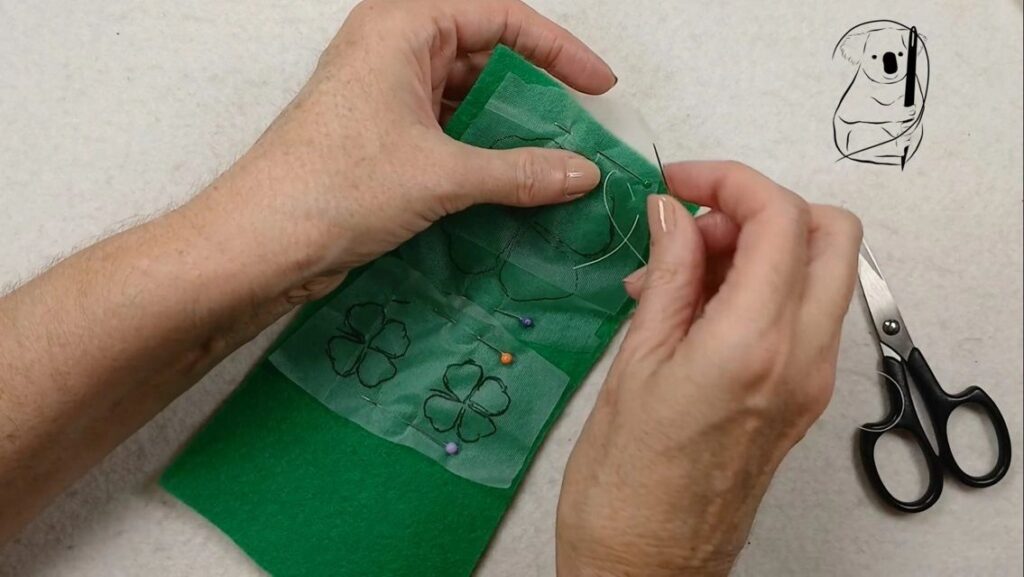
There are times when it is easier to work without a knot, for example when basting something to your fabric. If this stitching is temporary, and will be removed, it might be easier to leave out the knot. Leave yourself a long tail, and when it comes to removing the thread, you have something to pull it out with.
Beginning with Waste Knots
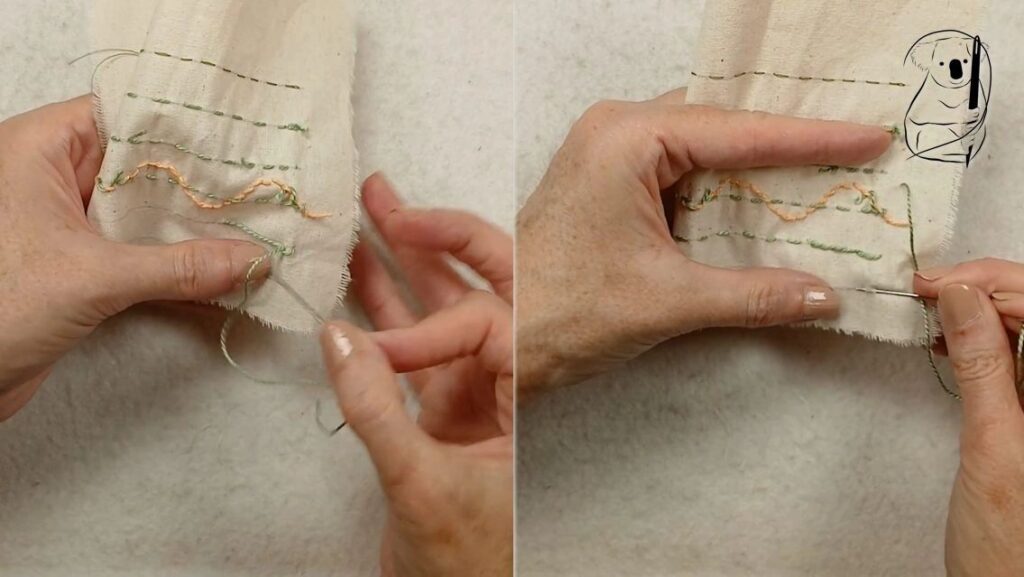
Waste knots may begin with a knot, but they end without one. As the name implies, the knot is cut away.
Waste Knot 1 - Sew Over the Tail
In the first technique, you sew over the tail before you cut away the waste knot. This requires the knot to be close to the line of stitching so your stitches can cover and secure the tail as you go. Before reaching the tail, cut the thread and remove the knot from your work.
Waste Knot 2 - Sew in the Tail Later
In this technique, you place your knot away from your work, then once you have some stitching on the fabric, you cut the thread and secure the tail in the stitches.
Hiding the Knots
Between Open Layers of Fabric
If you are working with two layers of fabric that are open, you can hide your knot between the layers of fabric before you start stitching them together.
"Popping" the Knot
This is a technique popular with quilters, where gentle pressure on the thread at the beginning of the stitching "pops" the knot through one layer of fabric, but leaves it in the padding between the top and bottom layers.
How you choose to begin and end the threads on your stitching piece is up to you. Things to consider when selecting a method include:
- Will the item be frequently laundered? Items without knots may need more care when washing.
- Will both sides of the item be visible? If no one will see the back of the stitching, then feel free to suit yourself.
- Your skill level - If using a knot is the easiest way to do it, why give yourself the frustration of trying another technique?
- Your skill level - if you want to learn a new way of doing something, practice it at every opportunity.
Watch our video for clear demonstrations on all these techniques.