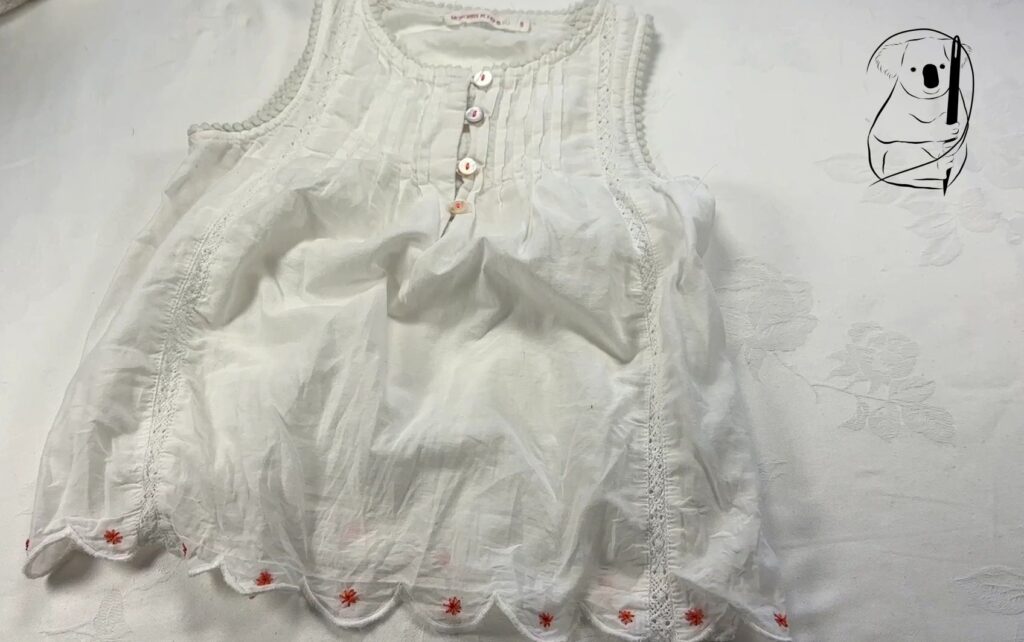
This is an instance where the garment just lends itself to the stitch at hand. This baby dress has a scalloped edge which is screaming " Embroidery Me!"
As you see in the video, the garment looks fairly plain however the scalloped hem. and the buttons suggest an avenue to add some value to an already pretty and appealing garment. Time to add a personal touch!
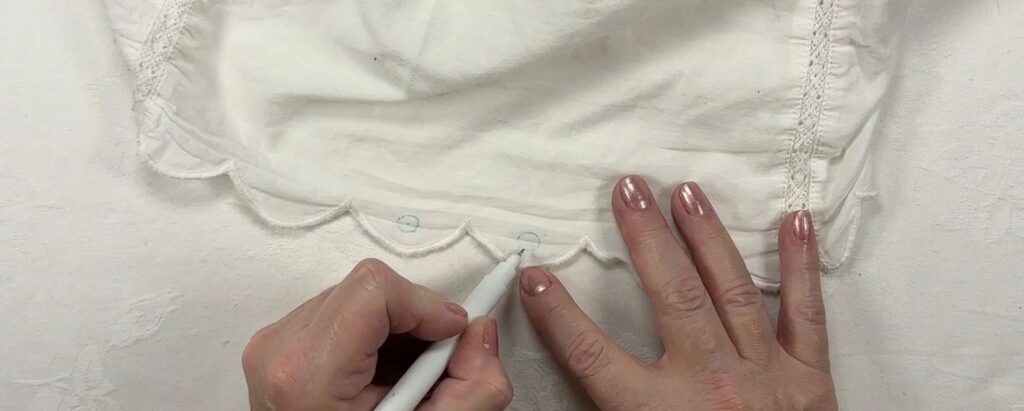
I have marked the centre of each scallop with a marker pen. Then a circle is drawn to ensure the size of the Eyelet Stitch is consistent across the hem and the centre of the Eyelet is at the centre of each scallop.
The thread used is this project is Cotton A Broder - a first for me. I chose it as it was a thread on hand and a great match for the detail in the buttons.
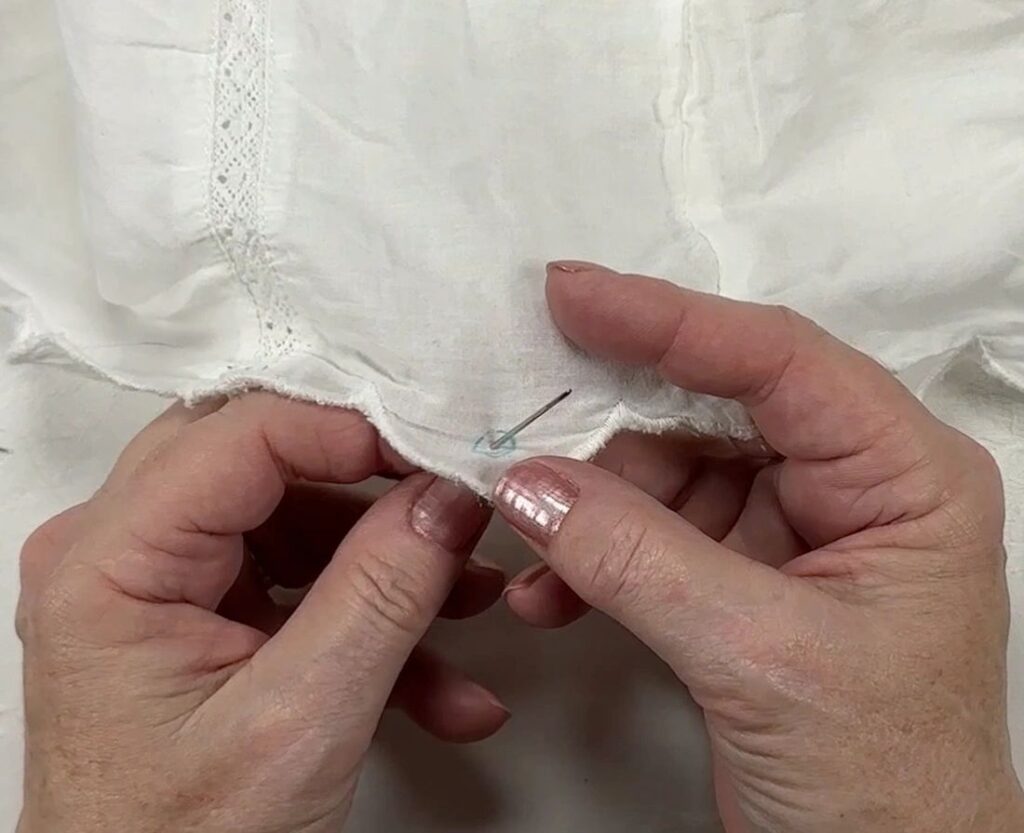
To make the centre of the Eyelet Stitch, I first pulled my everyday needle through the centre of the drawn circle. Then I followed that needle with a very thick wool needle to make the hole even larger. I gave it a wriggle as I pulled the needle through just to ensure it was as large as possible given the tools.
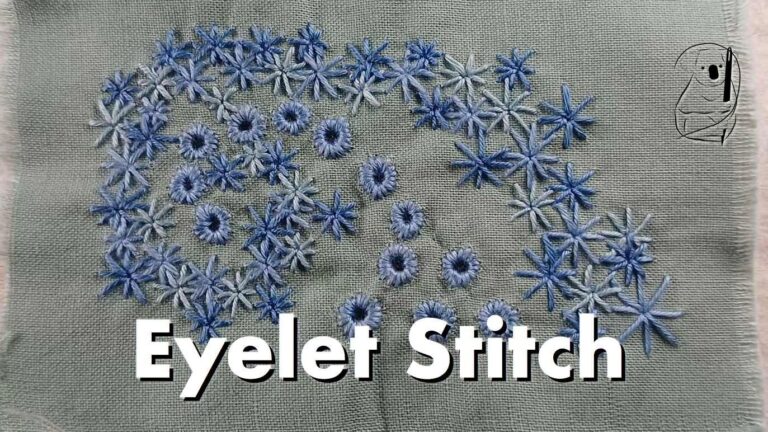
The Eyelet Stitch was very simple following our Stitch Guide method. Each Eyelet Stitch is worked with 8 Overcast Stitches around the circle. The fabric is delicate and didn't need to be overworked with too many loops.
Would I change anything? Yes. The Cotton A Broder was quite coarse when compared to the DMC embroidery floss I am used to. For the fine and delicate fabric, I think in hindsight that the DMC floss would be a better weight and texture for this garment.
Otherwise this was a very quick and simple up cycle of a garment by adding a personal and unique touch.
Watch the video for Ella on YouTube