Eyelet Stitch can be decorative or functional.
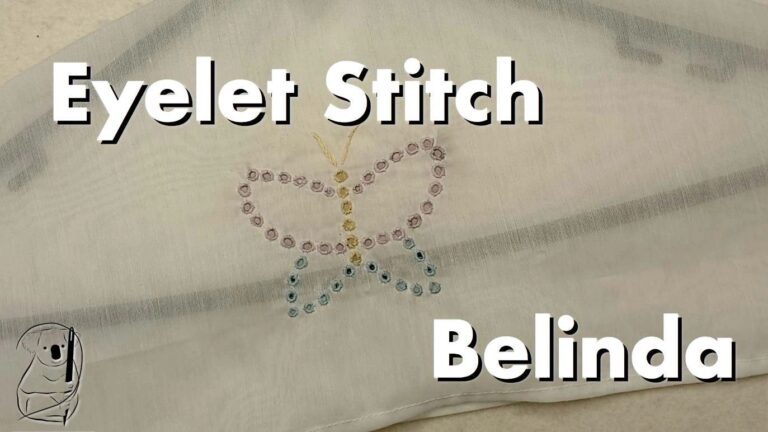
Each eyelet is formed by a series of overcast stitches, going around a hole or a central point. Eyelets made with a hole at the centre can be used for lacing, for example to secure a belt.
See our video tutorial on Eyelet Stitch here.
Steps to Create Eyelet Stitch
Step 1: Preparation
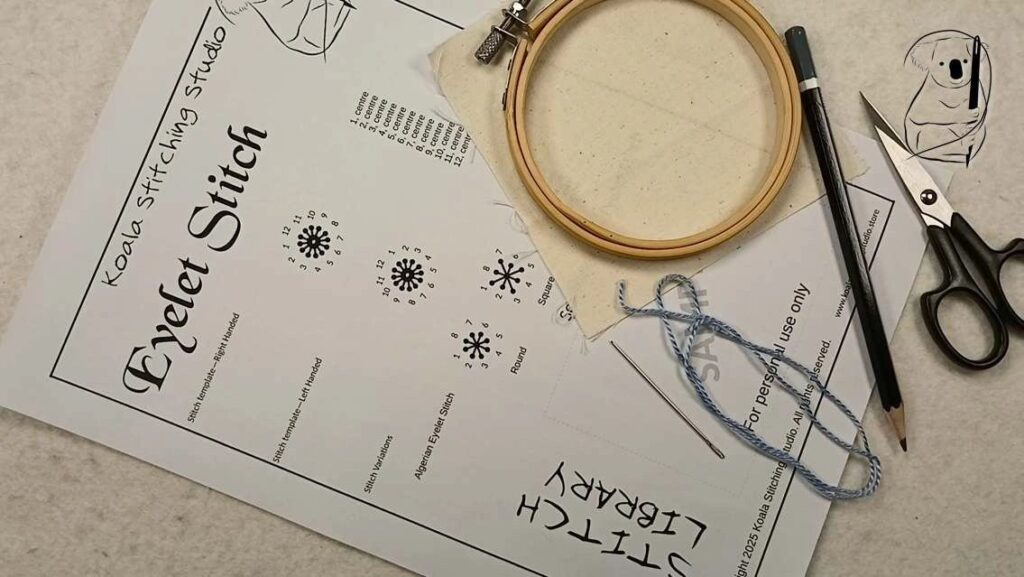
Cut a length of thread, approximately 12 to18 inches long, to ensure it is manageable and doesn't tangle easily. Thread the needle and knot the end of the thread to prevent it from pulling through the fabric. (see our video - Getting Started In Hand Stitching for a simple starting knot , or the Getting Started in Hand Stitching blog page for a description with photos.)
If you are using our stitch guide, mark your fabric. For practice stitching, pencil works well. I have used a 2B pencil here, which is soft enough to make clear marks.
Step 2: Starting the Stitch
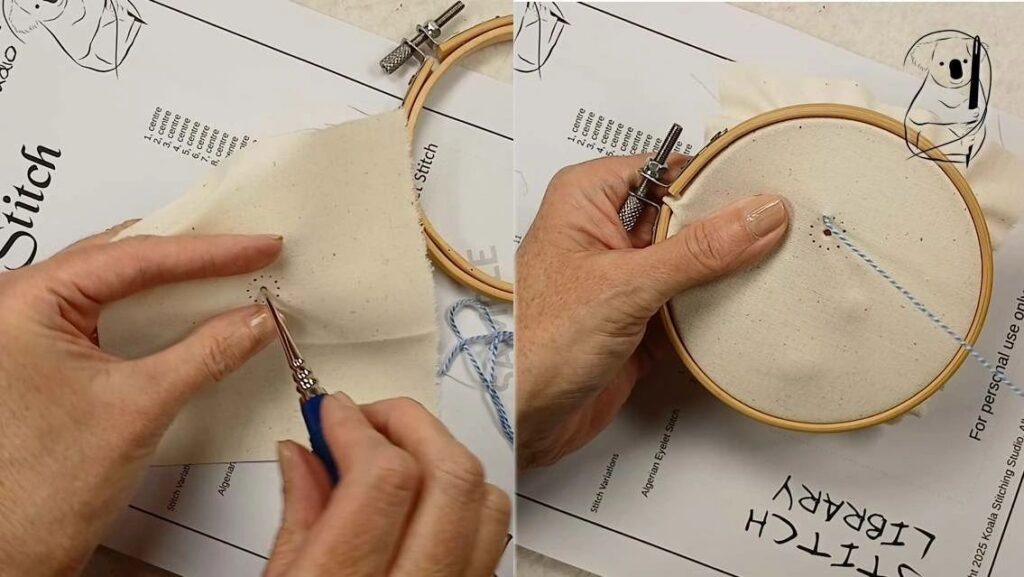
Before you start stitching, you need to create the hole around which the overcast stitches will be made.
Depending on the weave of the fabric, a sharp point may be needed to make the hole. A sewing awl usually has a point and the shaft widens to increase the size of the awl. If you have a tailor's awl that is narrow, after making the initial hole, a knitting needle could be used to make it larger.
Insert the needle into the fabric from the underside at the point where you want to start your stitching, a short distance away from the hole. Pull the thread through until the knot rests against the fabric.
Step 3: Making the Stitches
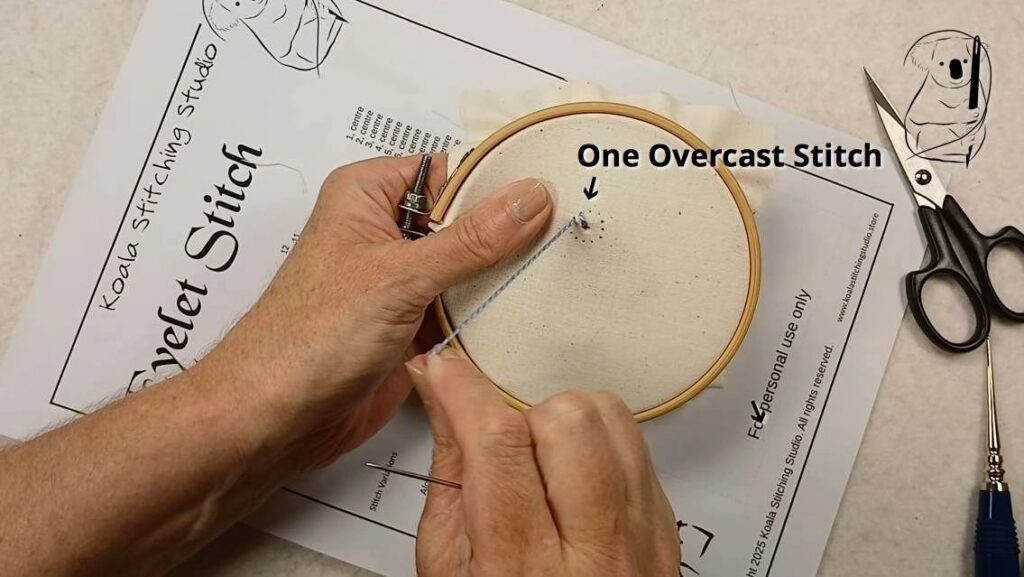
Take the needle back through the whole in the centre of the circle, and bring it back to the front of the fabric a little way around the circle.
Pull the thread through until it is snug around the edge of the hole.
This is one overcast stitch, and the start of your eyelet.
Step 4: Continuing the Pattern
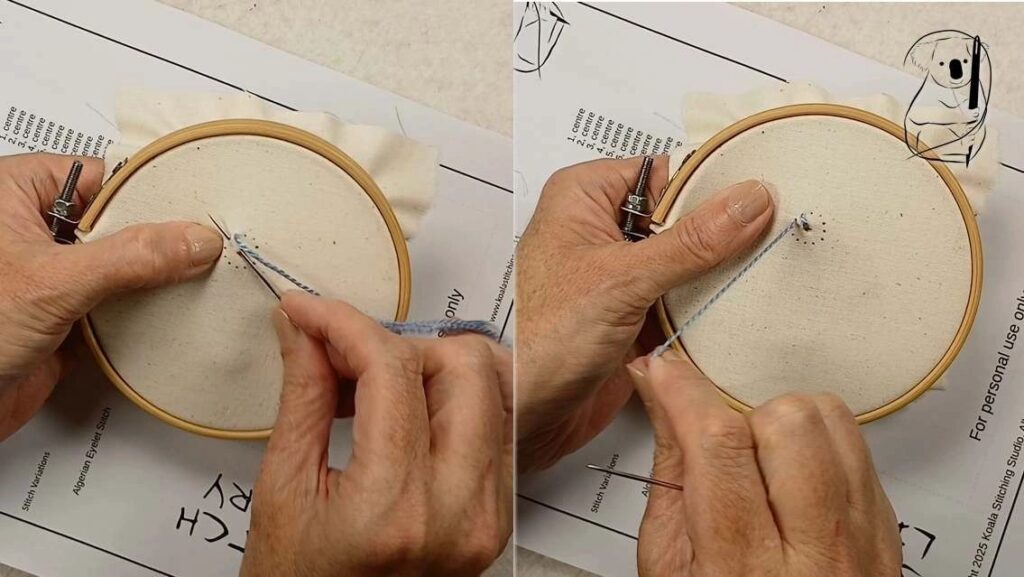
Continue to take the needle through the hole to the back of the fabric and then back to the front of the fabric a little further around the hole. In our sample, there are 12 points marked around the circle. With the thick thread, this gives a comfortable coverage around the hole. For a larger hole, or finer thread, more stitches closer together may be required to give the desired effect.
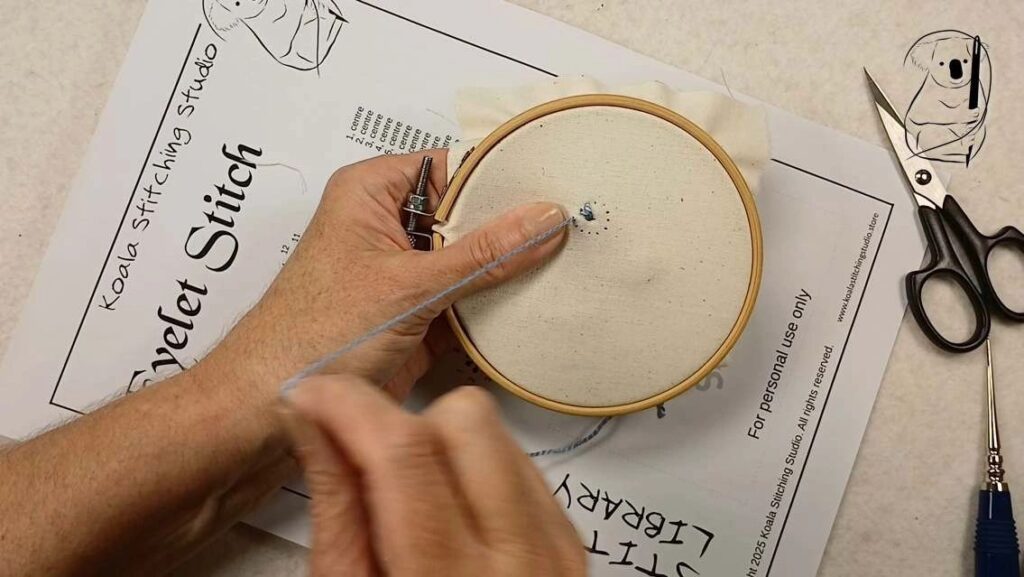
Repeat making overcast stitches through the hole until you have gone around the circle.
Step 5: Finishing the Stitch
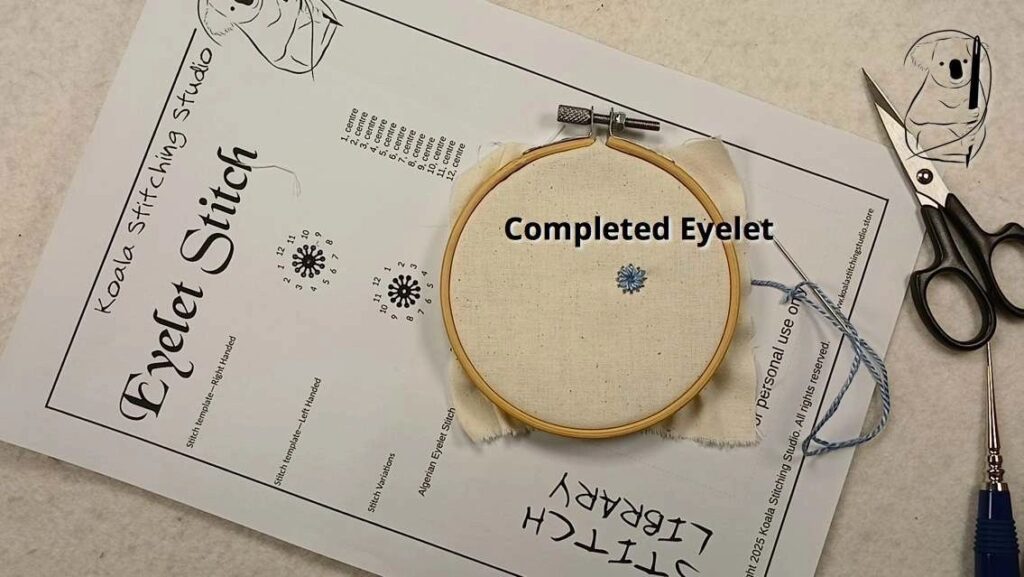
When you have completed the circle, bring the needle to the under side of the fabric and secure it so the last stitch remains wrapped around the edge of the hole.
On our Stitch Guide, we have numbered the external points of the circle. While it is useful to go around in one direction, clockwise or anticlockwise is a personal choice.
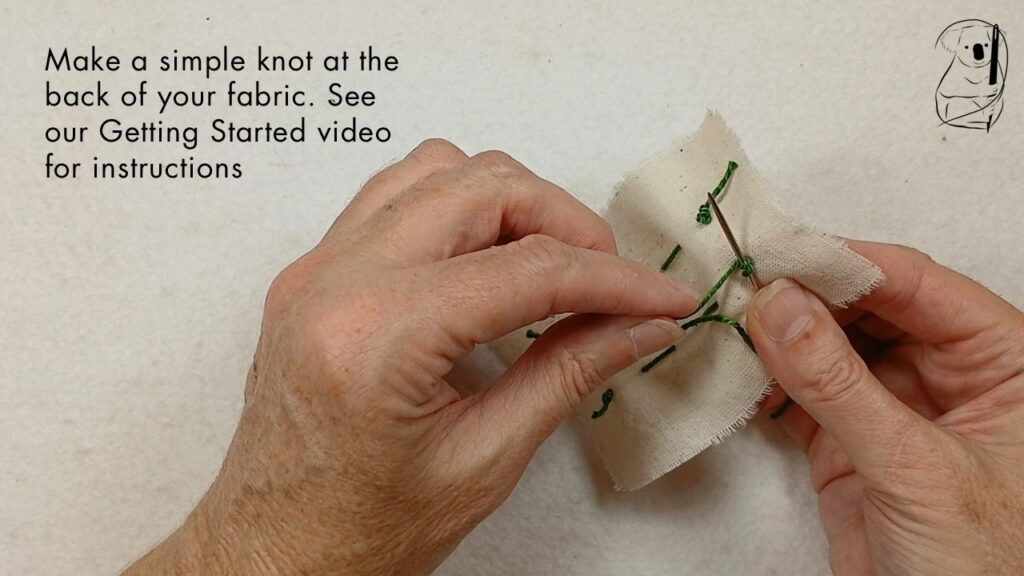
Make a small knot close to the fabric to secure the thread. Trim any excess thread with scissors. (see our video - Getting Started in Hand Stitching for a simple end knot, or the Getting Started in Hand Stitching blog page for a description with photos.)
Variations on Eyelet Stitch
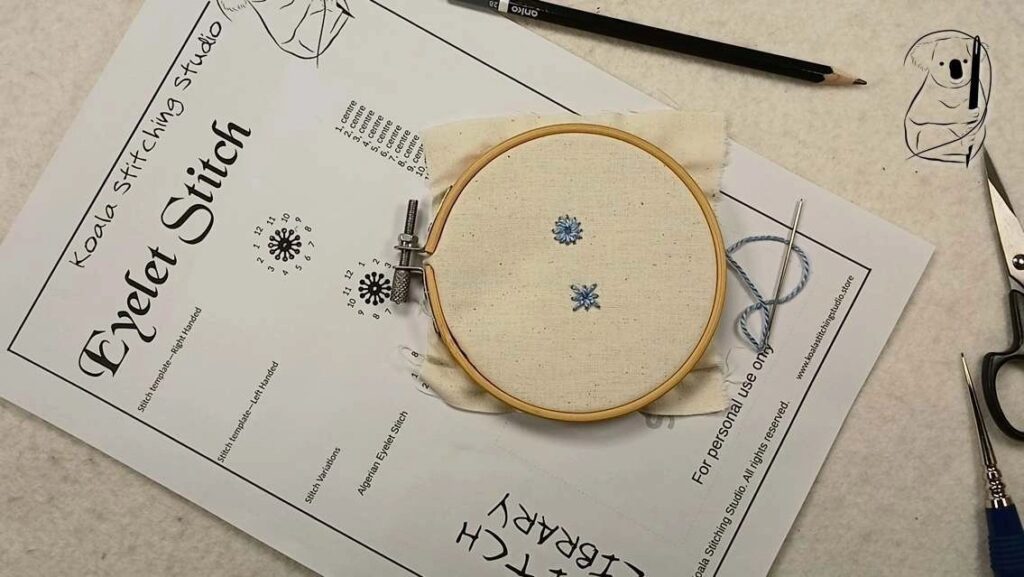
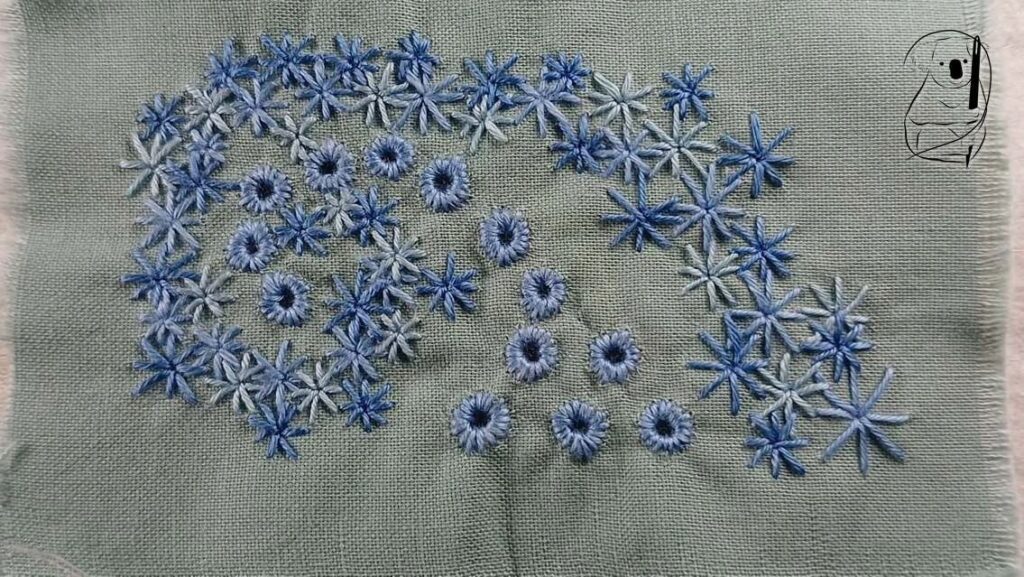
Algerian Eyelet stitch is completed in a similar manner to eyelets, however the stitch is completed around a central point rather than a hole, there are usually only eight points around the circumference and the points mark out a square. Traditionally, Algerian Eyelet stitch is worked on an even weave canvas.
Our stitch guide numbers the stitches to go around the central point, but Algerian Eyelet stitch can be completed by first making the vertical stitches, then the horizontal stitches, and then the diagonal stitches.
Applications of Eyelet Stitch
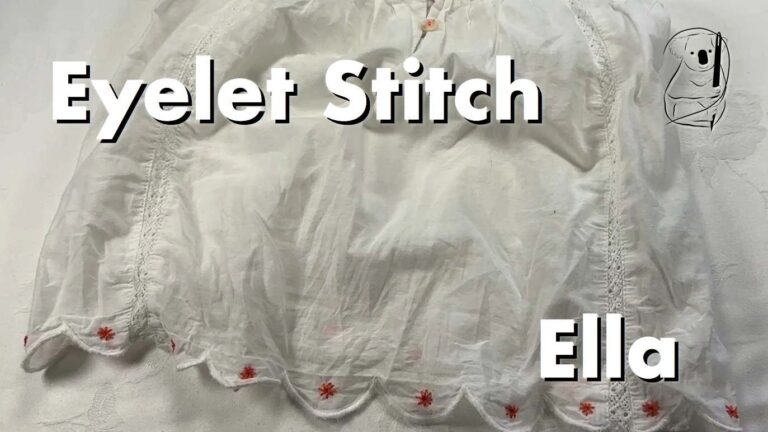
Eyelets feature in whitework and broderie anglaise, and add an interesting element to your general surface embroidery.
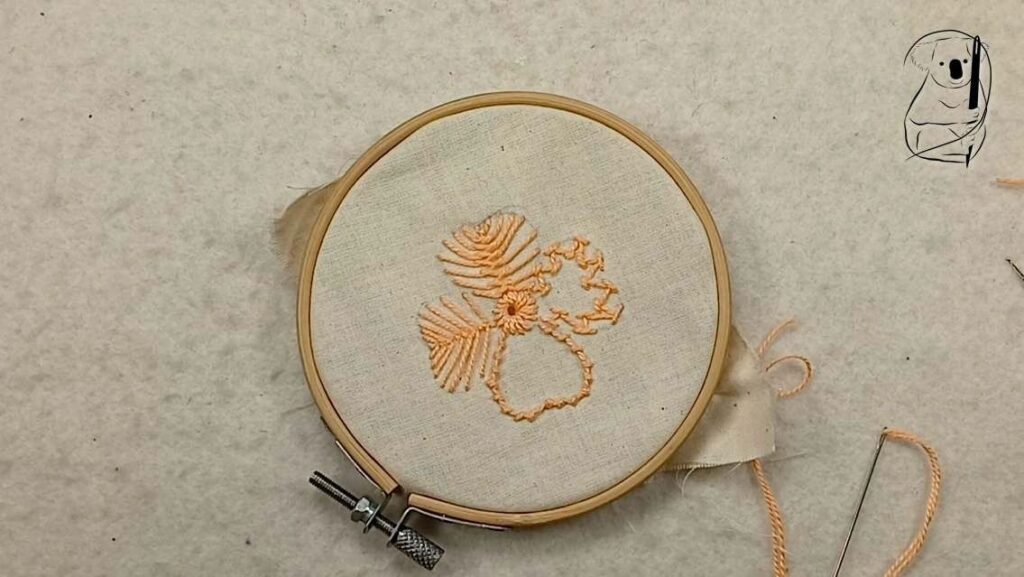
Our sample flower with the centre completed in an eyelet.