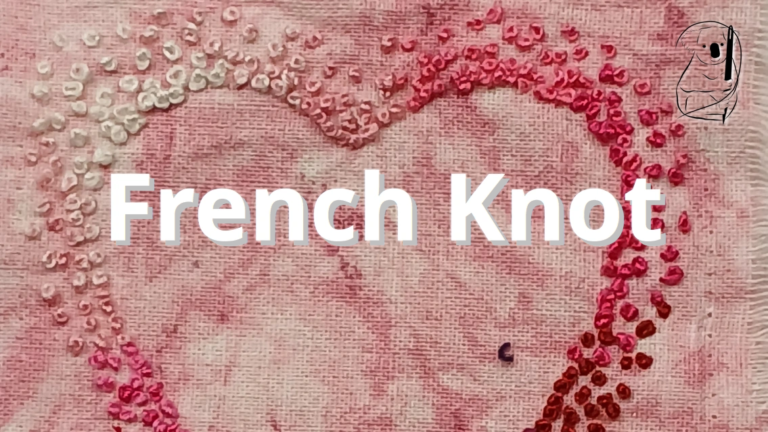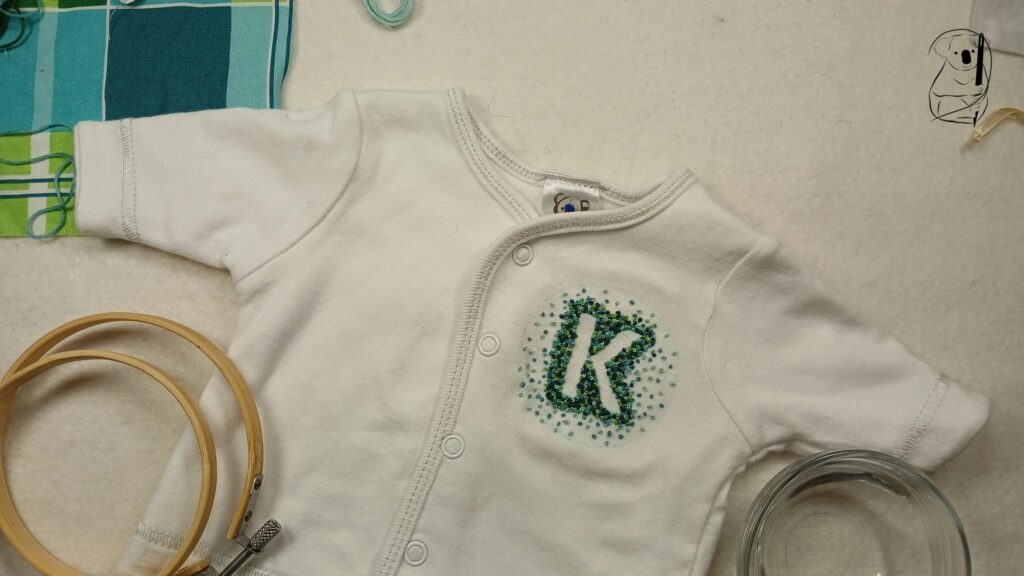
One of the great things about filler stitches is that not only can they be used to fill inside a space, but they can also fill outside the space too. That is, they can be used to define negative space in a design, without the use of outline stitches. This cute little baby’s jacket is lined, making it ideal for a design that may be a little messy on the reverse side.
French knots are a bit fiddly, and they are small, so the size of the space you are defining is an important consideration when developing your design. We decided a letter would be a simple way to personalise a jacket, and a cookie-cutter letter the ideal size for this project.
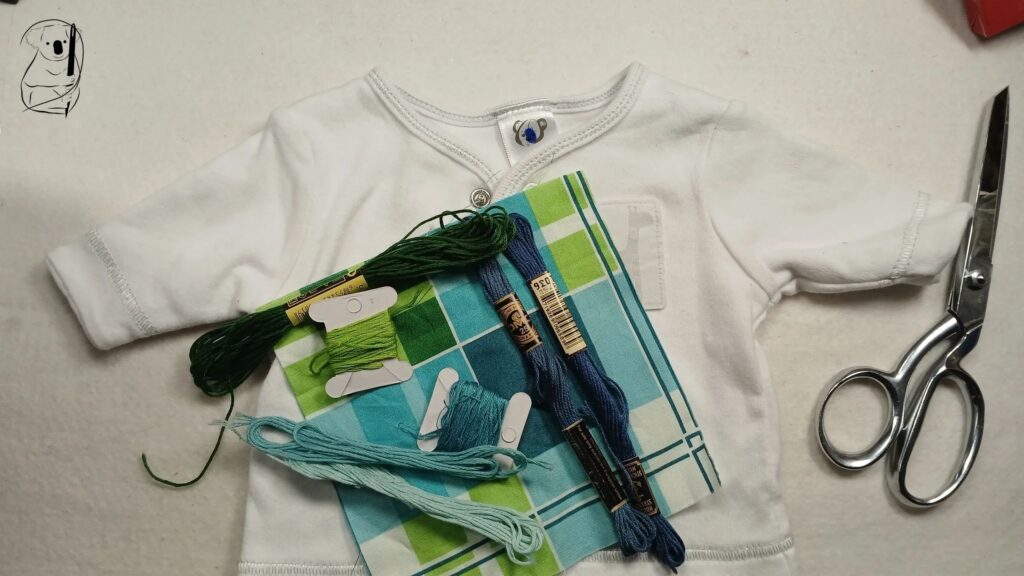
White is an excellent canvas to use, because you can choose any colour palette you like, but it is also a bit tricky, because you can choose any colour palette you like. While thinking about which colours to use for this project, I came across a scrap of fabric in blues and greens that caught my eye, and this became the inspiration for the colours I used.
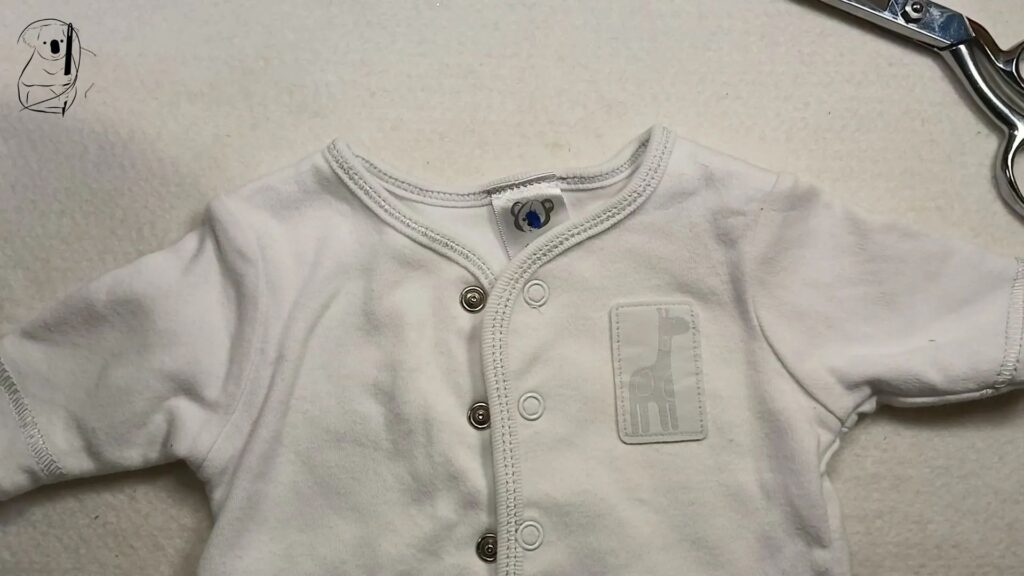
Before I could start stitching, some deconstruction was required to prepare the garment. First, I removed a cute little giraffe applique panel, and opened the inside side seam to have access to the front layer of the jacket. I then ironed a piece of Birch Weft Fusible Interfacing inside the front layer of the jacket, to support the stitching and prevent stretching whilst sewing. This was done before marking the design on the front, as I have heard tales of water-erasable pen becoming permanent through exposure to heat.
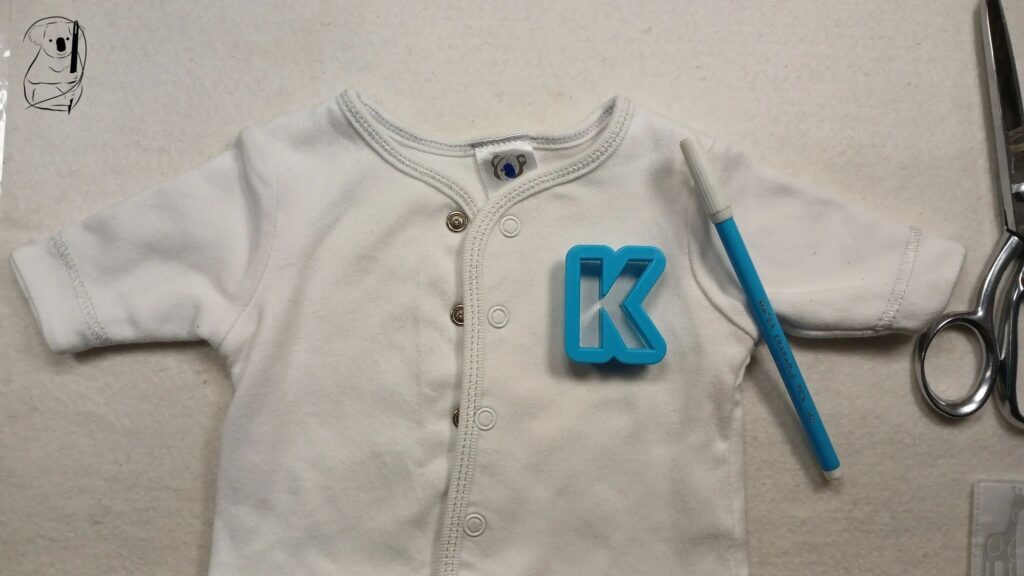
Also, before committing to the position for the letter, I drew an outline of the cookie-cutter on paper, to test the best placement.
Because I thought maintaining a stable sewing surface would help with keeping the outline of the letter crisp, I started the sewing using a small embroidery hoop. While this did keep the fabric stable, working through a gap in the lining made for awkward handling while stitching. I did later try stitching without the hoop, but shortly after, resumed using the hoop, and made the gap in the lining a little larger. As there were long floats at the back of the work where I moved from knot to knot, the hoop was helpful in preventing puckering between stitches.
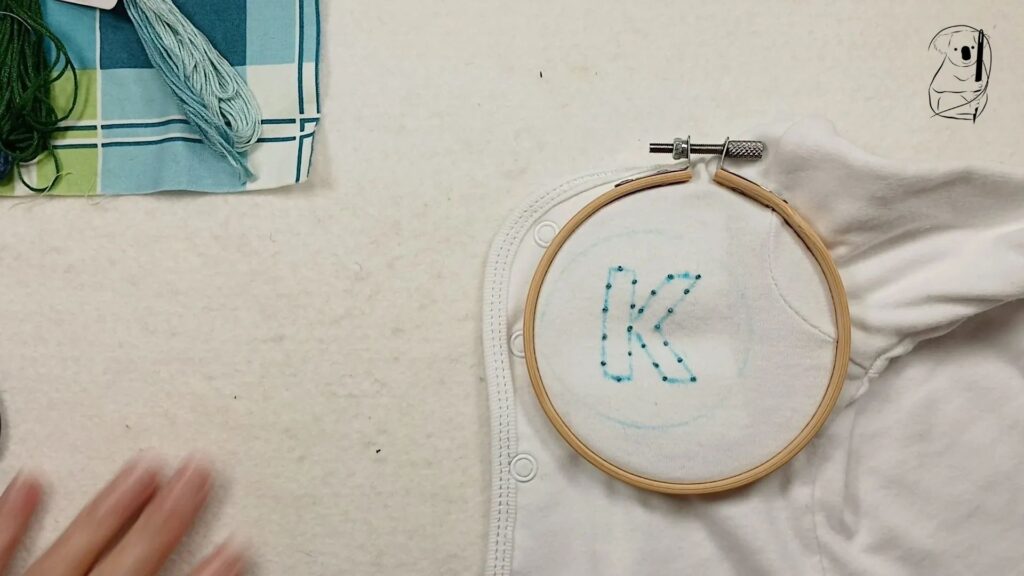
I started with a mid-tone thread for the first round of knots. I wanted a random spread of colours, but decided that some structure was required to work from so the first round was roughly evenly spaced around the letter outline.
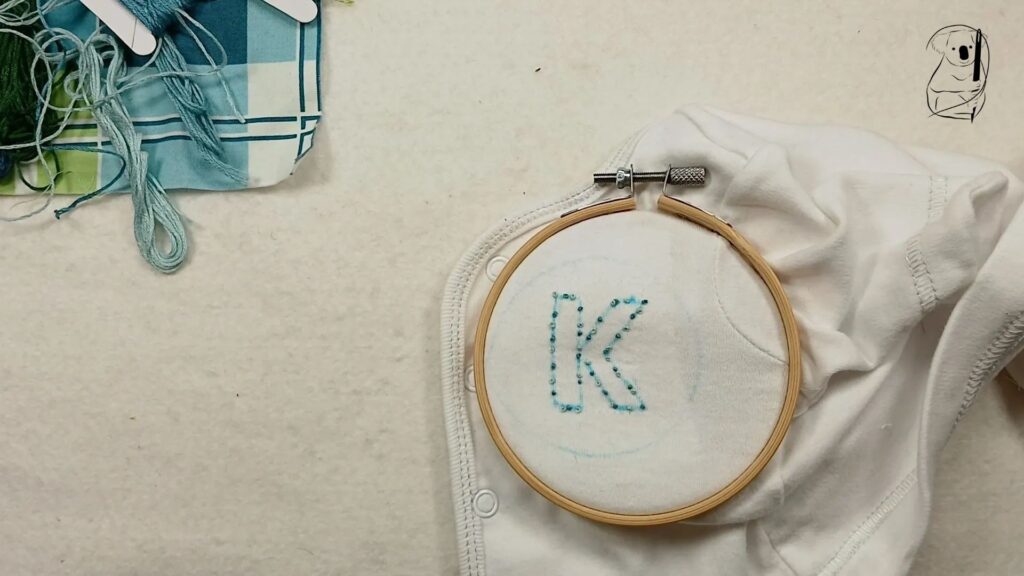
Selecting a lighter colour for the next round, I tried to vary the spacing of this knot within the gaps between each of the first round knots. I continued like this with each colour, varying the position of the knots with reference to the first round, to ensure that each colour was evenly spaced around the letter.
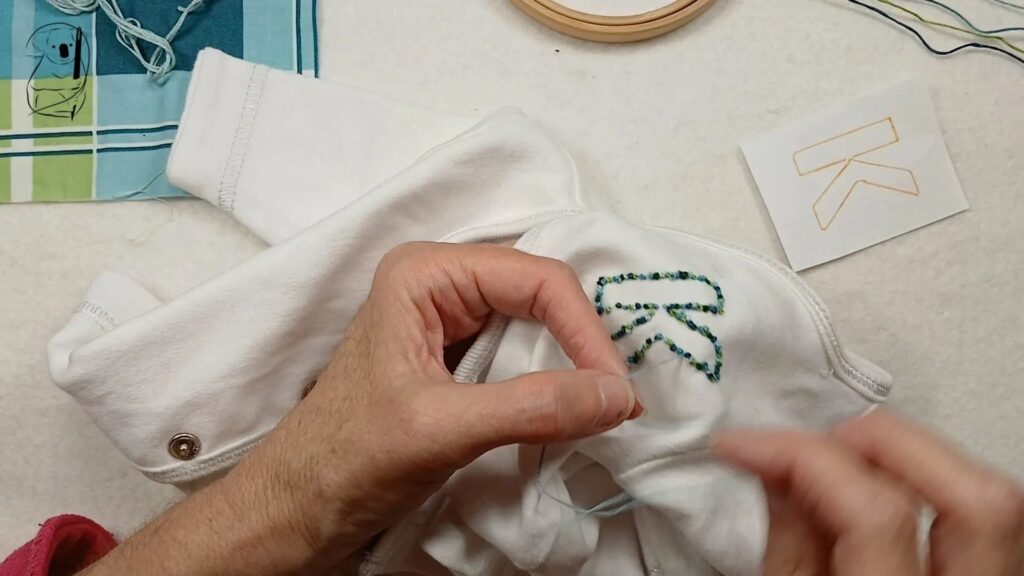
Once I had completed the outline of the letter with French knots, I began a random sprinkle of knots around the outline, to create the negative space inside the letter shape.
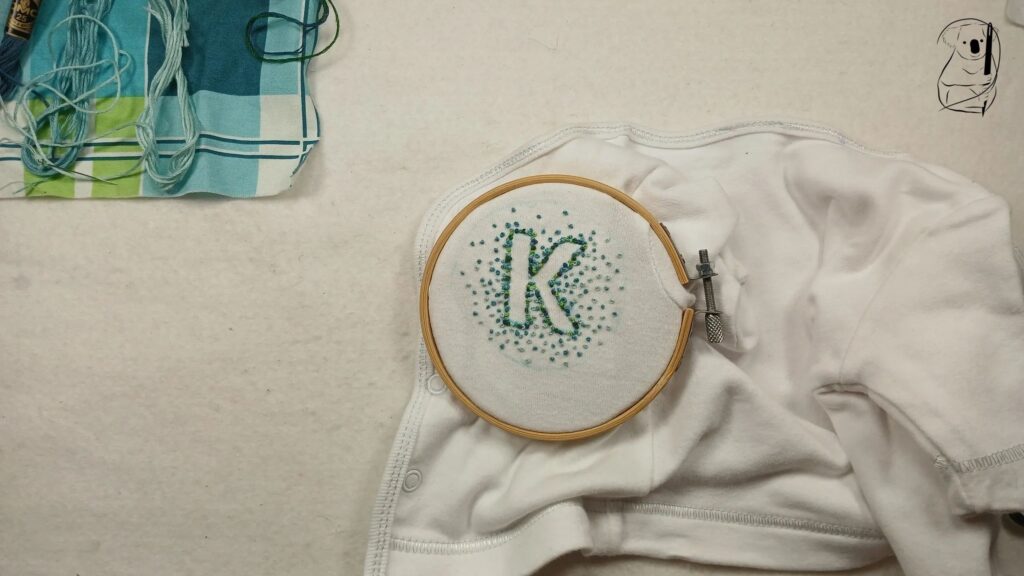
I had previously drawn a circle around the letter as a guide, and using the first mid-tone colour, began to loosely fill the area between the letter outline and the circle. After making knots around the whole letter in the first colour, I repeated this process with the lightest colour to establish the outer spread of the knots.
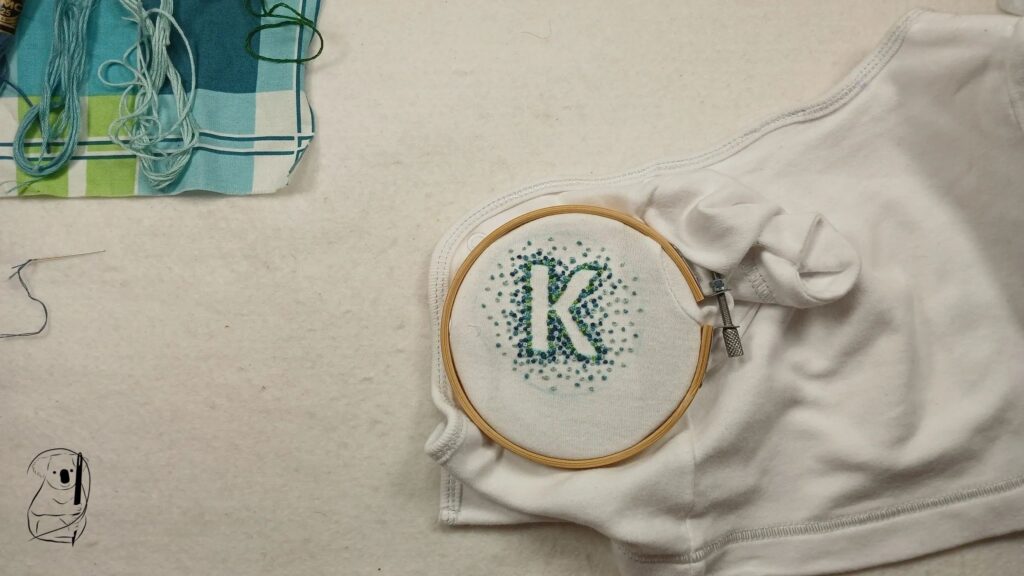
From here, I continued to cycle through the colours, concentrating the knots around the outline and a little into the circle, but left the outer part of the circle with just the first two colours. This density around the outline emphasises letter, while the two-tone knots further out make for a simpler gradient.
I used a damp paper towel to sponge off the water-erasable marker once all the knots had been sewn.
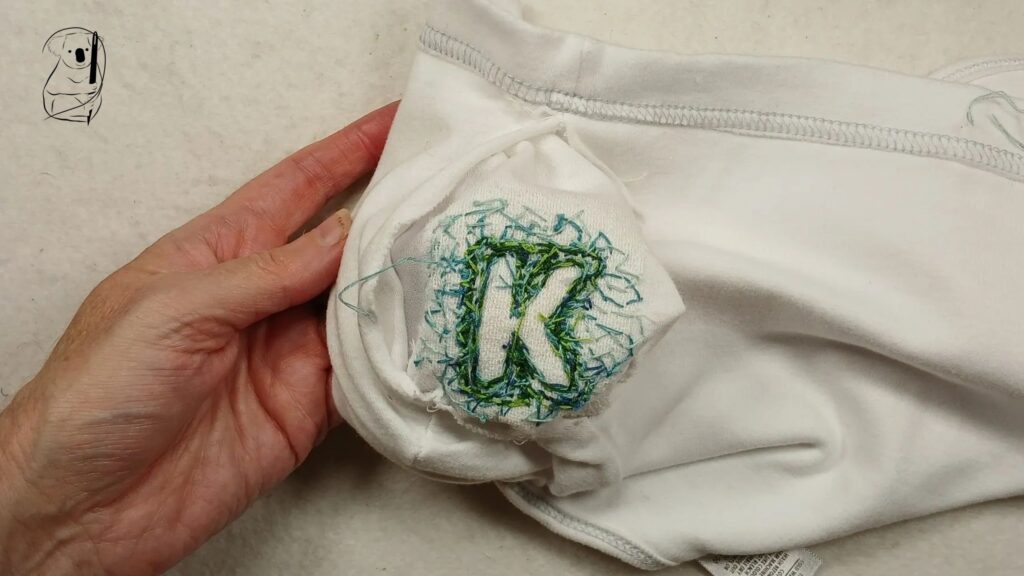
The reverse side of the stitching is quite messy, with long floats between stiches, so being covered by the lining will help protect it from damage while being worn.
While small, this project ended up taking longer than I expected it to. Firstly, because of the nature of the stitch. A French knot made with two wraps of two strands of stranded thread is not that big, but it was appropriate for the scale of the design. Secondly, working through the gap in the lining made for awkward handling of the piece as I stitched, which slowed the process considerably. I estimate that it took between 4 and 5 hours, spread over a number of days.
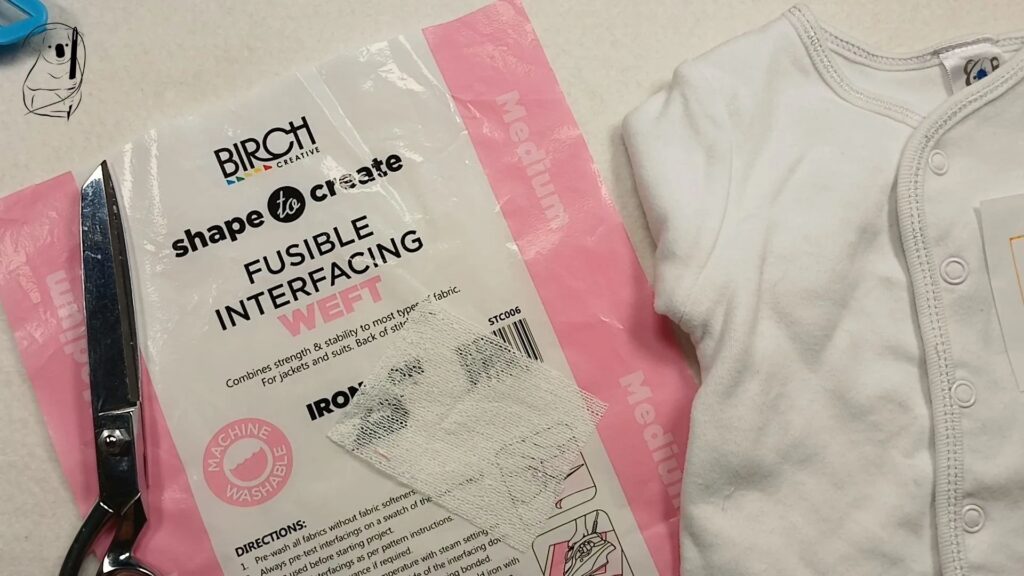
While I used the iron-on interfacing the stabilise the fabric, in a piece where there is no lining to protect the back of the work, this can be ironed on after stitching to cover threads and protect them from catching. The jacket is made from a medium-weight cotton interlock, and would probably have supported the stitching quite well if I had decided to iron the interfacing on afterward. With this choice, however, it would have been more important to keep the fabric stable with an embroidery hoop.
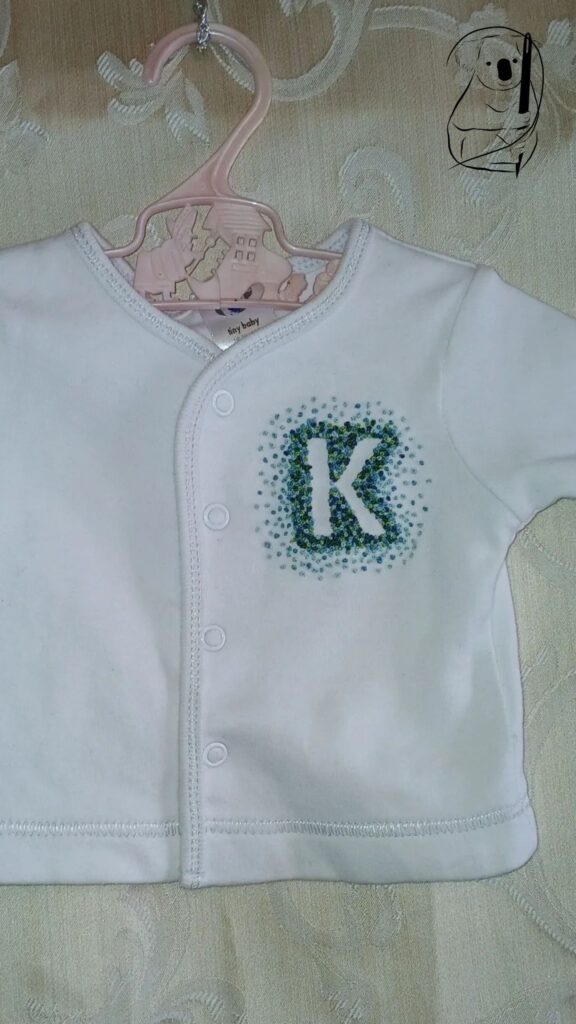
A couple of days after completing this project, I had another look, and decided that the scatter of French knots was not quite how I wanted it. The edges away from the letter looked flat, and the outer scatter a little sparse, so I went back in and added two more thread lengths of knots around the entire design.
I am much happier with this. It does bring up the idea that sometimes it is really difficult to decide when you have done enough.
I'm sure anyone the right size to wear this, however, wouldn't mind either way.
Materials used were the baby’s jacket and 6-strand cotton threads purchased at Op Shops. I used a crewel needle, scissors, letter shaped cookie-cutter, embroidery hoop and water-erasable marking pen.
This is not a beginner’s project, as it takes practice then time and patience to work so many French knots, but once you have some confidence with the stitch, there is no reason not to try. A simpler outline would also make the project easier and faster.
Find our free downloadable resources here
Go to the French Knot blog page here.
See the French Knot video here with video on the creation of Kaden.