The French knot stitch is a classic embroidery technique cherished for its versatility and charming appearance. This stitch involves wrapping the thread around the needle to form a small, tight knot that sits atop the fabric, creating a textured and dimensional effect. French knots are commonly used to add intricate details, fill in patterns, and create stunning embellishments on a variety of textile projects.
Steps to Create a French Knot
Step 1: Preparation
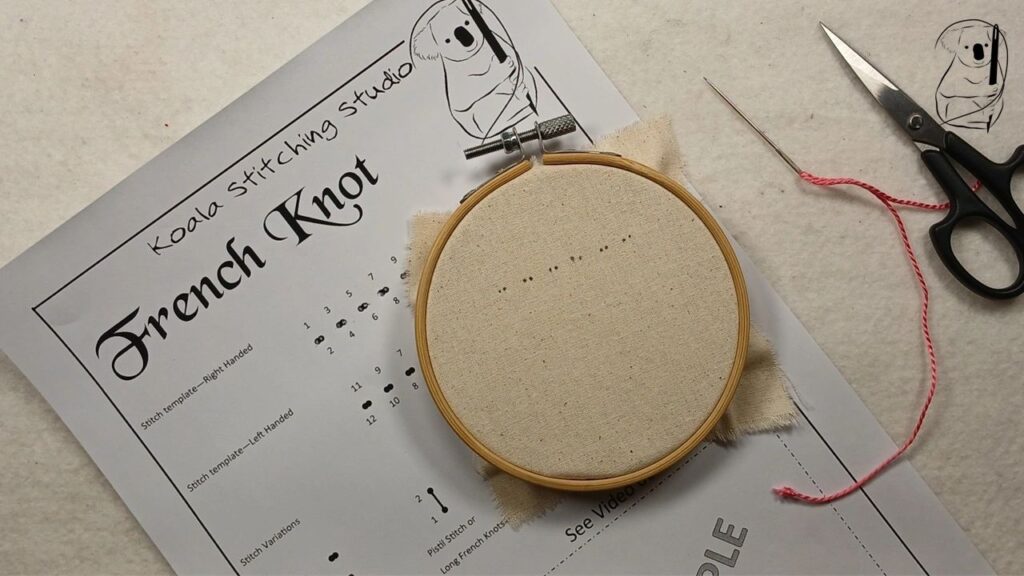
Cut a length of thread, approximately 12 to18 inches long, to ensure it is manageable and doesn't tangle easily. Thread the needle and knot the end of the thread to prevent it from pulling through the fabric. (see our video - Getting Started in Hand Stitching for a simple starting knot, or the Getting Started in Hand Stitching blog page for a description with photos.)
Step 2: Starting the Stitch
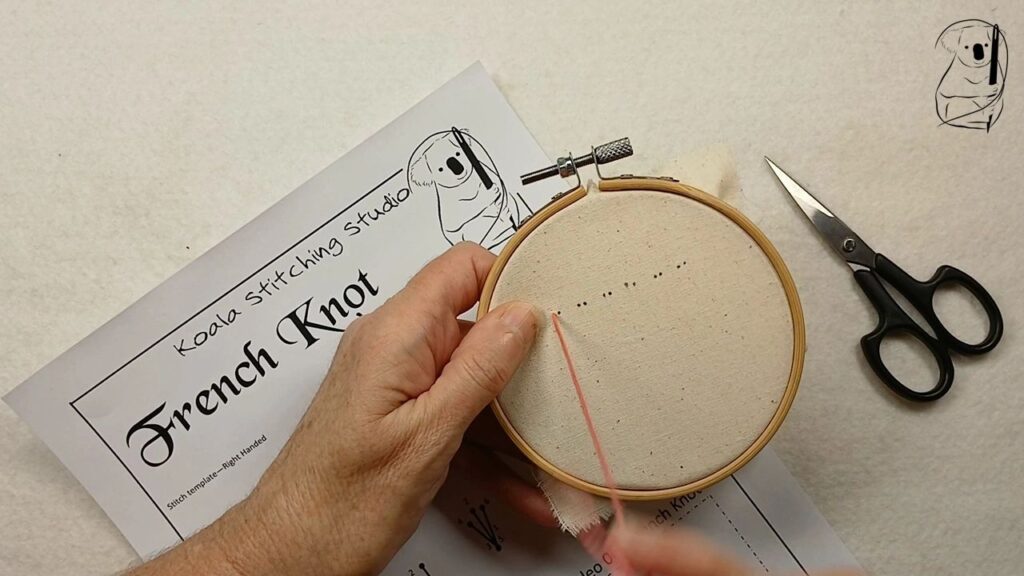
Insert the needle into the fabric from the underside at the point where you want to start your stitch. Pull the thread through until the knot rests against the fabric. Hold the thread taut with your non-dominant hand.
Step 3: Making the Knot
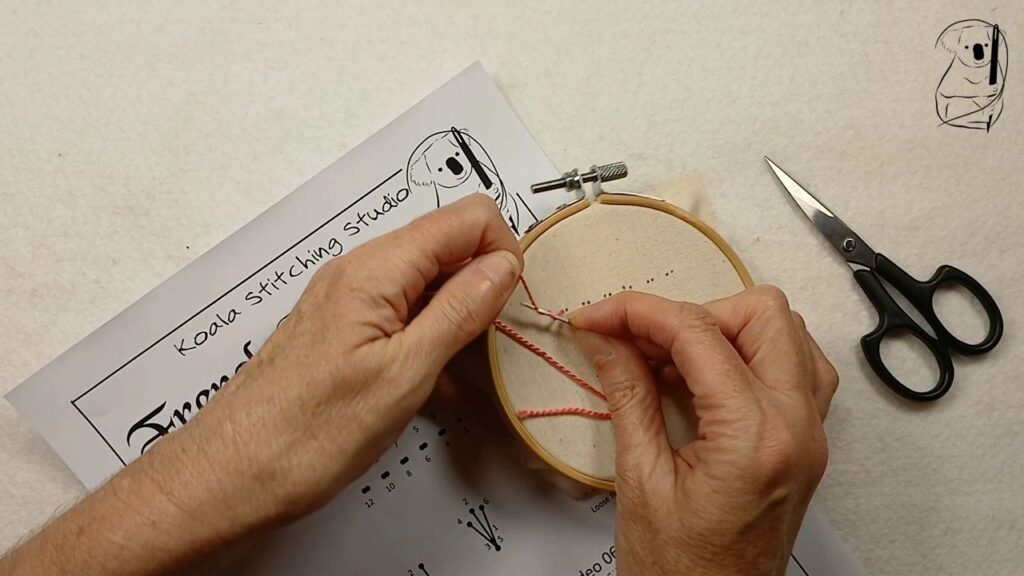
Hold the needle along side the thread, close to the fabric. Wrap the thread around the needle one to three times, depending on how large you want the knot to be. For a standard French knot, two wraps are typically used. Keep the tip of the needle close to the surface of the fabric.
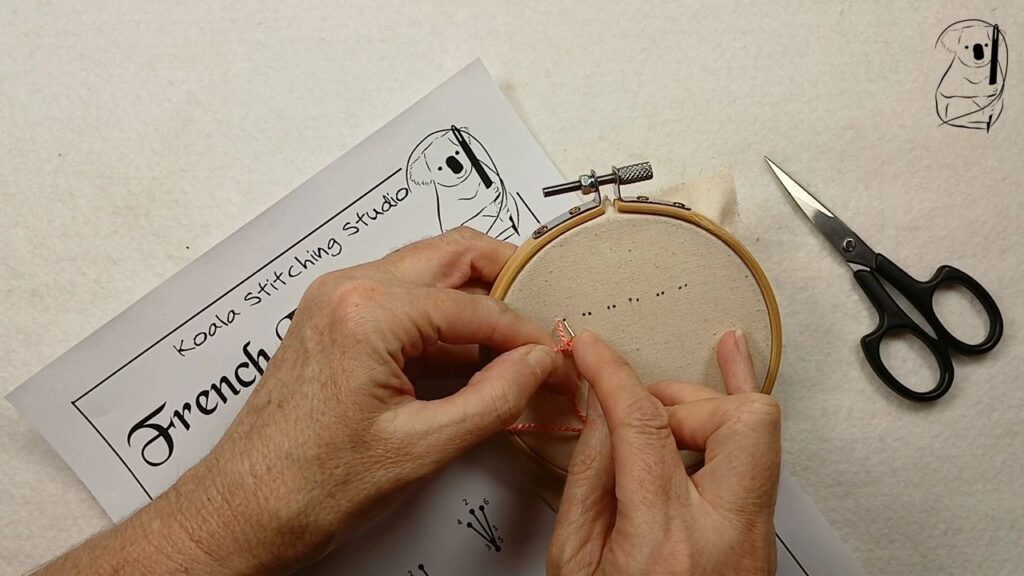
Carefully insert the needle back into the fabric close to, but not in, the same hole where the thread emerged. Hold the wrapped thread with your non-dominant hand to keep a gentle tension as you pull the needle and thread through the fabric.
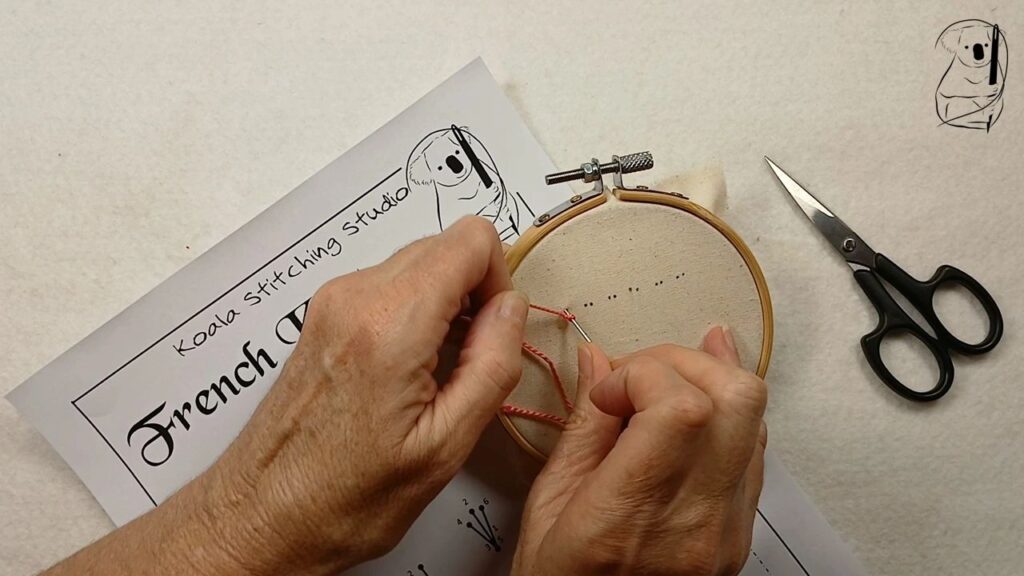
Gently pull the thread until the wrapped thread is snug against the fabric. Be careful not to pull the thread too tightly as this can make the knot too tight to pull the needle through.
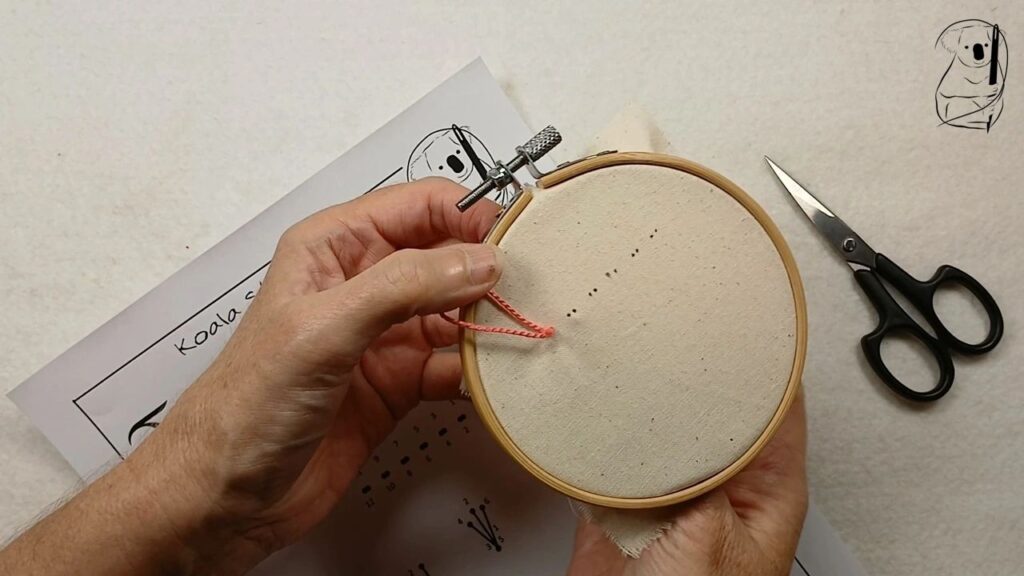
Pull the needle and thread through the wraps, keeping a gentle tension on the thread near the wraps, so they stay close to the fabric and needle.
Step 4: Complete the Knot
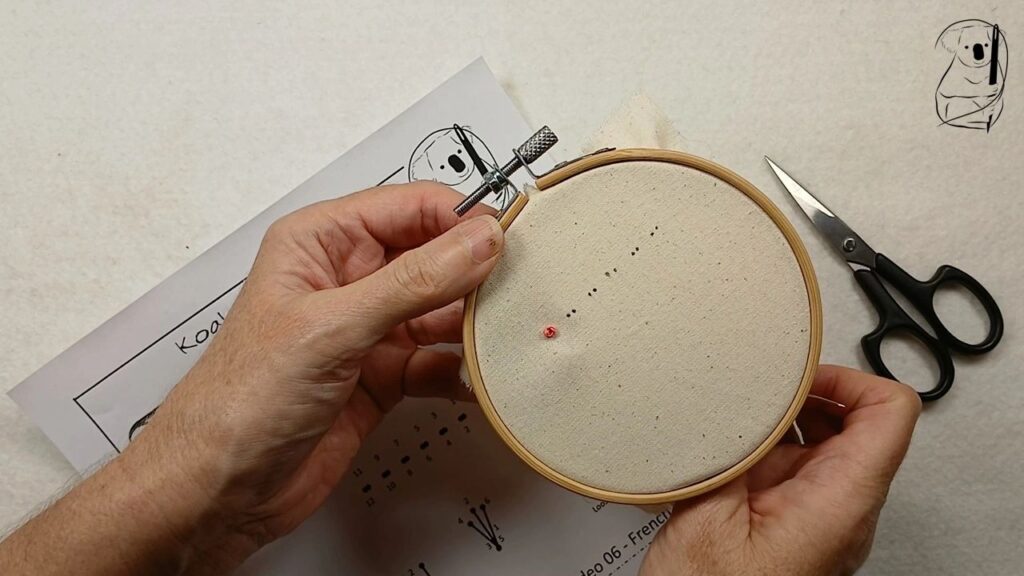
Release the thread loop, and pull the thread through to the back of the fabric. Be careful not to pull too hard, as this can cause the knot to pop through the weave of the fabric.
Continue creating French knots as desired, spacing them according to your pattern or design.
Step 5: Finishing the Stitch
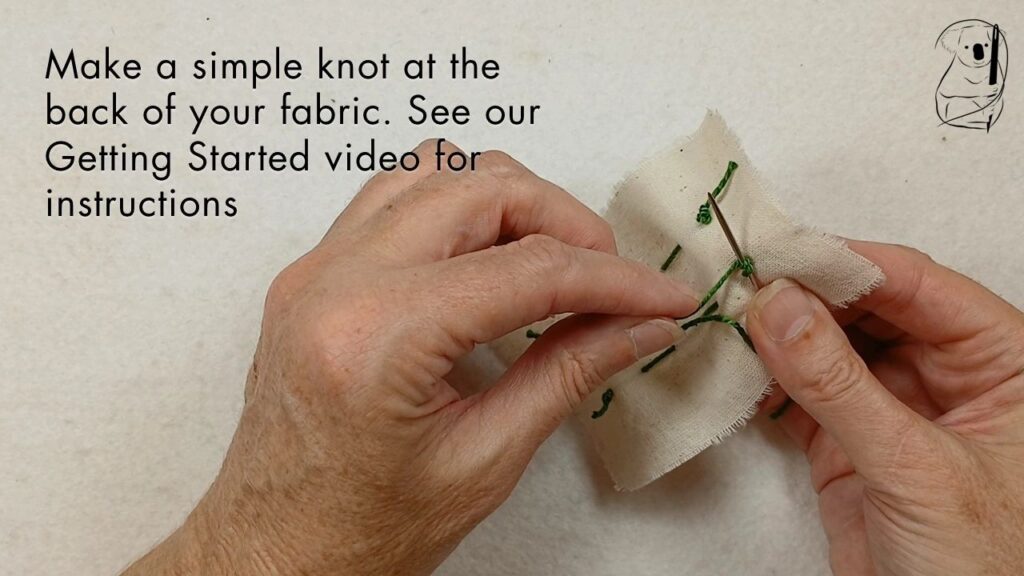
When you reach the end of your stitching, with the needle on the underside of the fabric, make a small knot close to the fabric to secure the thread. Trim any excess thread with scissors. (see our video Getting Started in Hand Stitching for a simple end knot, or the Getting Started in Hand Stitching blog page for a description with photos.)
Top Tips for Successful French Knots
For such a simple stitch, the French Knot can cause a lot of trouble.
The first easy mistake to make is to pull the wraps too tightly around the needle, when first forming the stitch. This can create a knot that is hard to pull the needle through, as the tip of the needle tends to be narrower than the shaft, and especially the eye of larger-eyed needles. It takes practice to find the right tension to ensure ease of making the stitch, and producing a neat, regular knot.
Keeping the knot on the front surface of the fabric can also be a challenge. This is why it is important to keep a small gap between where you bring the needle up through the fabric, and where you take it down. Also, care needs to be taken not to pull too hard on the knot when completing it, so you don't pull the knot through the weave of the fabric. Especial care is needed if the weave of the fabric is loose or you are making small knots with one wrap and fine thread.
Variations on French Knots
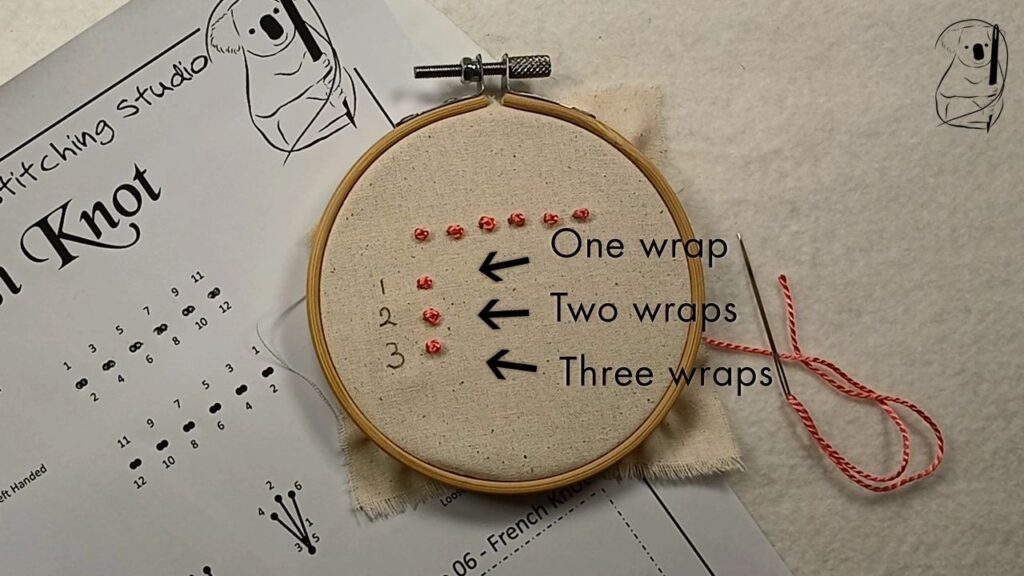
The easiest way to vary the appearance of your French knot is to change the number of wraps of thread around the needle. Usually between one and three wraps, 2 is the most common as it produces a tidy knot. If a more delicate look is require, one wrap would be used.
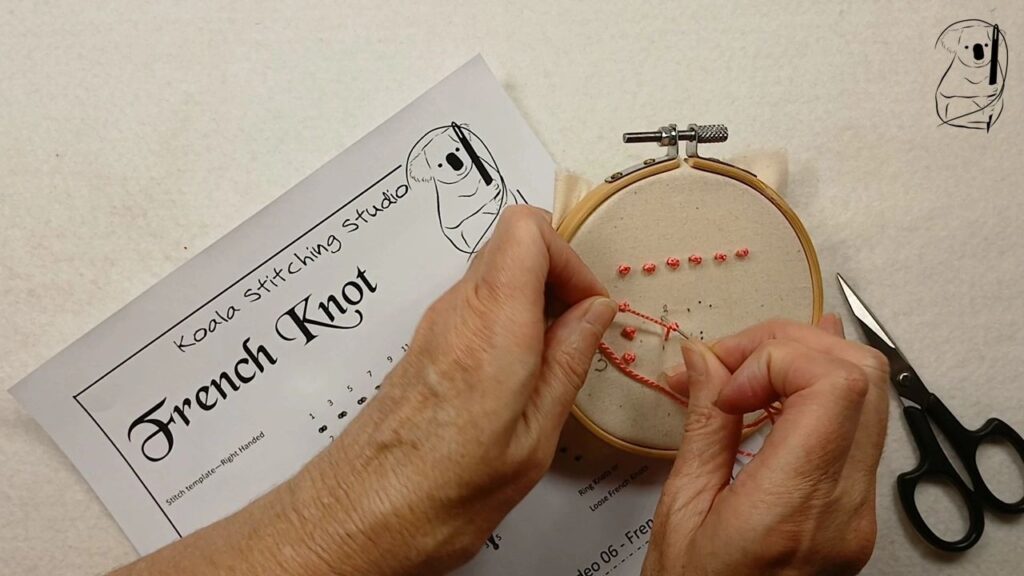
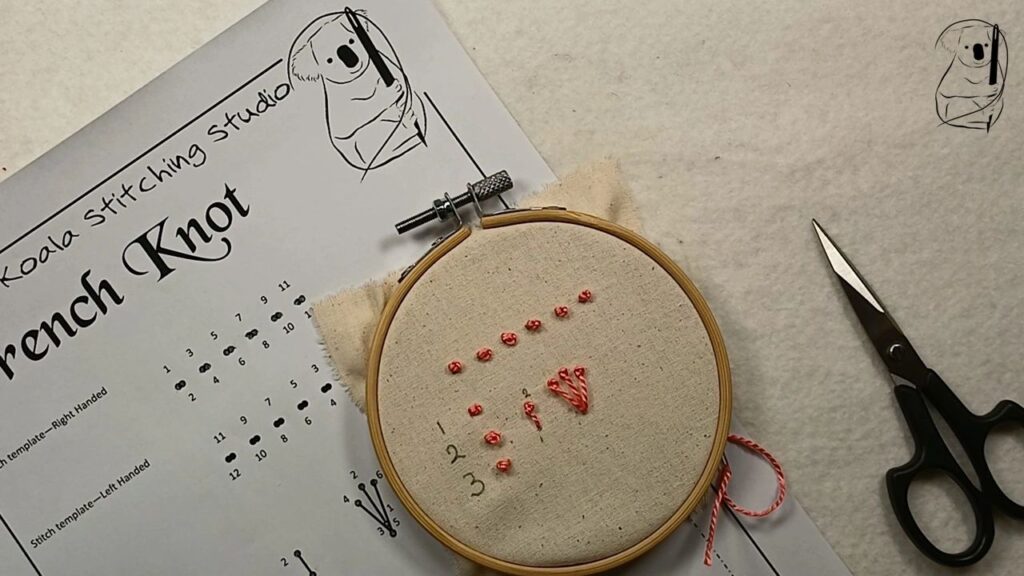
Long French Knots or Pistil Stitch are often used when creating flowers with needle and thread. As the name suggests, they mimic the shape of a pistil at the centre of a flower. Start the knot as you would a regular French knot, but when wrapping the thread around the needle, leave a thread tail between the fabric and the needle the length of the stem of the stitch.
Loose French Knots or Ring Stitch creates a soft ring of thread, anchored by a tiny stitch.
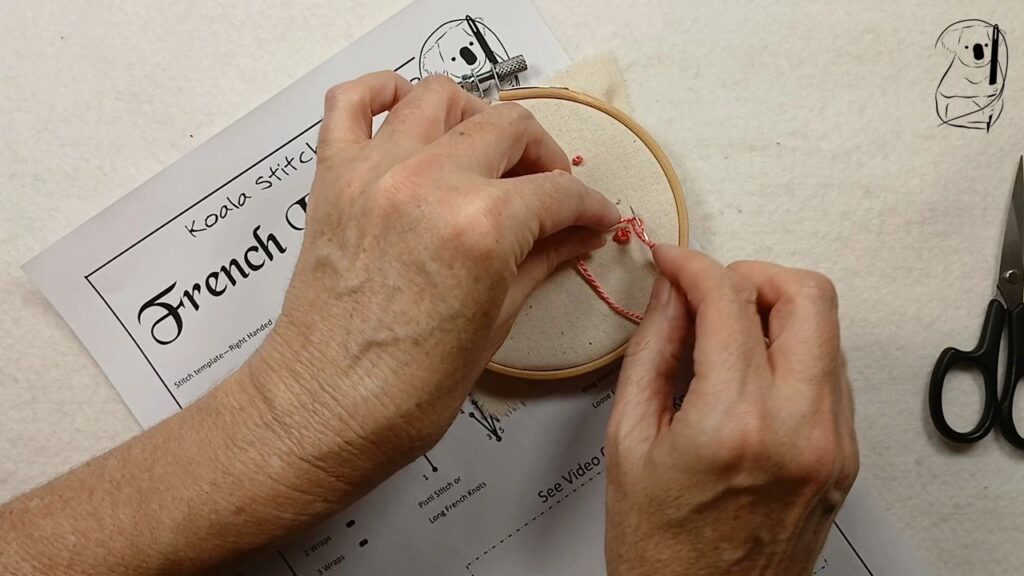
When wrapping the thread around the needle, do not pull the wraps taut, but instead leave them a little loose. Take the needle back through the fabric just next to where it emerged, as you would for a regular French Knot.
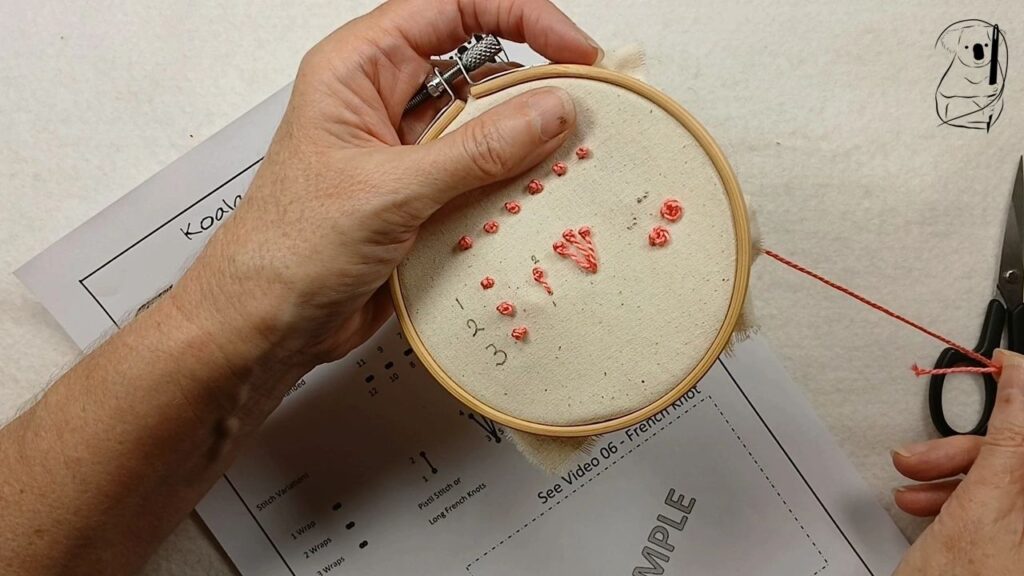
The resulting ring knot lies flatter and wider than a regular French Knot.
Applications of French Knots
Decorative Details
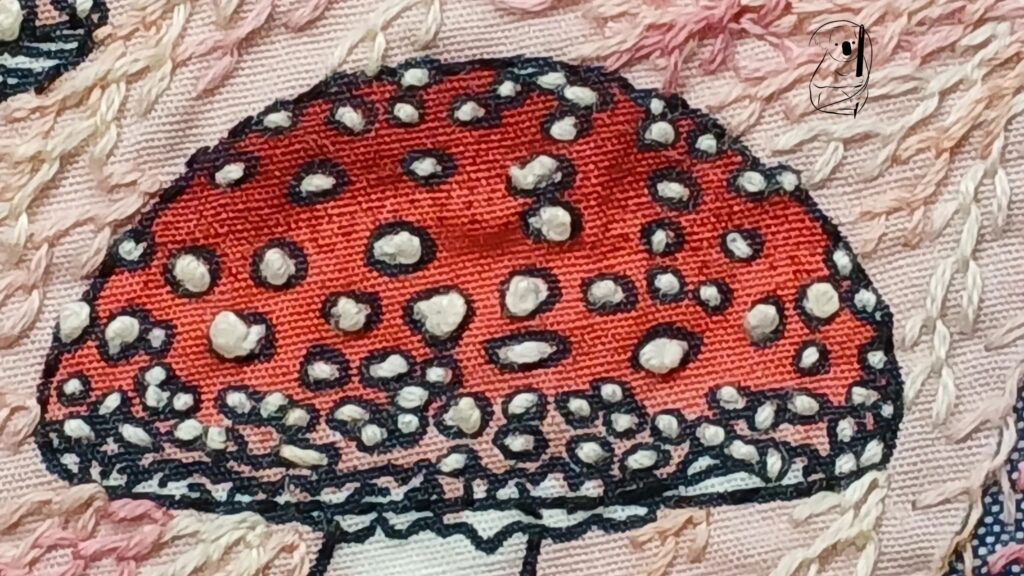
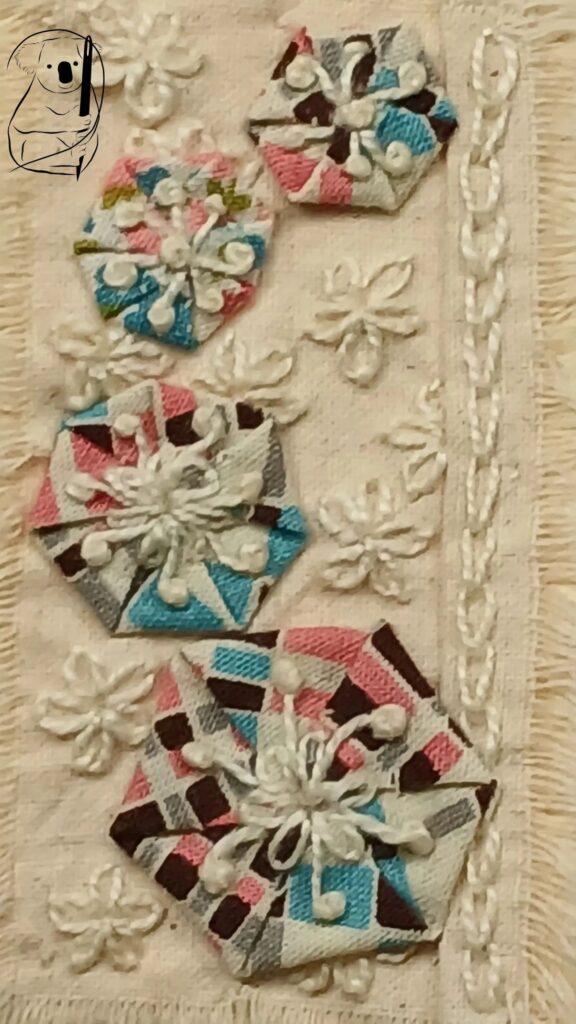
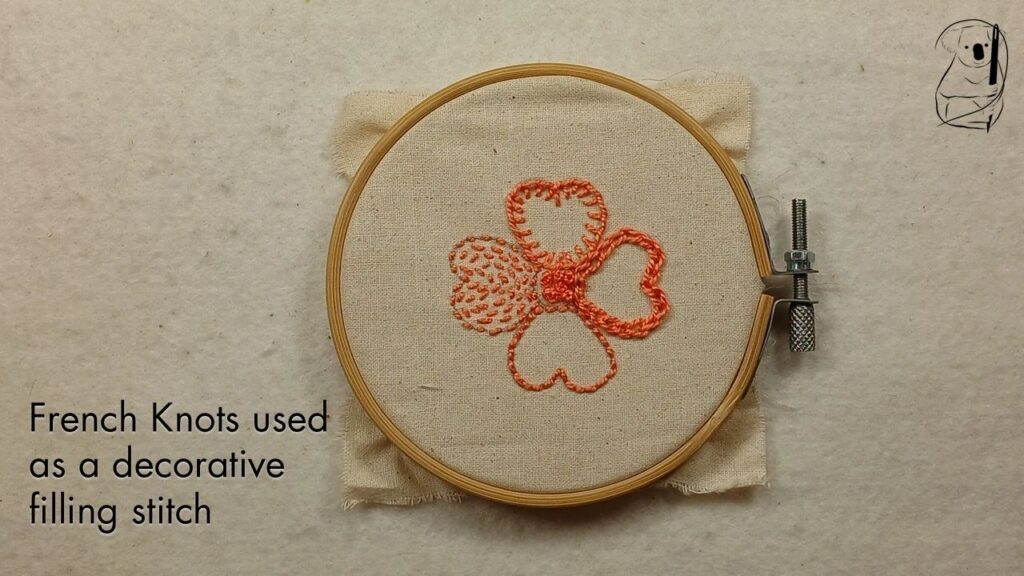
French knots are perfect for adding decorative details to embroidery designs. They can be used to represent small elements such as flower centres, berries, and eyes, giving a lively touch to floral and nature-themed motifs.
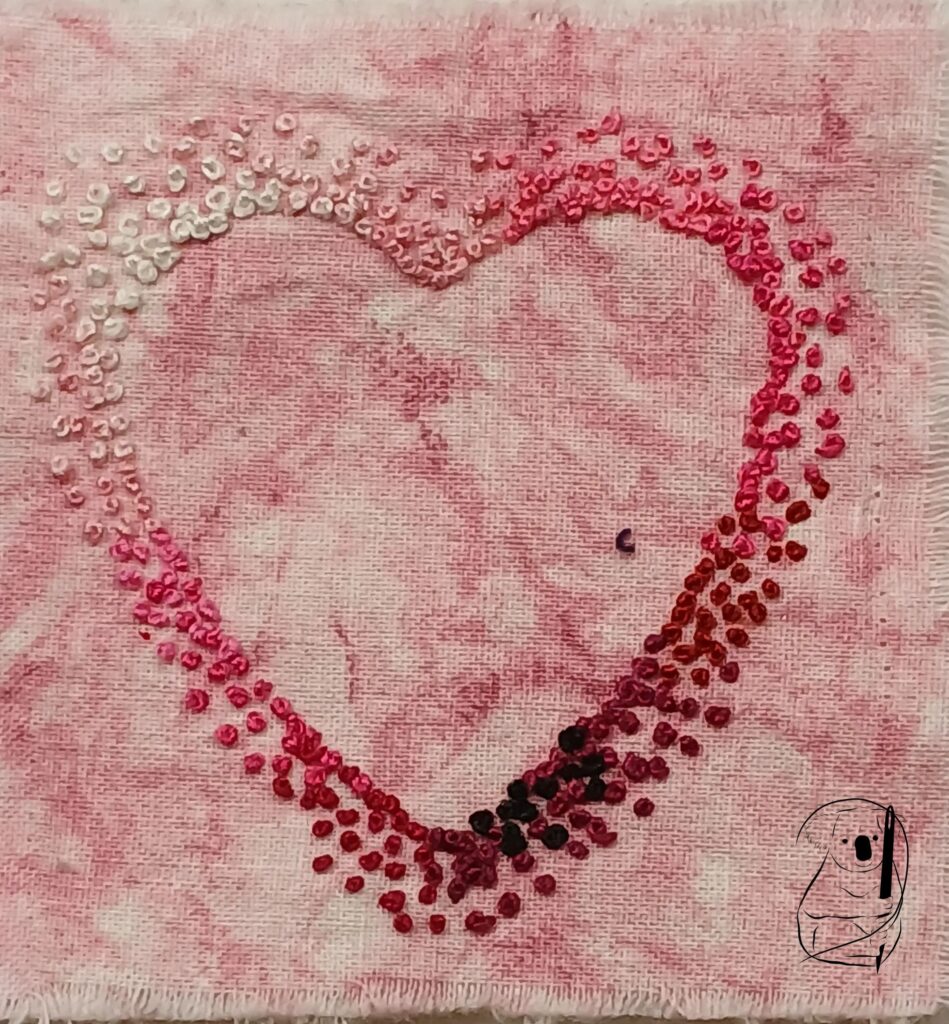
The knots can be arranged in clusters to create a more pronounced effect or scattered across the design for a subtle embellishment.
Filling Patterns
This stitch is ideal for filling in larger areas of a pattern. By densely spacing French knots, embroiderers can create a textured surface that contrasts beautifully with smoother stitches like satin stitch or back stitch.
This technique is particularly effective in creating backgrounds or adding depth to specific elements of the design.
Garment Finishes
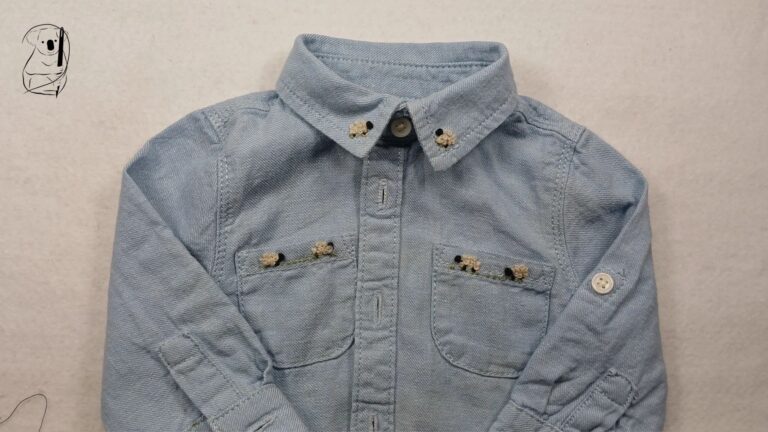
French knots can be used to provide a unique personal touch to garments, for example a series of French knots along the hem of a sleeve or around the neckline of a dress, giving the item a custom feel.
See our projects for other ways to decorate a garment with French knots.
A sample of French knots in a decorative use.