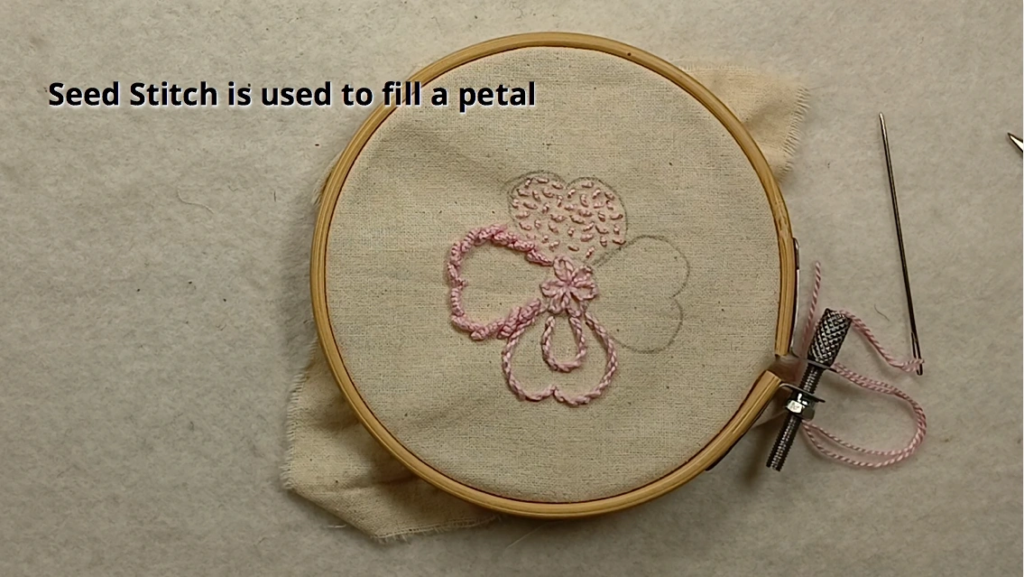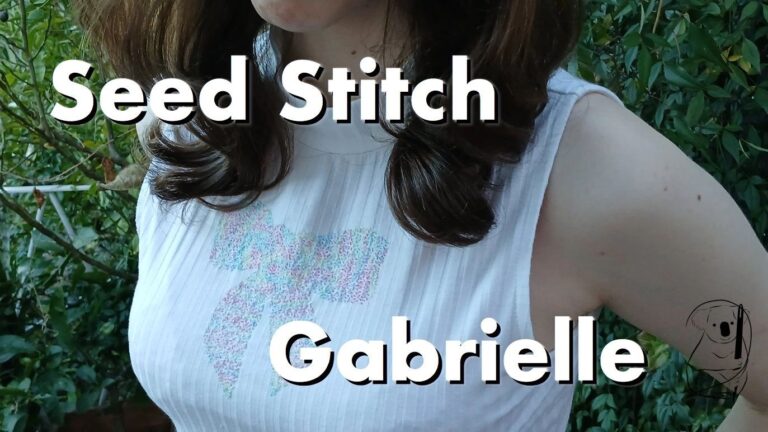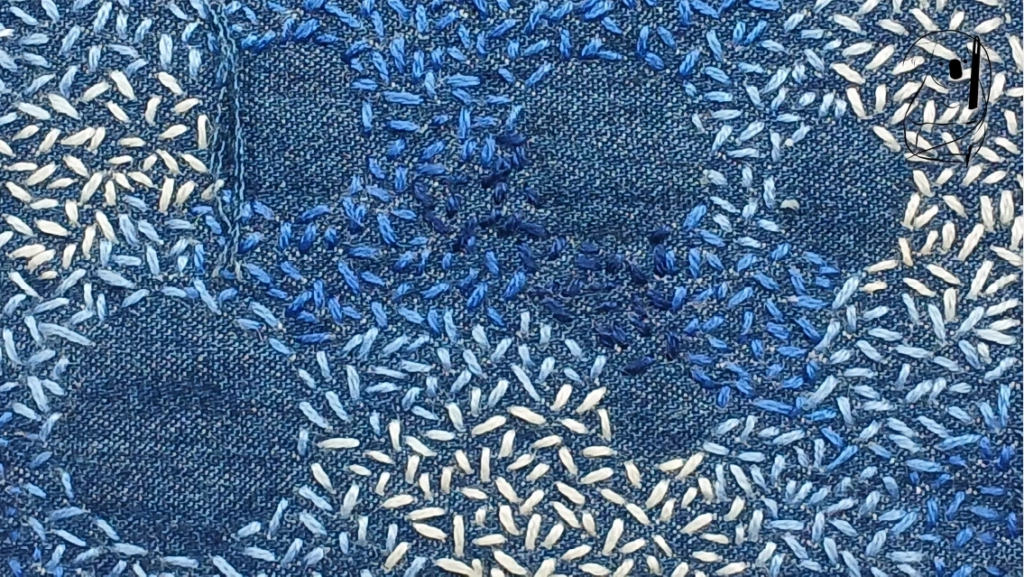
Seed stitch, also known as rice stitch or dot stitch, is a simple, yet highly effective technique. Small, evenly spaced stitches are randomly arranged on the fabric surface, imitating scattered seed or grains of rice. It is often used to create texture or as a filler. It can also be used to define negative space in your designs.
Steps to Create Seed Stitch
Step 1: Preparation
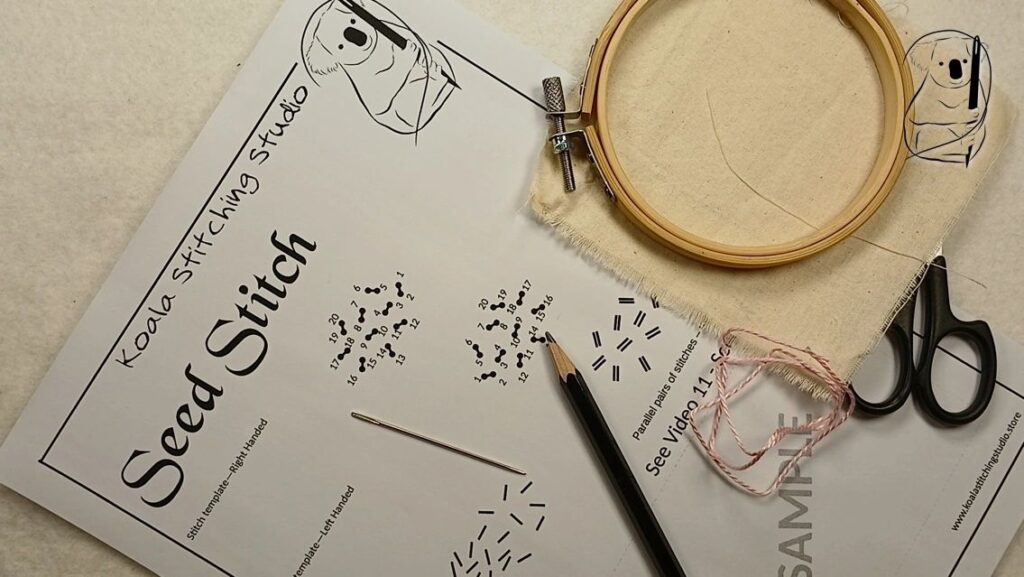
Cut a length of thread, usually about 12 to18 inches long, to ensure it is manageable and doesn't tangle easily. Thread the needle and knot the end of the thread to prevent it from pulling through the fabric. (see our video - Getting Started in Hand Stitching for a simple starting knot, or the Getting Started blog page for a description with photos.)
If you are using our stitch guide, mark your fabric. For practice stitching, pencil works well. I have used a 2B pencil here, which is soft enough to make clear marks.
Step 2: Starting the Stitch
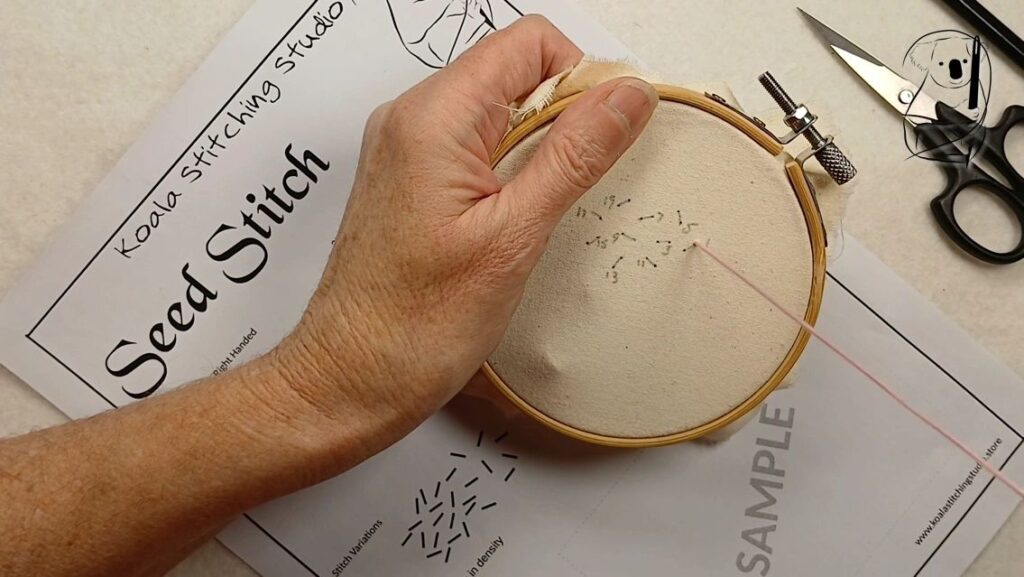
Insert the needle into the fabric from the underside at the point where you want to start your stitch. Pull the thread through until the knot rests against the fabric.
Step 3: Making the Stitches
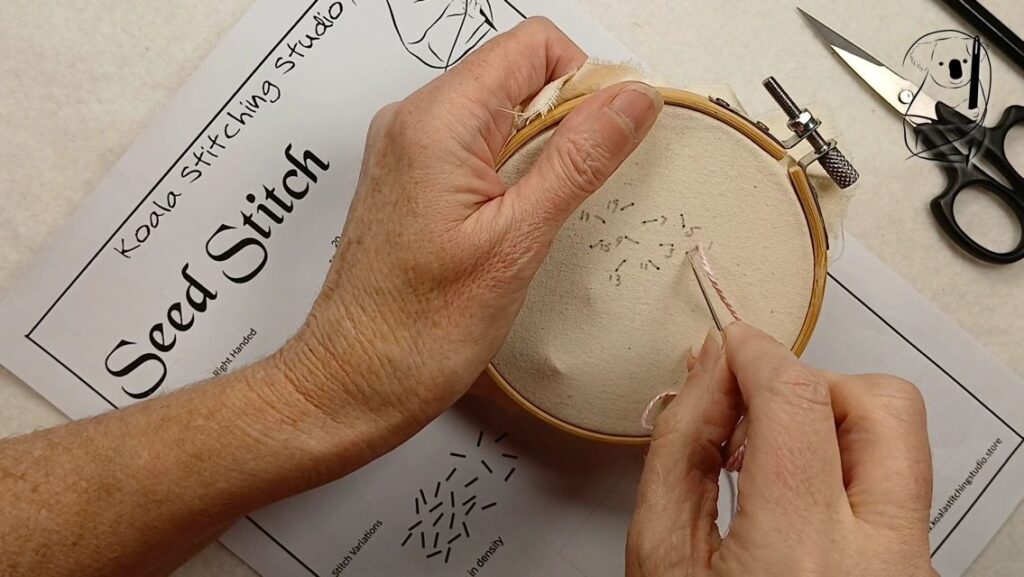
Push the needle back into and through the fabric a short distance away. With seed stitch, there is no stitching line. You may mark where you want the stitches to be placed, or you can select random positions as you sew.
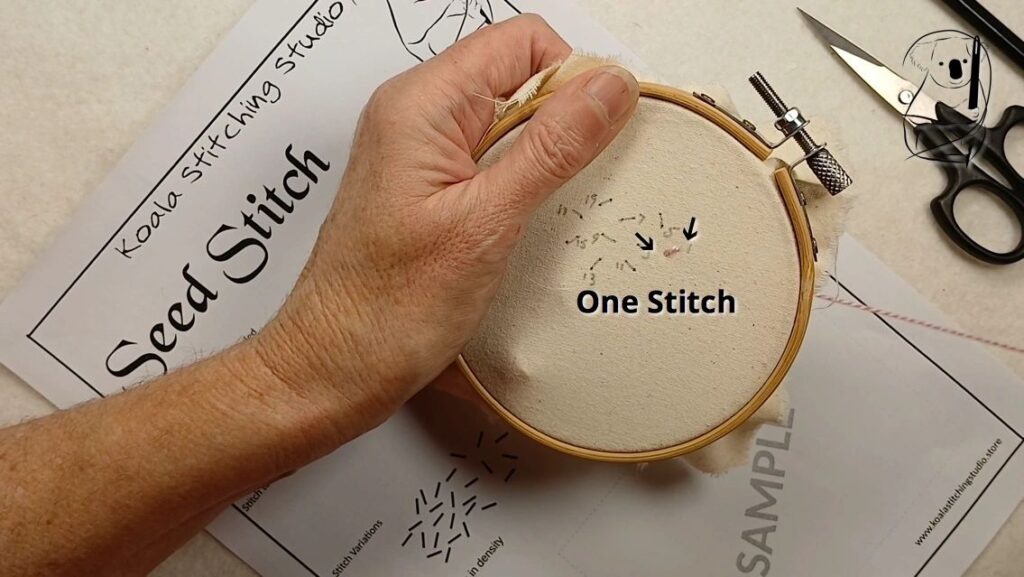
The length of each stitch can vary but is typically around 1/8 of an inch or less.
Step 4: Continuing the Pattern
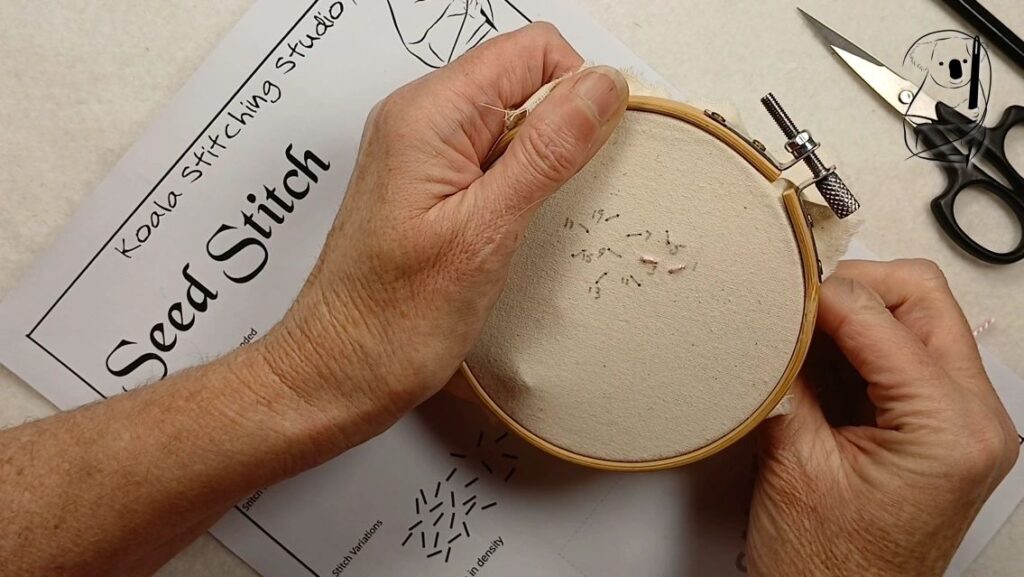
Continue the seed stitch by repeating the process, ensuring that your stitches are consistent in length and spacing, while contriving a random angle for each stitch. The evenness of the stitches and their spacing will contribute to the overall appearance of the sewing.
Instead of pulling the thread all the way through the fabric for every stitch, you can use a sewing motion to take the needle into and out of the fabric in one action, from one stitch to the next. If you are not using an embroidery hoop, take care that the tension on the thread remains even to maintain a uniform appearance and a smooth fabric surface.
Step 5: Finishing the Stitch
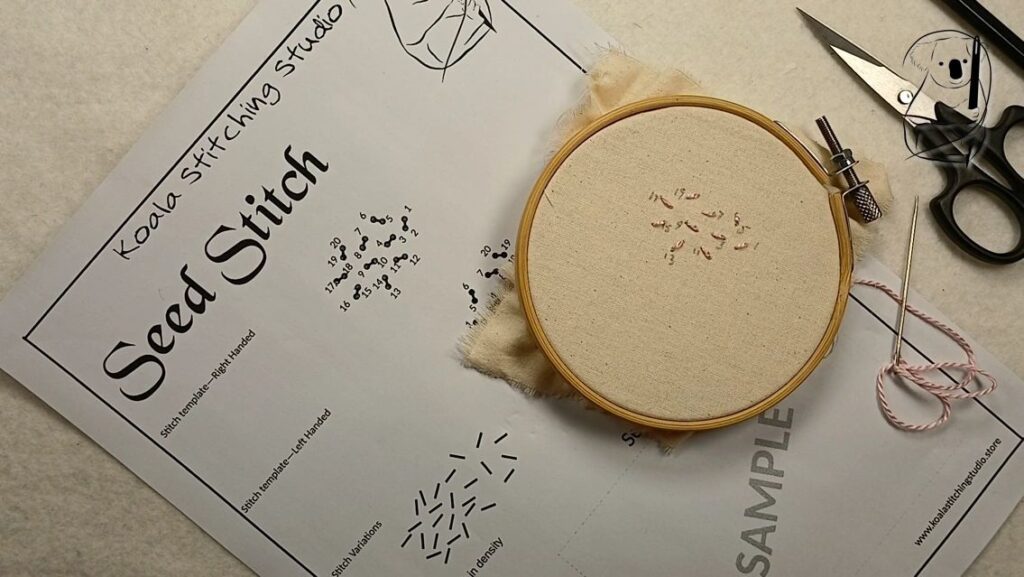
When you have covered the desired area, bring the needle to the rear of the fabric.
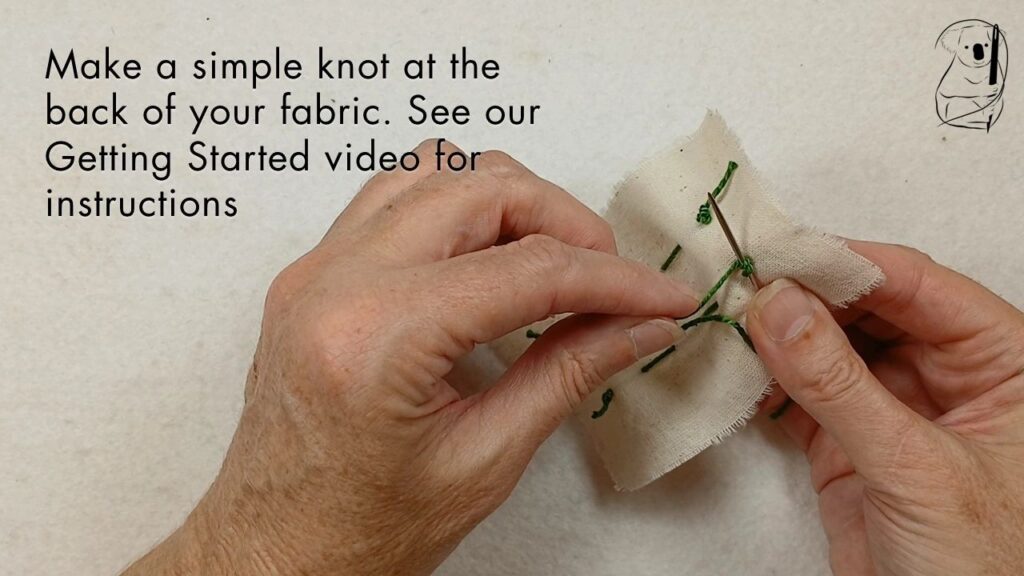
Make a small knot close to the fabric to secure the thread. Trim any excess thread with scissors. (see our video - Getting Started in Hand Stitching for a simple end knot, or the Getting Started blog page for a description with photos.)
Variations on Seed Stitch
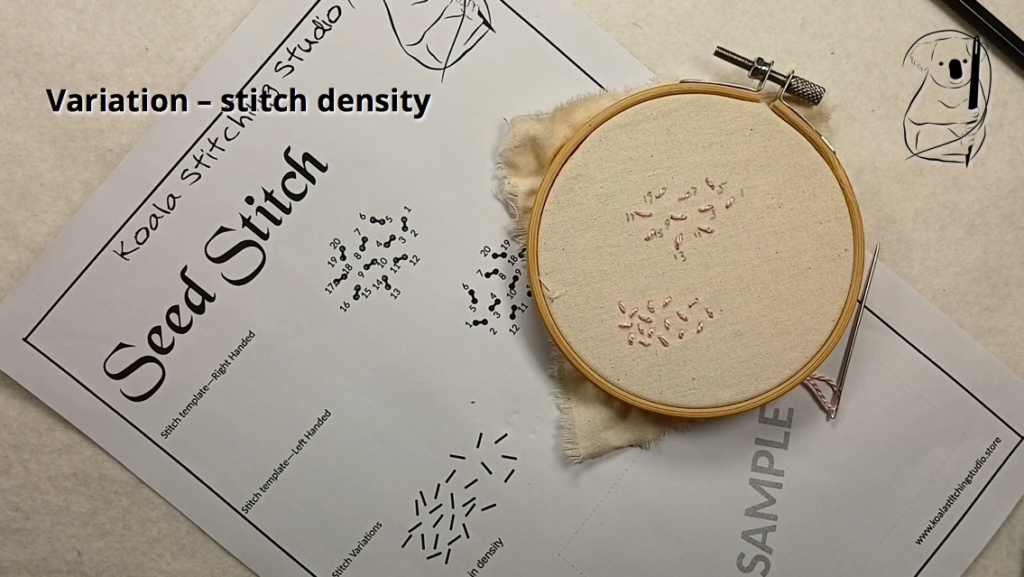
Varying the density of the stitches when using seed stitch can be a very effective way of bringing interest to the embroidery. This can also be accompanied by changes in the colour of the thread being used, to provide an added layer of interest.
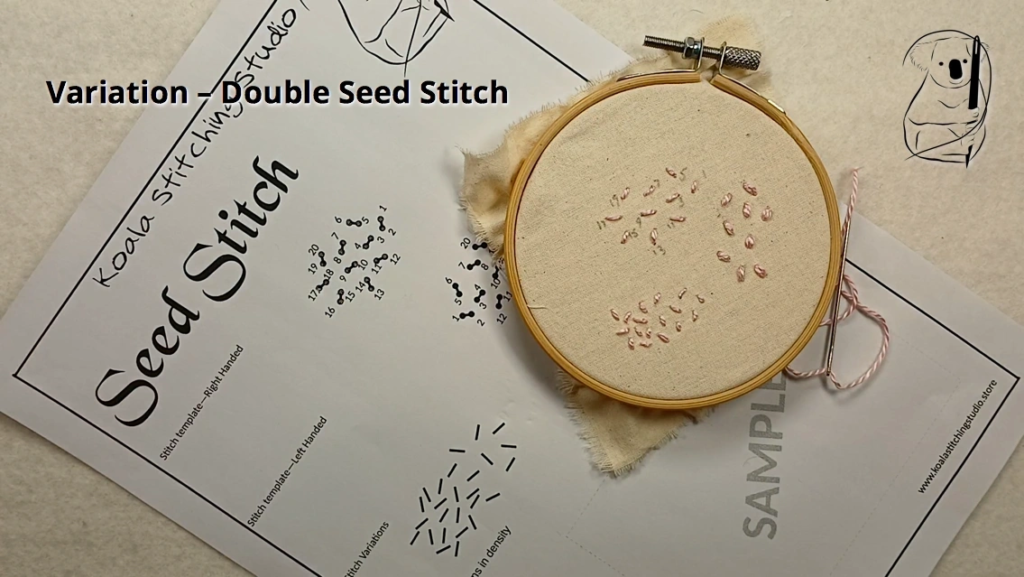
When working seed stitch on a piece that will be viewed from a distance, one way to increase the visibility of the stitch is to work double stitches for each of the “seeds.”
Applications of Seed Stitch
Seed stitch is firmly favoured as a background filling stitch. It is perfect for filling large areas with subtle texture, adding depth and interest without overwhelming more detailed parts of the work.
Seed stitch is also very effect when used to define negative space, an idea not often considered when filling the fabric with stitches.
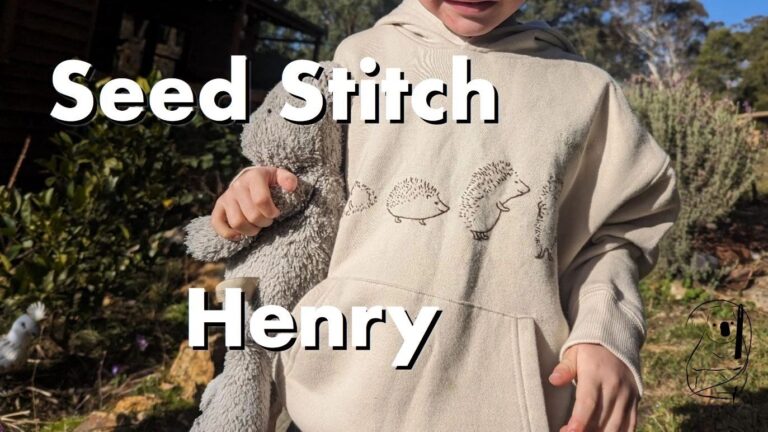
Taking seed stitch in another direction completely, a slightly less-than-random arrangement can produce very effective images, as seen in our project, Henry, below.