With this project we arrive at the conclusion of Dylan which began
with Stem Stitch and then Fly Stitch. Initially a large fish was stitched onto the back of a cream denim jacket. Using a simple outline in Stem Stitch with tonal variations from differing numbers of thread strands, the image was made more elaborate by the addition of fish scales down the body of the animal.
The design has been kept simple but is showy and eye catching. However the inside of the jacket showed the back of the embroidery and the dark blue against the cream fabric made it stand out all the more.
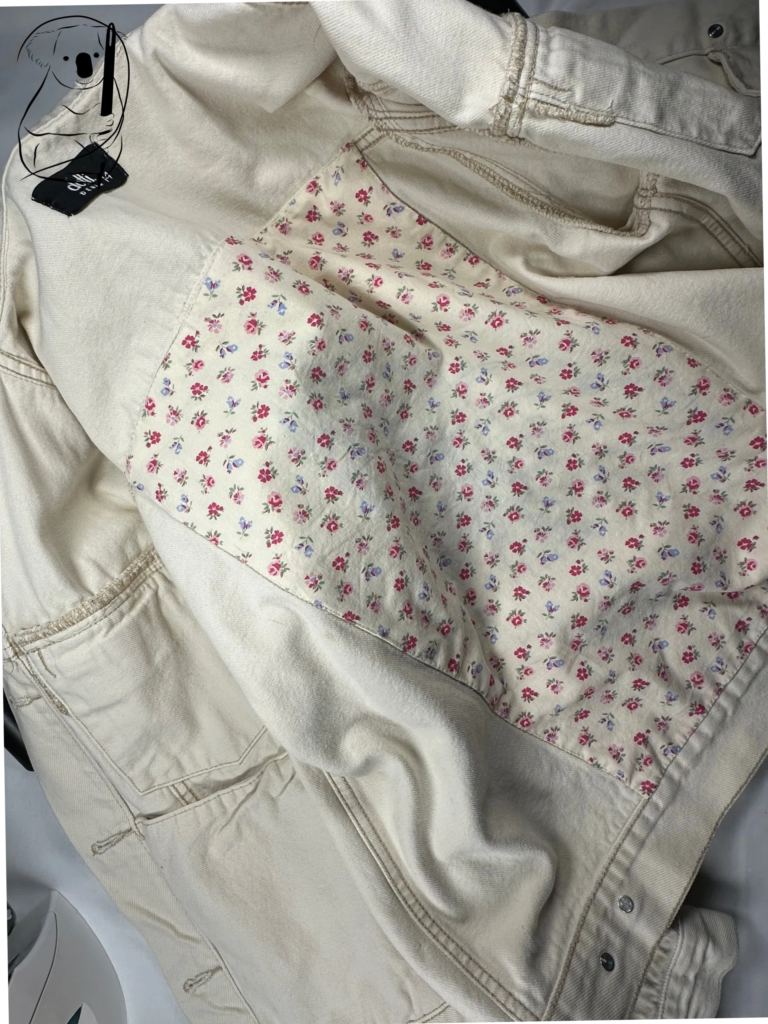
To cover the reverse side of the embroidery and protect the back of the stitches, a lining seemed the logical solution. Luckily I had a scrap of cotton with a background colour the same shade of cream.
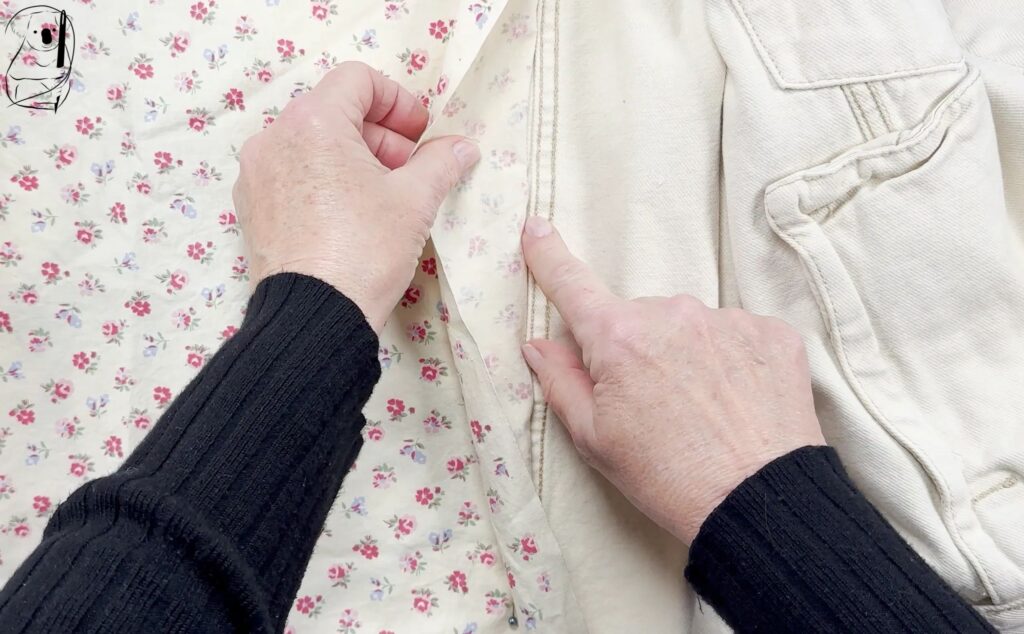
The construction of the jacket made the addition of the lining very easy. The back panel is flat without shaping and is an regular shape. I laid down the fabric onto the wrong side of the back panel and pinned it along it's seam lines. Keeping everything flat, I measured 2cm out from the outer edge of the seam to provide some seam allowance for the lining. With a marker pen, this seam allowance was drawn on the lining around the entire back panel, then cut out.
Turning the outer edges under, the lining piece was pinned to the denim along the existing seam lines of the jacket back. I used these seam lines when stitching the Whip Stitch. Instead of sewing through the denim itself, I stitched through the existing seam stitches. I thought this was a much easier option than stitching through the denim itself which is a heavy duty fabric.
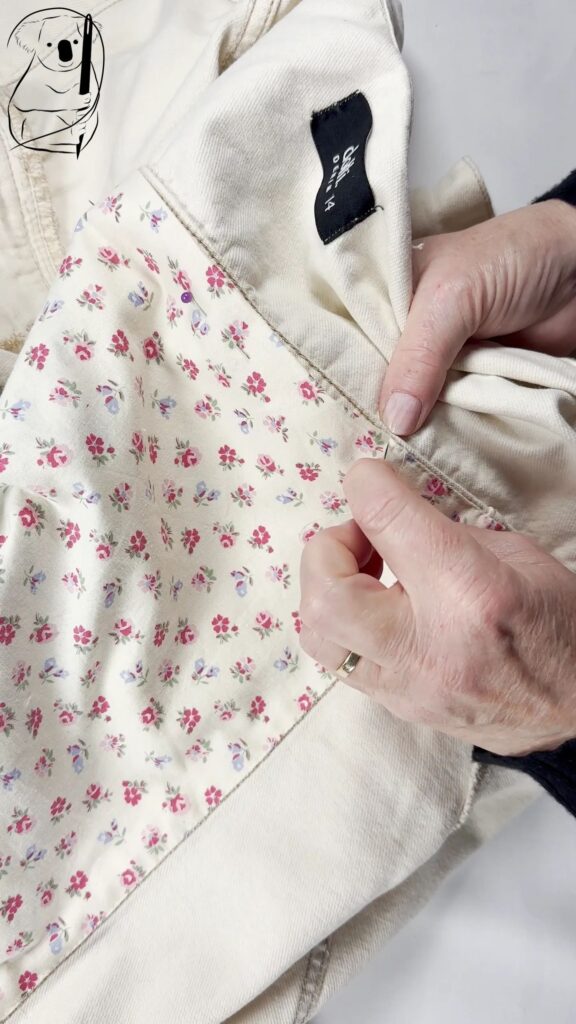
The finishing touch of adding a lining to the back of the garment makes it look much more professional and is an important step to protecting the back of the embroidery. Hanging a jacket on the back of a chair or simply putting arms through sleeves exposes threads to being pulled or ripped.
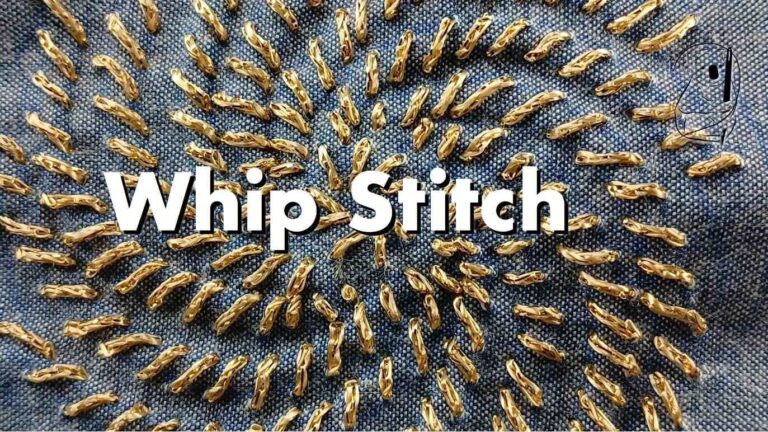
The Whip Stitch was very easy fix for this problem and it is of great utility when working on clothing and decor. Think adding a lining to a skirt or quickly repairing a cushion cover or trousers where old thread in existing stitching starts to deteriorate and break.
This project took an afternoon to complete and was very easy. Whip Stitch is a useful and simple stitch to master and it's applications can be found everywhere.
See how this project came together on YouTube.
Watch our Whip Stitch video tutorial on YouTube.
See the fish being created on YouTube - Dylan.
Watch Dylan get his scales - Dylan Revisited.