Whip stitch is a great workhorse of a stitch, because it can be functional or decorative, hidden or visible.
Used to join two pieces of fabric together at their edge, it combines the functions of joining with sabilising the raw edge, and if on the outside, can be decorative as well.
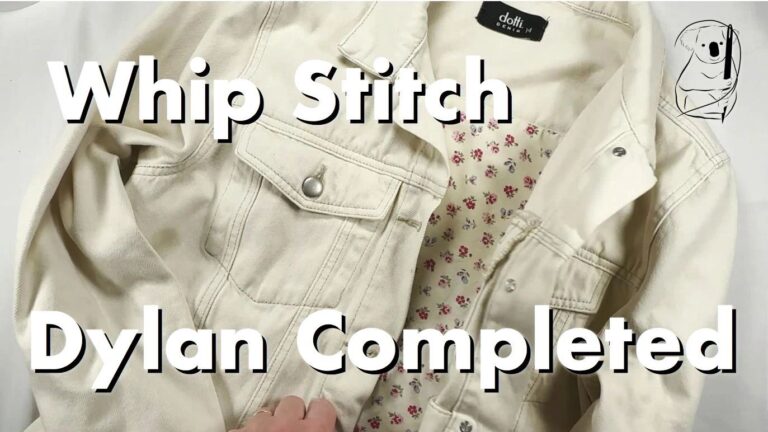
It can invisibly attach applique to the surface of the fabric, or a lining inside your garment. Have a look at how we use it to complete Dylan with a lining that protects the embroidery on the back of the jacket.
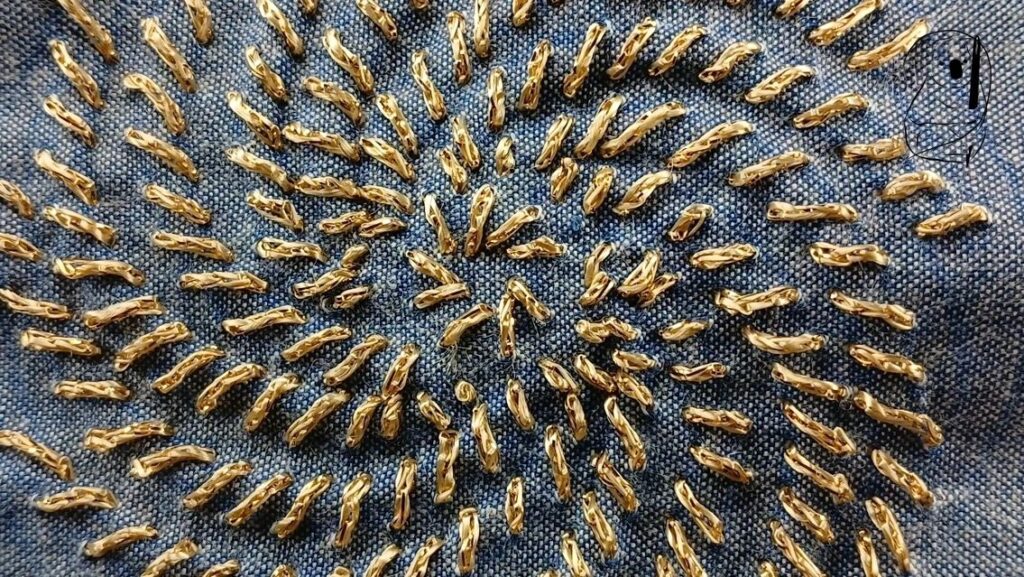
It can attach something else to the main piece of fabric, such as beads or a cord. It can also be used flat on the surface of the fabric where it appears as a column of diagonal lines. That's a lot for such a little stitch.
Steps to Create Whip Stitch
Step 1: Preparation
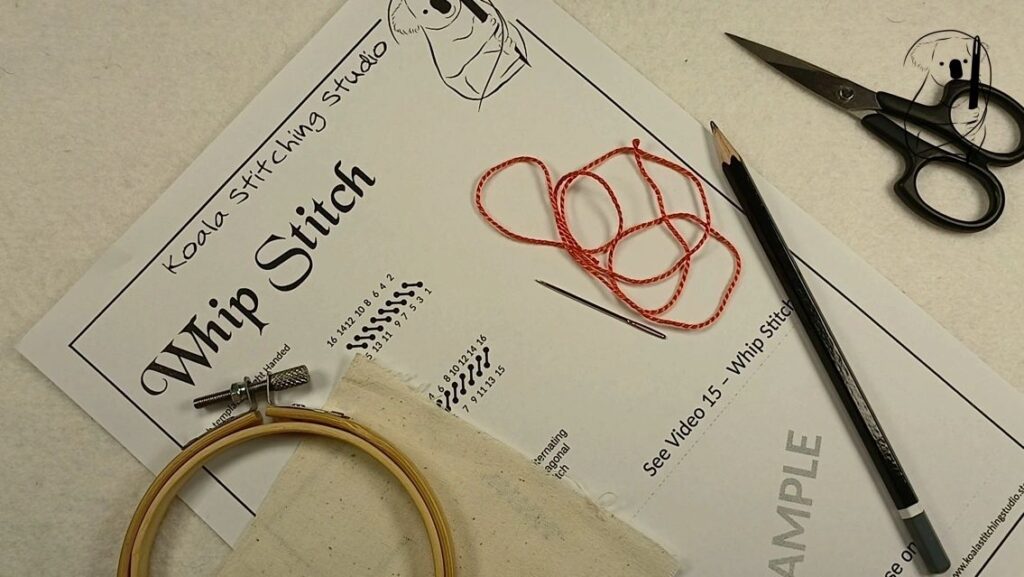
Cut a length of thread, approximately 12 to18 inches long, to ensure it is manageable and doesn't tangle easily. Thread the needle and knot the end of the thread to prevent it from pulling through the fabric. (see our video - Getting Started In Hand Stitching for a simple starting knot , or the Getting Started in Hand Stitching blog page for a description with photos.)
If you are using our stitch guide, mark your fabric. For practice stitching, pencil works well. I have used a 2B pencil here, which is soft enough to make clear marks.
Step 2: Starting the Stitch
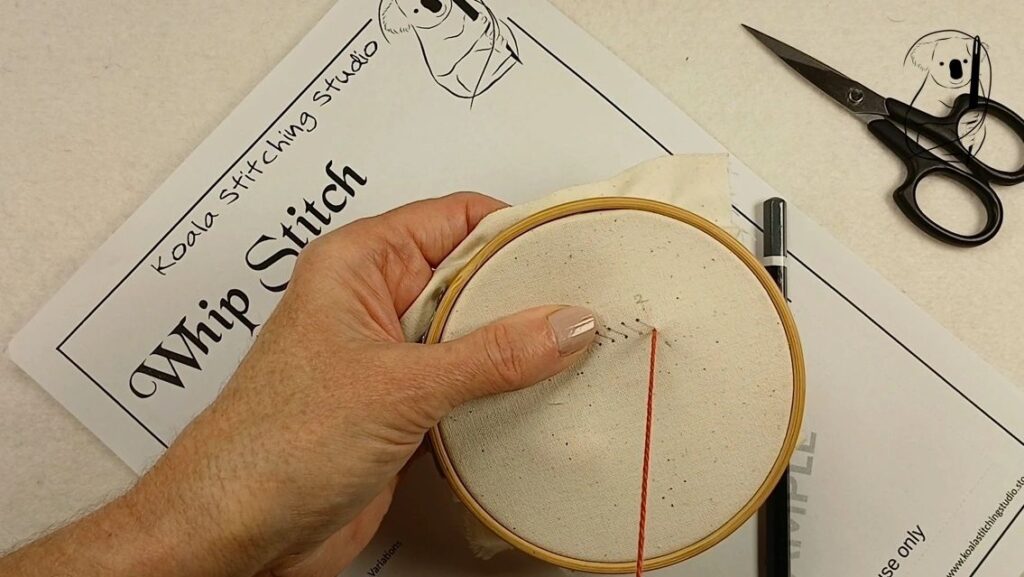
Insert the needle into the fabric from the underside at the point where you want to start your stitch. Pull the thread through until the knot rests against the fabric.
Step 3: Making the Stitches
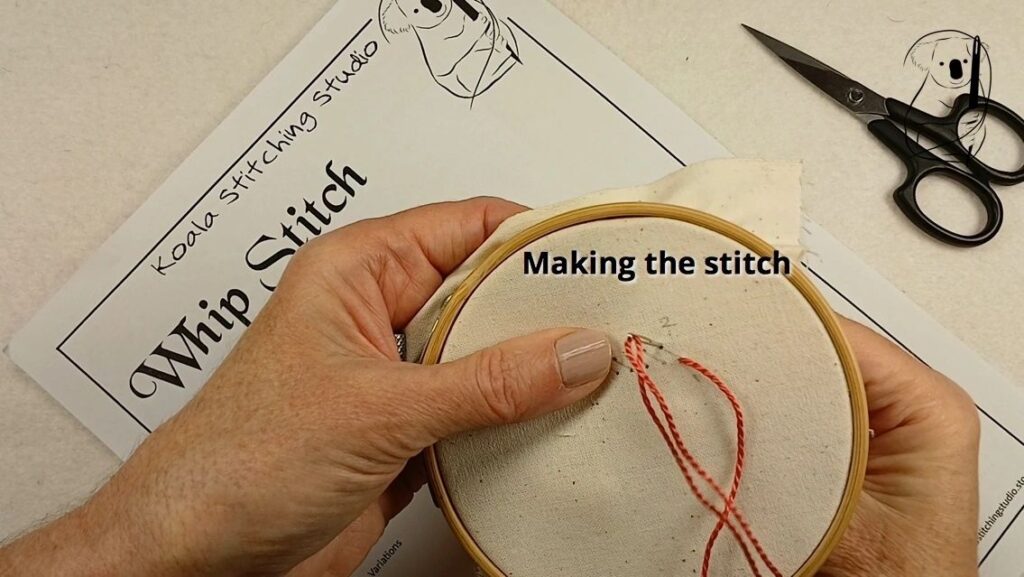
Push the needle back into and through the fabric a short distance away. This will be one stitch. The stitch will cross the stitching line at a diagonal angle forward along the stitching line.
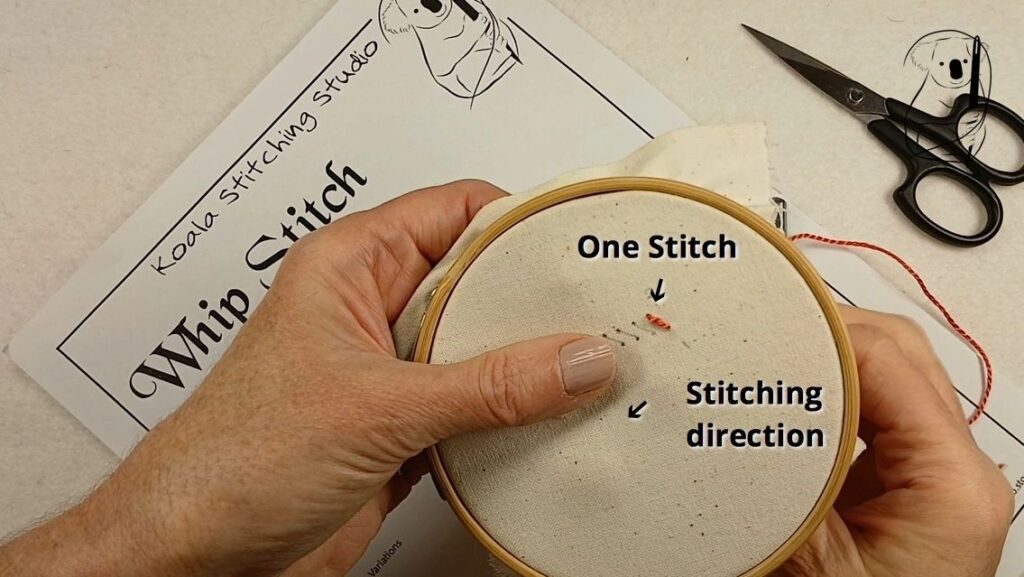
Step 4: Continuing the Pattern
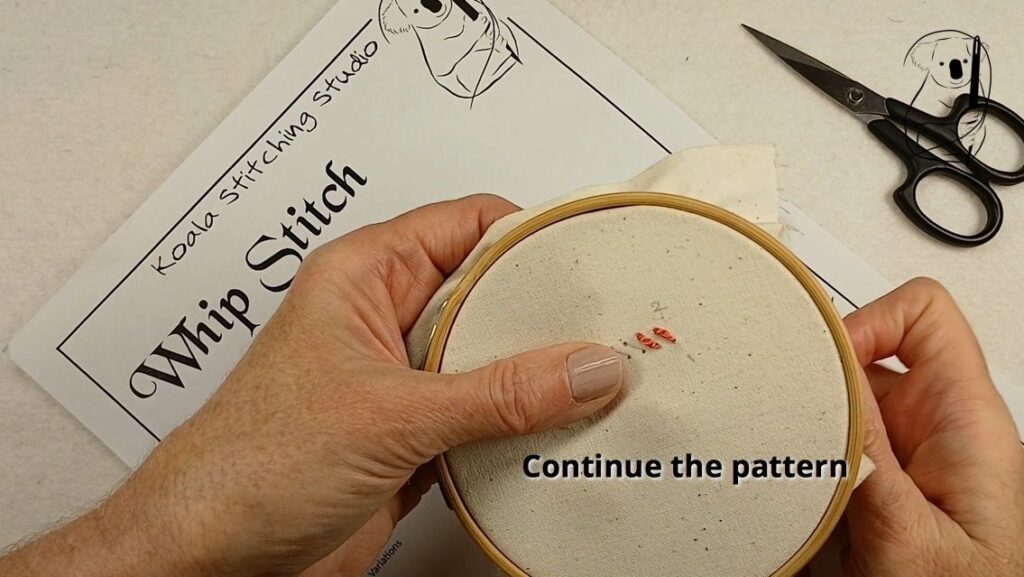
To continue the line of whip stitch, bring the needle up on the same side of the stitching line as your first stitch, a little further along the stitching line.
Take the needle back down into the fabric, across and a little further along the stitching line. Repeat the process, ensuring that your stitches are consistent in length and spacing. The evenness of the stitches will contribute to the overall appearance of the line of stitching.
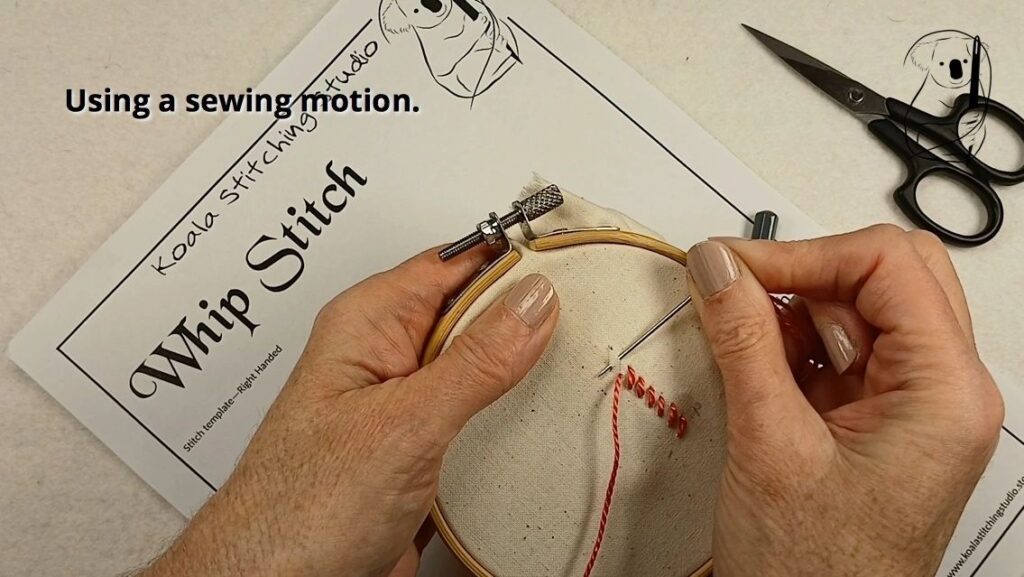
You can complete Whip stitch with a sewing motion, where the needle goes into and out of the fabric in one move. By maintaining a consistent angle for your needle, you can achieve a very neat surface whip stitch with this technique.
Step 5: Finishing the Stitch
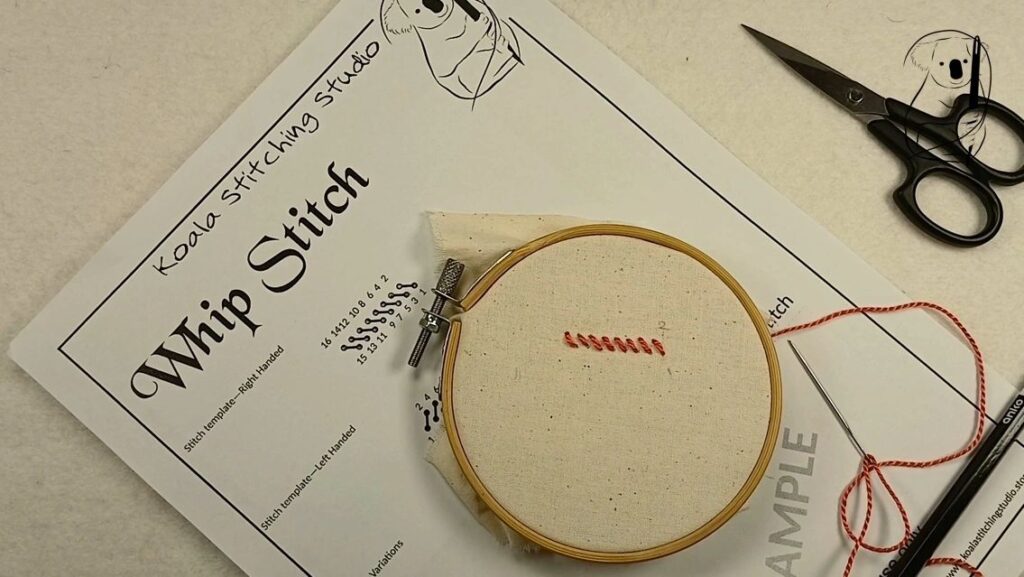
When you reach the end of your line of stitching, bring the needle to the under side of the fabric.
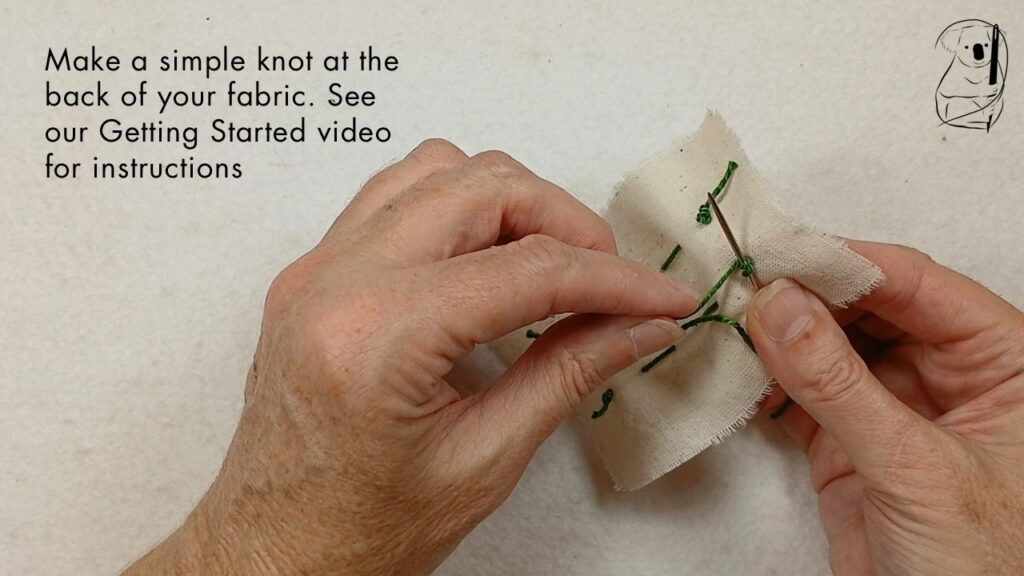
Make a small knot close to the fabric to secure the thread. Trim any excess thread with scissors. (see our video - Getting Started in Hand Stitching for a simple end knot, or the Getting Started in Hand Stitching blog page for a description with photos.)
Variations on Whip Stitch
Alternating Diagonal Stitch
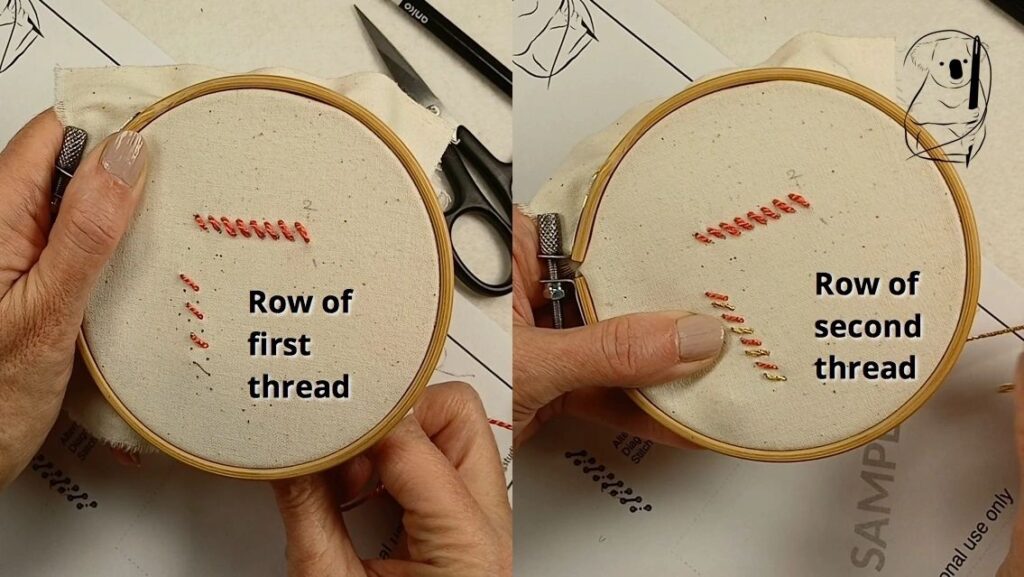
An attractive effect can be achieved when using whip stitch by alternating threads in a line of whip stitch. Complete the line of stitching first with one thread, then repeat with a second thread, stitching between the initial stitches. The stitches can be spaced apart or placed quite close to each other, or for additional effect, a third thread can be included in the pattern.
Attaching Beads
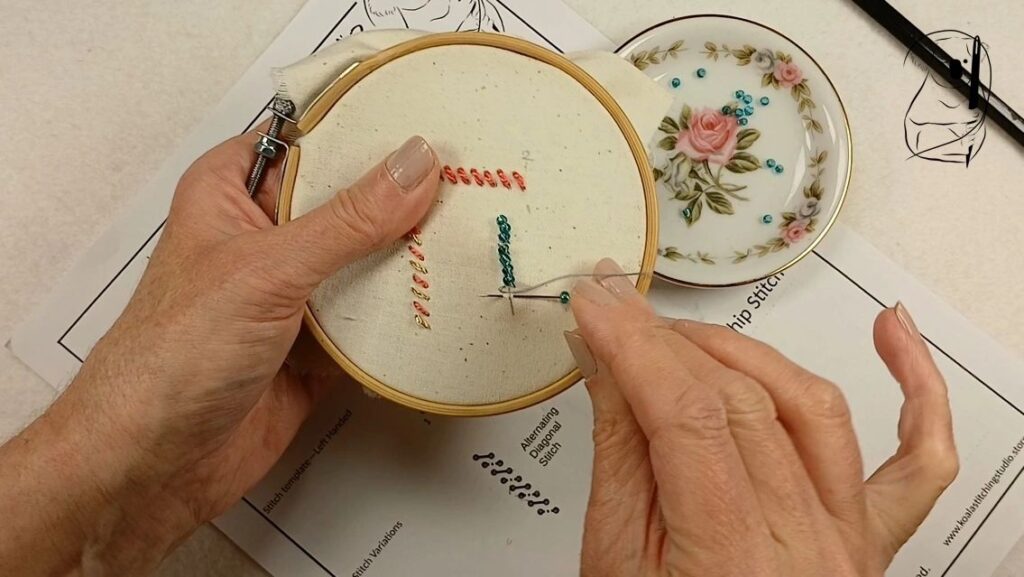
Whip stitch is great for attaching beads to the fabric surface or edge. The spacing of the beads can be adjusted by adding extra "empty" stitches between the beads.
Applications of Whip Stitch
Whip stitch can be both functional and decorative.
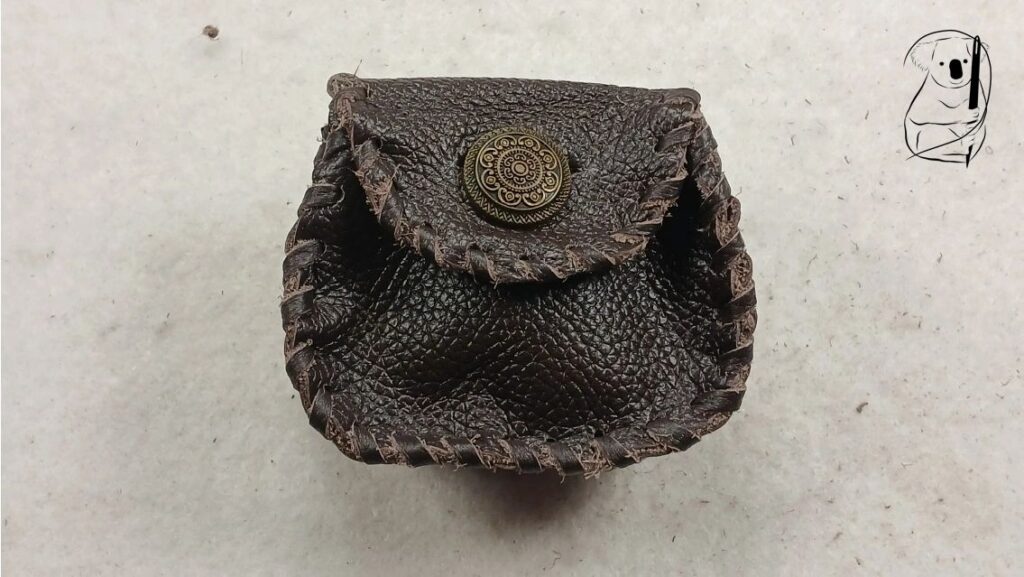
Joining two pieces of fabric and stabilising raw edges.
Here, whip stitch is used to join the pieces of this coin purse together. As it is on the outside and visible, the stitch becomes decorative.
If the fabric of the purse was woven or knitted, and prone to fraying or running, then the whip stitch would also act as a stabiliser for the raw edge of the fabric.
Watch the Casey video on YouTube.
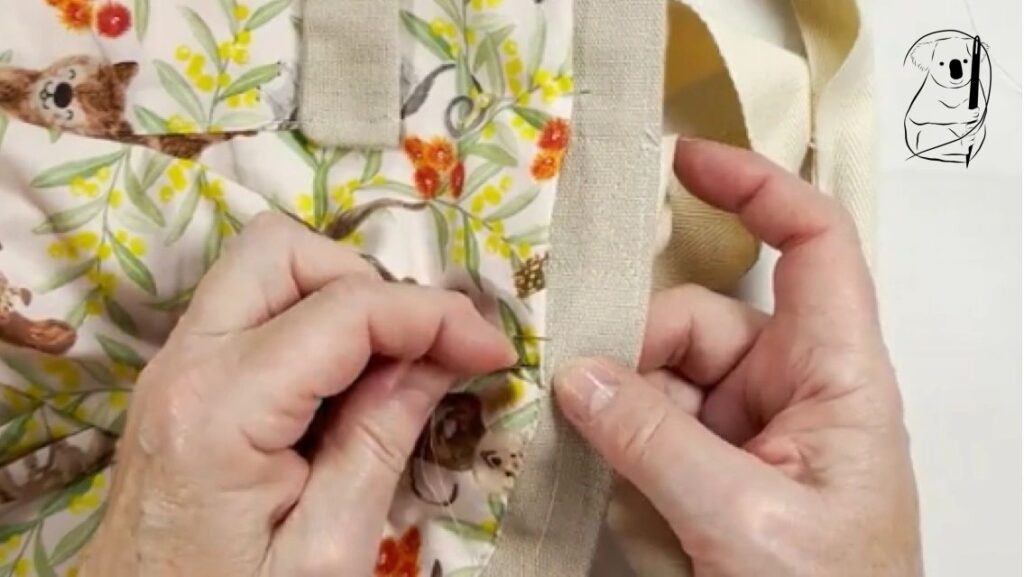
Attaching one piece of fabric to another.
Here, the lining of a bag is being attached using whip stitch.
Small neat stitches ensure the join is strong, as use will cause the lining of the bag to move and pull at the seam.
Whip stitch can also be used to sew appliqued pieces onto the fabric surface.
Watch the Piet Tote Bag video on YouTube.
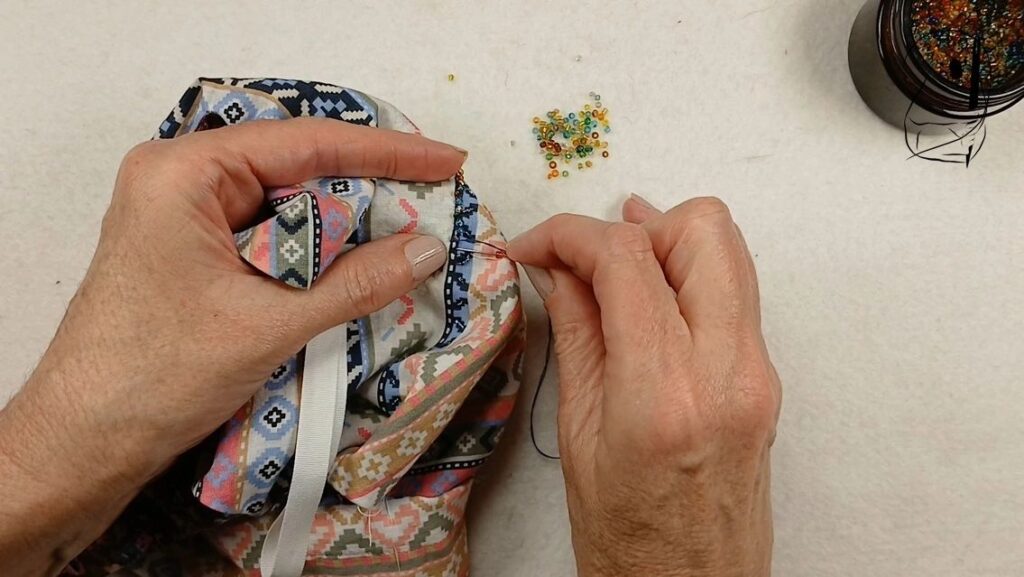
Joining other things to fabric.
As mentioned above, whip stitch is great for attaching beads to the surface of the fabric.
Couching lengths of cord or yarn is also often done using whip stitch.
Coming soon - watch the Series 3 Slow Stitch project on YouTube.
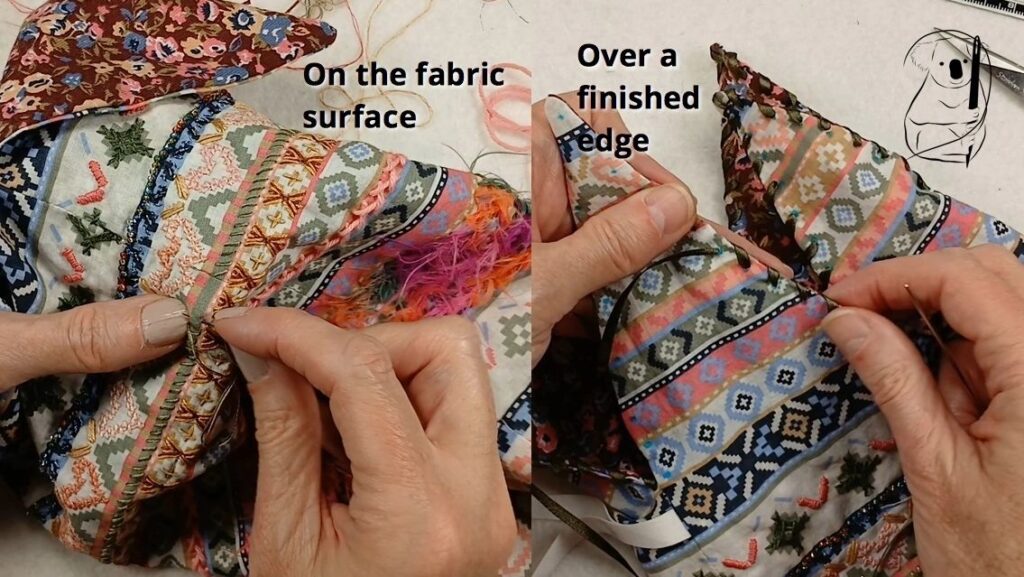
Decoratively, whip stitch can be used on the surface or the edge of the fabric. It is an attractive way to finish an edge even when it does not require stabilising.
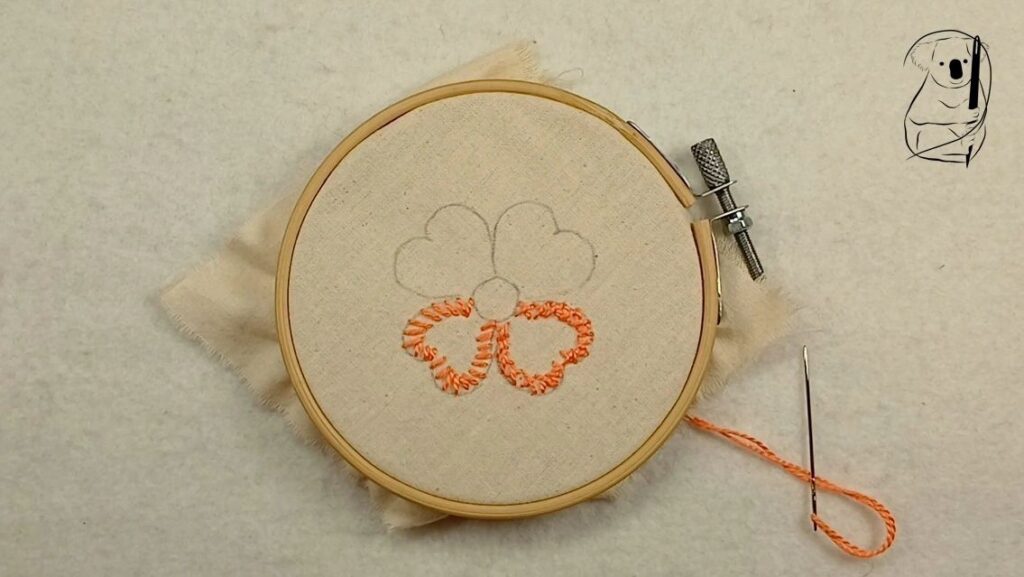
Our sample flower with a petal completed with a decorative use of whip stitch.