
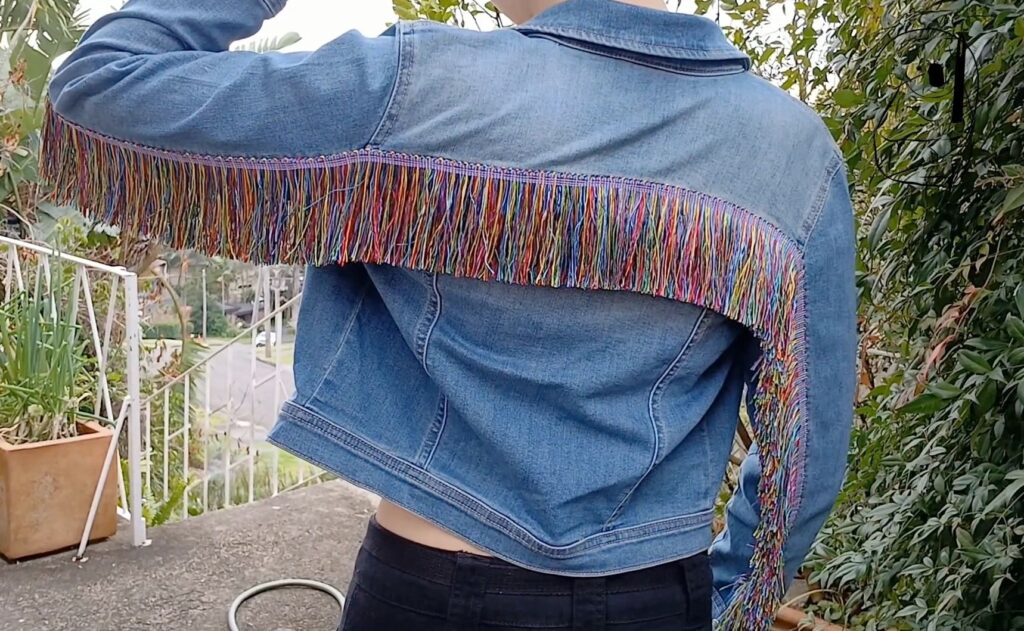
This is a quick project for anyone young or young at heart. I took 1.5 metres of fringing to sew it onto a jacket to make a statement. Make sure you measure your own jacket across the back from cuff to cuff and across the front with about 1.5cm of turnover allowance at each end.
Here we use the structure of the garment to place and sew the fringe from cuff to cuff across the back of the garment, and also across the front. The fringe is attached using the stitching in the seam lines as anchor points instead of trying to push our needle through the heavy denim seams.
The fact that the seam on the sleeve matched the seam across the back almost perfectly is a feature of the jacket that was made this project seamless.
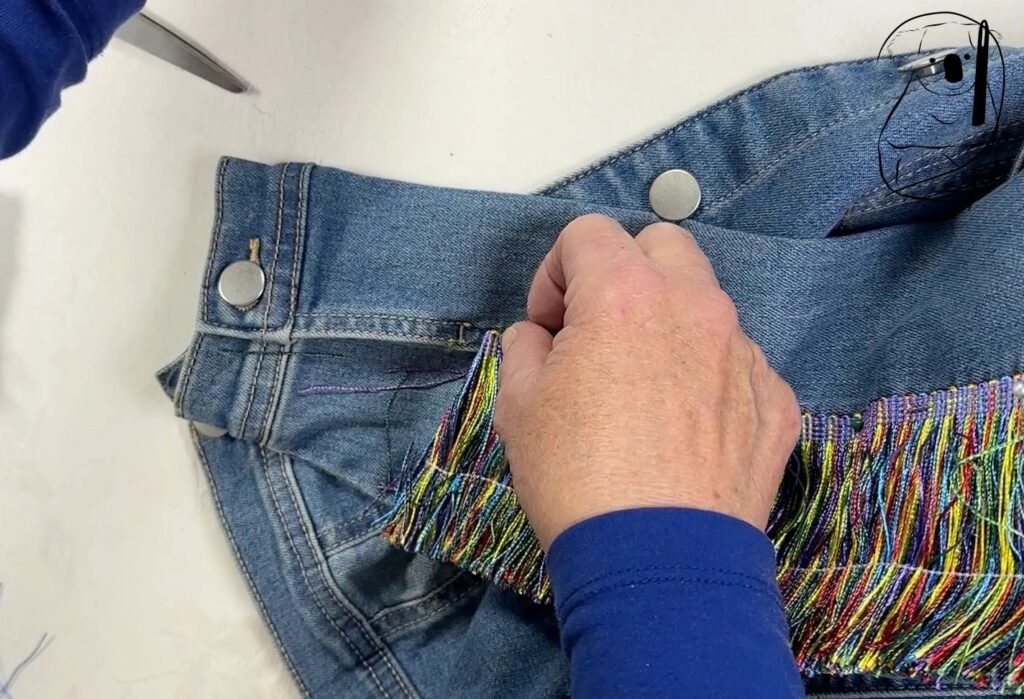
The fringe travelled from the cuff opening on each side. The strands of the fringe dangled just to the edge of the cuff at the wrist. Any longer than this and the strands would get in the way of hands and fingers.
At the cut end of the fringe, there is a tendency to fray. Stitch these ends well to ensure that the ends remain intact.
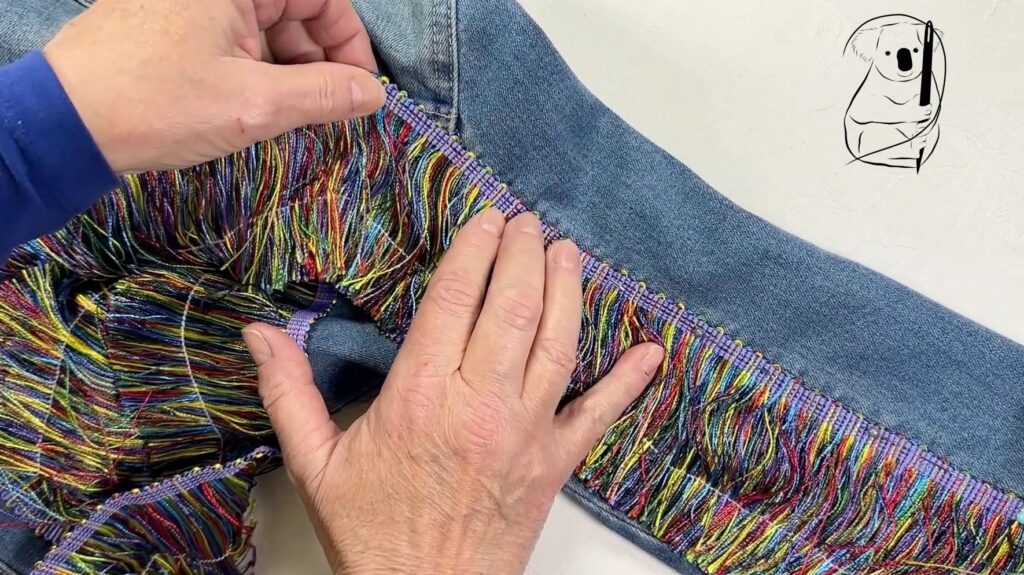
You can see in the image below that the header shows through some of the colours of the strands. I actually think that this is the back of the fringe but I purposely chose it. The other side of the header was much more of a solid purple colour which was not my preference.
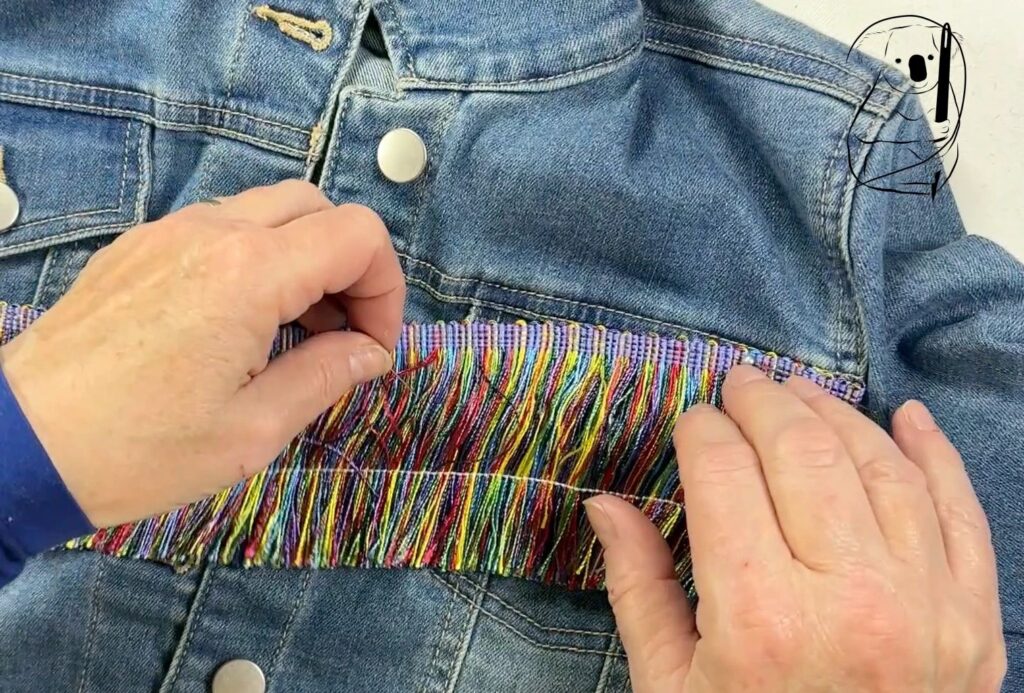
The fringes at the front just meet up at the centre line.
Be aware that the strands of the fringe do cover the pocket flaps and buttons. If the wearer wants to access these pockets regularly, the fringe may be inconvenient.
You will see in the video that there is a right way and a wrong way to remove the restraining thread keeping the strands in place until the project is complete.
I am not sure if there is any way to determine which is the right way to remove that thread except by pulling. Keep the restraining thread in place until the project is complete as the long strands do want to get caught up with fingers and needles if given the chance.
Watch the video of Sasha on YouTube
See our video on Fringes if you'd like to make your own fringe