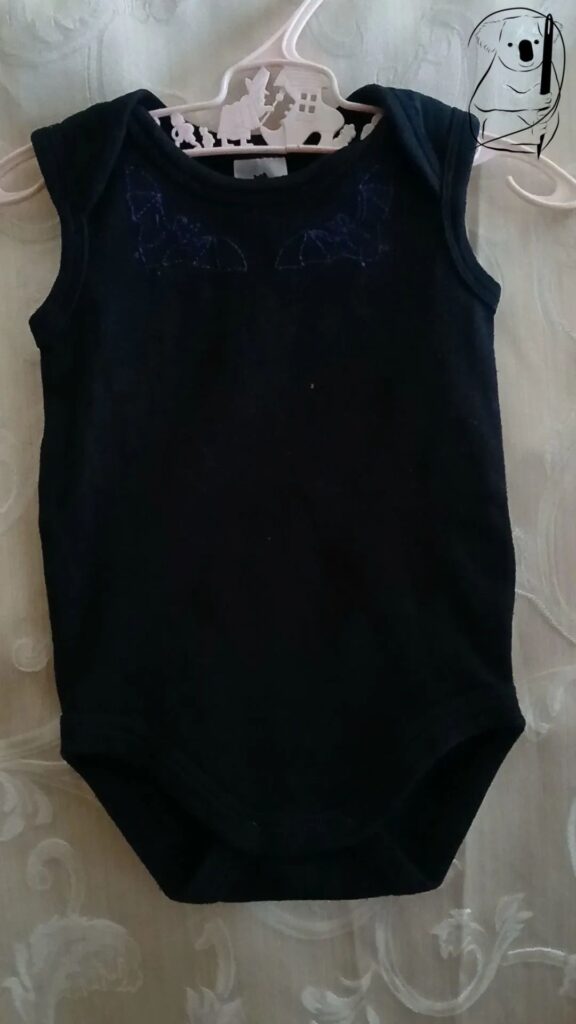
When I found this little black onesie, I just couldn’t resist. The colour is unusual for baby clothes, and I knew there would be so many possibilities to embellish such a cute little suit.
Named Luna for the night, it seemed fitting that creatures of the night should feature in the design. But when I thought of bats, I didn’t want the black and yellow stylised bat so easily found in costumes. I wanted something a little more special.
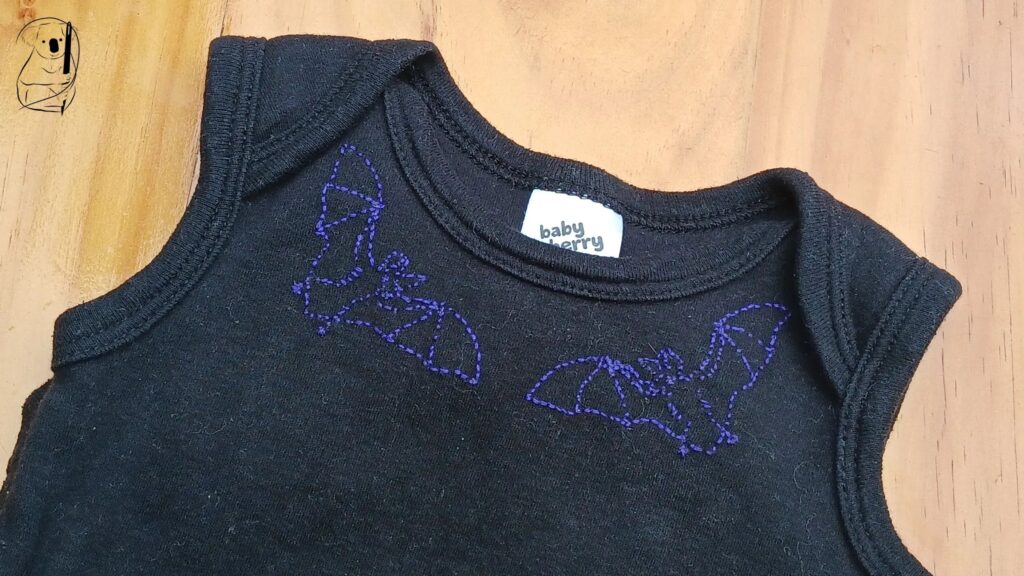
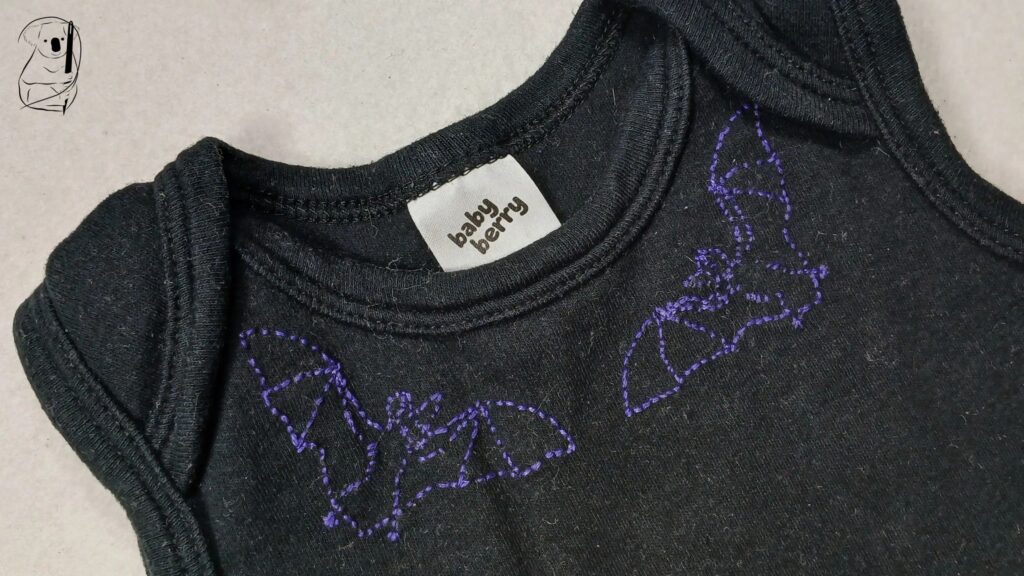
A simple outline of a bat, completed in back stitch, in a colour that may or may not speak to Halloween, depending on your mood at the time.
Different lighting makes the purple bold or subdued, making the design by turns striking or subtle.
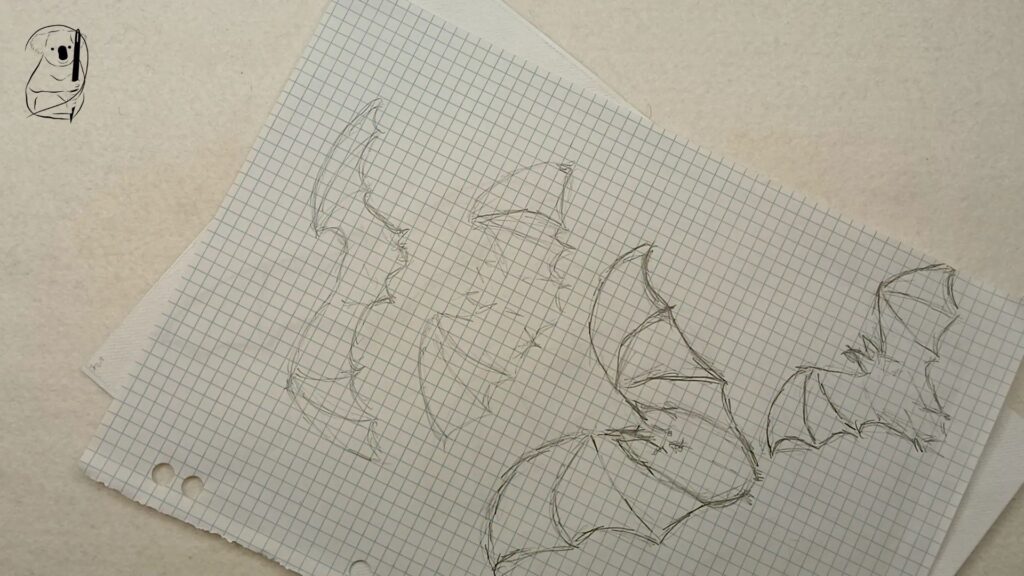
To find an appropriate image, I looked to children’s picture books of bats, testing a few silhouettes until I landed on one that was distinctly a bat, but not a logo.
The thread was purchased as a small mixed bag from the thrift shop, and was still out when I was making decisions regarding colours, so it kind of chose itself for the project.
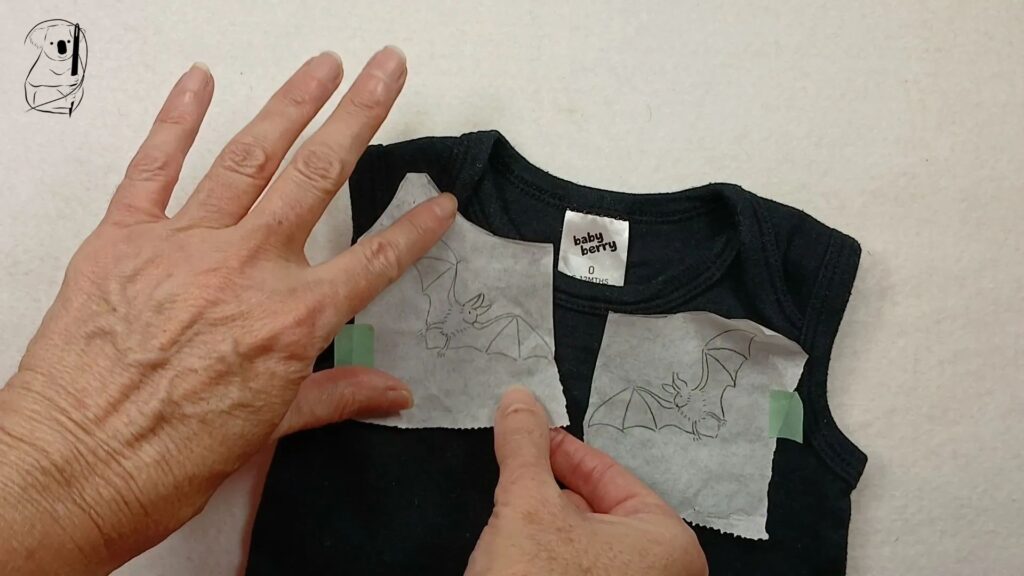
After deciding on colours and the motif, the next decision was where to place the designs. To test this, I traced the design onto two pieces of paper, and played with different placements. I was certain that the designs would be near the neckline, but it was a matter of angles and spacing.
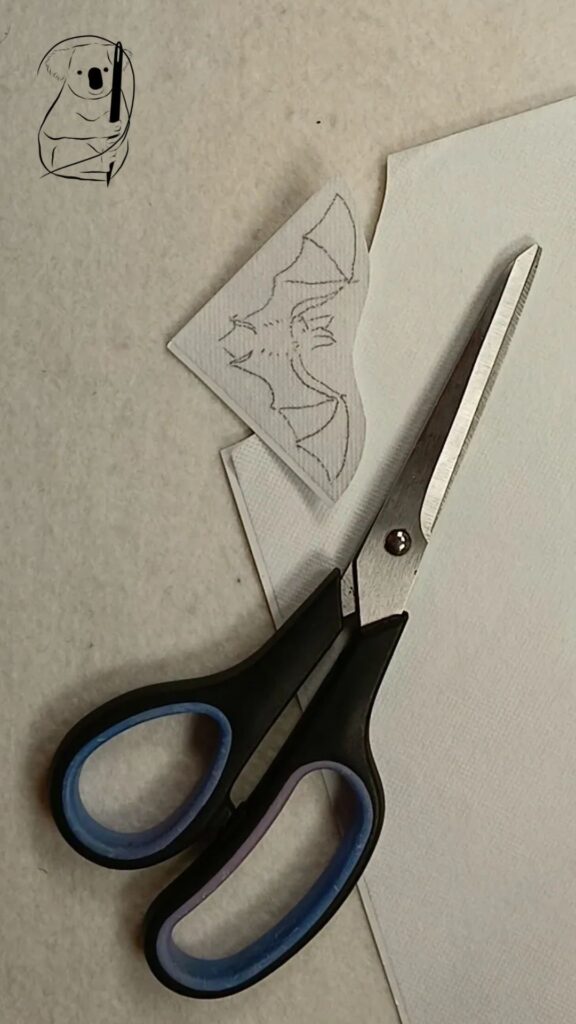
I wasn’t sure how I was going to transfer the outline of the bats onto the fabric, with transfer pens not showing up on the black. I thought about sewing through tracing paper, but as the design is quite intricate, I didn’t feel the stiffness of the paper would work well with smaller stitches.
I then started thinking about water soluble stabilisers, and came across sticky water-soluble stabiliser, which sounded perfect for the job. Not only could I draw my design on the stabiliser, but when stuck to the fabric, it would keep the knit fabric from stretching as I sewed.
Drawing on the stabiliser proved a small challenge as the backing sheet makes it thicker and more opaque than I expected. My first attempt at tracing over a light-box was not very successful, so I tried the old-fashioned method of up against a window which , to my surprise, worked much better.
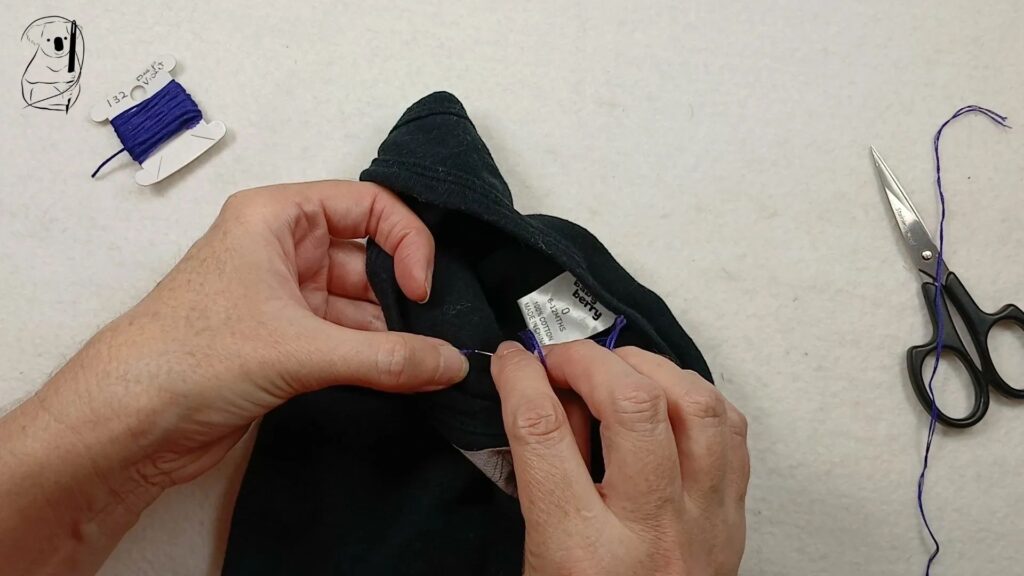
As this is going to be well laundered, the stitching needs to be secure, so I started each new thread with a knot and a couple of small back stitches along the line of stitching, where they won’t be seen after the stitching is completed.
As noted, I hadn’t used the stabiliser before, and so my habit of using pencil to draw the outline of the bat was not the best choice in this case. Although it is important to choose a marking method that will not run and stain the stitching when the stabiliser is removed, my sister’s choice of water-fading pen on water soluble stabiliser (see our back stitch project – Courtney) would probably have been better. In this case, handling the garment as I stitched resulted in the lines of the drawing smudging.
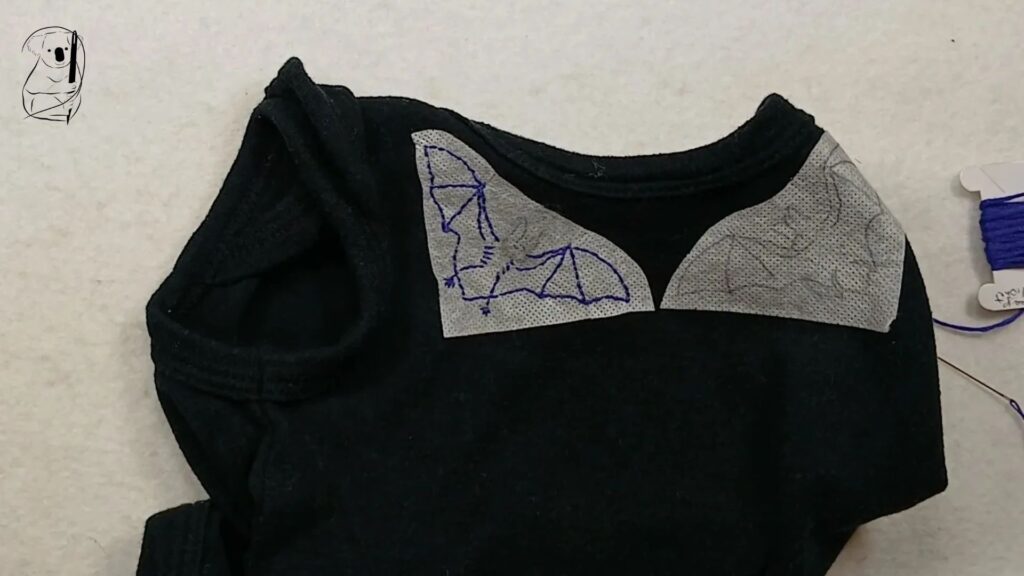
I wasn’t sure how well the light blue of the water-soluble marker would show over the pencil, so I found a pigment pen which was waterproof, to remake the drawing. Next time, I will start with an air fading or water fading fabric pen, and see how that works. This sticky water-soluble stabiliser comes in sheets that are designed to go through printers or copiers, but that is an adventure for the future.
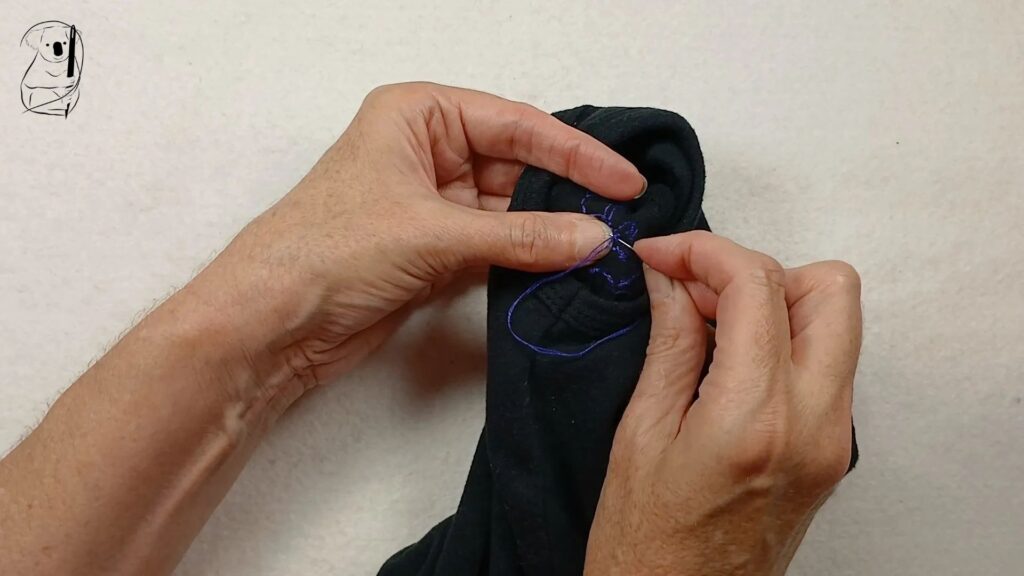
Once the threads were completed the stitching was finished with a few of small back stitches on the reverse of the garment, working into the existing stitching so as not to show on the front.
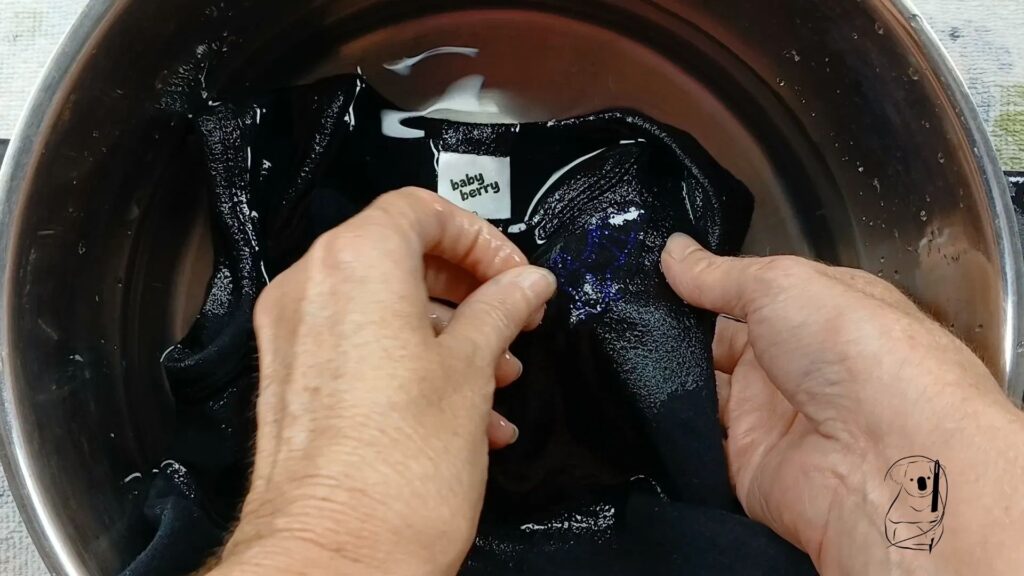
When wet, the stabiliser literally turned to a gel, readily dissolving in cold water. A final laundering will be required to fully remove the stabiliser from the fabric of the garment, but I was impressed with how quickly it disappeared.
Overall, I was quite pleased with how this project turned out, though on reflection, I think I the stitching would look smoother if the stitches were a little longer. In an effort to work with the scale of the motif, I made my stitches too short.
The materials used for this project included the onesie and unbranded 6-strand cotton embroidery thread, both purchased at a thrift store. The sticky stabiliser was purchased on eBay, and I used a crewel embroidery needle, scissors, pencil and waterproof pigment pen. Completed in an afternoon, it took about two hours of uninterrupted stitching. Perhaps not a beginner project because of the scale and intricacy of the design, it was still straight forward to complete, and definitely worth the effort.
You can find the Sticky Water Soluble Embroidery Stabilizer here on Amazon. https://amzn.to/4iWh86R
This blog uses affiliate links for products we have used in this project. If you purchase one of these products we may receive a small commission at no additional cost to you. Our recommendations are based on personal experience and your experience of the products may differ.
Find the Luna design on our free downloadable resources page.
Go to the Back Stitch blog page here.
Watch Luna as a Halloween special - Go batty with back stitch.
See the Back Stitch video here with video of the creation of Luna.