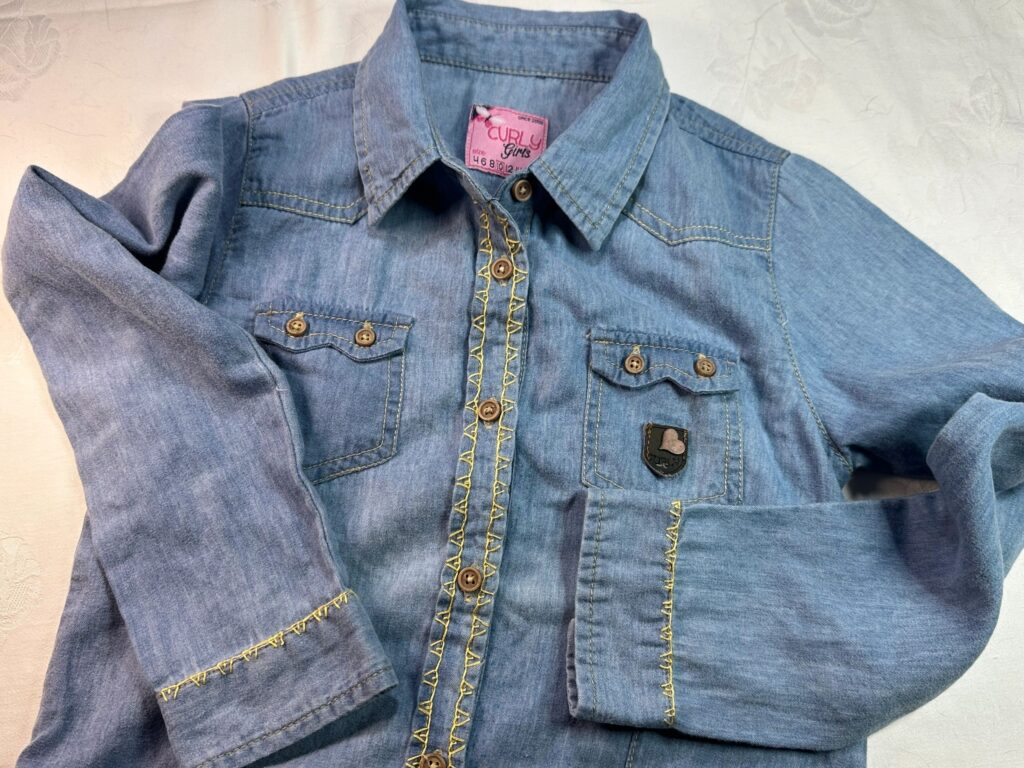
This project was a steep learning curve full of compromises and alterations and the end result is all the better for them.
My original concept was to stitch a variation of blanket stitch in a contrasting colour down the outside of the front placket of a chambray shirt as well as decorate the cuffs.
I selected a child's denim shirt from a Goodwill shop on which to work and unisex purple thread to contrast against the blue denim.
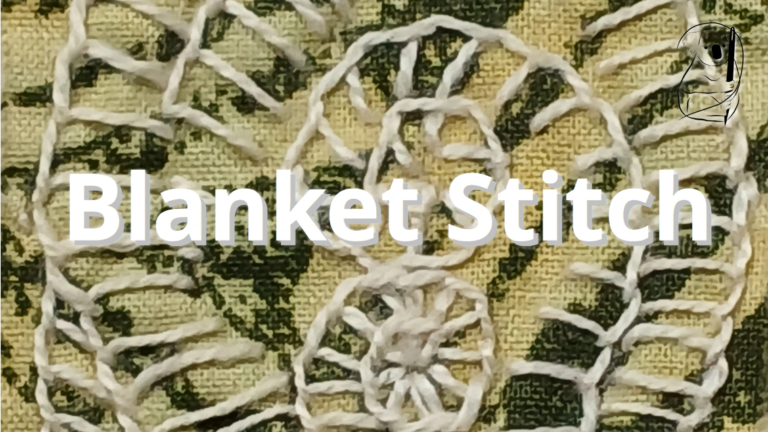
The variation of blanket stitch I chose was one with 7 stitches coming from a single point in the shape of a cone. I had seen this done on YouTube and the stitches looked easy and even. I think I was somewhat deceived.
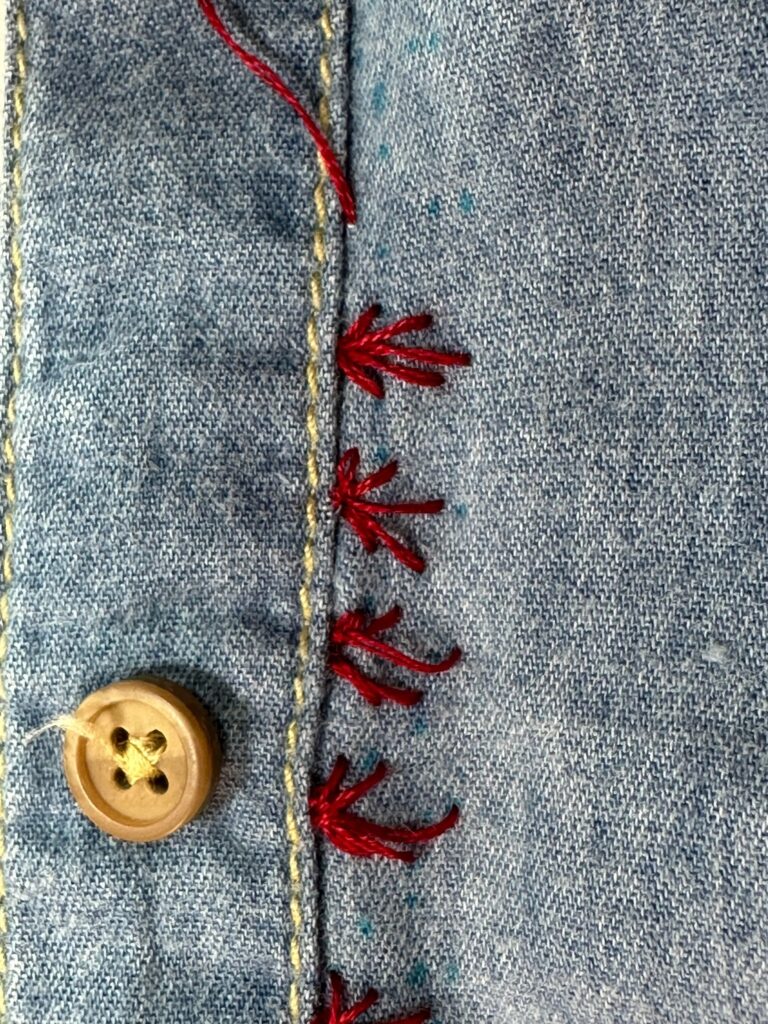
After commencing some practice stitches in purple thread I quickly discovered that the design would require a lot of practice on my garment. The outside of the placket was a single thickness of fabric and it tended to fold and crease as the fabric was pliable and had some memory of the creases.
Switching to red thread I continued to practice and the look of the red on the denim colour seemed much more aesthetically pleasing. However the fabric still wanted to fold and this caused the longer stitches in the pattern to loop upwards with slack which posed a likelihood of catching on things when the garment was worn.
To overcome the movement in the fabric I changed the placement of the pattern to sit on the placket itself. My initial pattern had some fairly long stitches to the apex of the design and regardless of how well I could sew the design, they would not fit in between the edge of the placket and the button holes. This would impact the design severely.
After a rethink of the design I modified the blanket stitch variation to be a triangle with a small stitch sitting in between two sides. I also switched the direction of the pattern to face inwards towards the button holes.
A further rethink of the colours saw me switch to yellow thread. Not only did this match the colour of the exposed seam work of the garment, but yellow and blue are a traditional well matched pair. This new colour would add a more cohesive look to the rest of the garment.
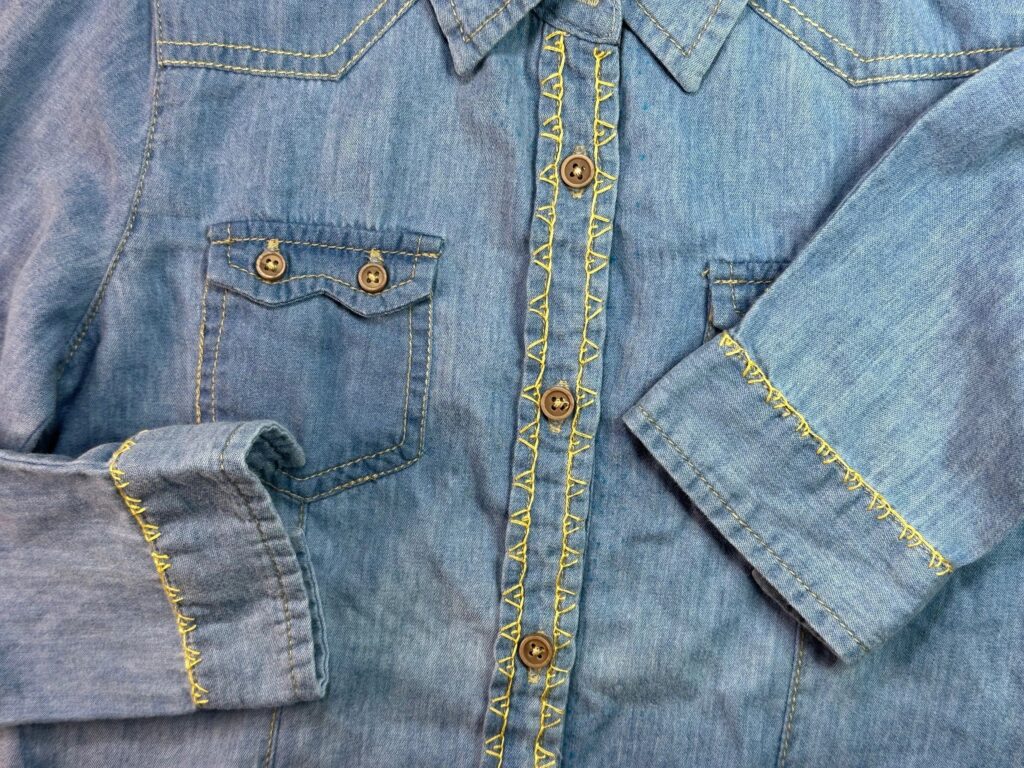
After much practicing, and reworking of the embroidery, I stitched my pattern up each side of the placket and along the seam of the cuff where it joined the sleeve using 2 strands of DMC thread. I decided against further lines of stitching along the outer edge of the cuff as this is a high wear area and the embroidery could easily get damaged.
In order to keep the spacing of the stitches even, I counted the seam stitches of the garment, spacing 2 stitches from the edge of the previous stitch to the base of the first stitch on the next motif. I also held the needle at a 45 degree angle to keep the angles of the triangles consistent. Doing this also showed where to insert the needle, as the changing angles and directions of stitching as well as the changing way I held the garment, was a bit confusing.
This method kept my pattern regular on the first pass up the placket. To come down the other side of the placket, it was more important to match the point of the next triangle with the matching point on the other side. Instead of strictly following my 45 degrees and 2 stitches rules, I always tried to get my stitch to match its opposite partner.
To hide the starting knot and finishing knots of my threads, I generally began and finished each thread under the edge of the placket where there was a small over hang of fabric. This ensured that none of my stitching showed through to the underside of the placket itself.
The outcome of this project was very different from the plans I had made for this garment, but I am still pleased with the overall result and I learned that used garments do not always meet our expectations and some stitches require a level of expertise that outstrips my talents. But I can modify my design to achieve a look that approaches that of more talented hands than mine and that is an achievement itself. The garment was a well washed, pre-loved piece and that normal wear and tear made the garment quite pliable, so it lacked the stiffness that a new garment would have. I could have added some stiffening or interfacing behind the embroidery to help support it, but chose not to.
Overall I am very pleased with the piece. It is decorative but not overly so, and this is in line with embroidering what could be a dressed up working garment. The look is unisex and the colours work so well together I know I will be using the combination of blue and yellow again and again in the future.
It was important to have a system of counting the seam's stitches in order to maintain my spacing and using the 45 degree angles with my needles kept the stitches neat and tidy. I did practice the design a lot prior to commencing the final pattern of stitches. The improvement that the practice made, was very clear when comparing initial efforts to later results.
The materials used were the pre-loved shirt obtained from Goodwill, DMC thread in yellow, needle and scissors. I spent some time practicing my stitches but the final embroidery took about 2 hours.
See the video for Blanket Stitch here with video for the making of Avery.