
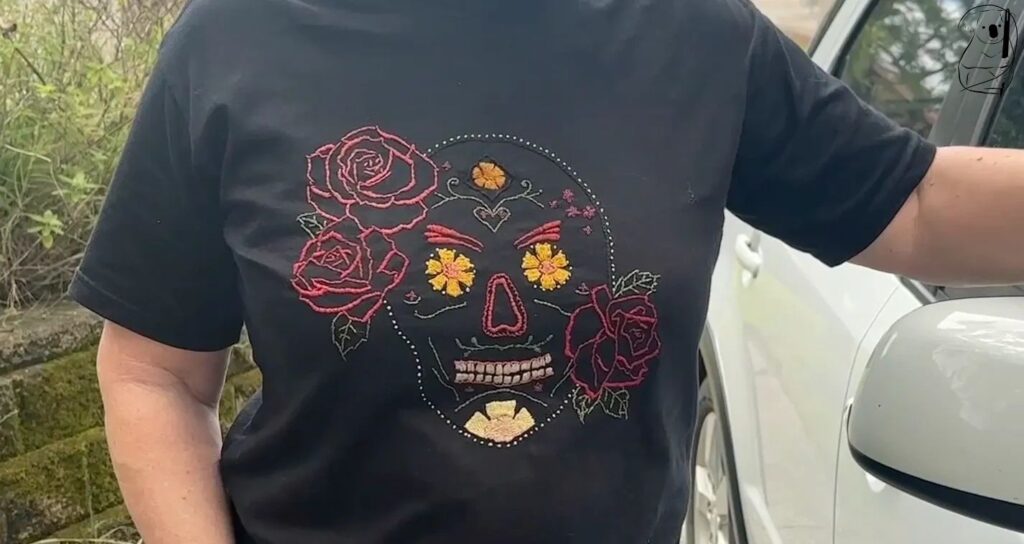
Here is a project where the pattern has the basic framework of a design, while providing space for you to add your own finishing touches. There are quite a few elements in this design including many of the stitches we have looked at in our previous videos.
The stitches used are Straight Stitch, Scroll Stitch, Split Stitch, Satin Stitch, French Knots, Colonial Knots and Lazy Daisy Stitch.
This project used 2 strands of DMC cotton floss which has provided good coverage and lots of options for colours. The teeth were stitched with Semco no 0358 which I had on hand and seemed a good choice colour wise.
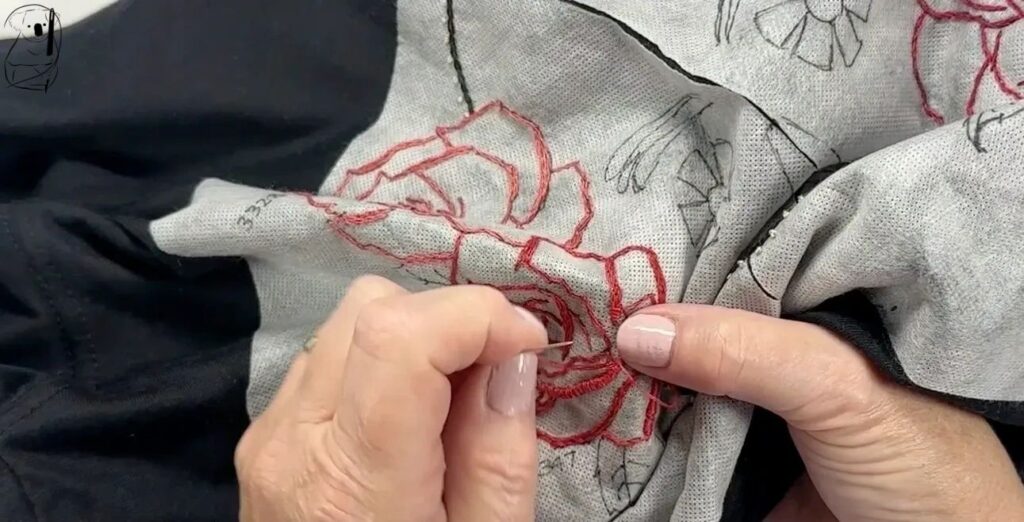
I have again used my Sticky Water Soluble Paper Stabilizer. I love it and it worked really well here. Despite the size of the pattern, I was able to place the paper on the fabric with no crinkles and no fuss. And despite the time it took to complete the project, about 3 weeks in total, the paper withstood the handling and the unpicking of the nose stitching without any issues. You will see in the video that I wrote the colour numbers next to the element of that colour. This was really helpful as the skein labels kept separating from their threads, and it allowed me to keep track of where each colour was used. Also you will see that the nose was stitched with threads of different colours, as were the lips. Writing down the colour combinations on the paper helped to document which threads I had combined.
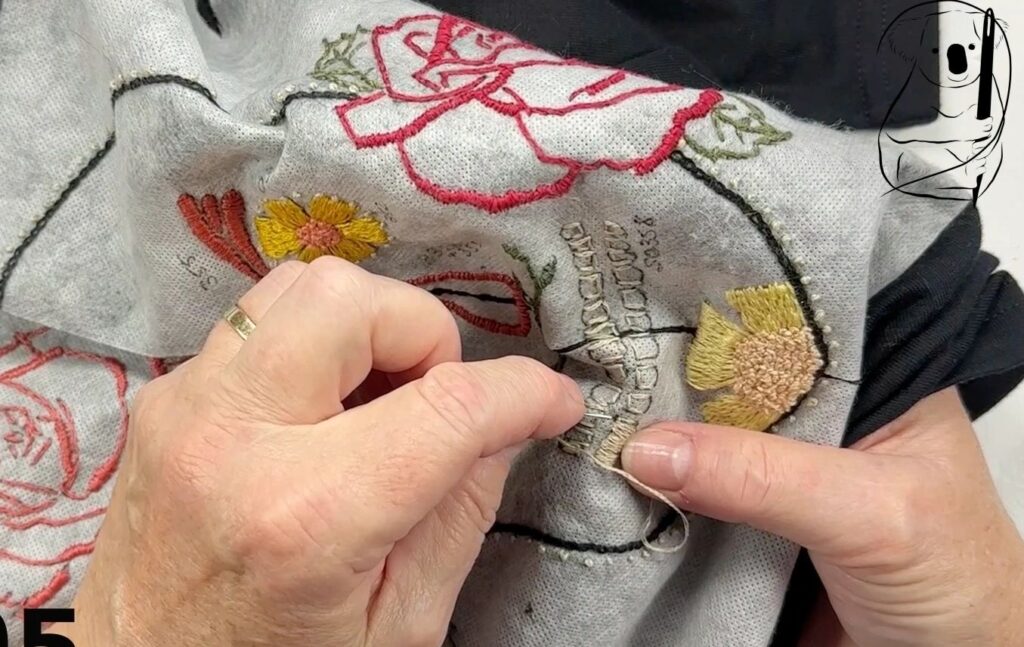
The choice of colours here is entirely personal. If you make up this pattern, you can choose a colour palette which suits your own personality and mood. I purposely tried to limit the range of colours used to maintain some coherence in the project. Rather than opting to use more and more colours, I mixed up colour threads already used to provide some variance and shading while still maintaining the colour scheme.
The large roses are all different shade of red/pink. I tried to convey an idea of robust and fading shades to reflect the way flowers can tend to fade in colour with aging. I also wanted these colours to be somewhat muted. However stitching on the white sticky wash away paper changed the whole look of the colours from how they appeared on the black fabric. After the paper was removed the colours seemed to become much brighter. This was a factor I hadn't considered initially.
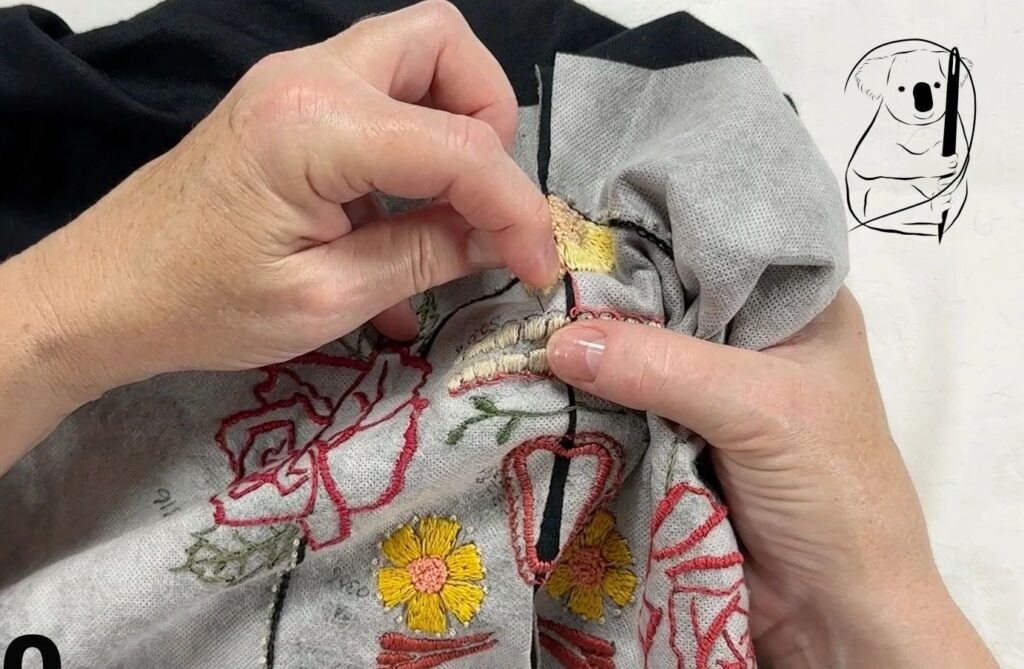
Throughout the project I did change several elements reflecting the evolution of the piece and maintaining the overall look. The nose was the wrong shape and the original nose was completely undone and then reworked. The teeth had originally been planned to be simple outlines using Blanket Stitch. The Straight Stitch used was simply much easier but looked undefined so I used that Straight Stitch outline for a more solid Satin Stitch finish.
I love the look of the Scroll Stitch lips around the teeth as the curve of the stitch looks realistic. Also, I think that making the teeth a bit crooked and uneven looks better than a perfect set of teeth.
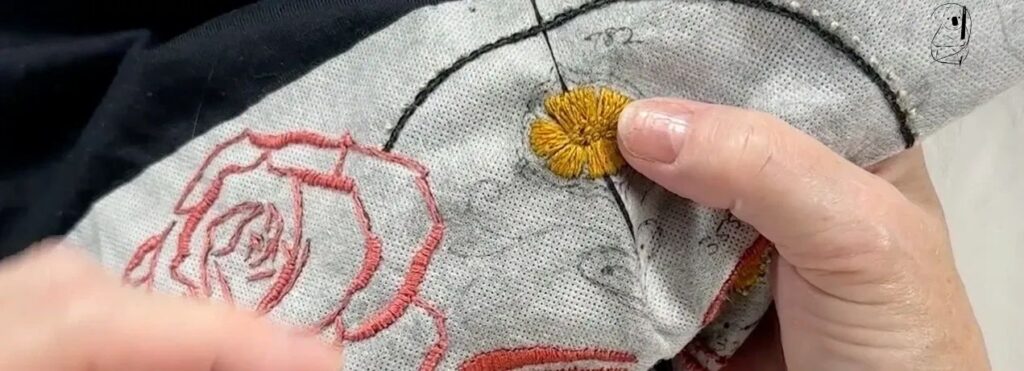
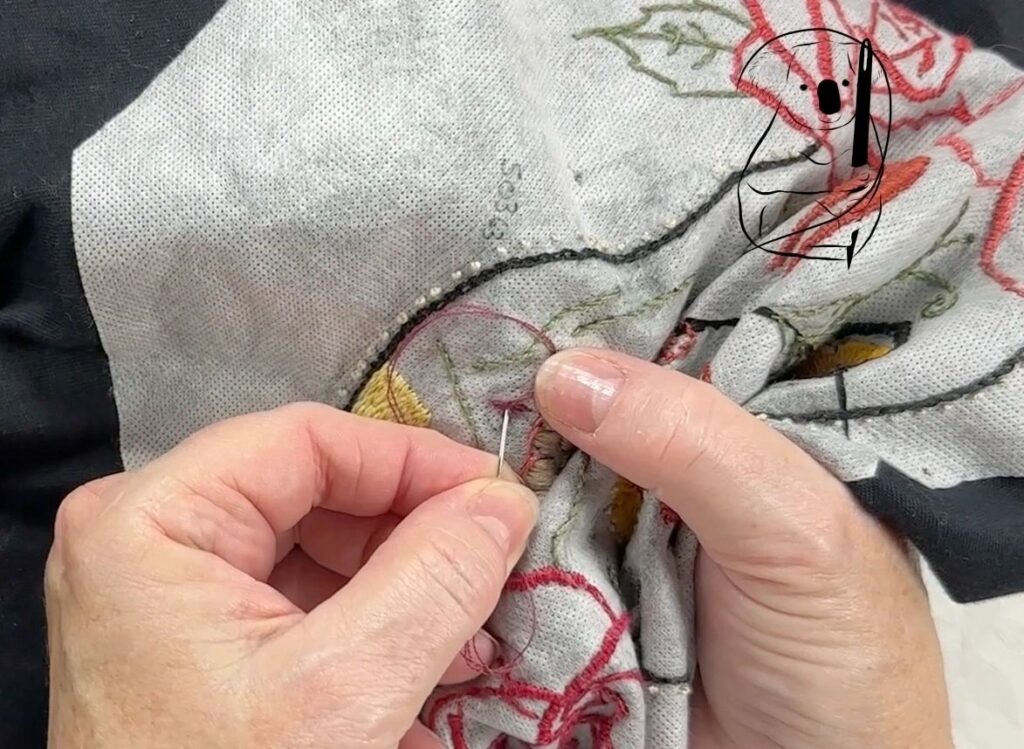
My favourite part of this whole design are the large roses which clearly show the shape of their petals while maintaining a quiet subtlety and strength. This seems to be a great compromise when creating a large, bold element while still keeping the amount of work involved to a manageable level.
I hope you enjoy making up this project whilst adding your own style and creativity. Happy stitching!
My materials here include:
Plain black T shirt
DMC cotton floss colours used include 3328, 347, 816, 355, 352, 812 and 782
Sticky Water Soluble Paper Stabilizer. You can find this product in Amazon at https://amzn.to/4kwQ6UC
This blog uses affiliate links for products we have used in this project. If you purchase one of these products we may receive a small commission at no additional cost to you. Our recommendations are based on personal experience and your experience of the products may differ.
Watch our video of Camille on YouTube