
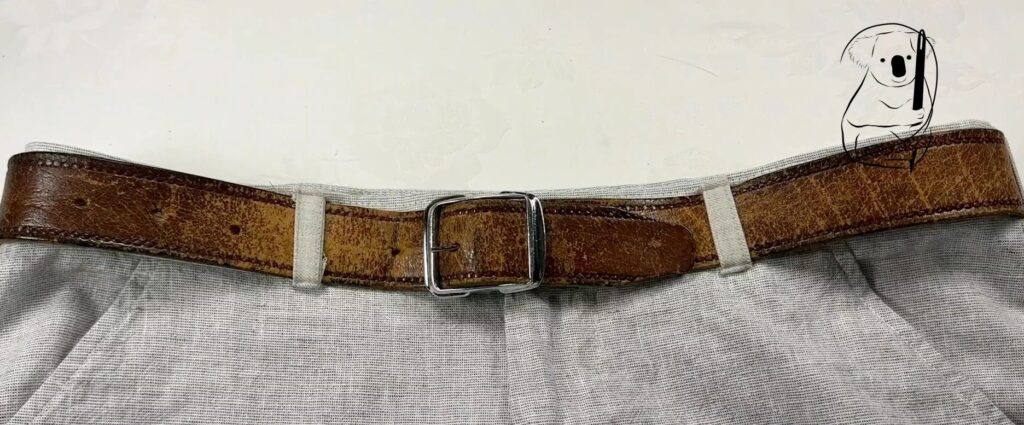
Here is a not so uncommon issue with pants, shorts and trousers. Despite having elastic and a drawstring, these short won't stay in place. This is especially so if pockets are used to carry wallets or phones. The weight of these items just pulls the garment the wrong direction. We come in all shapes and sizes and our clothes are unfortunately made in fairly standard shapes and sizes. We are lucky to find a garment in our local store that fits perfectly.
So we are solving this issue here by adding belt loops for a belt, to provide additional support and comfort. This is a triple redundancy system.
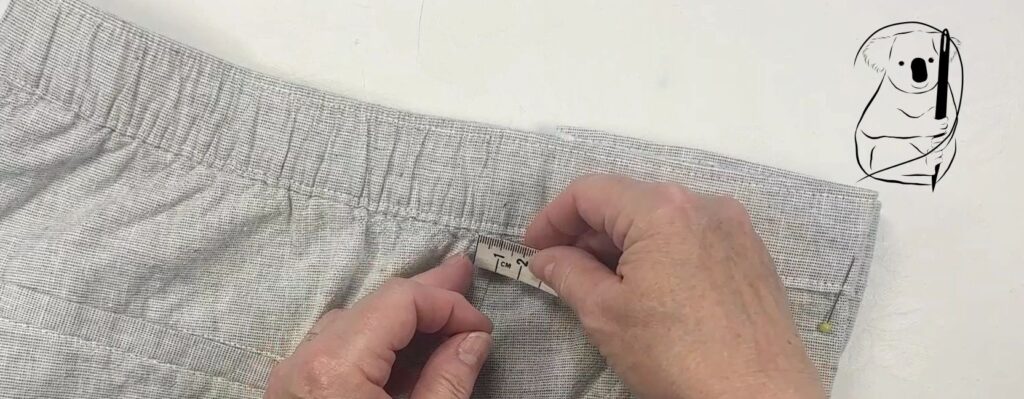
My first decision in this project was to determine where to place the belt straps. I started at the front and worked out from the centre line at the edge of the fly flap. I settled for 8cm on each side of centre front. I didn't find any hard and fast rules about where the loops should sit, however you should consider factors such as the size of ornate belt buckles which need to fit neatly between the front loops, the shape and weight of the wearer, and overall spacing of all the loops.
I noted that some pants such as jeans may or may not have a loop at centre back, some garments had loops directly over the side seams and some did not, and some garments had odd numbers of loops while others had even numbers of loops. Tailored garments may have specific rules which apply to them however in casual wear the rules seem very flexible.
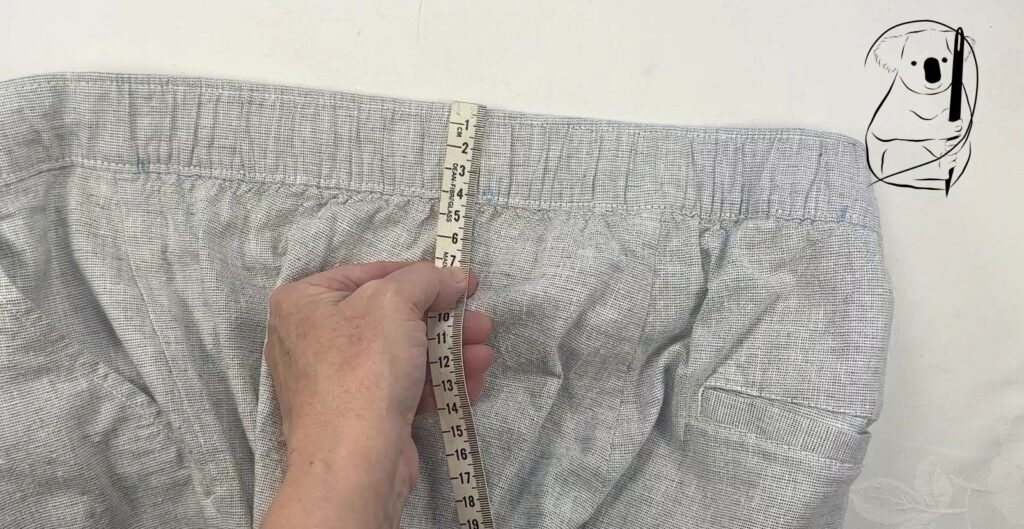
With my size garment and the spacings I used, the loops are almost exactly evenly spaced around the waistline. This worked for my size garment but would obviously be different for different size garments.
If you are working with a large sized garment, consider that extra loops may be required.
Keep measuring and marking your spacings until you feel that the loops will sit evenly around in the waist band in an aesthetically pleasing way.
My loops were 7cm long which allowed for turn under top and bottom of the loop of 1cm each. This was only just enough for the belt used. Always check against your belts when deciding the minimum length needed to accomodate the width of your belt and then add turnover allowances for each end.
The thicker your loop fabric is, the more additional length you may need to make the turn under and overs sit comfortably.
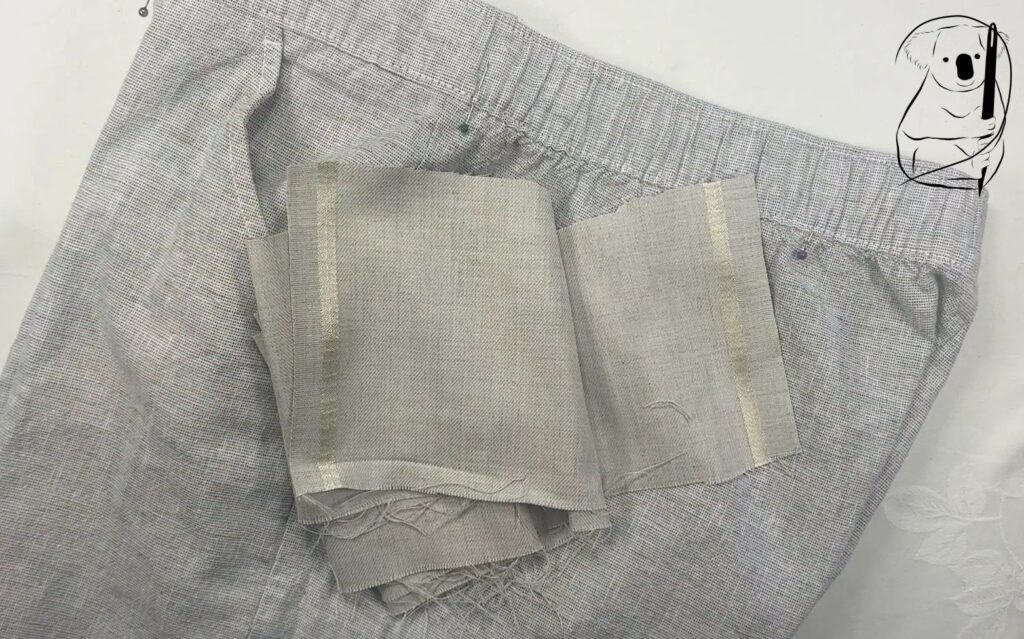
I made my loops from suiting fabric which was the ideal weight, however the colour match was imperfect. The short's fabric is a grey whilst the loop fabric had brown tones. This was the best I could do colour wise however the suiting fabric was ideal.
You will see the fabric in the image to the right. You can pick the right side of the fabric from the selvedge. Both sides of the fabric looked very similar.
The line of the selvedge is made of smooth, neat threads. The selvedge at the back of the fabric is usually a bit rougher and sometimes a different colour. When you find the right side of the fabric, mark it with either a pen or chalk, or in my case a pin.
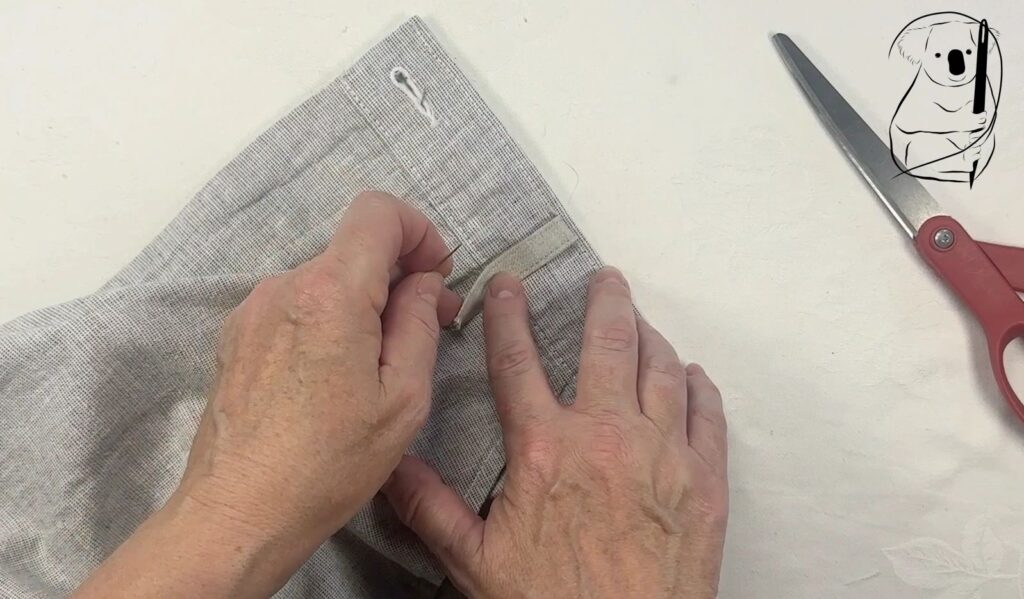
After the loop strip is cut, stitched and turned inside out, I ironed it. This made it sit flat and stable. I stitched down each side of the loop strip near the edges to give it extra strength. The belt passing through the loop will cause pulling and friction which could over time wear fabric and stitching, so any extra strength we can give the loops will be beneficial.
The loops are stitched onto the waistband of the shorts by going backwards and forwards across the loop 4 or 5 times. At the top of the loop this was reinforced by folding the loop over and stitching it again backwards and forwards again.
The bottom of the loop was stitched backwards and forwards whilst folded under to capture both the top of the loop and the end of the loop.
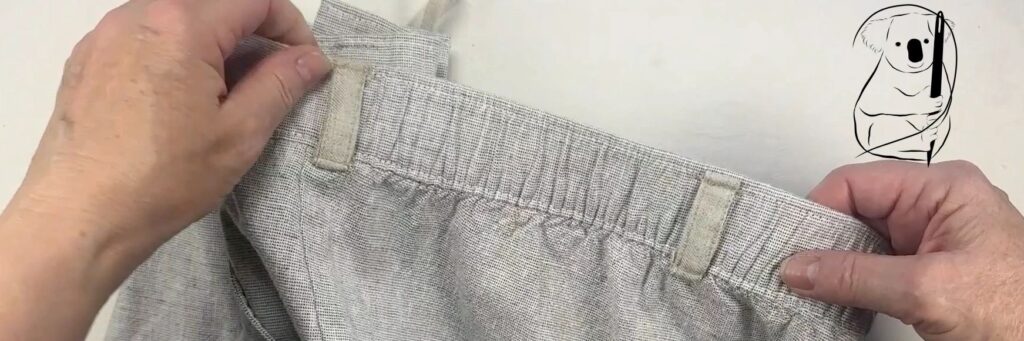
Hopefully now, the weight of phone, wallet and keys will not drag the pants down.