
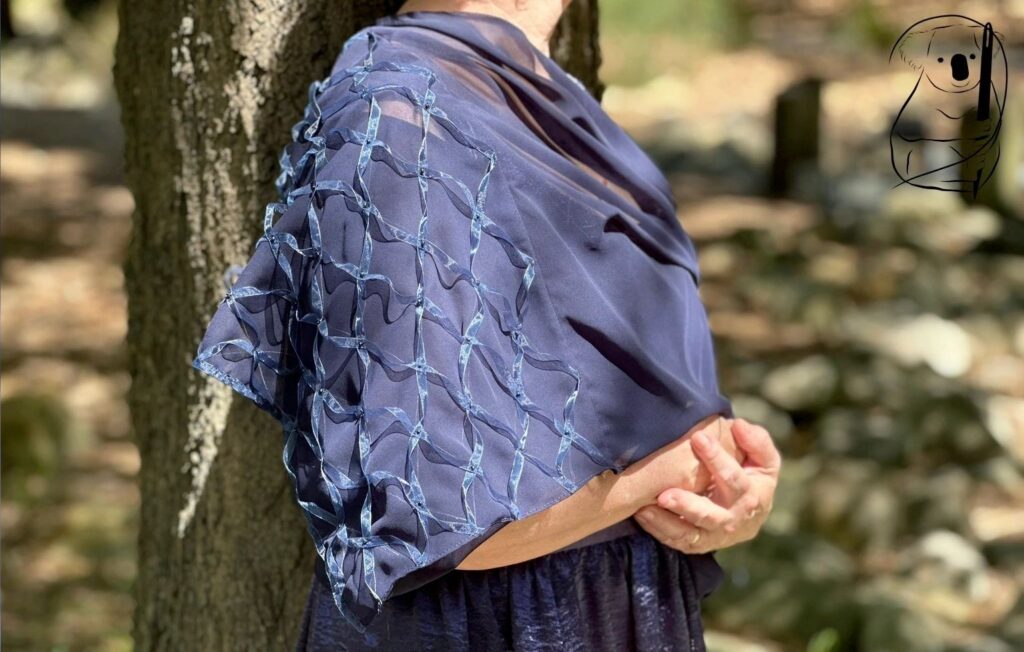
In our last video we looked at making alterations to our pattern. Here we are making 3 accessories to accompany the dress on a special night. The first is a wrap made of soft chiffon and embellished with ribbon and seed beads. The second accessory is a flower made from organza with an embroidered button at its centre. The third accessory is a wrist wallet made from the same fabric as the dress and held on the wrist with fine hat elastic covered in beads. All three are easy and fun to try out, and are beautiful and functional.
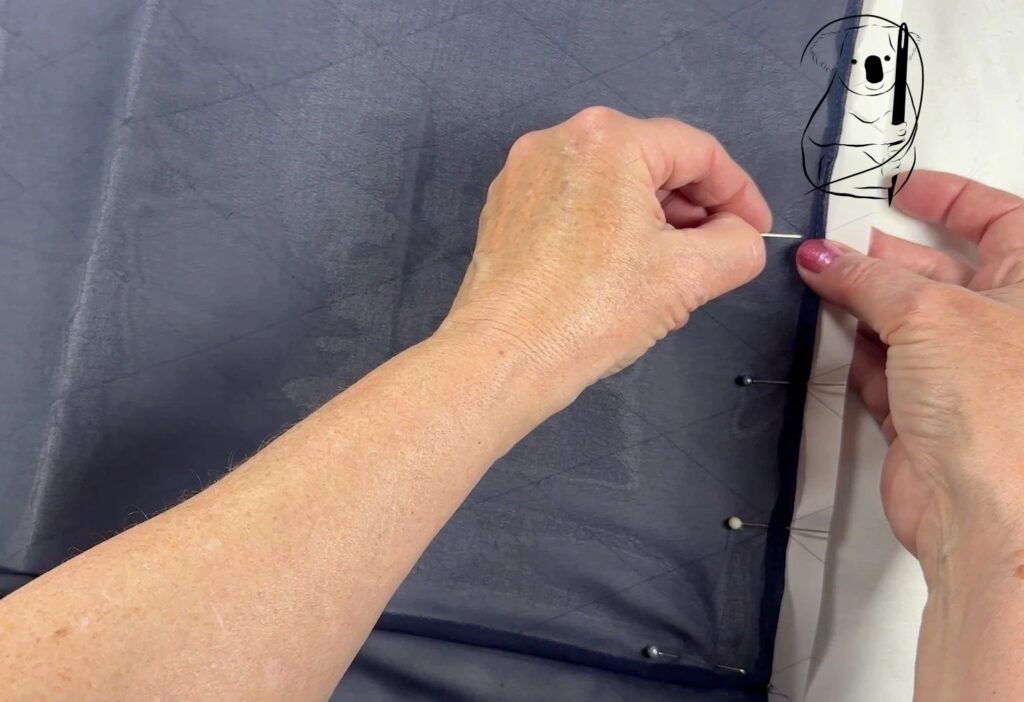
I expected the wrap to look interesting but it is also beautiful with lots of texture and a little sparkle from the beads holding the ribbon in place. This design compliments the bodice in the shape of the diamond pattern and the use of the same beads as before.
The ribbon was 6mm wide and made of polyester. It is stiff and holds the turning back and forth very well, maintaining the textural look of the end pieces of the wrap.
I had just enough ribbon to complete one end of the wrap from a single spool - 8 metres. If I had more I would have run a second line of ribbon along the join seam where end piece attaches to the main piece of fabric.
Wraps may seem a little old fashioned, but they do provide some warmth on a cool night and are very versatile. And this will pack into a bag.
The narrow hem does have a small raw edge on the wrong side. I would recommend hand wash only (especially with the beads being used). If you are wanting a fabric which really resists fraying, try out a crepe or charmeuse. Both are soft but a bit heavier and therefore warmer to wear.
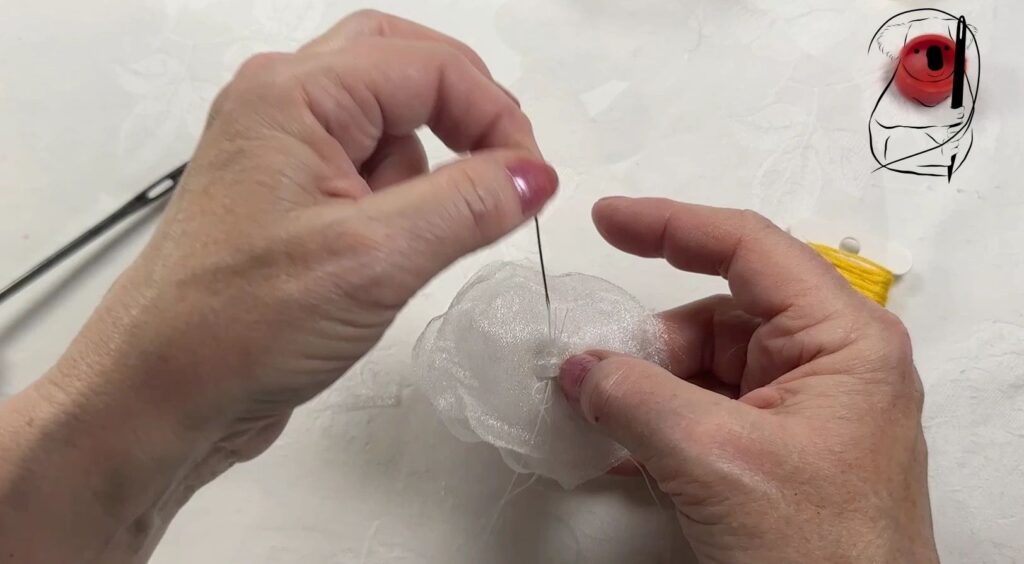
There are lots of methods of creating fabric flowers. This one is very easy and your can make your petals any size or shape you choose, and increasing the number of petals will create more fullness to the bloom.
Flowers can not only be added to your wrist wallet as a corsage, but also directly onto your dress, placed in your hair on a comb or onto your purse or shoes.
Using a button as an anchor for the flower also provides a point of attaching the flower to the wrist wallet or your dress. It can be placed and removed multiple times. When stitching the flower onto fabric, the job will be made easier with a curved needle. I only thought about that after I struggled with a straight needle.
Safety Tip - When using a flame, it's best to move outside onto a flat concrete surface. The candle worked well and doesn't need to be managed as closely as a lighter.
I love the idea of not having to carry around a purse or handbag during a night out. Along with the addition of pockets to the actual dress, here is another idea which will allow you have a credit card, house key or a bit of cash on you at all times. Use a safety pin the attach a key to the wallet to ensure it doesn't slide out.
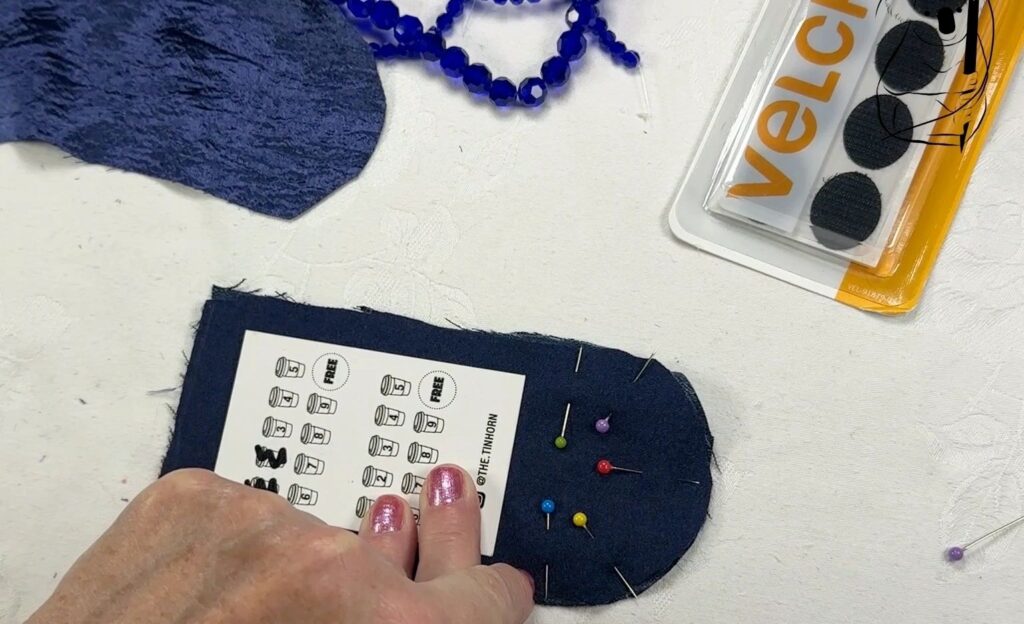
The wallet is made with fabric scraps from the making of the dress, with some elastic and beads. The denim helped to maintain the wallets shape as the dress fabric is very soft and pliable. I chose bigger beads here, as the elastic would never go through the tiny seed beads I used on the bodice. My elastic is finer than normal hat elastic and you will need to find beads which can be threaded onto your particular elastic.
As an alternative, take normal flat elastic, and sew the beads directly onto the elastic after it has been stitching in place. Take several sized beads of the same colour and mix in another shape or coloured bead to cover the elastic.
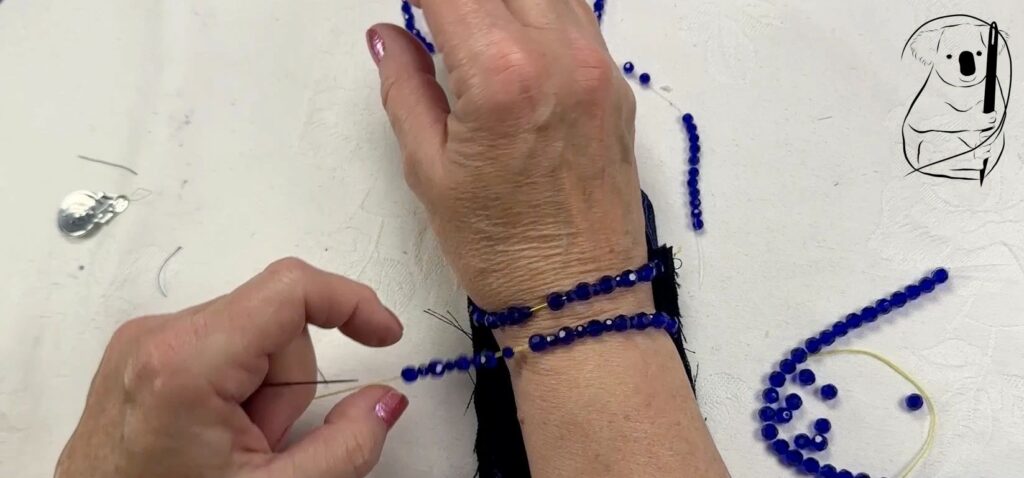
As you can see in the image above, the seam allowance here is small. Keep testing your credit card to make sure it fits as you make up the project. And keep testing the length of your elastic as you move up the arm.
As you thread the elastic with beads, stretch out the elastic a bit. Extra beads need to be slid onto the elastic so when worn the elastic remains mostly invisible.
Try to match the colour of your elastic as closely to your beads as possible.
For a closing ,I used stick on velcro tabs. These worked very well and the grip they had on the fabric was strong and lasting.
Remember that with the beads in place, you cannot use your sewing machine to sew down the sides of the wallet. This whole project can be sewn by hand with just a few of our basic stitches. It's easily achievable for the beginner.
Enjoy the evening!
Watch the Video - Let's Make a Prom Dress 1 - Choosing the Pattern and Fabric - Skye
Watch the Video - Let's Make a Prom Dress 2 - Tips to make your Dress - Skye
Watch the Video - Let's Make a Prom Dress 3 - Adding to the Dress - Skye
Watch the Video - Let's Make a Prom Dress 4 - Accessories for the Dress - Skye