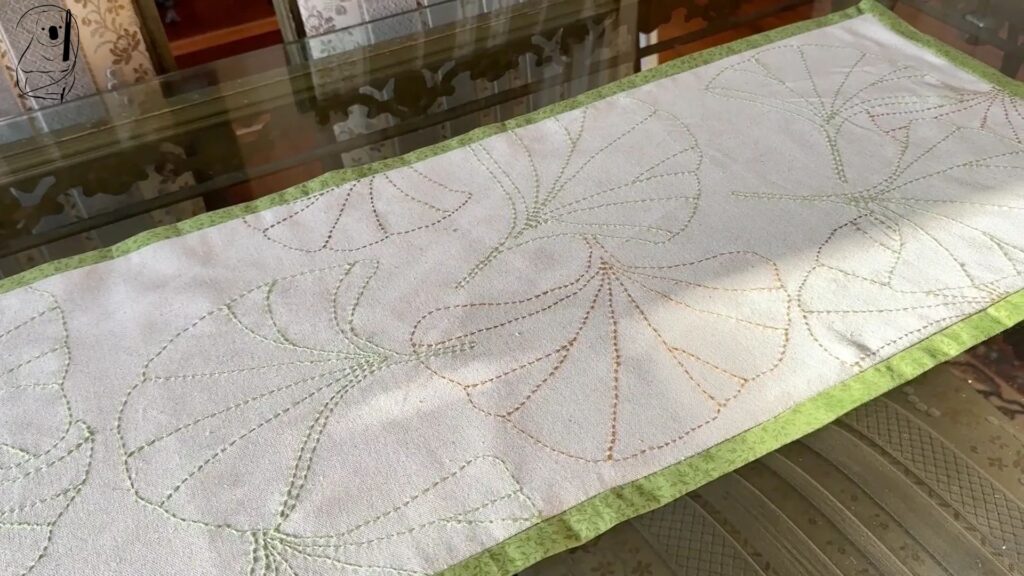
This has already become one of my favourite projects. Not only is it used every day, it looks great, feels great and has a quiet, gentle subtlety to it which is warm and inviting.It is completely washable and will last for years.
I made this in colours which match my dining room. the main fabric is a pure linen in a natural colour. The backing is quilting cotton in a colour which matches the green Sashiko thread used and has a very small pattern without many visible details. I don't want the backing fabric to detract from the Sashiko work.
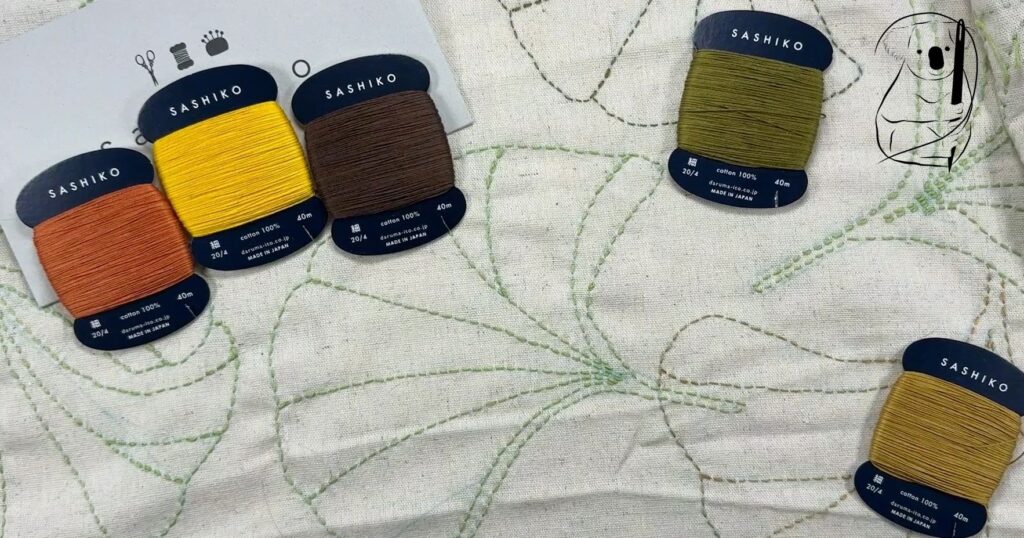
My Sashiko thread came from two sources. The green thread is Olympus Sashiko thread and I bought it for it's fabulous colour. The other 2 colours came from a set of Daruma Sashiko threads which are Autumn colours in a package! This is a great combination of coloured threads which reflect the changing colours of leaves as trees prepare for Winter. You can find a link to these sets in Amazon at the end of this blog.
There are other colour combinations available if you want to explore the possibilities of using different colours in your Sashiko projects. The ply of these threads does appear to be slightly different from the Olympus thread but in the finished result I couldn't see any real difference in the stitched leaves.
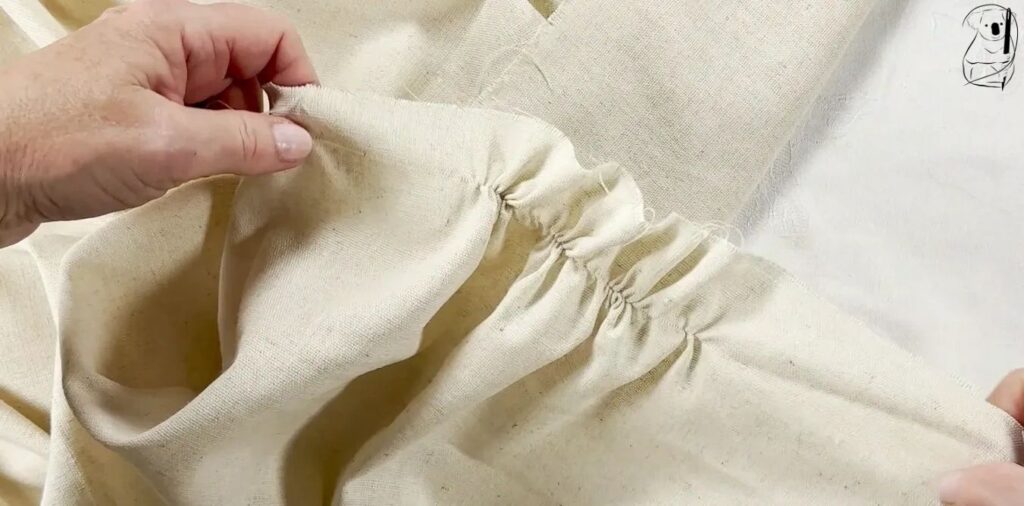
It is important to cut the linen in along the thread line. I need this piece to lay flat on the table and look square at the corners. To achieve this I pulled a thread in the fabric. When looking at the fabric I thought that the fabric store had cut a pretty straight line off the roll. I was wrong. Looks can be very deceiving.
As you can see in the image to the right, the off set from straight was substantial in my short length of fabric.
The measurements for the linen were 1008 mm by 345 mm.
The measurements for the cotton were 1015 mm by 410 mm.
This allowed an additional 5cm around the linen for the binding - half of which will be turned over to the back and some will also be lost in the seam allowance.
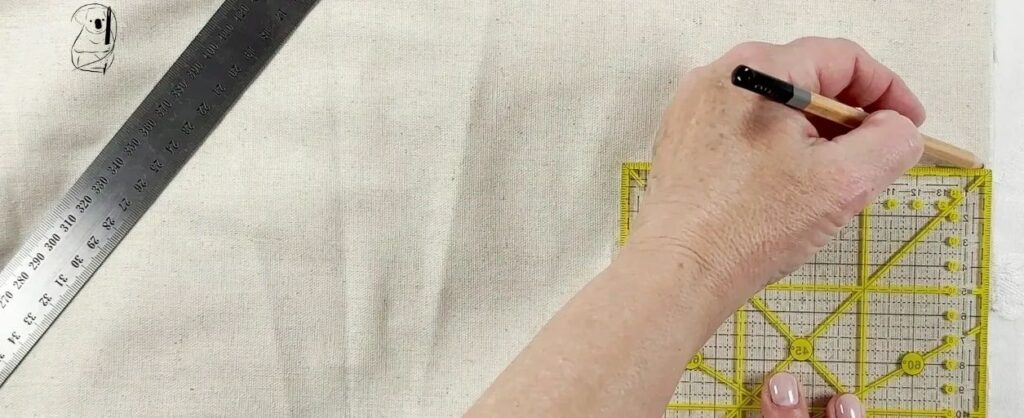
This sizing looked appropriate for my 6 seater dining table. You should consider the size and shape of your own table to determine the dimensions of your fabrics. I estimate that my table runner covers about 1/3 of the table top. It is sufficient to speak to it's own visual weight and still allows people to sit at the table and not have to put cups and plates on the runner if it is not moved out of the way.
If you change the size of your runner to suit your own table, consider that the binding size may also need to change. If you increase the size of the runner, then the binding edge may need to be proportionally larger/wider as well.
To make sure the corners are right angles, I used a quilters square to mark out from the edge.After cutting the linen, I used this square again to mark 1cm boxes in each corner. These boxes come into play in the construction of the table runner later.
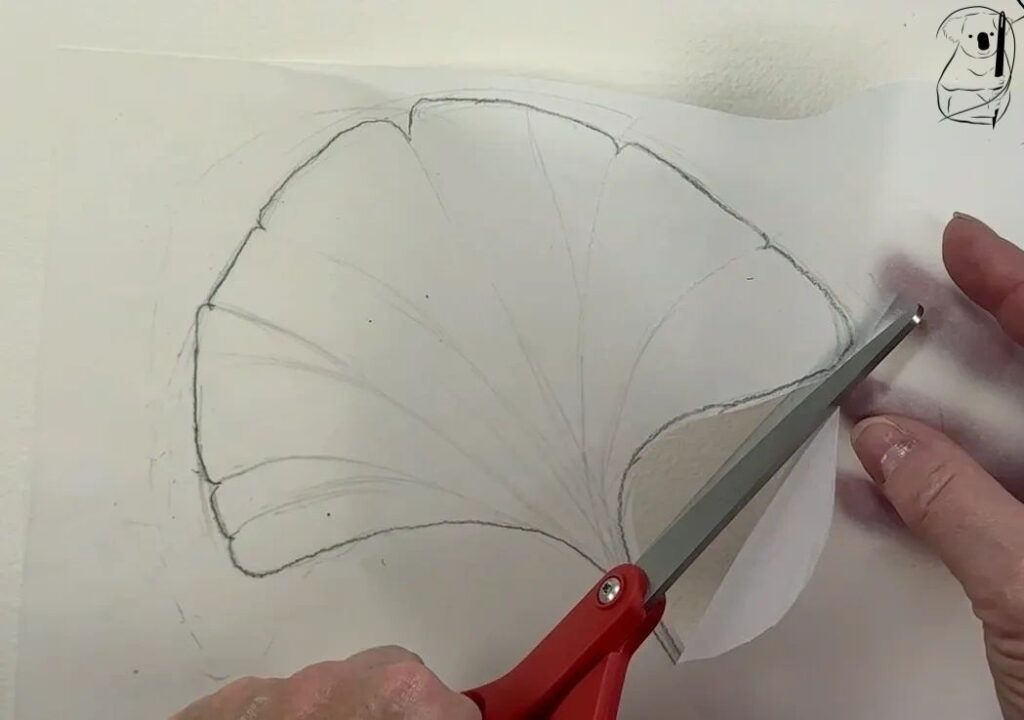
You will find the patterns for the Ginkgo leaves in our Resources Section in this website.
There are 4 different leaves available. They are large enough to allow for the Sashiko stitching lines to be clearly visible and provide a good scale for the size of the project. I simply cut the shapes from tracing paper. Using a wash away marker pen I traced the shapes onto the linen working from one end of the fabric to the other.
The leaves should have a scattered look, much as they would look naturally on the ground. There are gaps between some leaves, some overlap and they lie in all directions.
The colours selected for the leaves were brown for leaves lying underneath others, green leaves for those laying on top of others and a few golden leaves which lay somewhere in between. The Daruma thread packet offers more colours to choose from, but too many colours will confuse the pattern. You may simply choose to use one colour only.
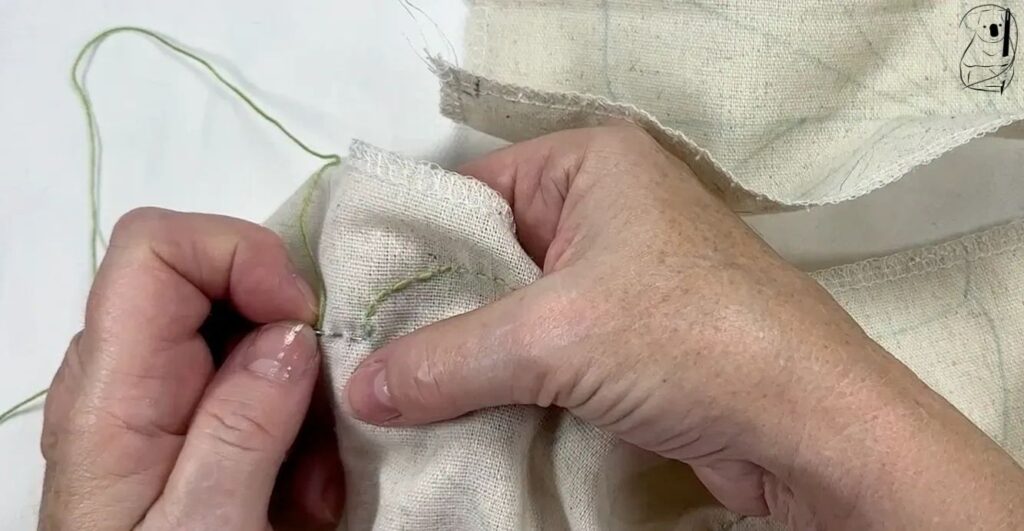
To start your No Knot Sashiko stitching, come from the back of the linen and stitch 3 stitches in reverse along your stitching line to the start of the pattern line. When pulling the thread to the front, leave a "tail" of the end of your thread about 1 inch or 2 cm hanging out the back.
As always be sure to massage the thread 2 or 3 times with your finger to ensure that the tension is not pulling the fabric. If the fabric is being pulled, puckering will result which will become more pronounced as you work the piece.
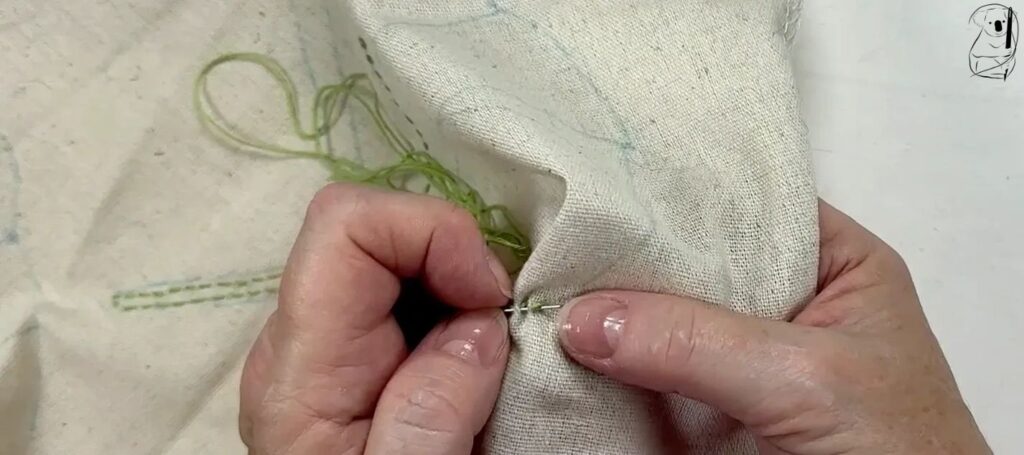
When your first 3 stitches have been completed, turn the fabric and now work forwards in the direction of the stitch line. Make another 3 stitches each one using the holes created by your first 3 stitches. Pull the thread through and again massage the thread to ease the tension. Then continue stitching along your line in the forward direction, keeping the stitches even and the tension checked. The additional bulk of the extra thread at the start of the stitch line is hardly noticeable.
When you get to the end of your stitch line or thread, repeat this overlap. When approaching the end of the line, stitch the last 3 stitches normally to the end, then turn your fabric. Then stitch in the reverse direction using the holes made by the last 3 stitches for needle placement. Again when cutting the end of the thread at the back of the fabric, leave a "tail" about 1 inch hanging at the back.
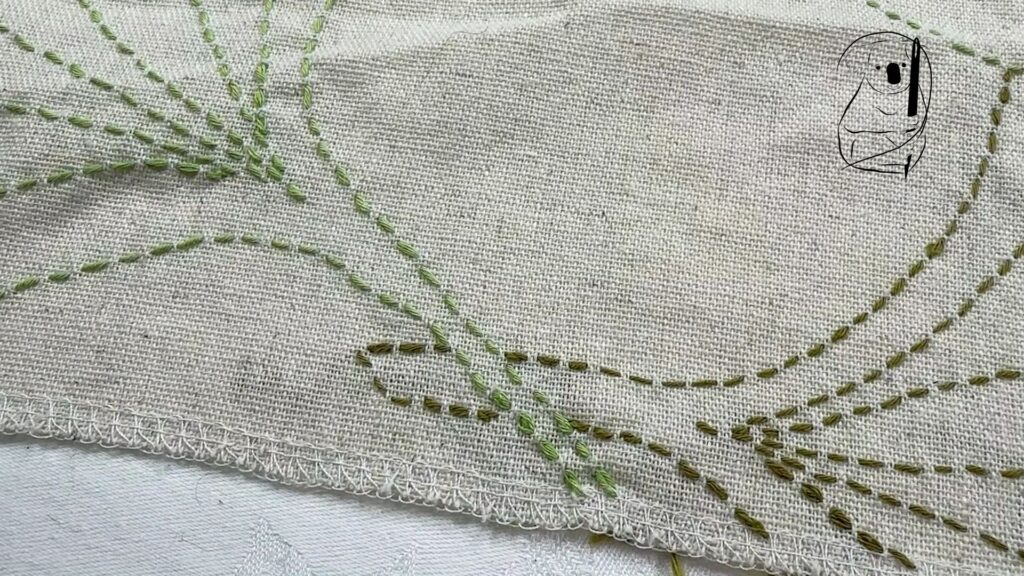
I tried a couple of different approaches when stitching the leaf veins. After a few variations, I settled on working the central vein first to keep the centre of the leaf throat symmetrical.
The centre vein was worked furthest down the throat and the adjacent veins were started from a little further up the throat. This resulted in the V shape of the veins down the throat.
In the image to the right you can see how this looks . I think the V shape looks much better than a leaf where the veins all finish in a straight line.
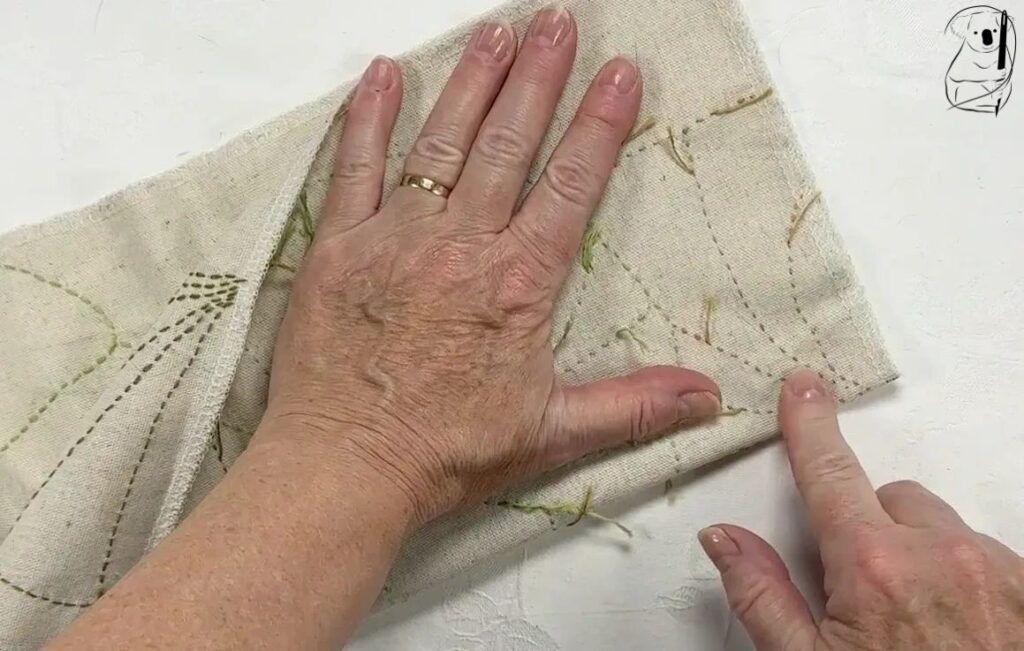
Once the leaves have been completed, it's time to make up the Table Runner.
Firstly, find the centre points of each side for both the linen and cotton fabrics. Making sure that your rectangle of fabric is square at the corners and opposite sides match exactly will make this easy. Starting with your straight cut along the first edge where that thread was pulled ensures a good foundation to obtaining the right shape.
I found the centre points accurately by folding each edge in half, and marking the halfway point with my marker pen.
The corners of the linen should be marked with a 1cm box. I used my quilters square to do this and I used a permanent pen to obtain an accurate, fine line. The lines will be hidden inside the binding so the pen marks should be invisible.
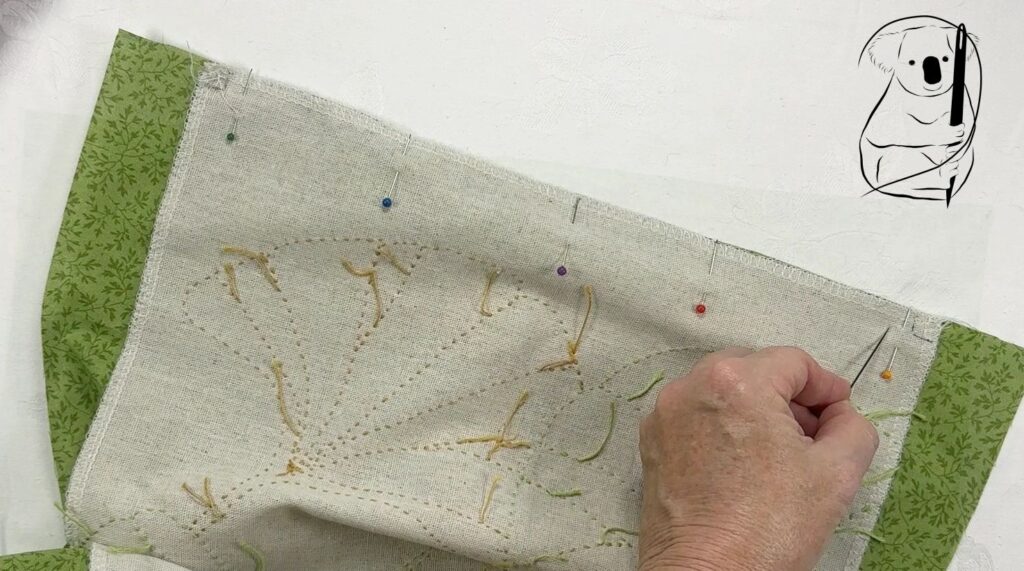
Starting with the short sides. I pinned the centre marks on the linen and cotton together, then moved to the corners pinning the two fabrics together.
The stitching line runs from the box edge on one corner to the other box edge at the other corner, with a little back stitching to keep the end of the threads secure. Do not run the stitching all the way to the end of the linen as this will stop your corners from forming properly.
I used my sewing machine for this however if you can't access a machine, then hand sew the seam using Back Stitch.
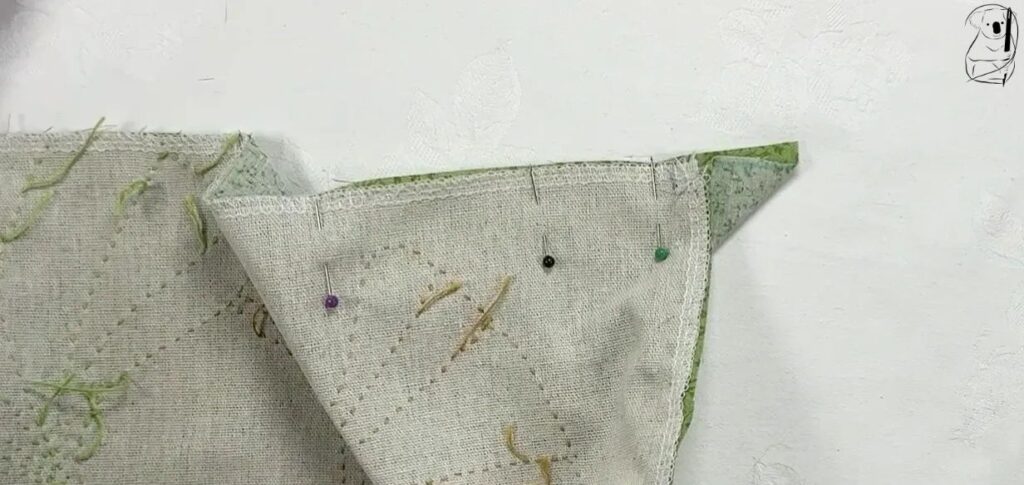
After stitching the short sides, pin and stitch the first long edge from one box on the corner to the other box in a similar way to the short sides.
The 4th side (the 2nd long side) is stitched with a gap in the middle to allow for turning. Take your stitching from the edge of the corner box to the gap with a little back stitching to secure the thread. Do this on both sides of the gap.
You will find a little flap on each corner as shown in the image to the left. Gently smooth this out making sure all the layers of fabric are laying flat.
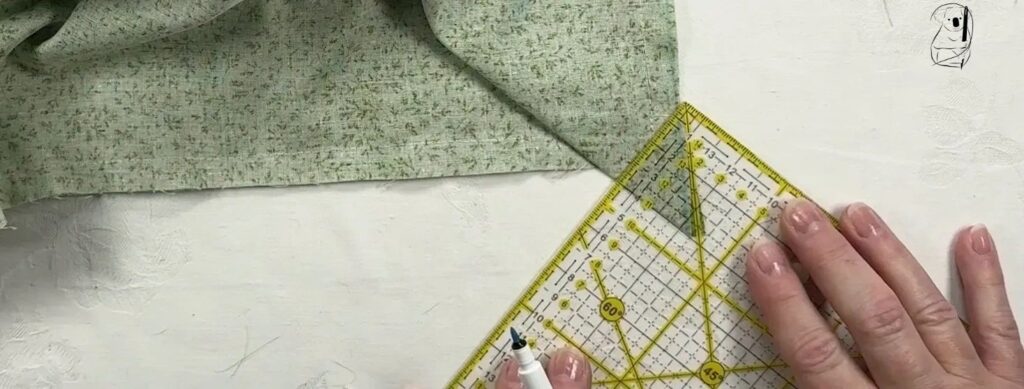
With your quilters square draw a sewing line at 45 degrees from the edge of the fabric. This sewing line should just meet the seam line. Sew along this short line and cut off the remainder of the fabric flap. All 4 corners should be marked, sewn and cut in the same way.
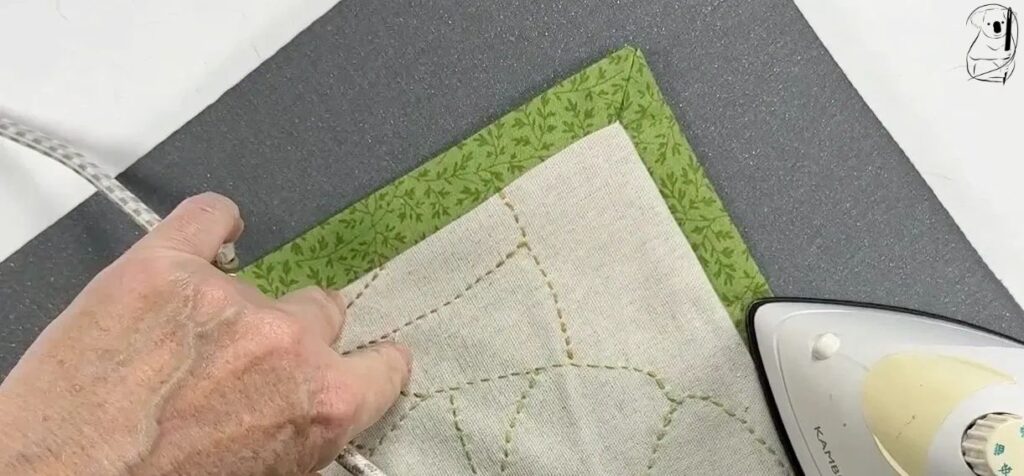
Turn the Table Runner right side out by gently pulling the right side through the gap in the seam on the 4th side.
Smooth out the table runner with your hands once turned right side out, then gently push out the corners to form sharp corners. There are tools made specifically for this task, however I used the non pointy end of a pencil for this.
Once the corners have been shaped, iron the whole table runner - corners, seams, and the linen which still carried a few creases from the original fabric roll.
I also ironed the seam fold in the linen at the seam gap on that 4th side. This made it easier to pin and stitch the gap closed in our next step.
After ironing, I pinned the binding to the linen at the opening gap in the 4th side. Using Whip Stitch and some machine sewing thread, this gap is closed.
The result of this project is beautiful and I get to see it and use it everyday. This was the first time I tried out the method of forming the binding and it is clever and simple. Make sure you iron the fabric pieces throughout the project as it really does improve the finished look of your work.
The linen was lovely to work with as it is a nice weight, is flexible, and has a lovely feel. There is a lot of scope here for you to add your own creativity in the colours used, your backing fabric colour and pattern, as well as the placement of the leaves.
Just love it!
My materials included:
Green Olympus Sashiko thread $10.65
Daruma Sashiko thread 5 colour combo $19.80 - You can find this set on Amazon here https://amzn.to/4a6dPHw There are a few great colour combinations in Red/Pink, Blue/Green, Variegated colours and others.
Pure Linen from $17.50 to $25.00 per metre
Quilters cotton about $15.00 per metre.
Bohin Sashiko Needles Pack of 8 assorted. You can find this set on Amazon here https://amzn.to/4r5E8U5
This blog uses affiliate links for products we have used in this project. If you purchase one of these products we may receive a small commission at no additional cost to you. Our recommendations are based on personal experience and your experience of the products may differ.
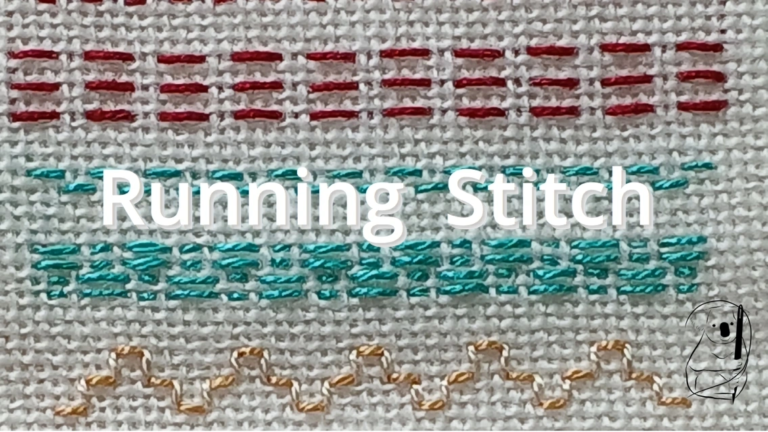
Watch out Running Stitch video tutorial on YouTube
See the Sashiko stitching of the Ginkgo leaves with no knots.
Have a look at the construction of a self binding table runner with our Ginkgo leaves.