
I hope the title of the video did not lead you believe that I would ask you to watch me construct an entire dress. That would be a bit tedious and a very long video. What this Prom Dress Construction video aims to do is provide a bit of insight into 3 of the techniques used in the construction of the dress and provide some tips for success to make the dress making process a little smoother. You will find more tips below in this blog. While the Prom Dress 1 video looks at considerations for fabric and pattern choices, this video aims to assist in the making of the dress. Prom Dress 3 will look at a few additions we can make to the dress pattern itself, such as adding pockets, creating loops at the shoulder to keep bra and petticoat straps in place, and constructing a modesty drape across the front of the neckline and down the back.
Prom Dress 4 will cover 3 accessories, including a sheer wrap embellished to match our bodice, making a flower from organza and creating a wrist wallet. The wrist wallet along with our pockets gives the opportunity for you to go out without a purse which you have to carry or keep an eye on all evening.
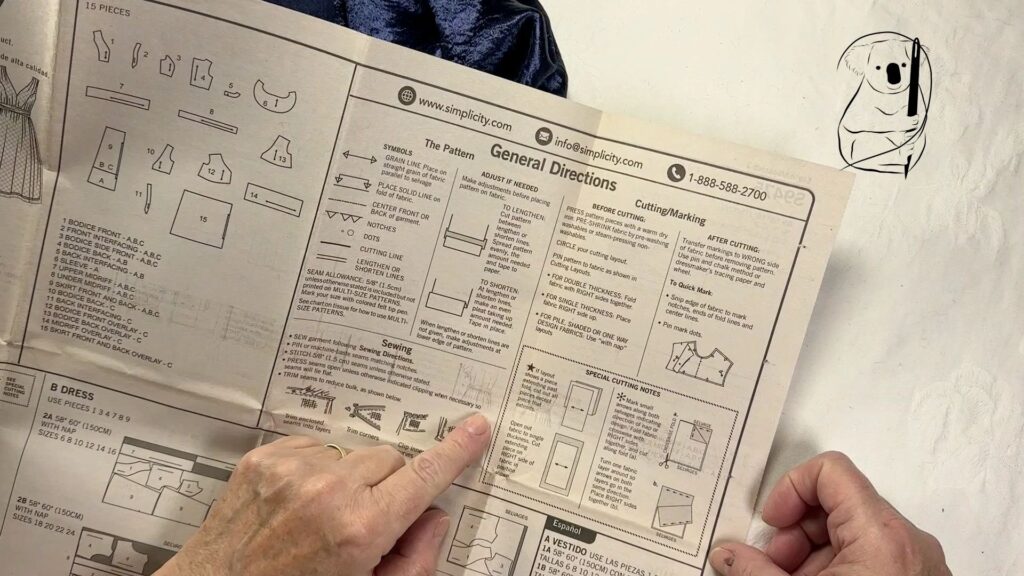
There are detailed instructions provided with paper patterns and overall I found them to be really good.
A couple of points-
The instruction sheet mentions lengthening or shortening the skirt of the dress by using a printed line on the pattern piece for the insertion or removal of length. Unfortunately this instruction seems to be generic and the required line on the pattern was not there. In this instance, I added length to the skirt by adding fabric at the hemline of the skirt. In some patterns, this extra length would be added in the middle of the pattern piece. My main objective here was to keep the curve of the hemline intact while extending the skirt length by my required amount. The method used to lengthen the pattern was my work around, to maintain the shape of the skirt.
The lack of this lengthening line on the pattern, could also be a warning that extending the length of the skirt would be impractical or make the garment simply unwearable. For example a pencil skirt needs to be high enough up the leg to enable a walking motion. A full length pencil skirt could be quite impractical without a long slit up the side or back. In our case the skirt is gathered at the waist and quite flared. Lengthening the skirt worked really well.
The second point, is that the instructions called for a Slip Stitch to be used to close the bodice and attach it to the skirt. No description of a Slip Stitch was in the glossary of printed instructions. As a result of this, a separate video regarding Slip Stitch was also made. You can also find details such as the Slip Stitch on the Patten makers website. If you find that the instructions are unclear or not detailed enough for you, go to the makers website and take a look for further instructions and videos.
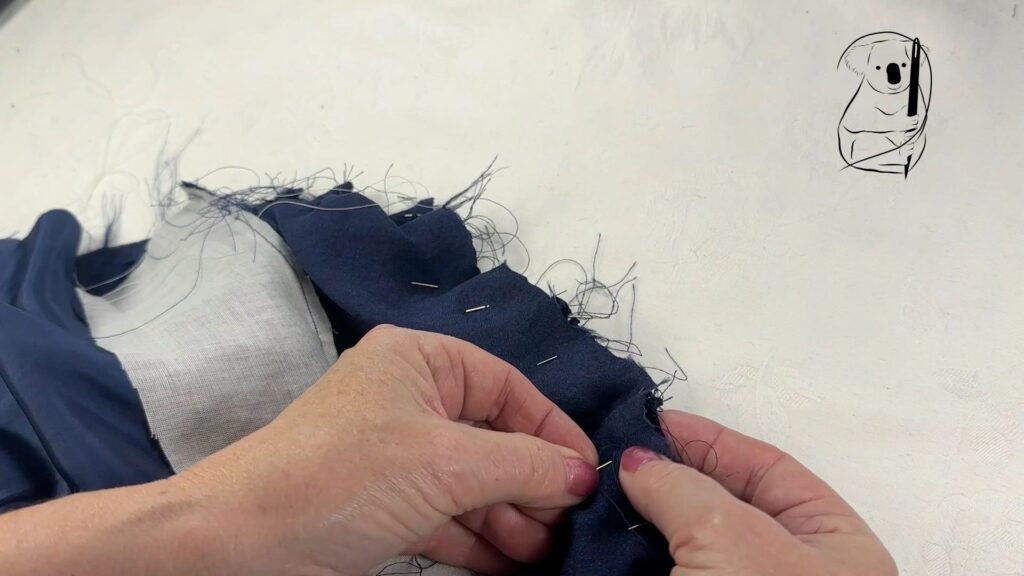
The gathering exercise you see in the video was meant to be a simple process. But actually this part of the video was full of tips. The instruction sheet has a mere 3 brief lines to help you understand how to gather fabric. When you go through the process, it actually is a simple process however knowing a few tips makes it easier and more likely to achieve your required result the first time.
The first line of stitching you see for the gathering was stitched on the seam allowance stitch line. You might find that some of these stitches can be seen after you attach the skirt to the bodice. We all tend to wander off the stitch line a little.
Using the contrasting thread here was a real bonus as it made the removal of the gathering thread much easier to see against the blue fabric.
You will see in the video, sewing over the gathering on the side of the flat fabric will be easier than sewing directly over the gathered fabric. What was not mentioned is to make sure that the gathered fabric is laid flat at 90degrees to the stitch line. All that extra fabric can easily bunch up where you can't see it. So go slowly, and spread the fabric out away from the needle.
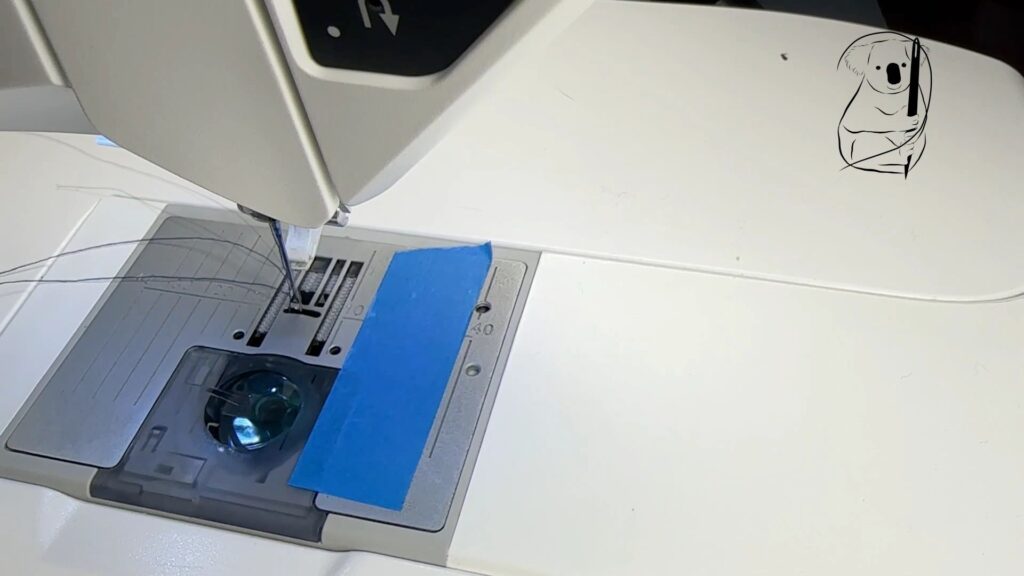
The tape trick worked a treat and you can use it for any project with your sewing machine. Even though you can know where the stitch line should be on the machines plate, it isn't always easy to follow as our focus shifts continuously between the machine, to removing our pins, to moving the fabric along and lots of other distractions. Plus the marker lines on the machine do not really stand out to me very well.
The blue tape really kept my focus on keeping the edge of the fabric at the right distance from the needle.
You will see that the tape partially covered my bobbin case and the tape had to be removed every time the bobbin had to be refilled. Not a huge problem though eventually I had to replace the tape as the corners started lifting up.
I think this is worth doing on all my future sewing projects.
Some Extra Tips
Tip1- Before starting your new project consider replacing your machine needle with a new one and check your pins are sharp as well.
Shiny and delicate fabrics such as those we use in evening wear are easy to snag and pull threads with pins and needles that are in poor condition. I found a lot of my old pins pulled threads in the pebble satin and in shiny fabrics these pulled threads can show up very clearly (and badly).
A new packet of pins is inexpensive. You want your garment to look new and unblemished for as long as possible.
Check which type of sewing machine needle is best for your fabric choice as they are made for different fabric weights and materials. Check with your stockist if in doubt.
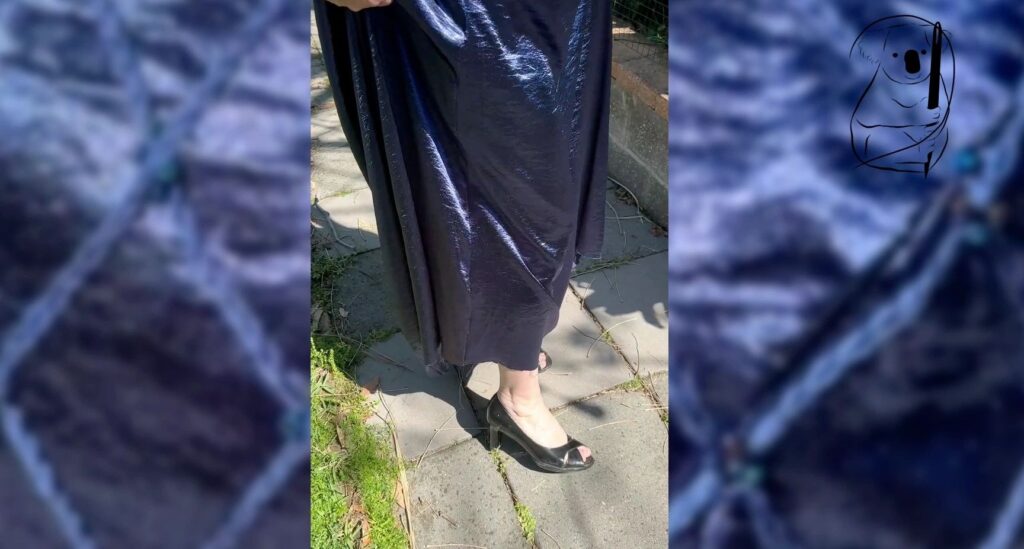
Tip 2 - Before hemming your dress, try out the length wearing the shoes you intend to wear with it.
I thought I would have a lot of extra length to play with after adding the additional fabric to the skirt. Not so! After putting on my heels, I realised that the dress length was only just enough for a hem. There was no room to manoeuvre at all.
When thinking about skirt length and fabric choices, consider that a long skirt will have more weight than a shorter skirt. In this dress, the bodice is fully lined so I did not have to consider overlocking or serging the seams. But the skirt is not lined, necessitating the use of a petticoat. A long skirt, combined with a heavier fabric added to a petticoat, not only increases weight but also warmth.
These factors should be considered when deciding upon which fabric you choose for your dress and where your hemline will sit.
Tip 3 - The use of contrasting thread was useful in the gathering of the skirt. It was easy to see against the fabric background when I wanted to remove it. But you should also consider using a contrasting thread in other instances. For example when basting, we often remove the basting stitches later after we actually sew our pieces together on the machine. You may also want to mock up a few pieces of the pattern to test fit or drape. Using a contrasting thread for this will make it easier to deconstruct the mock up in order to sew the garment for real.
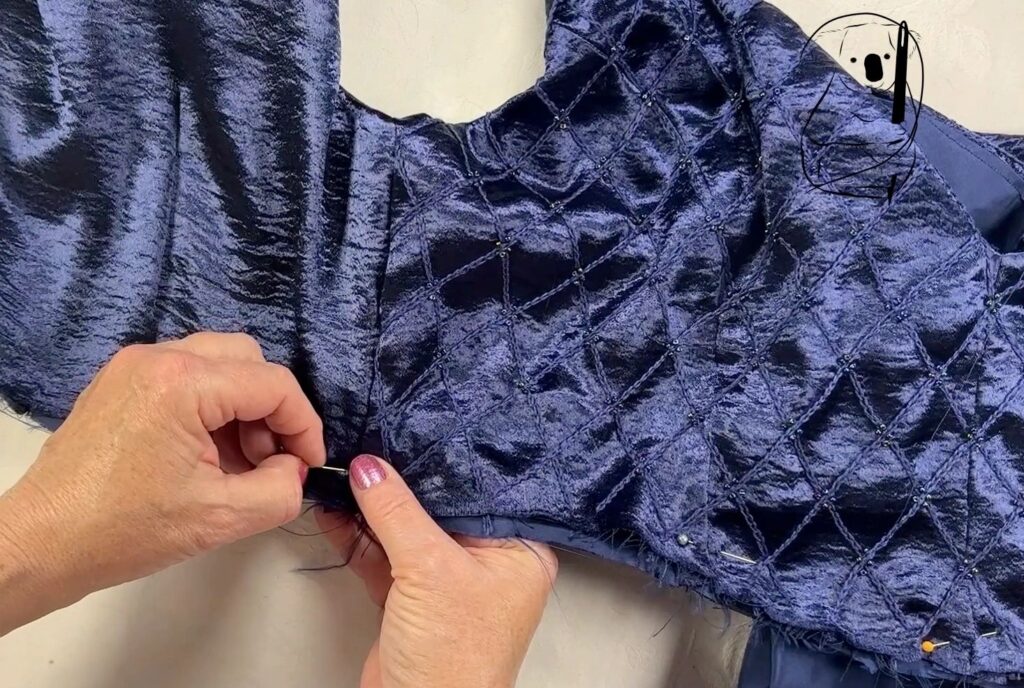
Tip 4 - Embroidering these evening fabrics looks amazing. I tried out my Chain Stitch diamond pattern on a test piece before working on the actual bodice. I actually thought I would end up using the sequinned bodice, but the hand embroidery was beautiful. This was a very effective use of a simple embroidery stitch and a few small seed beads. In real life, the beads catch the light wonderfully which unfortunately did not show up particularly well on camera. You might feel that having a shiny fabric with embroidery has too much going on at the same time. Absolutely not. This dress had fabric which caught the light, gathers at the waist horizontally, and gathers at the top of the skirt vertically. Adding extra details on top of this such as the embroidery looked great, Don't think that you can only add detailed finishes to a basic and fairly plain garment.
Tip 5 - If you are budget minded, then I would recommend adding sequins to your dress. The packet I purchased was $2.00 and I only used a fraction of the packet. I attached each sequin using only 2 stitches in the Eyelet method, so it was really quick. And you can choose your own design with a sprinkle of sequins all over the garment or a concentration of sequins in only some parts. With sequins, less is more. You don't need a lot to make a big impact.
Tip 6 - You will see in the video that stitching the beads onto the bodice after the lining was attached, was an excellent way of holding the lining snugly to the bodice fabric. We can hold a skirt lining to the skirt in a similar way. Sometimes skirt linings can twist and wrap around the legs. If this happens, keep the skirt lining in place by stitching the fabric skirt seam to the lining with tacking on each side. Don't go too far down the leg - just above the knee height is probably a good spot to attach the lining and skirt together.
Tip 7- If you would like to embroider your Prom Dress with threads, beads, and sequins, research your materials before you commit. I loved the deep blue fabric chosen for this project, but had a lot of difficulty sourcing beads in a similar colour. The beads you see here are actually a dark grey colour with an opalescent sheen. Some bead colours are difficult to find, such as dark green and navy. The choices in sequins are even more limited. Compare this to the choice we have in fabrics, which seems to be vast by comparison. So plan ahead, consider some flexibility in your choices and be prepared for a wider search for your supplies.
Tip 8 - When reading your instruction sheet before commencing your project, don't expect the procedure to fall neatly into place and be fully understood. Sometimes, depending upon experience level and pattern difficulty, I find that some instructions and explanations become clearer with the half formed garment in front of me. If you still have doubts, ask a more experienced sewer or look to the internet for video demonstrations.
Tip 9 - The pattern is a basic form and you can add your own touches to it with embroidery and other embellishments. However patterns also often provide opportunities for further creativity, some of which appear only after you open the packet. There is no description of the dress in the packet which surprised me a little so I had no idea on the details of construction when purchasing. An opportunity for further creativity here was the addition of pockets in the front of the skirt which you will see in our next video Prom Dress 3. It was only after looking at the pattern itself that I realised that the skirt is made of 3 sections, with seams running from the hemline to the waist, sitting between the centre front of the garment and the sides of the garment. This is a perfect place for a couple of pockets to carry a few essentials. And the flaring skirt will hide a small amount of bulk here very well. The images of the dresses on the packet do not show these seam lines well at all so I had no idea that this particular addition would be possible until after I started my preparations to construction.
Another addition you will see in our next video Prom Dress 3 is the attachment of a modesty drape across the front of the chest and down the back on each side. It was only after trying on the finished garment that I realised how much skin was showing at the front. This modesty drape is made of 3 drape pieces and 2 epaulets to hide seam lines at the shoulders. Looks great! A word of warning though. A drape is a major addition to a dress, so think about whether lots of embellishment and a drape is just a little too much for the eye to look at. My drape is in a contrasting fabric colour and I think it looks best against a plain unadorned dress.
Tip 10 - Once you have worked through the dress construction consider using your knowledge and skills to rework the same pattern using one of the variations provided. This pattern was modified for formal evening wear. Try out the pattern for day wear. Try a different kind of fabric, or different embellishments. Add sleeves for some sun protection or add an overlay of lace for a celebratory event. Quite often Prom dresses are worn only once so think about getting better value for money from your pattern purchase by reusing it several times.
Tip 11 - Give yourself time to select your fabrics and pattern, and sew the garment. My fabric store is always running sales on its fabrics sometimes with 40% off full price. This saves a heap of money as a long evening dress generally uses more fabric than your everyday dress. Time your purchases with sales weeks. Preparing early also gives you more time to source your embellishment requirements and accessories. And for the beginner seamstress, sewing once step at a time and not rushing the process helps not only your learning of the craft but should assist in maximising the best results you can achieve.
Have a great time at Prom!
Watch the Video - Let's Make a Prom Dress 1 - Choosing the Pattern and Fabric - Skye
Watch the Video - Let's Make a Prom Dress 2 - Tips to make your Dress - Skye
Watch the Video - Let's Make a Prom Dress 3 - Adding to the Dress - Skye
Watch the Video - Let's Make a Prom Dress 4 - Accessories for the Dress - Skye