
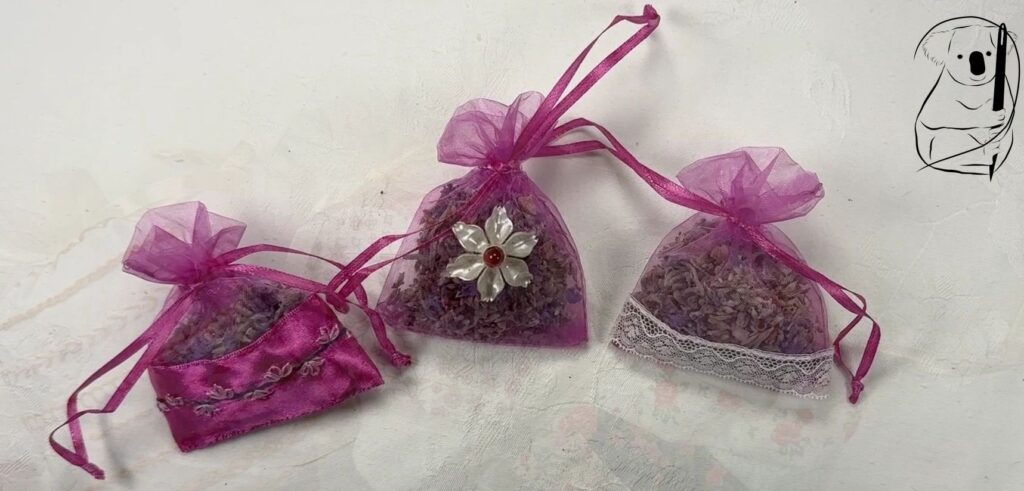
Here is a great idea for Mum on her special day. Organza sachet bags to hang in the wardrobe on a coat hanger, and larger organza bags to store delicates for the drawer or for travel. To decorate these bags, we are using only what we have on hand in the sewing room and our imagination. From to beginner to the experienced sewer, here are some quick, cheap and easy gifts to make to show off your skills and personalise a gift for the special mum in your life.
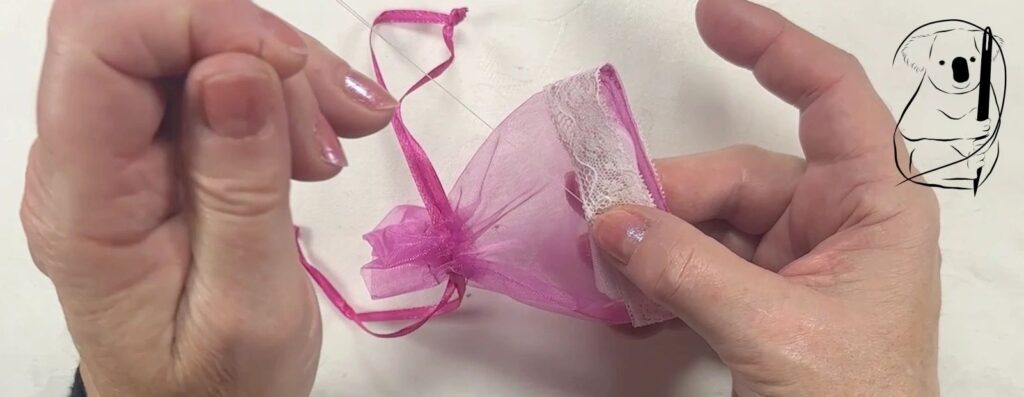
Our first sachet, is very simple. A short piece of lace is pinned to the bottom of the bag and stitched onto the organza with Back Stitch. There is a little overlap of the ends of the lace which is also stitched down. Here is am using white sewing machine thread however a single strand of DMC floss would also be suitable.
It is very easy to catch both sides of the bag during stitching. As you can see in the image below, I put a cotton ball inside the bag to ensure my needle only picked up the upper most fabric.
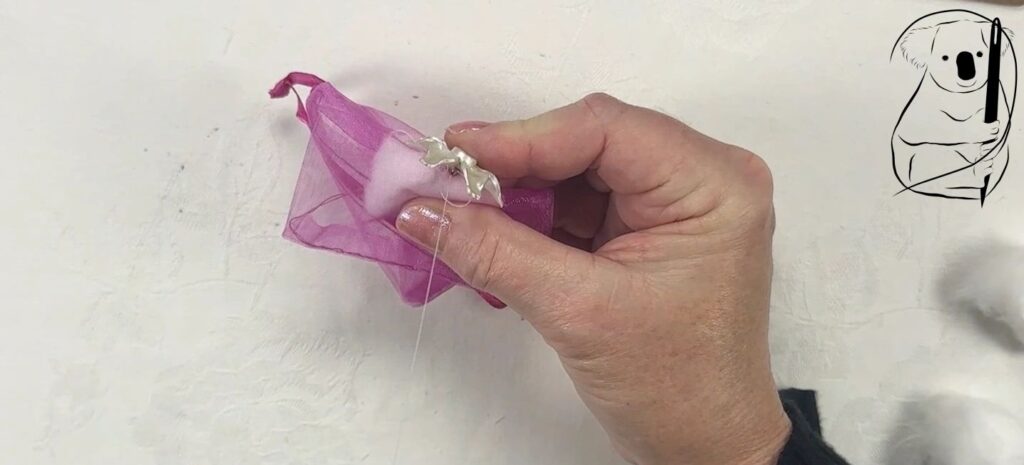
Our next bag showcases a button which is quite decorative. I only have one of these so it's a good way to use up an odd button. It is also such an unusual shape for a button that I doubt I will ever use it on clothing.
As you can see from the video, the pointed petals love to catch on the thread and would be quite difficult to put through a button hole. The centre of the button has also lost a bead or pearl, so I used a heated glue gun to replace the missing piece with a bead from my stash.
If you have a few matching buttons, you can make a set of lavender sachets with the same decoration.
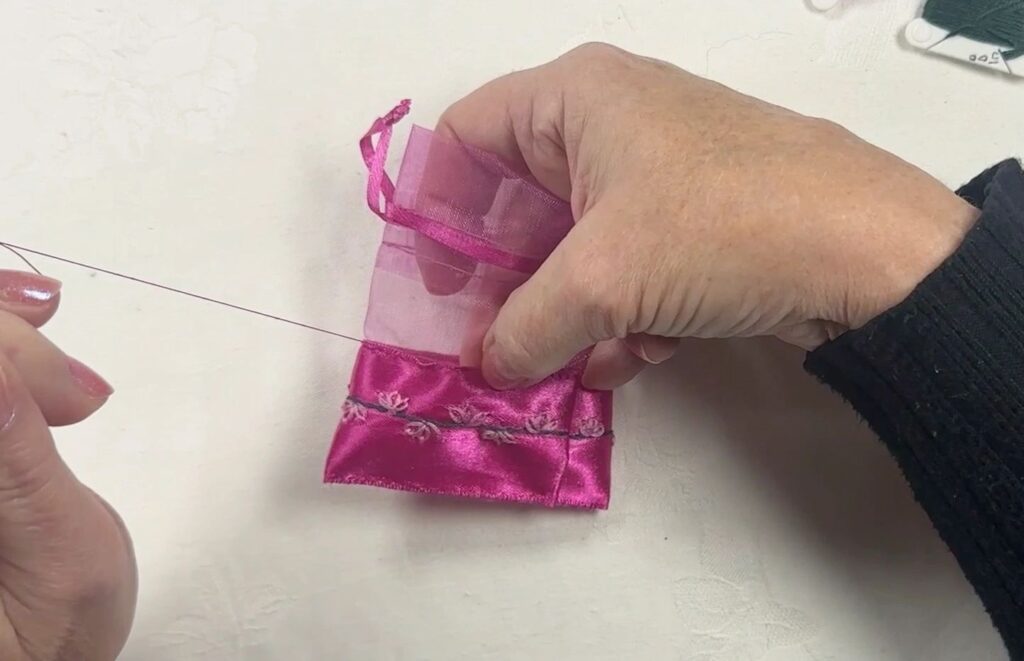
I was lucky enough to have a ribbon that matched the colour of my pink bag. Heavy and wide enough to embroider, it is a lovely contrast in texture to the organza. Here I have embroidered a simple pattern using Stem Stitch and Lazy Daisy Stitch, or Detached Chain.
This ribbon was pretty frayed at the end, however as these bags will not be exposed to wear I simply cut off the frayed edge and turned it under.
The lower edge of the ribbon was stitched to the base of the bag using Whip Stitch passing through all layers of the ribbon and bag. The top edge of the ribbon was stitched onto the bag with Back Stitch.
Use a matching or contrasting ribbon to trim the bag. Pick out your favourite stitches to show case your talents. Or, if your ribbon already has a pattern or texture, simply stitch it on - no further embellishment required.
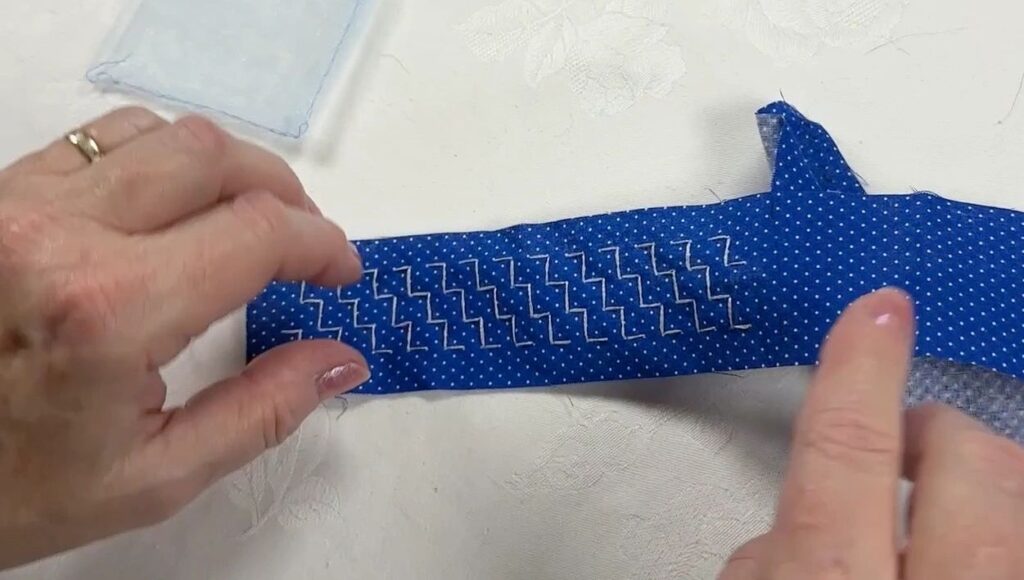
This quilting fabric easily lends itself to the Sashiko style of stitching. The dots mark the spacing of the stitching accurately and the result is even stitching.
Here I have used a single strand of DMC floss in a pale blue. The fabric is pinned to the bag and stitched down with a simple Running Stitch.
This is a great option for a special friend or relative who appreciates geometrics and straight forward designs.
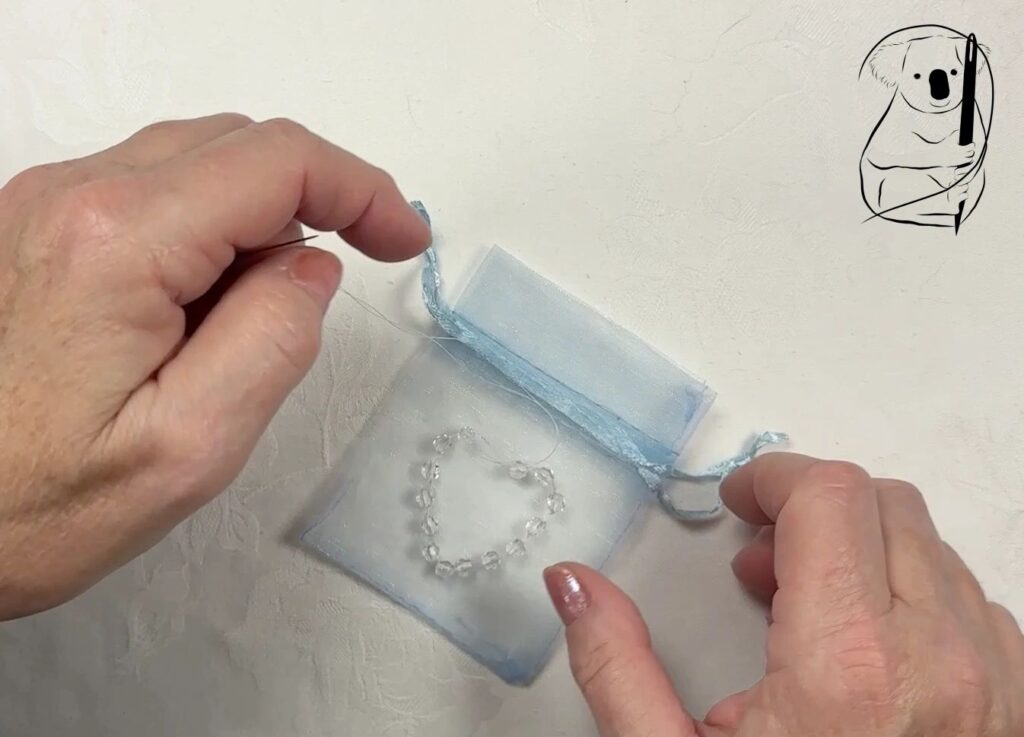
This bag is really pretty and elegant. The beads were light plastic without much weight and you can see me trying to pull them tight to sit flat against the organza. They did have a tendency to slide about on the thread.
Start near the top of the heart shape where it dips down. You want to have two beads sitting equal distances from the top centre. They can't be too close or they will touch each other . At the bottom point of the heart, I managed to place a bead right at the point.
You will see when this bag is finished and filled with cotton balls, the heart shape is somewhat lost. Keep this in mind when placing your decorations. The gathering of the top will change the look of the decoration if it is too close to the top.
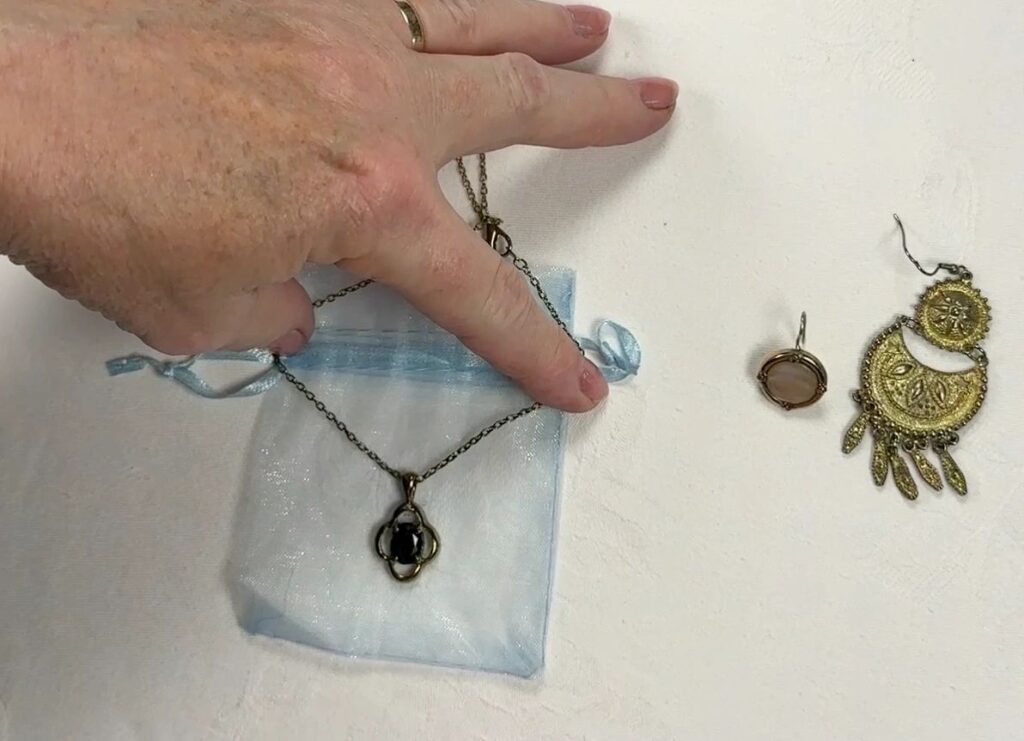
We all have a piece of jewellery we no longer wear, or that single earring that has lost its partner. Why not put it to good use. On the bag to the left I have stitched a necklace onto the front of the bag. I didn't want to cut the chain so have simply draped it into the bag and it sits hidden amongst the cotton balls inside.
I did consider earrings which you can see in the image to the left. The larger one was simply to heavy for the fabric and the swinging parts at the bottom of the earring could possibly catch on garment fabric.
I stitched the pendant onto the organza with my sewing machine thread through the loop which carries the chain. I tried to stitch my thread through the chain links but the holes were too small for the needle. So the chain is attached with a Whip Stitch around the chain from the pendant to the corners where the drawstring sits.
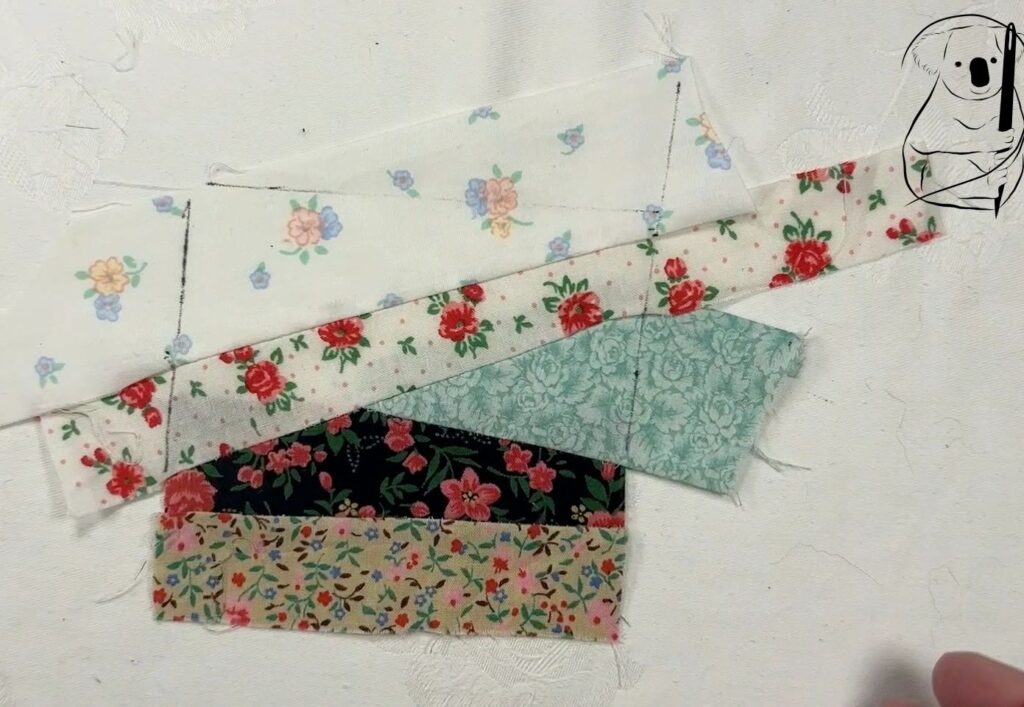
The larger organza bags are designed to be under garment and sock bags, for an overnight trip or to store delicates in the drawer. The crazy quilt idea is one I have been meaning to try and was a great way to use up really small pieces of fabric I have on hand. The theme here is floral however you could choose your own theme such as geometric or colour combinations.
I pinned and stitched the pieces together using Back Stitch both forward and then turned the fabric around and restitched back to where I first started. This provided extra support to the seam for ironing.
After each seam is stitched, the piece was ironed. After the last seam was stitched the whole piece was ironed front and back.
You can see on the right I have drawn in cutting lines to trim the piece to a square. When cutting out your square, make sure you don't clip off your stitching or the seams will unravel. Extra fabric at the back was also trimmed to reduce bulk.
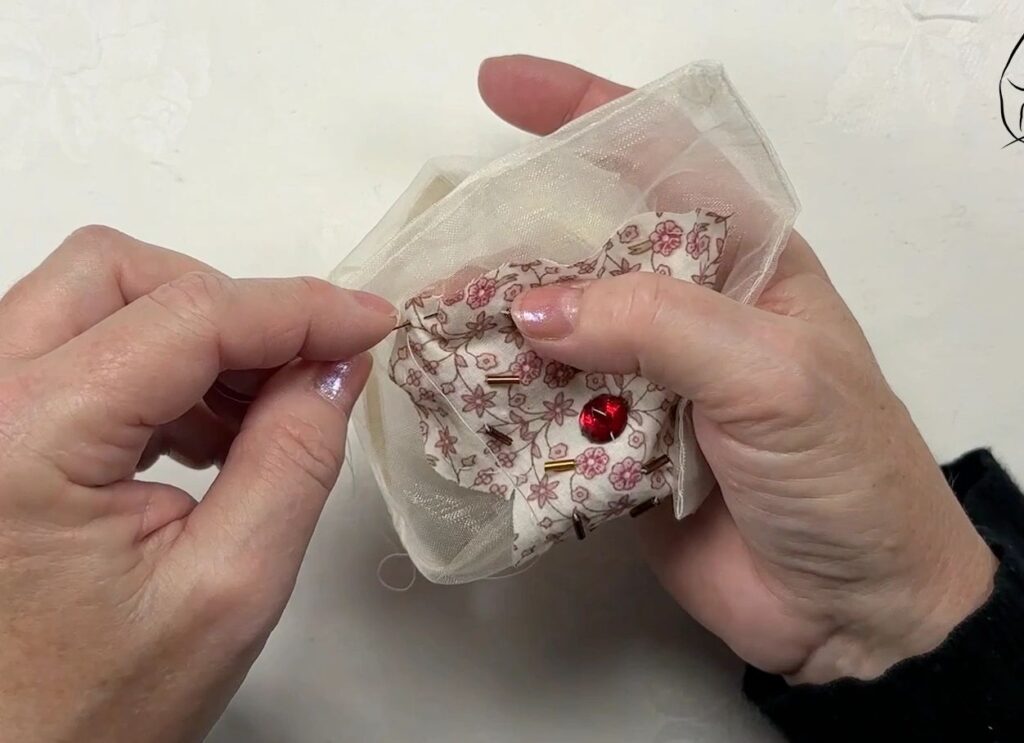
We have tried sewing beads directly onto the organza, now we are placing beads onto fabric which is then stitched onto the bag.
This is much easier as the fabric is much more pliable that the organza bags and I'm not working from the inside of a small bag.
The organza itself was inexpensive and not easy to work with. It felt stiff and the small bags have little room to manipulate the bag when stitching.
These beads do not need to be placed close together which means I didn't need many of them. The ruby bead in the centre was a highlight to add extra interest.
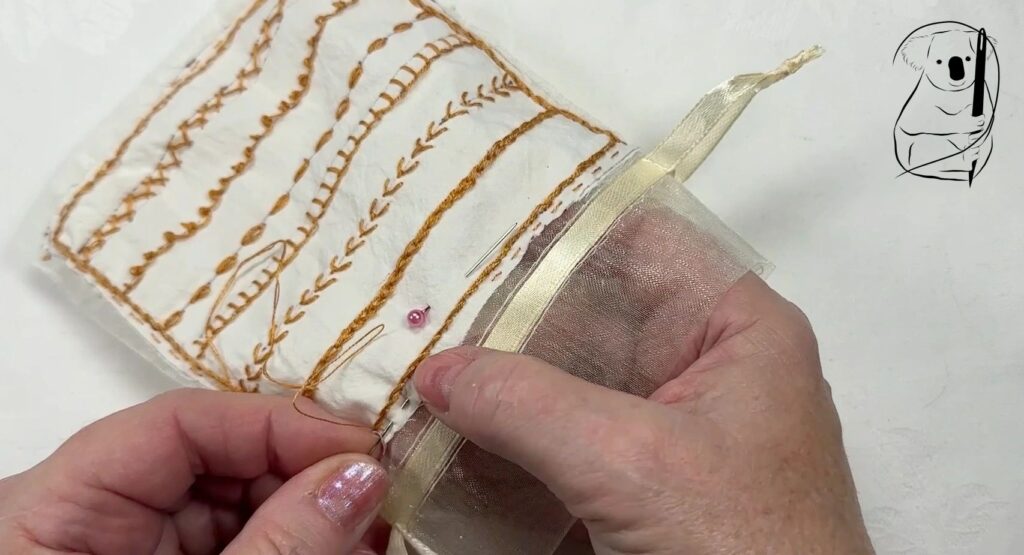
Our third under-garment bag displays some of the stitches we have tried out in our videos. This is a way to create something truely personalised which shows your learnings and skills.
You select the stitches, the colours, and the shapes of the stitch lines you put onto the fabric. Here I have used a piece of an old bedsheet which I keep for practice samples and testing.
The stitches here include Chain Stitch, Fly Stitch, Blanket Stitch, Detached Chain, Scroll Stitch and Herringbone Stitch. The border is made from Stem Stitch and the whole piece is attached to the bag using Running Stitch.
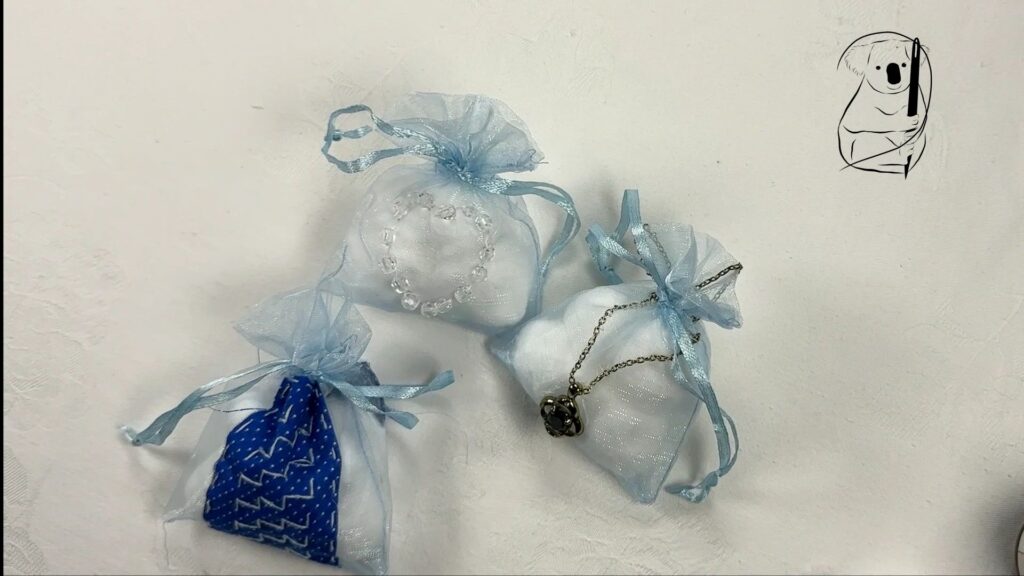
I have filled the blue sachet bags with cotton balls, one of which had lavender oil on it. Don't overdo the oil as you don't want this to possibly mark the garments with oil.
The oil, bags and cotton balls are all available at my local discount store so are pretty easy to find.
You may prefer to have a more natural product next to your clothes. With this in mind I filled the pink bags with dried lavender flowers. They shouldn't have chemicals in them and the scent does last a long time.
I searched for dried lavender locally but was unsuccessful. I would recommend that if you have a lavender plant or know someone who does, it is worthwhile to obtain some flowers to dry and keep on hand for projects such as these.
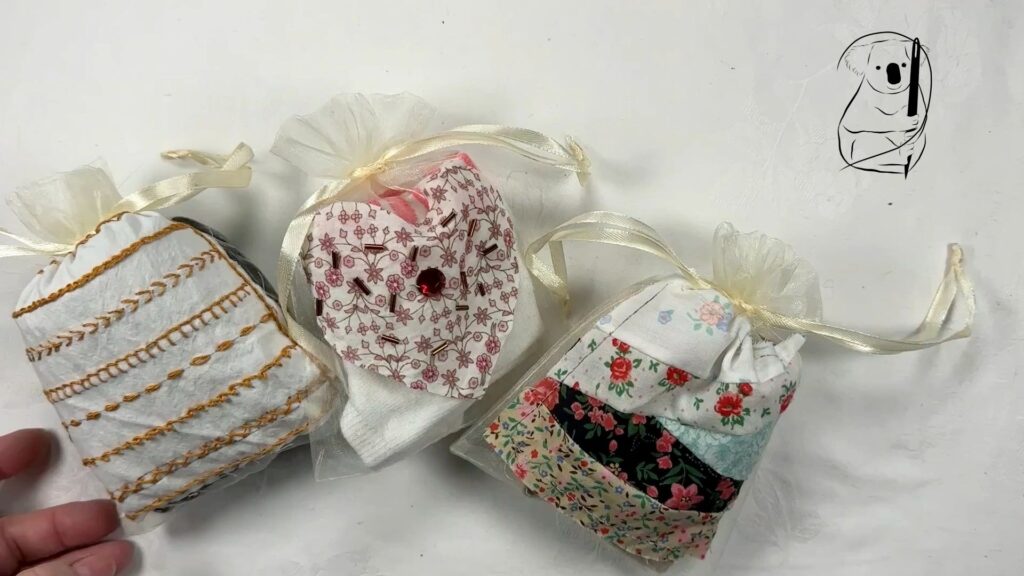
I hope you get inspired with some of these ideas to create your own gifts for someone special, not just mum on Mother's Day. Looking through my stash gave me great ideas which were quick, easy and cheap. The gifts reflect the maker and the recipient and are useful for both special occasions and for everyday.