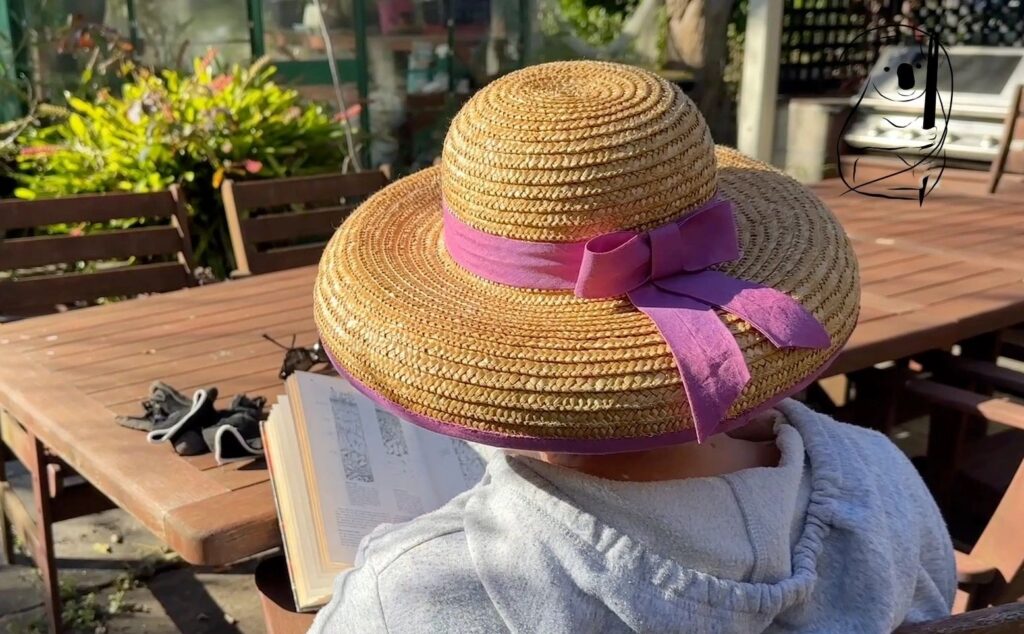
This was a great little project and a bit of an experiment for me. My old garden hat was grubby and well worn but still in good basic shape. The wide brim and firm shape make it great for outdoors. I have never taken a hat apart before so the refurbishment was interesting and refreshingly straight forward.
As you can see from the video, the old ribbon was stitched on at the brim and glued on around the crown. I attached the new ribbon using the same methods.
Removing the old ribbon was straight forward. After removing the brim ribbon there was quite a bit of broken straw come away from the hat. Straw does not like to be sewn. It breaks and crumbles if it is over stitched or excessively manipulated.
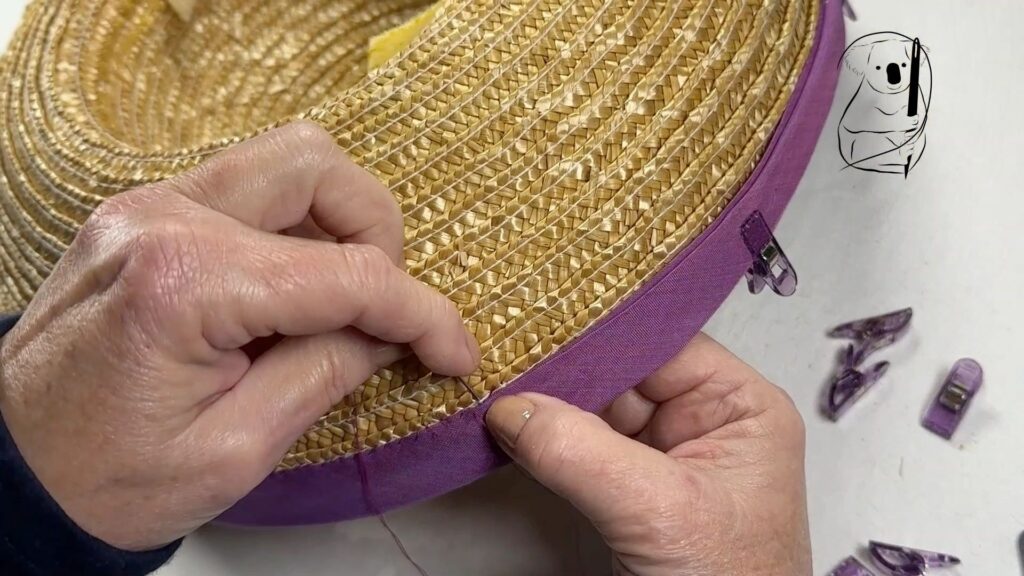
My purple ribbon used here is a cotton bias ribbon of 2 layers. The bias was particularly useful in managing the curve of the brim without causing puckering. This was a scrap I had on hand and was lucky that I had enough for the project. By adding the bow, I was able to fully utilise all the ribbon I had.
It was also wide enough to allow for sewing into the original stitch lines in the straw. One side of the ribbon was sewn to a stitch line on the outside of the brim and the other side of the ribbon met up with another stitch line on the under side of the brim.
This worked out so neatly that I would recommend searching for a ribbon which is wide enough to reach 2 stitch lines.
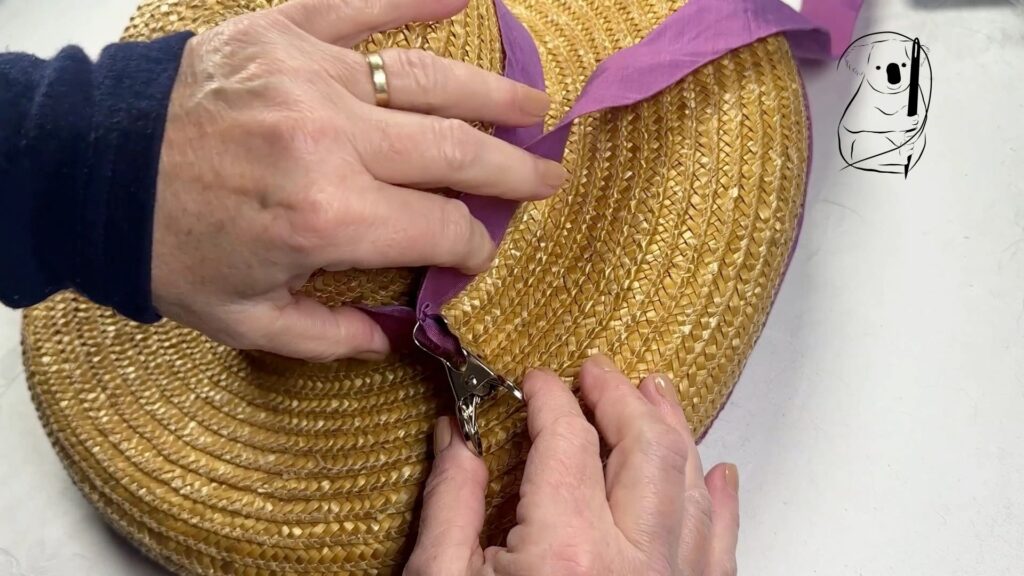
You will also see in the video that I used quilting clips to hole the ribbon in place. These clips have teeth to grip ribbon or fabric and it did mark the ribbon in this case though not permanently. If you do use these clips I would not recommend them to hold a velvet ribbon which is much easier to damage and crush.
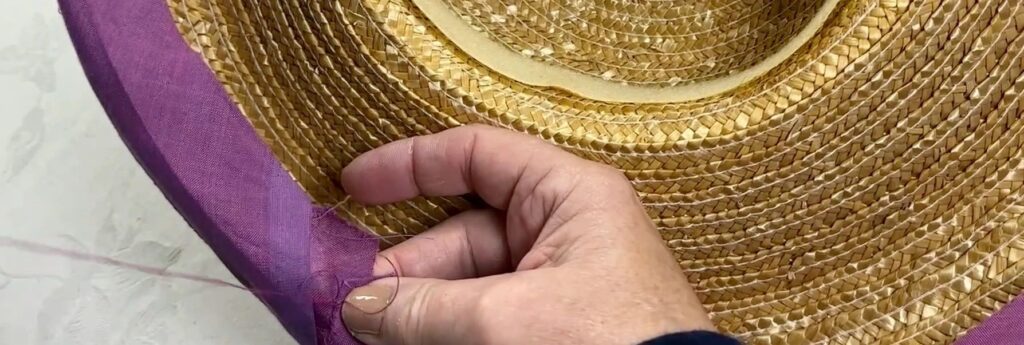
Violet's major catastrophe happened when joining the ribbon on the brim. The bias tape was cut on the diagonal (which is pretty common) and i trimmed the other end straight across. The diagonal end was a little short on one side.
I stitched this in place regardless and being on the underside of the brim at the back, it is not too noticeable.
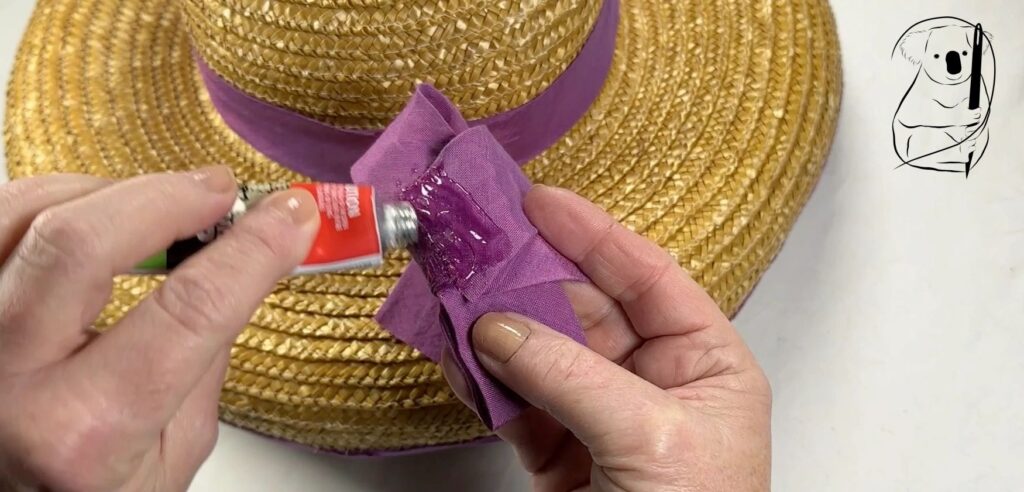
Gluing the crown ribbon was done in several stages.Glue was placed on the front and sides of the crown over the old glue marks. I used a Gorilla glue which surprisingly did not soak into the ribbon and overall worked very well.
With one end of the ribbon held at the centre back, the ribbon is wound around the brim and clamped at the back.
When gluing the ribbon onto the crown it is important to have a little tension to hold things firm when the glue dries. The paper clip worked well though it was awkward to get into place properly.
When the bow was glued, I used a spare ribbon to tie around the crown and packed this with some bulky items to apply some pressure on the bow.
For each step I allowed the glue to dry overnight.