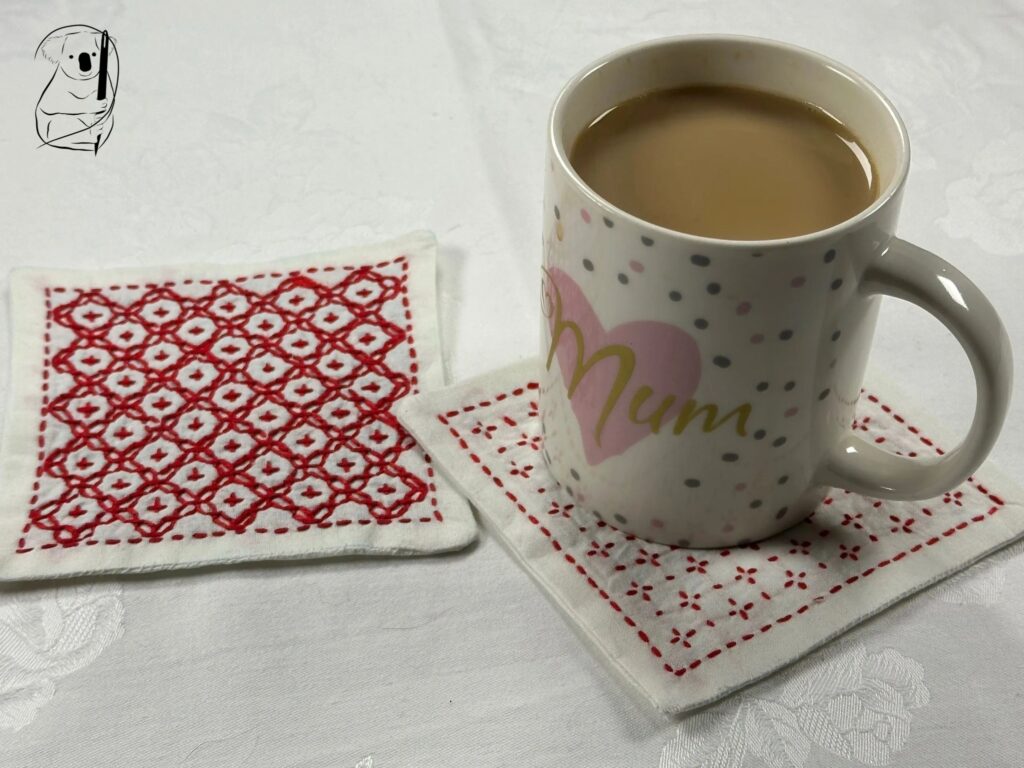
I have only recently been introduced to the world of Sashiko. For me it encompasses both the simple and the complex, precision and forgiveness in the stitching, and the historical and the modern. The patterns created in Sashiko are beautiful, often reflecting nature, but even straightforward geometric designs are attractive and enticing.
The word "Sashiko" means little stabs, and refers to the needle's motion of stabbing through the fabric while loading stitches onto the needle. This is a traditional Japanese embroidery style created from the need to patch and repair clothing which was worn in parts and to make light clothing warmer by adding layers of fabric to it. The stitches are on display, not hidden like the repairs we often see today.
There is a history to the stitches themselves, with patterns and designs having their own names, meanings and popularity. There are also several classes of stitches with Hitomezashi patterns being more dense than many others, and some designs which use layers of fabric as a means to pass thread across distance.
It can all be a bit overwhelming for the beginner, so I decided to start with a basic kit of 2 printed designs.
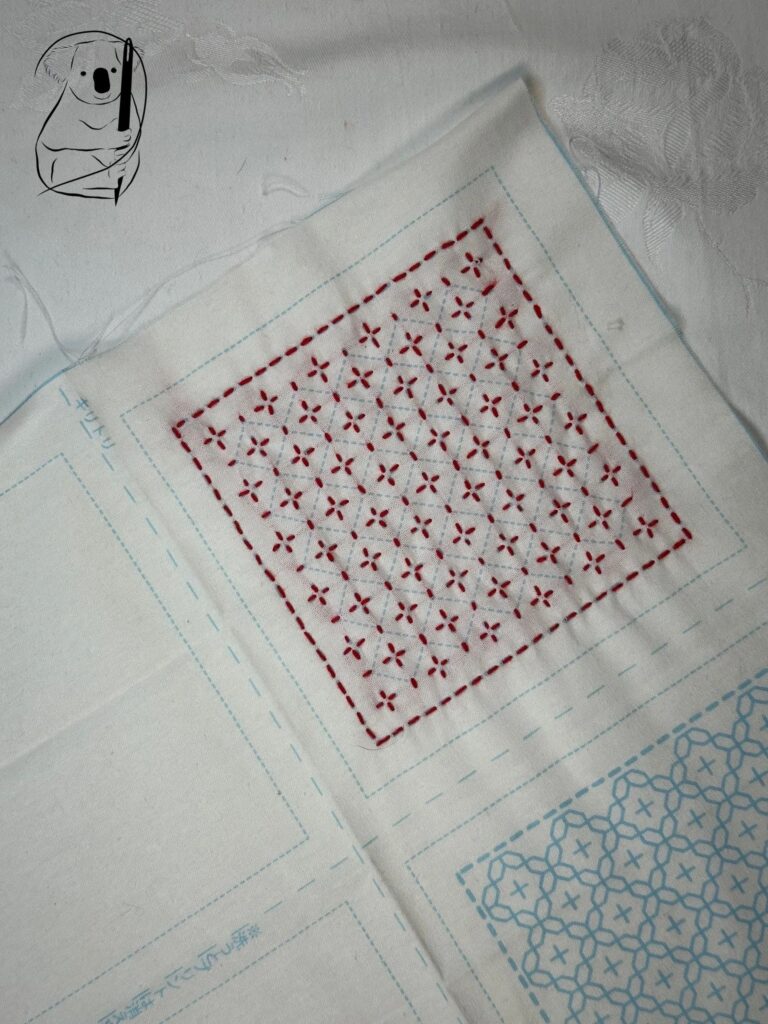
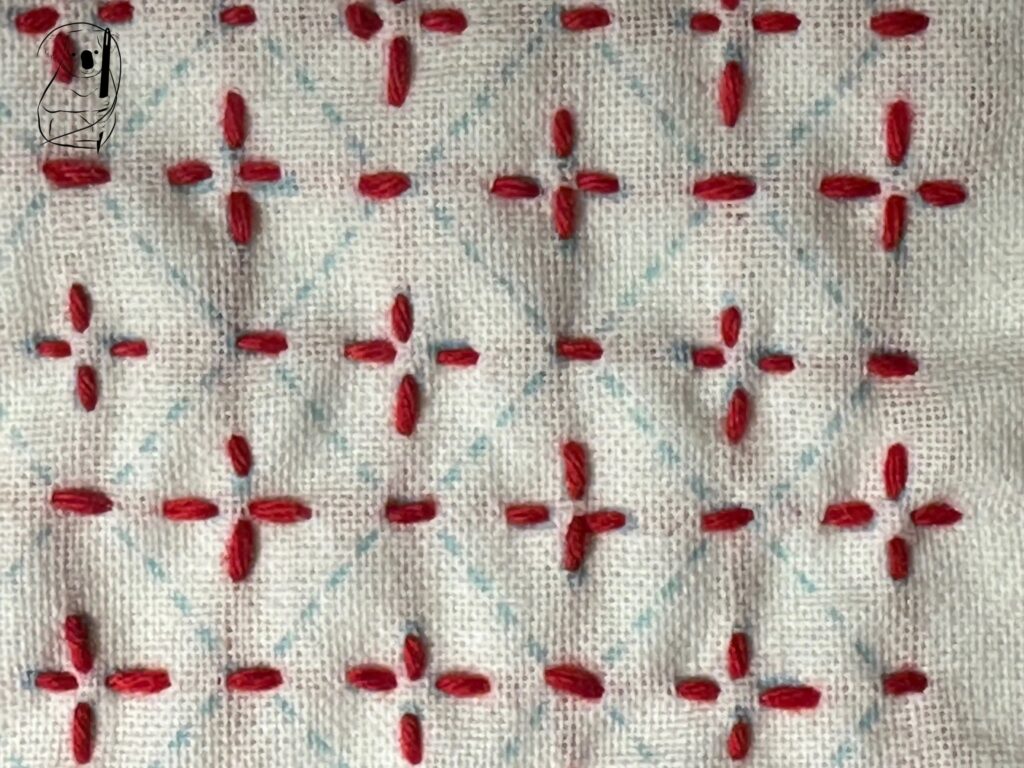
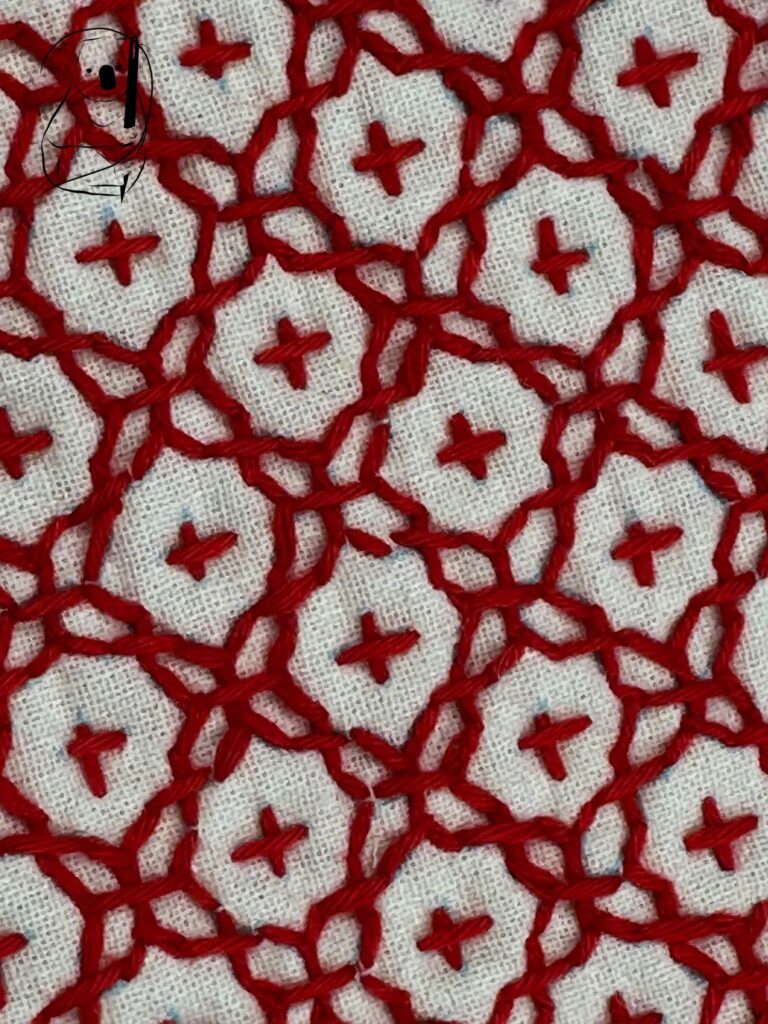
I think this is a great way to be introduced to Sashiko. One design is very simple and the other more complex. By complex, this design is still only 4 sets of intersecting lines running in different directions. As the lines are printed on the fabric it is easy to see where the needle needs to be placed for each stitch.
There is a lot of help online to show the way, including which tools to use and the best way to stitch your pattern. The kit however comes with some basic instructions also.
Here I have used red Olympus Sashiko thread which is widely recommended. It is made from soft cotton and not twisted like the embroidery floss I am used to. Unlike embroidery floss which can be split into smaller strands, the whole thread is used when stitching Sashiko.The thread also comes in a great range of colours. Here I am using the red which will give my coasters a bright, summery, Christmas feel to a table setting.
In the video you will see a way of plaiting the thread so that it remains manageable and untangled, When cut, as per the video, the thread is quite a bit longer than would normally be used for embroidery at about 100cm. This enables quite a bit of stitching to be done with a single thread however care needs to be taken not to let the thread bunch up into knots as you draw it through the fabric. It may also suffer from wear and tear as you use up the thread. If this happens it would be best to end that thread and start a new one.
The thickness of thread necessitated the use of a needle threader. I also started and finished the thread with quilters knots. Quite often Sashiko stitching doesn't use knots at all however where the work is likely to be worn, washed and handled often, the knots should keep the thread in place.
When stitching Sashiko there is a lot to think about- tension, stitch length, and stitch placement just to name a few.
Tension must be constantly checked throughout the working of the piece. Once the tension becomes overly tight, a flow on effect seems to magnify the issue as the work continues.
To avoid this, every time the thread is pulled through the fabric, the stitches must be smoothed out in the direction of the stitching, 2 or 3 times. Gently pass your finger over the newest stitches with the pad of your finger with a stroking motion. And when pulling the thread through the fabric don't over pull it and tug at previous stitches. I pressed down on the previous stitches with my finger nail to prevent pulling on my previous work.
When a corner is reached in the work, a little extra thread needs to be left at the back of the work. This allows the fabric to move and twist without pulling on the rows of stitches coming from the corner.
I also left a little slack thread between rows of stitches for the same reason. Sometimes the distances between stitches and rows is quite long. Always be careful not to catch these slack threads as you are stitching or using your work in a practical setting.
The task of keeping each stitch length the same is made easy by the pattern printed on the fabric. While constantly focussing on the line markings, I didn't really manage to develop a rhythm to my stitching. While I have a better understanding of a suitable stitch length for a pattern, the stabbing motion of the needle was constantly disrupted by me trying to find the exact point in the fabric in which to place the needle. Next time I will try to fix this by having a larger pattern and no intersecting lines. Longer lines uninterrupted by other stitch lines should allow me to obtain the rhythm that I see so often by more experienced sewers.
When watching experienced Sashiko stitchers online, it seems that they can effortlessly stack a full row of stitches onto their needles. I found that this requires practice and for the beginner loading stitches onto the needle wasn't that easy. They don't always slide along the shaft of the needle smoothly and sometimes they get in the way of moving the needle to the next stitch hole. Also as the work progressed and more lines of stitching lie on the fabric, the work became less pliable. This also made it a little more difficult to stack on the stitches on the needle.
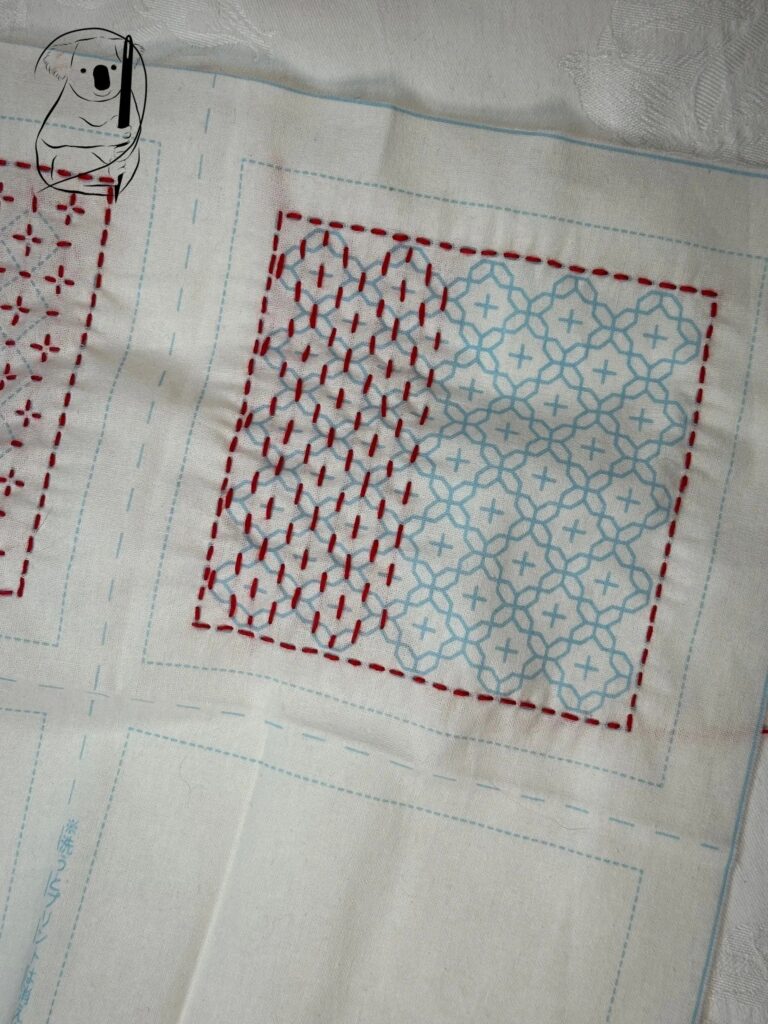
That being said, precision in this type of embroidery is very important. As you can see from the photo to the left, it is very easy to miss the mark with the needle when stabbing the fabric. Even being off by a couple of fabric threads creates a pattern which is uneven and unbalanced.
This was an early attempt and was redone. Always wear good glasses if needed and work in the best light you can achieve. While Sashiko is primarily a running stitch, it requires continued focus to maintain good stitches over time.
The unworked lines to the left were meant to be stitched however they are quite fine, and I think they were meant for a finer thread. It is still a bit of a mystery to me and shows just how much more I have to learn in this amazing craft.
In this simple project, I only encountered a few of the "rules" of Sashiko. For one, intersecting lines should never cross on the right side of the fabric. Where the red lines meet in my second pattern, they actually share the same hole in the fabric when they join. Here I had to be exact, and place the needle in exactly the same hole as the other thread. If I missed that hole by even a single thread of fabric, that white thread showed up very clearly against the red, which really detracted from the overall look of the stitches and where it occurred the stitches had to be reworked.
Another "rule" yet to be tackled properly is to pull the fabric over the needle rather than pulling the needle and thread through the fabric. We will look at these in our next Sashiko project at the end of our Series 2 Stitches videos.
These kits are available from Daiso for just a few dollars and I purchased enough of the kits to make up a set for the dining table. I have seen some coasters made up with quilting ( which the fine embroidery lines suggest) but felt that flatter coasters were better for balancing glasses and other objects.
The Olympus thread was easy to work with and cost AUS$10.65 from my local embroidery store. There is a great range of colours available online and basic colours can usually be found in suburban embroidery shops. Threads can come in variegated colours as well which look very interesting. For those with more ambition, hand dyed thread is available or you can try dying plain white or ecru thread yourself.
My Sashiko needles were Bohin brand. I purchased them from Hobbysew for AUS$7.70. They are of great quality and their varying lengths were from 37mm to 50mm. However I have seen some much longer and a longer needle may make stacking stitches on the needle a little easier. They will definitely be used in my next project which will contain curves and therefore call for a shorter needle.
It is difficult to estimate how long these 2 coasters took to complete. Whilst running stitch is quick and straight forward, Sashiko requires precision and focus the whole time. It is not the sort of task I could complete in a single sitting. The quality of light on the work is also an important factor in working this level of detail in a piece. Overall I took about 3 interrupted days to complete the 2 coasters.
I'm definitely looking forward to my next Sashiko project. I have grown to love the way in which designs spring to life with the final rows of the pattern. Complete order and geometry emerge from disorder and disconnected stitches. And the pieces cry out "hand stitched" with care and precision and skill.
You can find your own Olympus Sashiko thread on Amazon here https://amzn.to/3Y2nWpY where sets of colours offers a deal price.
You can find an alternative Daruma Sashiko thread on Amazon here https://amzn.to/4pIE0cI to try something different.
See how these coasters came together in our pop-up video Sashiko - Beginning a New Journey
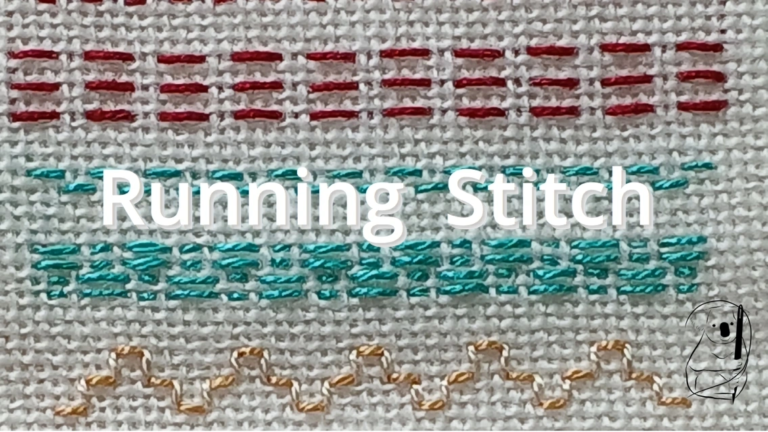
Find out more about Running Stitch in our Stitch Library blog.
Have a look at our Running Stitch video here.
Watch all our Sashiko focused videos in the playlist.