
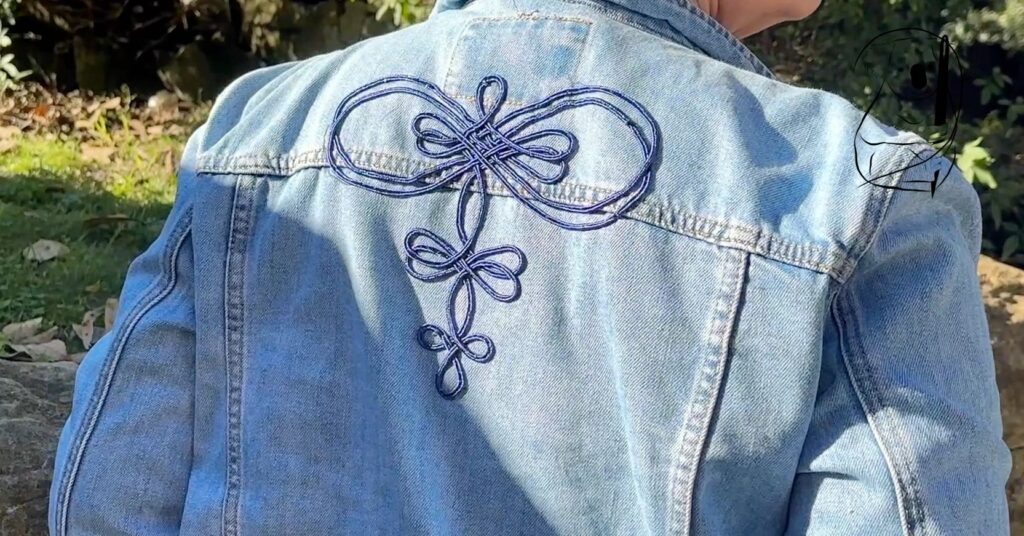
Here is a project which I will admit was more a "learning opportunity" than a successful outcome. There are some features which I did like and the pluses and minuses are discussed below.
The Soutache Braid was lovely to work with. It was soft and pliable and the colour looks lovely against the denim jacket. The Braid is quite inexpensive but you do tend to use quite a lot of it in projects such as this.
Ok, lets look at the learning opportunities.
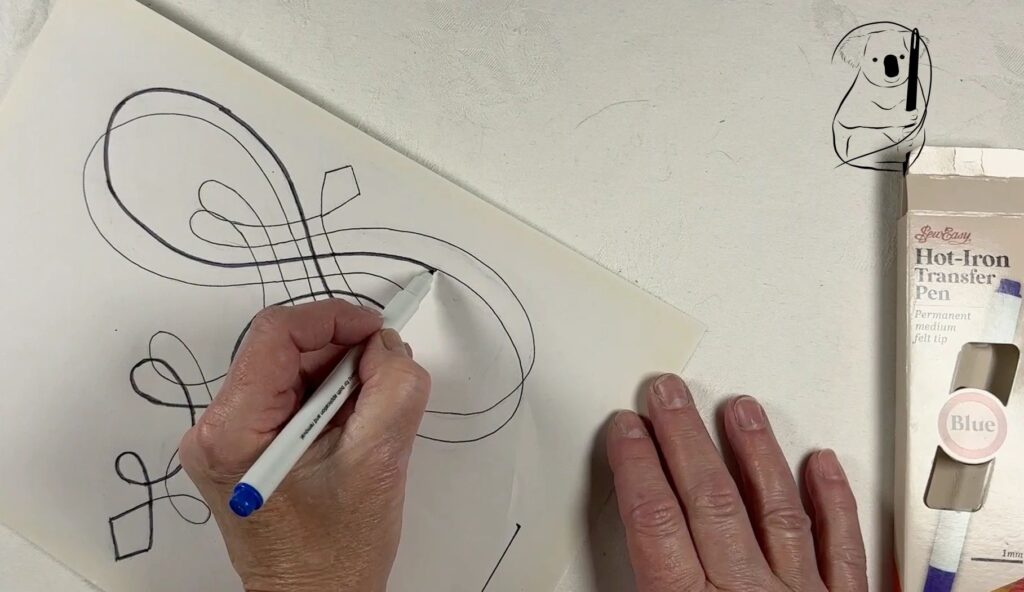
Learning Opportunity No1 - Firstly, the iron on marker pen was marked as permanent. This slipped my attention initially. When the Braid actually covers the pen lines the permanence of the ink is of little importance. However when ironing the transfer, the image required several attempts to get the iron hot enough and the image properly transferred. During the attempts to transfer the image the transfer paper was moved.
This resulted in the transfer lines being smudged on the fabric particularly on the sleeve. This smudge was wider than the braid.
I was able to use soap and water to remove the ink - so disaster averted!
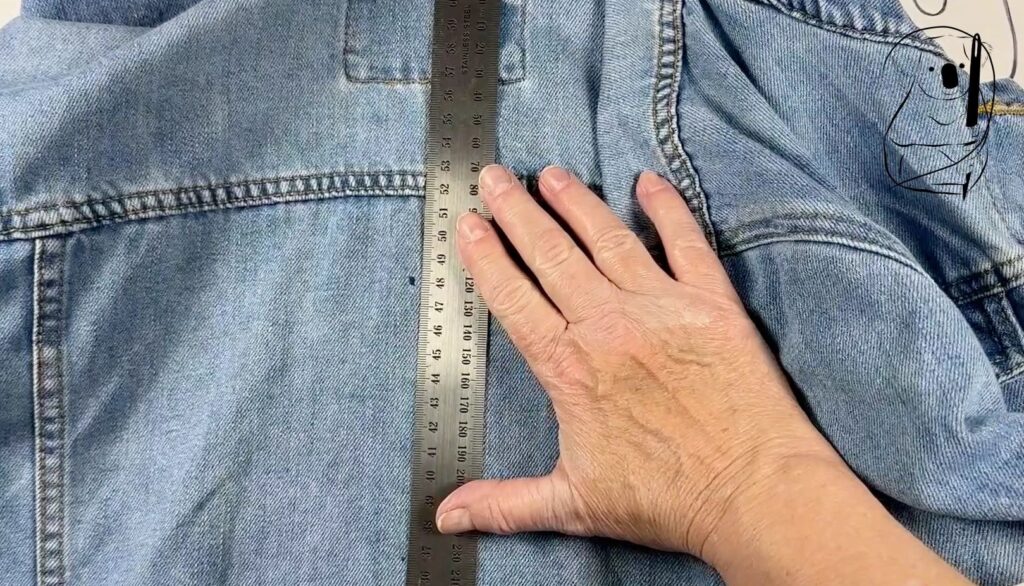
Learning Opportunity No 2 - The jacket is a great garment. However I would not recommend it for a project like this. The seam at the bottom of the back yoke distracted from the Soutache embroidery. The embroidery really required an unbroken stretch of fabric for it's background.
Also if you look carefully you will see that the Soutache image does sit in the middle of the rectangle of stitching on the yoke. This is not my mistake. The label itself was not centred on the jacket.
Removing the label and its stitching will still leave an outline - not in the centre of the jacket. There is really no good way around this.
Having the image not pass through the centre of this rectangle detracts from the overall look. If I had realised this early on, I would have changed the design of the motif or used another garment entirely.
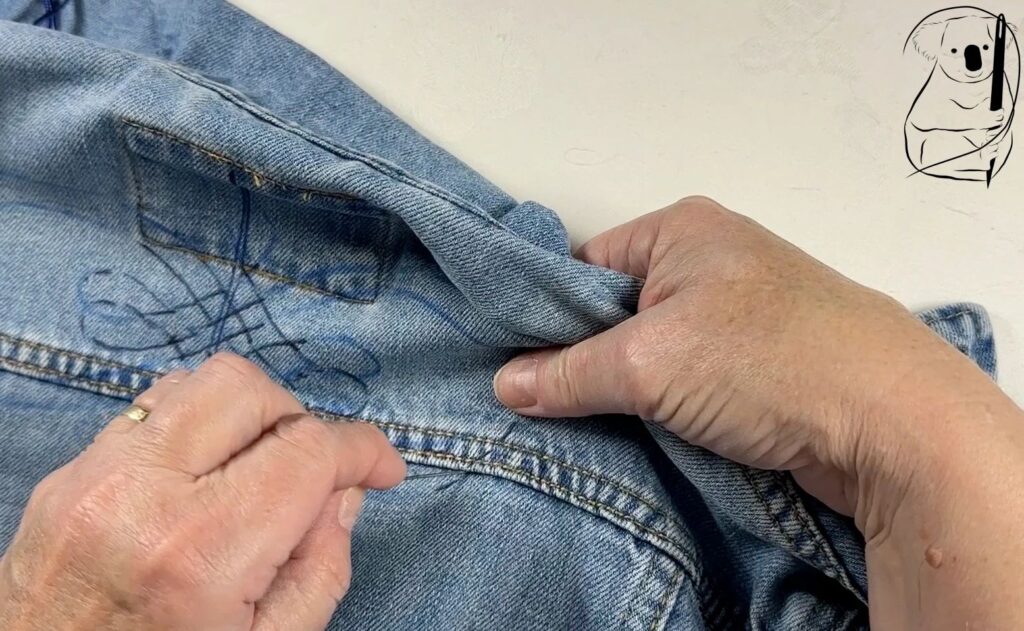
Success No 1. I used a large needle to make a hole in the seam for the Braid to pass through the fabric. This worked out pretty well though it took a lot of pulling to get the braid through. The seam provided an ideal point to bring Braid into and out of the embroidery.
When the motif was finished, the Braid was passed back through the same hole (much easier this time) and the overall look of the start and finish of the motif was very good. If you didn't know where to look, you probably wouldn't see the spot.
Learning Opportunity No 3 - The scale of the back motif is just too small. I think that the cuffs look fine, however the back lacks the impact I was hoping for.
I think that a thicker Soutache would also look better, with a motif that stretches across the back a bit wider. The cuffs I think are a good scale. The look of the cuffs might be improved if the Braid ran along the cuff to the sleeve opening.
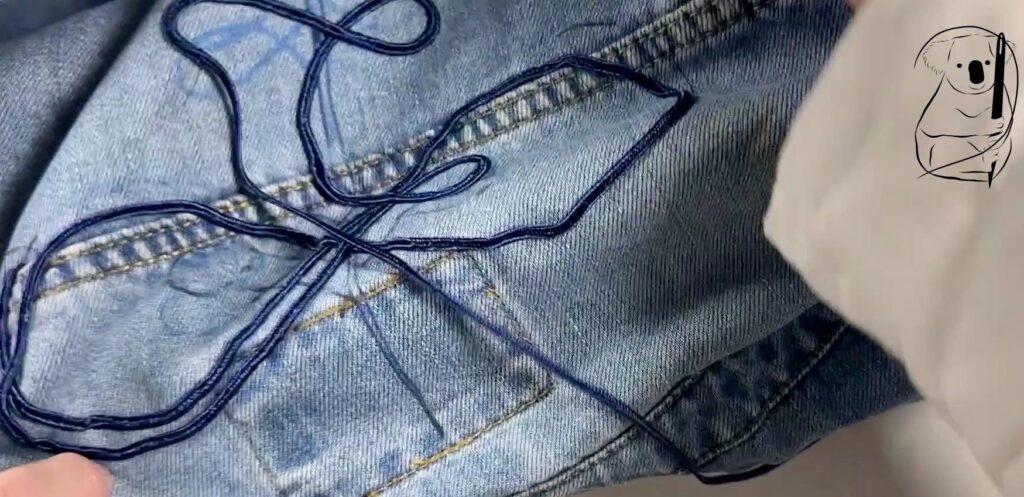
Learning Opportunity No 4 - ok this is embarrassing. I actually stitched half way through the motif before I realised I had mixed up my crossover points.
I should be able to trace the Soutache motif as one continuous line however I got lost in the pattern and "jumped the rails" at the busiest part of the pattern. I unpicked practically the whole of the work I had completed thus far.
I reworked the pen over the pattern ensuring that the design was a single flowing line. Unpicking the work exposed the Braid more to snagging and pulled threads. The less restitching needed the better.
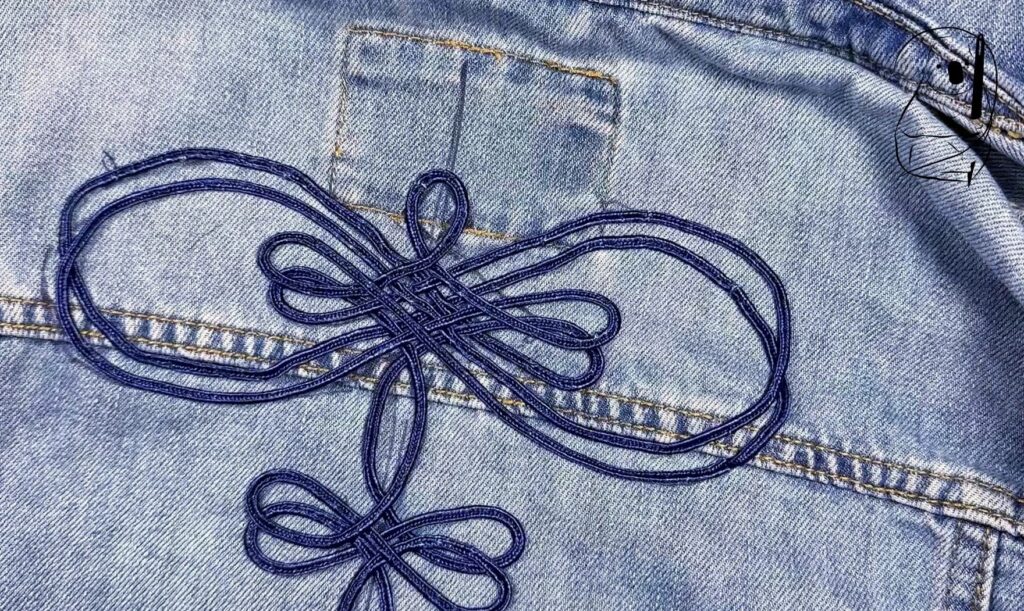
The image on the right shows just how far off centre the label was set. Once you see it ,you can't un-see it.
Learning Opportunity No 5 - The image shows the criss cross of the pattern. I did a reasonable job of lining up the braid above the pen marks. However even having one line of braid out of place is quite noticeable.
Some parts of the centre have gaps large enough to see denim through. Some parts have no gaps and appear solid blue Soutache.
To avoid this have a little more space between the lines or, have no space at all between the lines.
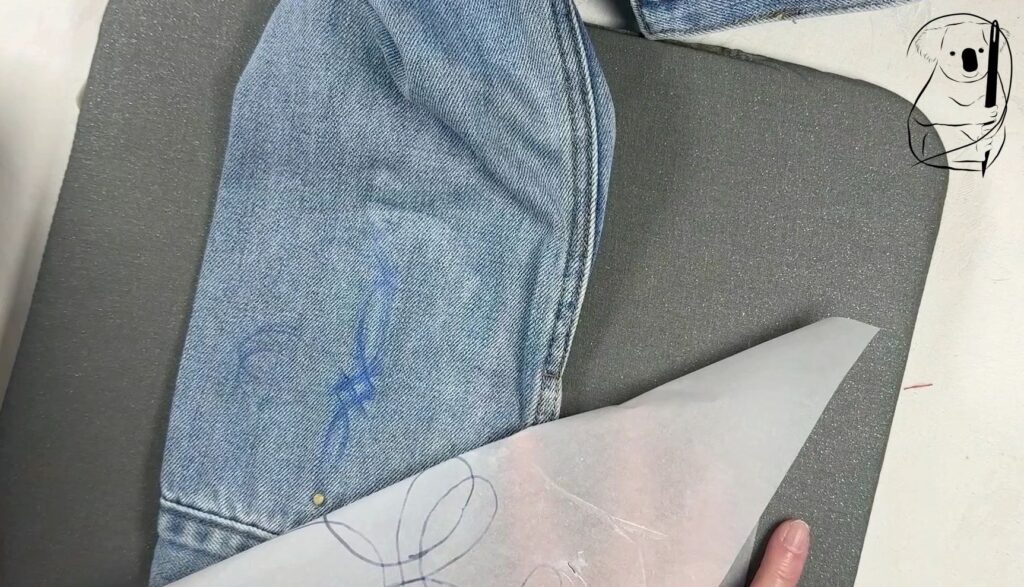
Learning Opportunity No 6 - The image on the right shows clearly the smudging of the transfer pen on the sleeve. The sleeve did not sit flat very easily so the transfer of the image proved difficult with the iron. After lifting the transfer paper and smoothing out the fabric, the paper was not placed exactly in the original position.
This resulted in the effect you see. Make sure the fabric is smoothed out fully and the iron already hot enough for the transfer
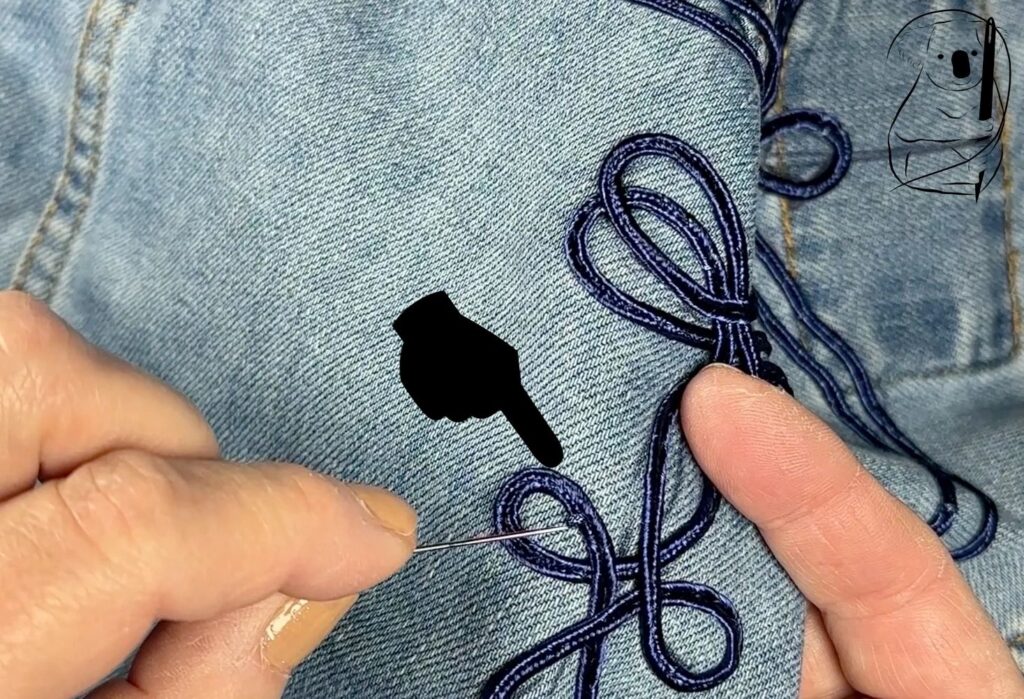
Learning Opportunity No 7 - The image below demonstrates what happens when you don't put the needle through the centre of the braid. The threads snag and pull and a small patch of loosened threads appears.
This happened several times in the project and I swopped my needle for a new one just in case the needle itself was not smooth and sharp.
The Soutache was nice to work with, and inexpensive. The back motif and the 2 cuffs took just under 5 metres of Braid. It cost $1.80 per metre. Unfortunately the cost of shipping was cringe worthy for such a small purchase. I am going to have another try out of Soutache in the near future as it is very versatile and looks effective against the right background.
Watch Melanie come together on Youtube
See our Braids video on Youtube