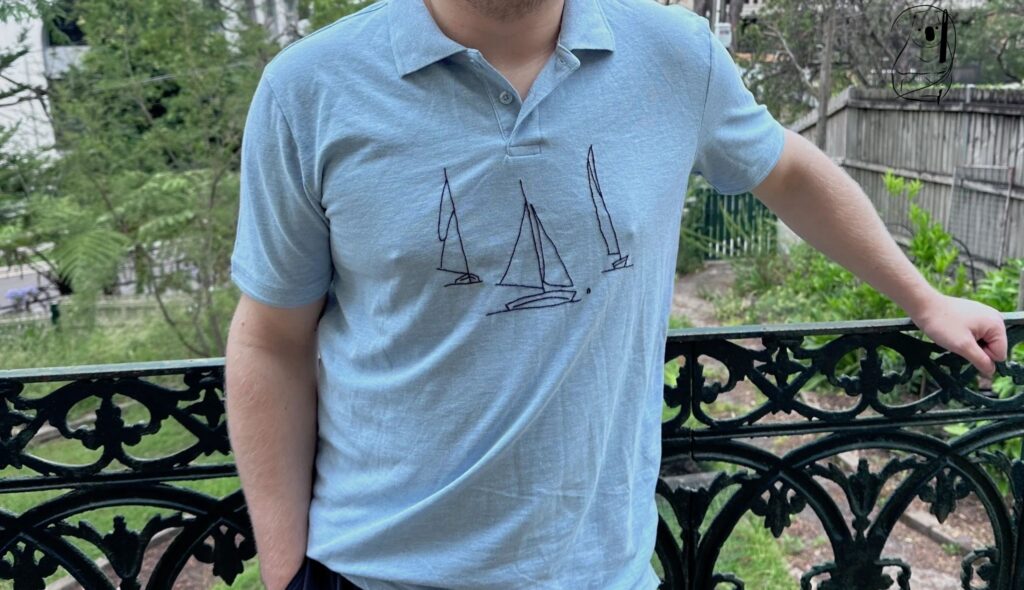
Here we take a man's polo shirt and add a design showing a sailing boat race. Three boats are rounding a bouy, propelled along by a stiff breeze.
In this project I have made a few experimental choices and used some materials and techniques for the first time.
After purchasing the blue shirt, I had to think about transferring my design onto the front fabric of the shirt. My favourite light blue marker pen was not going to be very useful here against a blue background. And the fabric is too thick to see a design through the fabric.
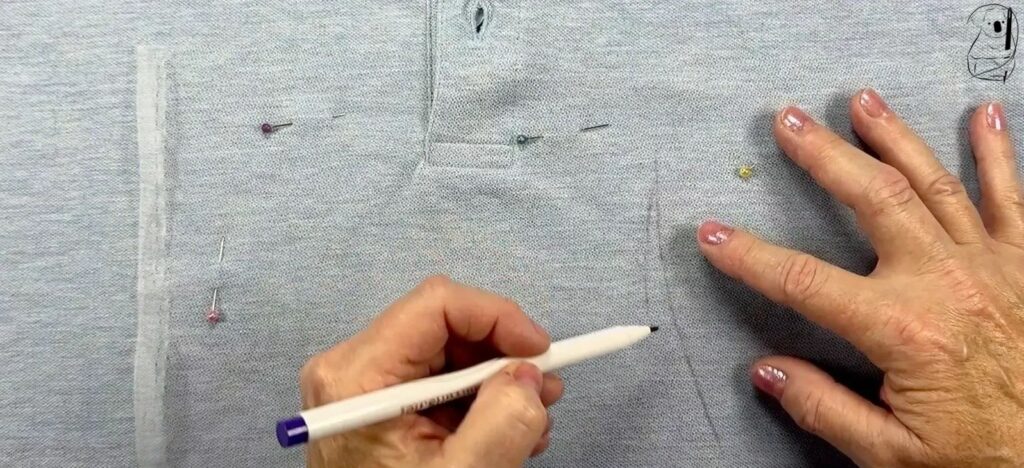
I decided upon using Tulle to transfer the image. I used my Pigment Marker pen to trace the design onto the Tulle. The design as you can see in the video was very faint and difficult to see. I managed to trace 2 of the boats and use their images however the 3rd boat was almost invisible.
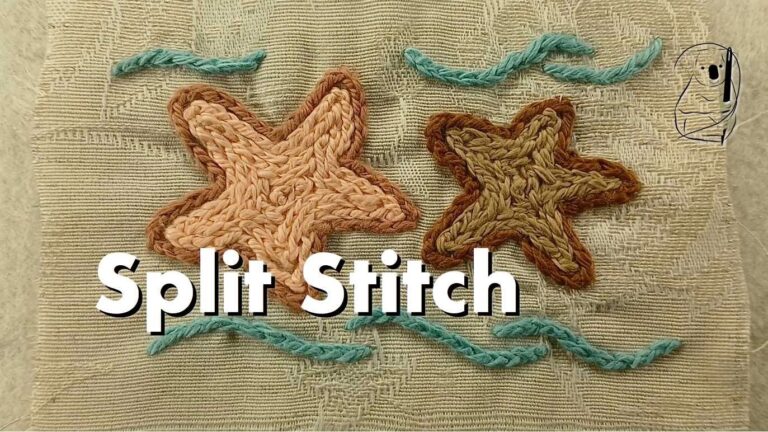
I proceeded to stitch those 2 boats with Split Stitch whilst pondering how to improve the tracing for the third boat.
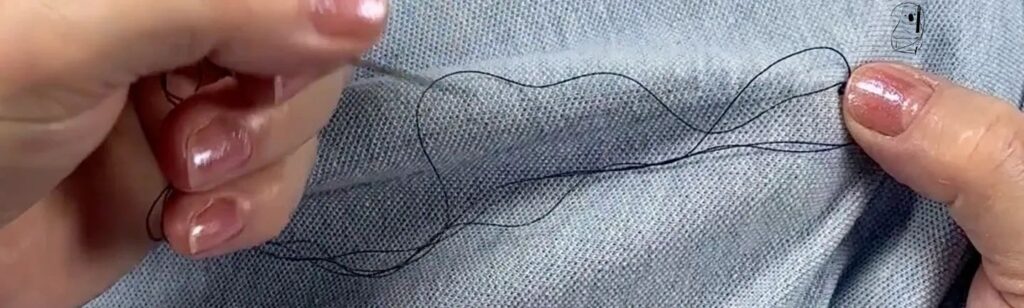
For this project I used a Gutterman Viscose sewing thread. I loved the satin look of the thread and the dark blue is a good contrast to the blue shirt.
As seen in the video, I used 4 strands of this thread using the width of the shirt as a rough measure of the length of each strand. Coming off the spool, the sewing thread loved to curl and bounce and was a little difficult to manage when compared to the DMC strands. When the 4 strands of thread had been cut, I trimmed off one end and knotted them. After threading the needle, I trimmed the other end roughly so that all the strands were about the same length.
It took a little while to get used to the threads and split the 4 threads into halves, but soon I worked out a rhythm.
The lengths of thread cut were fairly long - at least about 500mm or about 19 inches. I was a bit concerned about the threads becoming knotted as I worked, but this didn't happen once. Perhaps this is the nature of Viscose thread. It was actually quite slippery when trying to get the needle threaded.
However, with 4 strands, some of course did pull through the fabric better than others and with each stitch I had to make sure that each strand had been pulled through completely. Sometimes this meant gently tugging on each strand.
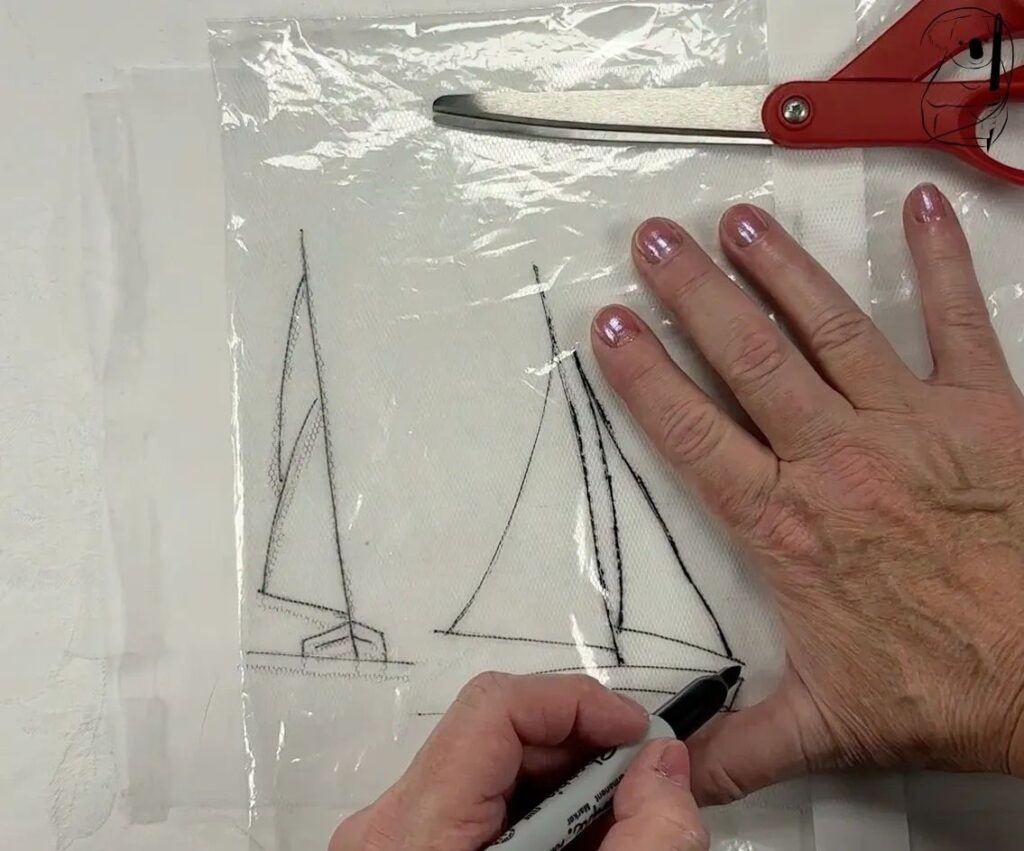
After the 2 boats were completed, I went back to my pattern and used a Sharpie to trace the pattern onto the Tulle. This worked much better and the pattern was quite easy to see on the Tulle. When transferring the design from the Tulle to the shirt, I used a pink air erasable Marker pen. This was better visually than the dark blue/purple air erasable pen. As you can see in the image above, I placed my pattern in a clear plastic sleeve to protect it from the sharpie.
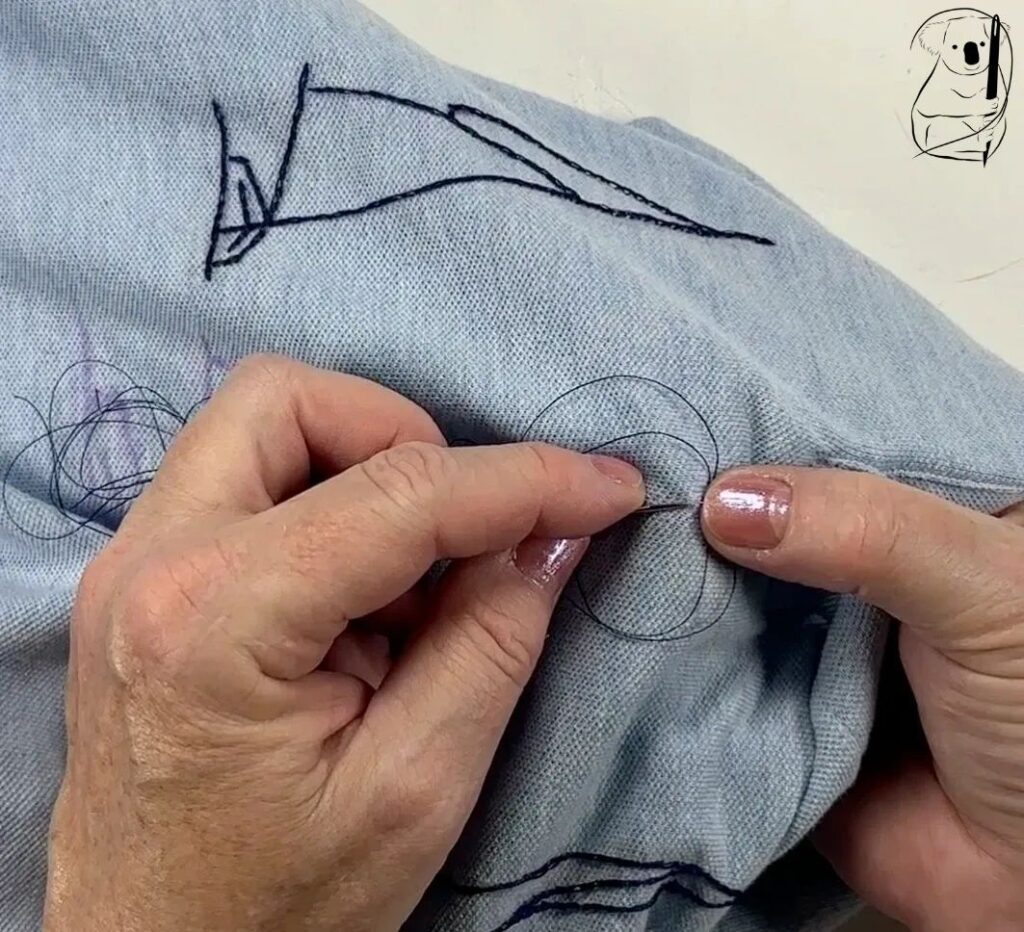
The design worked out well however I feel that the image did suffer somewhat due to the difficulties encountered in getting the image onto the shirt. It was too piecemeal and the Tulle had stretch so it did move a little during the transfer process. I think next time I might choose a Tulle which is a lot stiffer and coarser. I chose a soft and pliable Tulle thinking the better quality would be better. In hindsight perhaps a thicker Tulle with more actual body and weight would be better at showing the pattern with the marker pen. And it might have held it's shape without stretching.
The materials used here were
Gutterman viscose thread $4.80
Daiso air erasable marker pen $3.30
Sullivans Blue/purple fabric marker pen $7.99
Tulle - $16.00 per metre. I used a piece 31cm by 21cm.
Watch the progress of this project on YouTube