
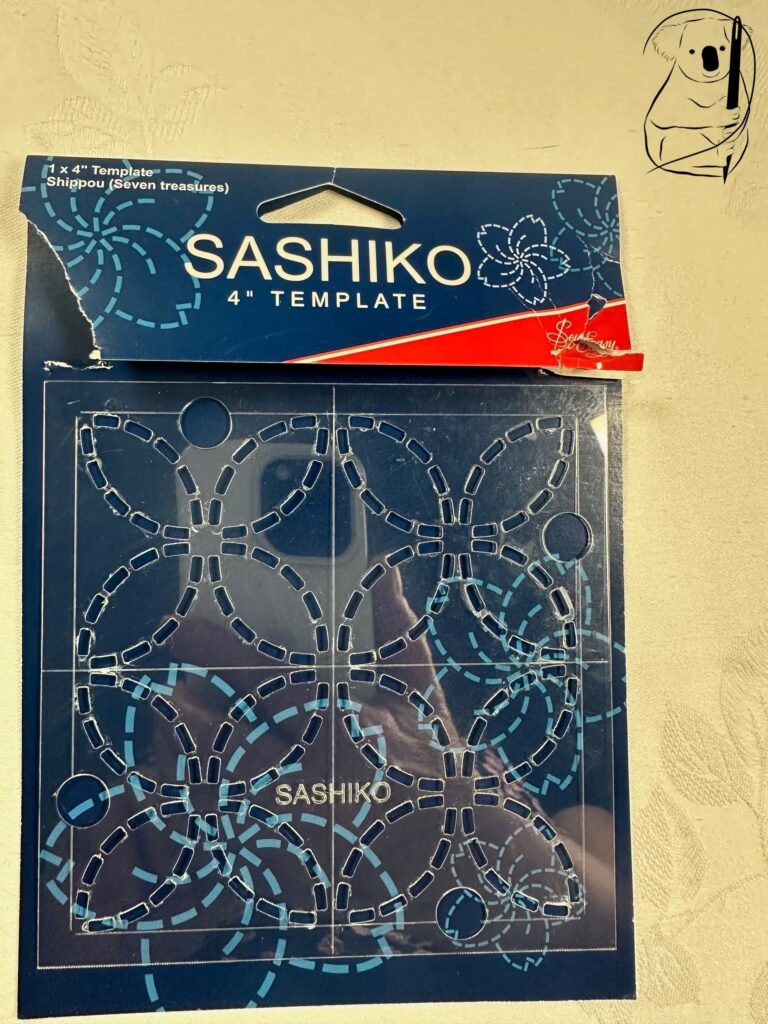
For this foray into Sashiko, I purchased a template to test out a repeating pattern.
Of the limited choice available in my local shop, this was a favourite. It is a traditional pattern called Shippou or Seven Treasures.
I have incorporated this pattern into the making of a Japanese Knot Bag, which you can find in our video How to Make a Knot Bag and its accompanying blog.
Overall I was very impressed with this template for its ease of use, the way in which it cleaned up after use, and the results it produced.
The template takes the hard work out of the actual stitching of the sashiko. With the stitch lines marked out for each stitch, there is no need to make judgement decisions about, or try to measure out where each stitch should start and finish.
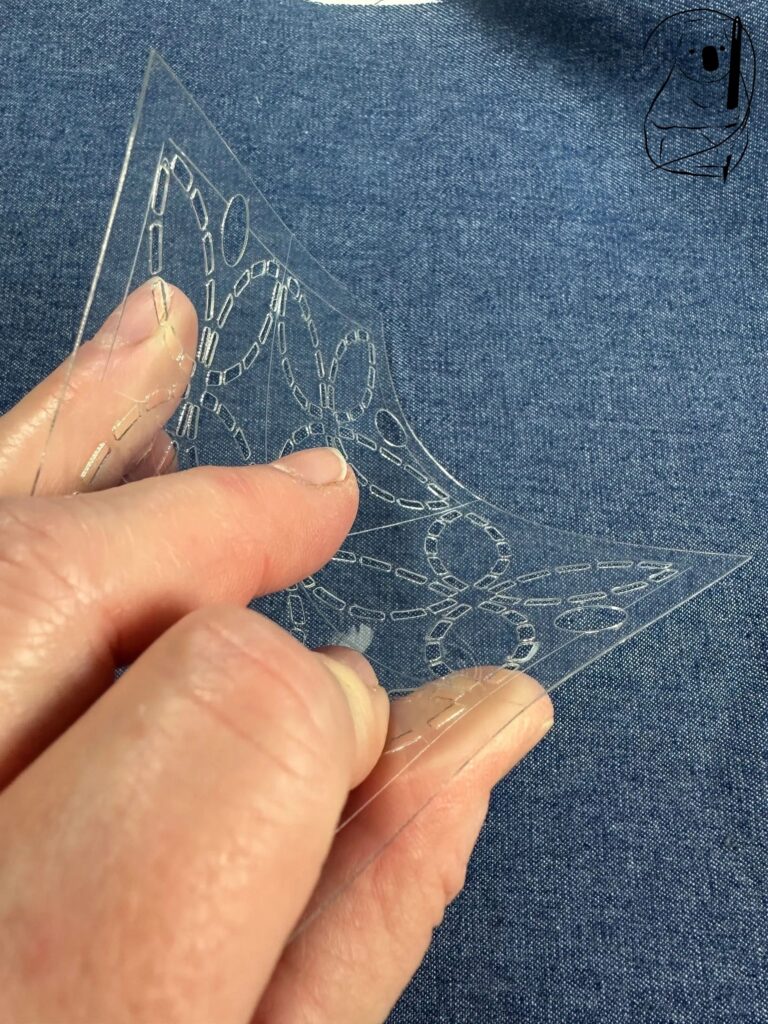
The template is made of light, clear plastic and as you can see in the image to the right it is quite bendy and flexible. This became useful when wanting to lift the template to peek underneath and see how the marker pen was progressing through the pattern. You may see in the video, that the marker pen did leave residue around the pattern hole edges as I marked the design. Happily these wiped off the plastic template easily.
You will also be able to see the small holes near the edges of the template. These are finger holes, and no your fingers wont fit through them. When the template is laying on your fabric, place a couple of fingers over some of these holes and the template will be fixed in place and not move.
This is of course critical when making your marks through the template pattern. Once you start marking out your pattern, you don't want the template to move at all. You will see in the video that I was easily able to line up the template for the next row of images as the clear plastic allows you see your previous line markings. I thought that lining up repeats of the image worked out well and pretty easily.
The template is itself 10cm square which made planning the placement of the template around my fabric easier, although I did make some beginner mistakes in this regard, which are evident in the video.
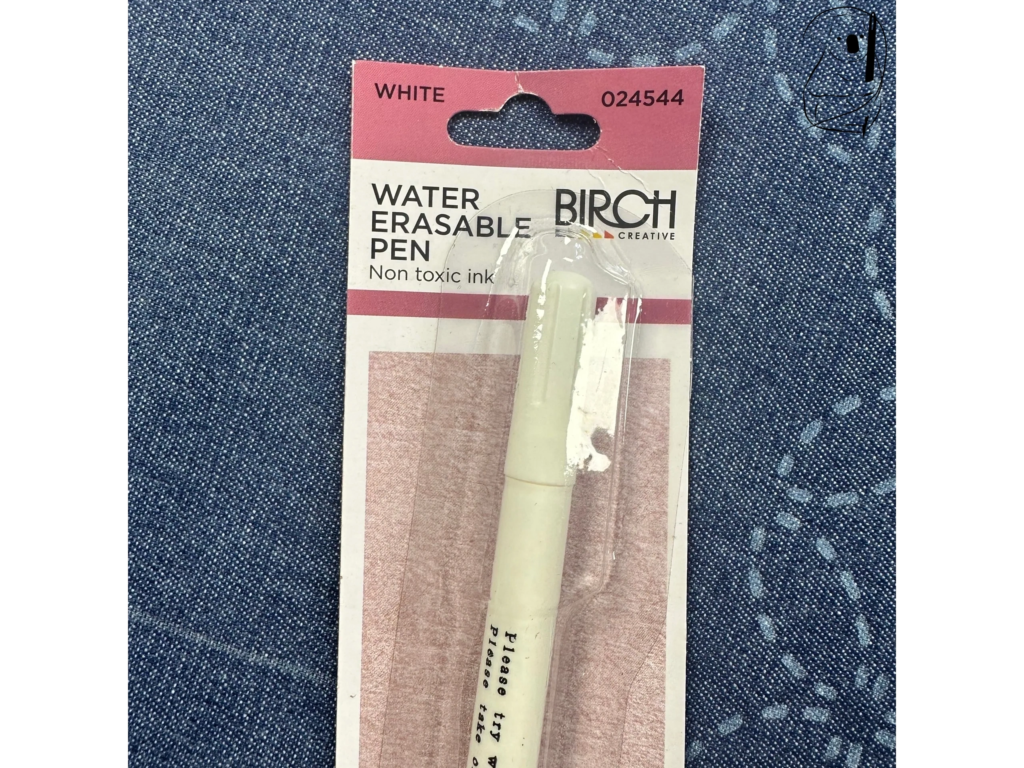
For my marker pen I used a Birch water erasable pen. This made excellent marks through the template.
My one comment here is that by the time I reached the end of marking out the pattern, the pen had begun to fade and I went over the final lines of the template a few times to make them visible.
If you look closely at the video, you will note that the pattern lines at the bottom of the bag fabric, which were the last to be made, are a bit fainter than the top markings.
If I had not had to erase and restart my early pattern lines ,the pen would certainly have lasted till the end of the project without any issues.
Before starting to measure out your design with the template against the fabric or even cutting out your bag pattern, you should wash your fabric. This particular denim was light weight with a firm texture. Washing however changed texture and feel of the fabric. Further, a lot of dye came out of the fabric, even under cold water. And if you wish to launder your fabrics in hot water, this could cause some shrinkage in the fabric. If you embroider you fabric prior to washing, and your garment or piece later shrink in the laundry wash, there is a good chance that your embroidery would be affected.
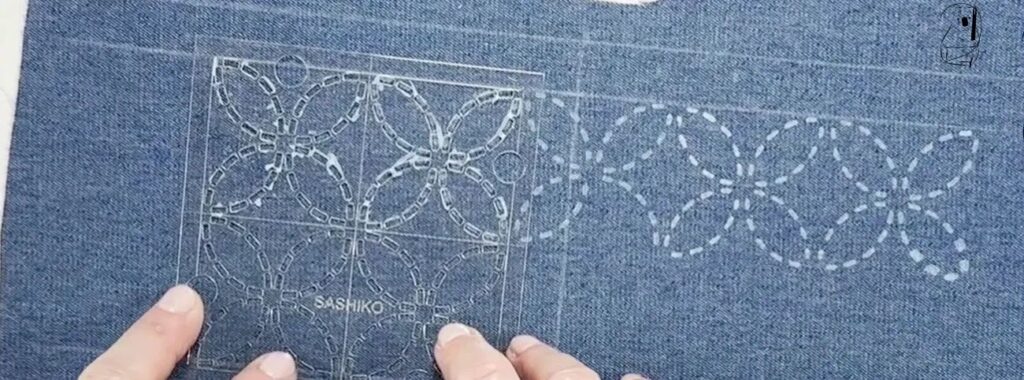
My first step in developing this pattern was to find the centre line of the fabric piece and draw a line down the middle. Moving the template across the fabric I judged how many patterns I could fit across the fabric both in the horizontal and vertical.
I made a really basic mistake in working my numbers from one side to the other and started tracing the pattern from the side. Of course when the pattern reached the centre line, the centre of the pattern did not match up to the centre of the fabric. Lesson learnt! Always start from the middle of the fabric and work your pattern outwards.
The marker pen was easily removed by dabbing it with a damp cloth. So to start again.
This time, starting from the centre line, I chose to have the edge of the pattern align with the fabric centre line. Working outwards I was able to fit in 6 of the pattern circles running across the bag and 4 of the circles running down the bag.
A consideration when placing the pattern was to have an adequate space between the pattern and the top edge of the fabric. A seam allowance lies above the pattern and a gap between that seam allowance and the pattern should be sufficient that when putting a hand into the bag, there should be no chance of rubbing the pattern with your hand and perhaps catching a thread of the pattern.
Similarly, there are seam allowances around the edge and base of the bag. So be sure not to encroach to closely to these edges which are likely to incur more wear and tear then the front face of the bag.
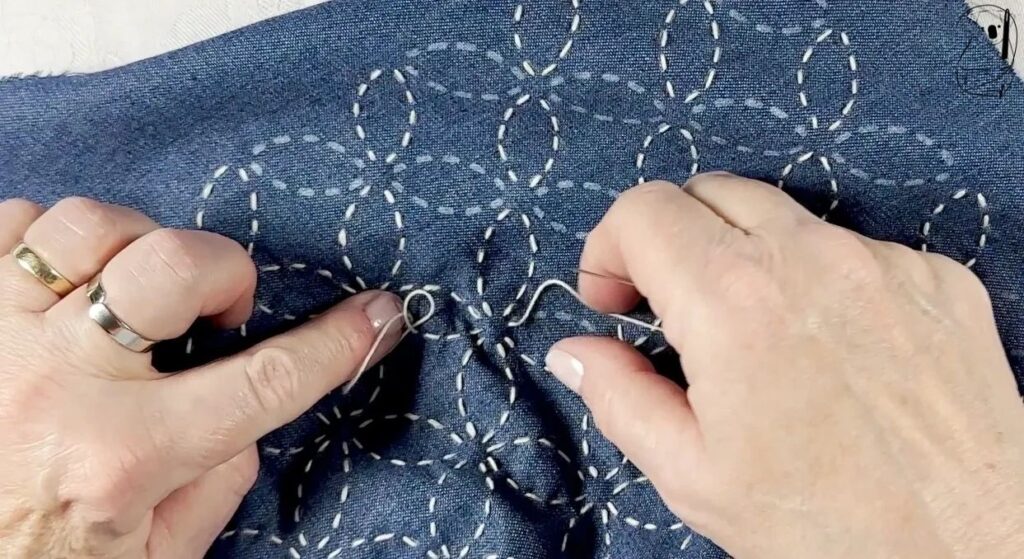
The Template packet offers instructions on how to stitch the pattern plus some helpful notes about using the template and making your stitches.
I did not follow their "order of working" the stitches but instead followed my Simply Sashiko book by Nihon Vogue which seemed to be a smoother way of progressing through the pattern.
I think this is just a personal choice and both methods would achieve similar results.
As per our previous video Sashiko -Beginning a new journey, I was careful to maintain good tension throughout the project by running my fingers over the stitching 3 times after pulling my thread through the fabric. This kept the fabric flat with no puckering evident at all.
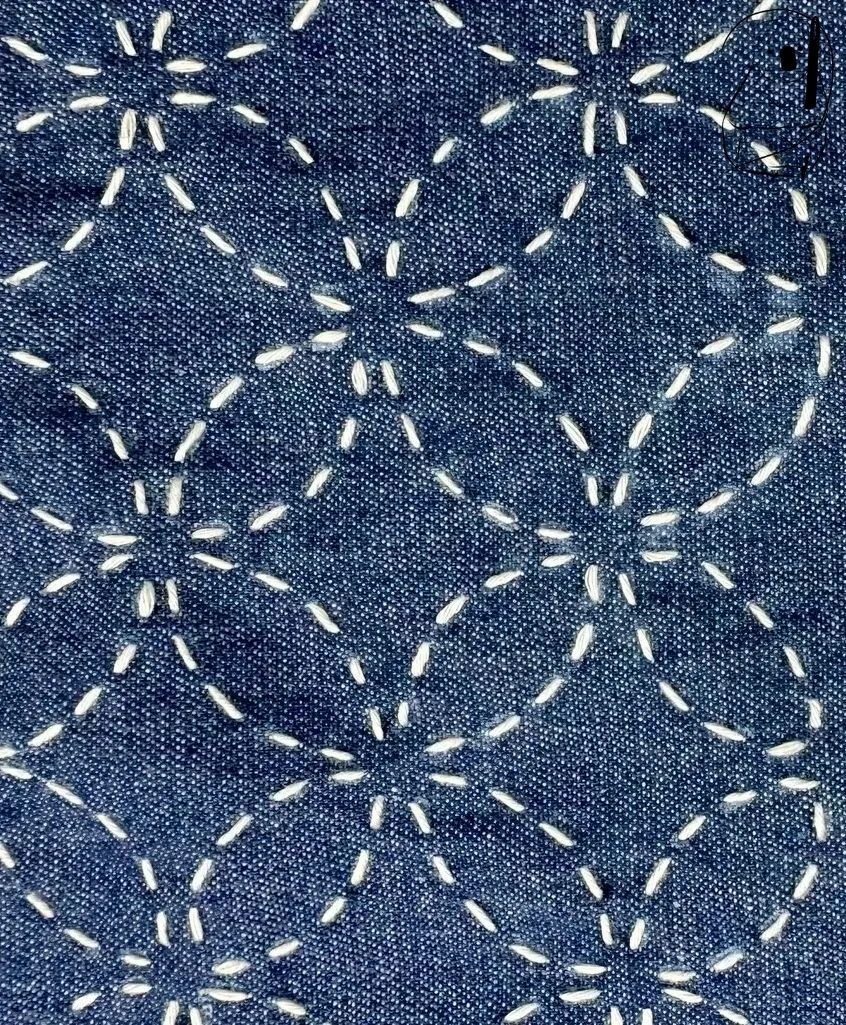
You can see from the image to the left, that the template and lines drawn by my marker pen enabled me to make quite precise stitches. The are even, follow the correct shapes and are infinitely better than I would have produced if I had been stitching along solid line markings.
Overall, the template allowed my produce a work which exceeded my expectations and I will definitely be using more templates in the future.
This Sew Easy template was Aus$11.50 at my local embroidery shop.
I used Olympus sashiko thread in ecru
My Sashiko needle was Bohin brand from a packet of 8 needles costing Aus $7.70.
If you are interested in the book Simply Sashiko by Nihon Vogue, I have previously reviewed this book. You can read the review in our Reviews page.
You can find this template on Amazon at https://amzn.to/47SCr4d
You can find similar templates to Shippou at https://amzn.to/3Xd3KkZ
You can find a dotted grid template from Cosmo here at https://amzn.to/4bLKD87
You can find straight and curved line templates from Jojofuny here at https://amzn.to/4uWcDyU
You can find flower templates from Freebloss here https://amzn.to/4lRLaKl
Olympus sashiko thread in ecru, can be found here https://amzn.to/3JuEeV6
This blog uses affiliate links for products related to this project. If you purchase one of these products we may receive a small commission at no additional cost to you. Our recommendations are based on personal experience and your experience of the products may differ.
Watch the video of the design being applied to the fabric.
See how we create a Japanese Knot Bag with this design as decoration.