
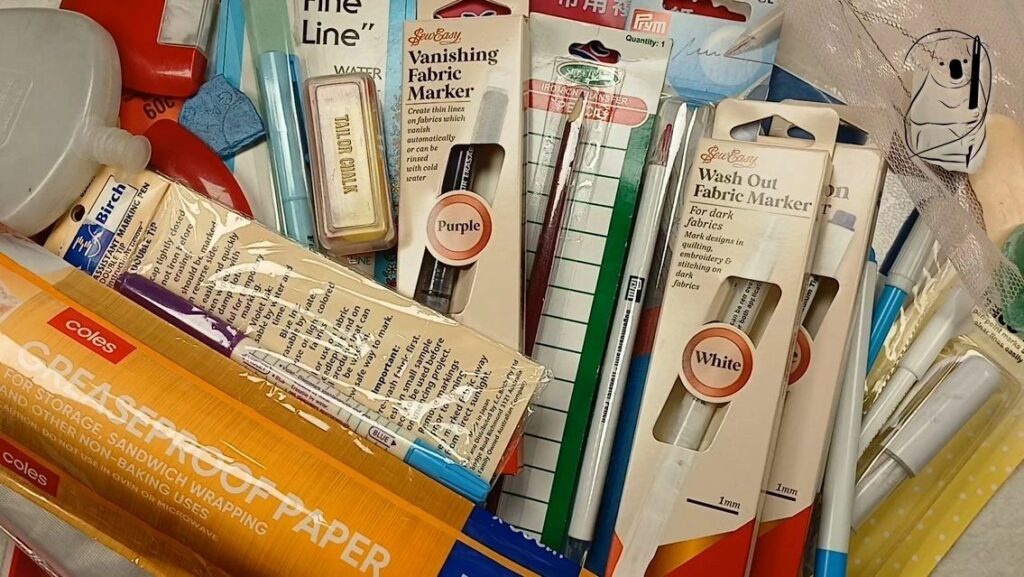
How to get the image you want to stitch onto the fabric is a puzzle that has plagued stitchers since the beginning of decorative sewing.
From intricate details, to simply getting the scale right, this one step can have a significant effect on the ease and enjoyment of the stitching experience and your end results.
These days, there are many different tools available to get the marks onto the fabric, and there are a few different methods for using some of these tools. Let's explore some of them here.
Drawing directly onto the fabric
The first way to get a design onto the fabric is by drawing directly onto your sewing surface, and you can do this with a number of different tools and a couple of different methods.
Freehand drawing - this method is good if your design is simple, or you have a knack for drawing. Of course, as the detail is often expressed by the stitch itself, you can start with what looks like a simple drawing, and create something quite intricate. You can also use a ruler to help guide your freehand drawing.
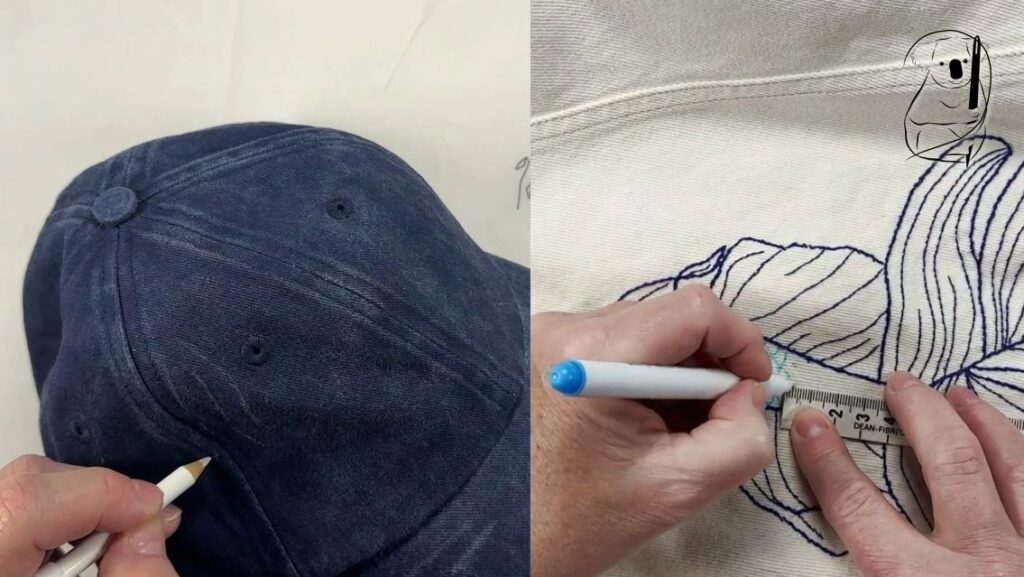
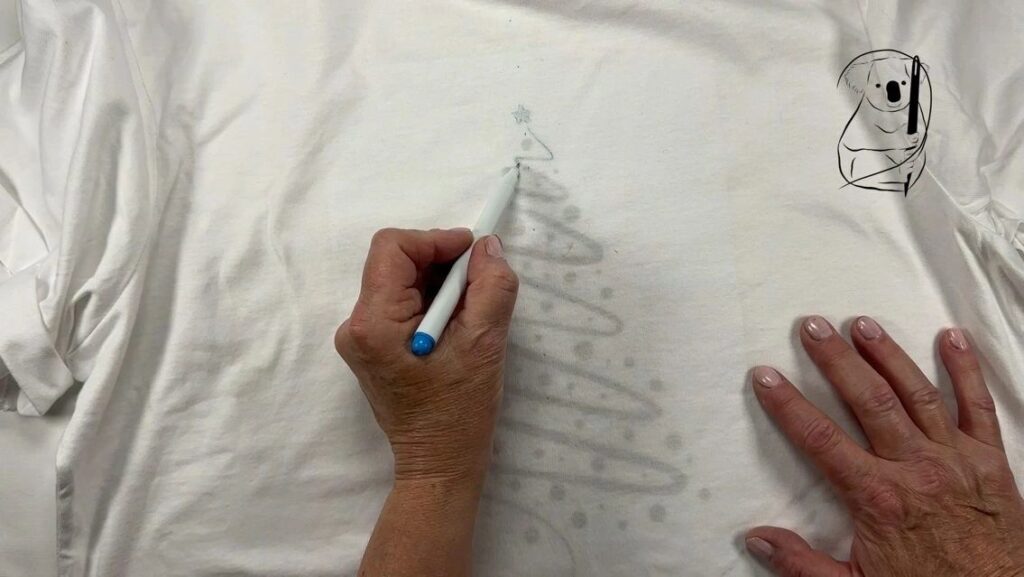
Tracing - if your fabric is fine enough, it is possible to place the design under the fabric and trace your image through it. This tends to work better with light coloured fabrics, as well as light weight fabrics.
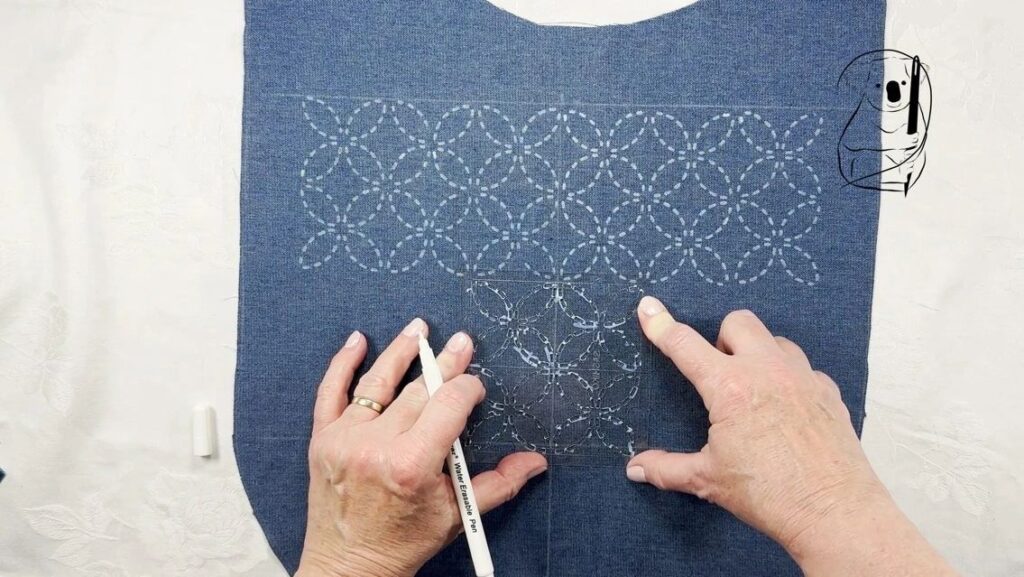
Stencils - stencils allow you to draw directly onto the fabric in a specific and repeatable way. They are very popular with Sashiko stitching, where you not only draw out the design, but the actual stitch placements as well. See our video on using a commercial stencil for the Jacqueline bag. Stencils can also be home-made, using materials to hand, like the recycled packaging used in Pattie.
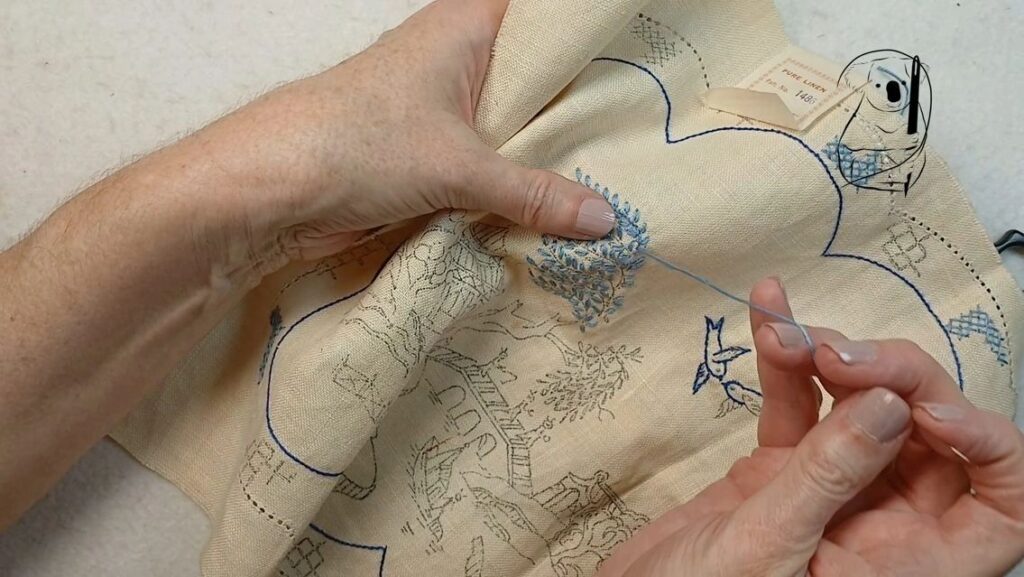
Preprinted designs - a popular product in freestyle surface embroidery is the preprinted design, where you can stitch over the lines of the design that has been printed on linen or cotton. This method was very popular for doily and tray-cloth embroidery.
Tools for drawing directly onto the fabric
There are a number of very handy tools available to draw directly onto the fabric, and which you use will depend on a number of factors, including the washability of your fabric, its colour and texture, and structure.
Water erasable pen - usually blue, these marker pens draw easily on the fabric, and when you have finished, can be removed with a little bit of water. This may not be suitable with fabrics that show a watermark if only a small area is wet. If in doubt, test a small spot, out of sight, to check that wetting the fabric will not change its appearance. We have used these pens in both a medium and fine tip, for more detailed work. - picture dylan scales
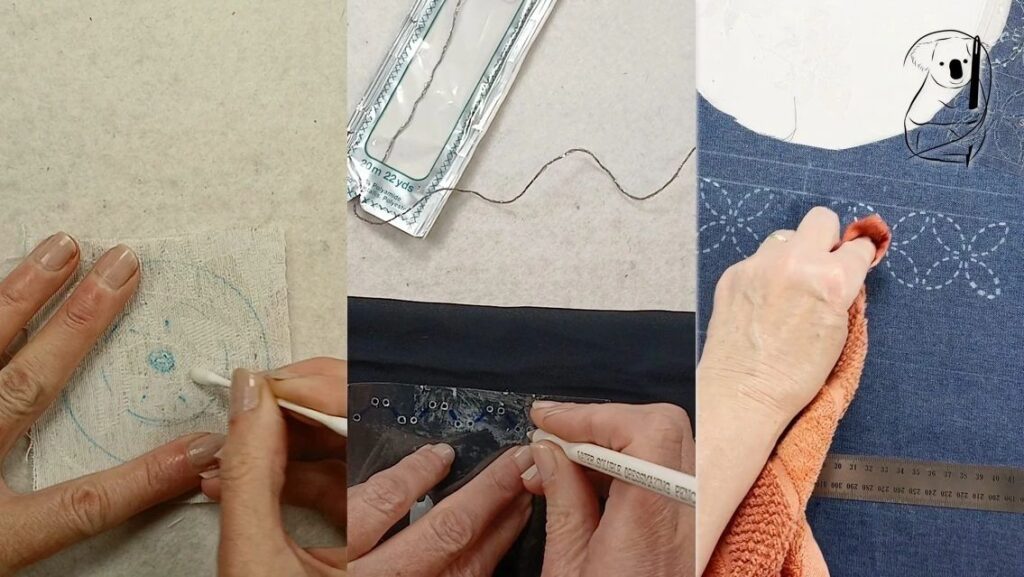
Water soluble dressmakers pencil - this is a chalky pencil that shows well on darker fabrics. Designed for making garments, the marks will wash out when you launder the item.
If your item is tricky to wash, you can use a damp cloth to gently remove water soluble marks. If in doubt, check this on a hidden spot before starting your project.
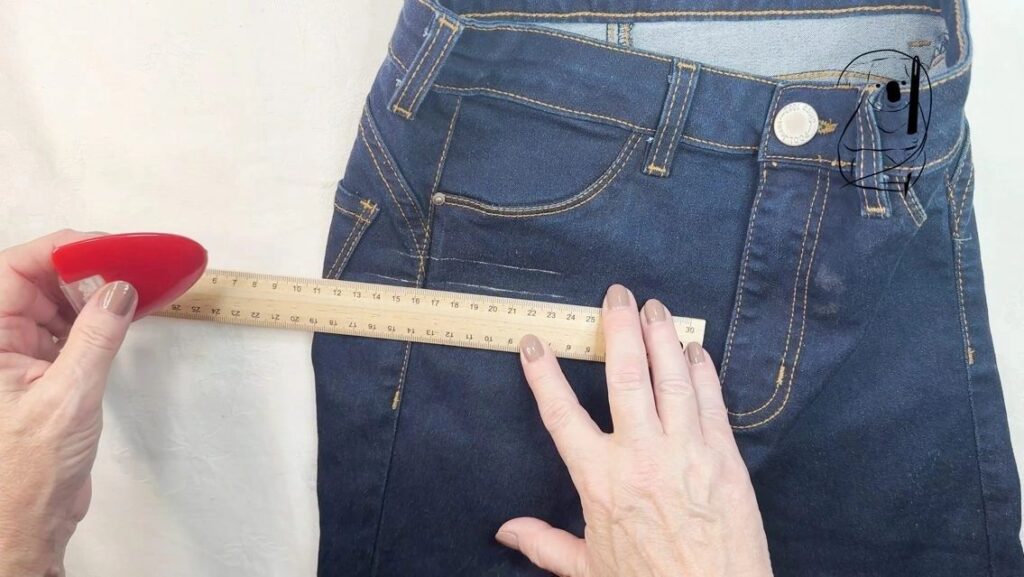
Chalks for fabrics - chalks come in a variety of shapes and delivery options. Tailor's chalk is usually in a pressed block, that may be square, rectangular or triangular. They also come in a range of colours, to suit different fabric colours, both light and dark. Dressmaker's pencils are a core of chalk encased in wood. They often come with a little brush to help remove excess chalk powder. Loose chalk can be drawn in smooth lines using a chalk-wheel, which has a refillable reservoir. These might mimic the triangular tailor's chalk block, or be in a more pen-like shape. The chalk-wheel leaves a smooth line on the surface of the fabric, and because there is no drag as it moves, it works well with straight lines on stretch fabrics.
White washable fabric marker - designed for use on dark fabrics, this pen can be washed off. There are iron disappearing pens available, but not all white pens iron away and if ironed may become permanent. Be sure to check the packaging before use, so you know which type you have.
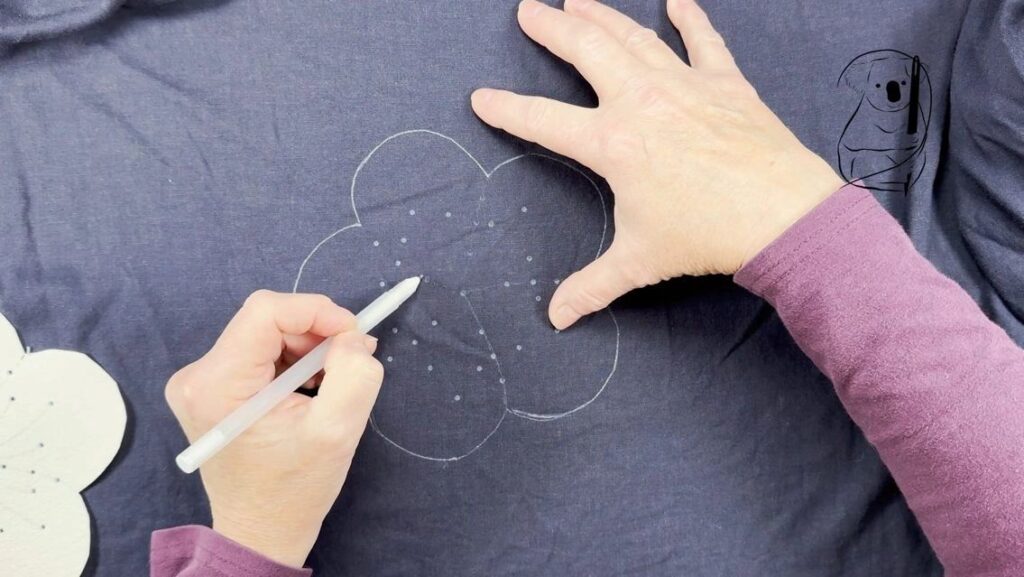
One particular tricky thing about using these pens is that the ink goes on clear and dries white, which can make it difficult to know exactly where you are up to in drawing your design. The two things that this can lead to is a messy design, and a pen used up twice as quickly. Patience is probably your best friend when using this type of pen.
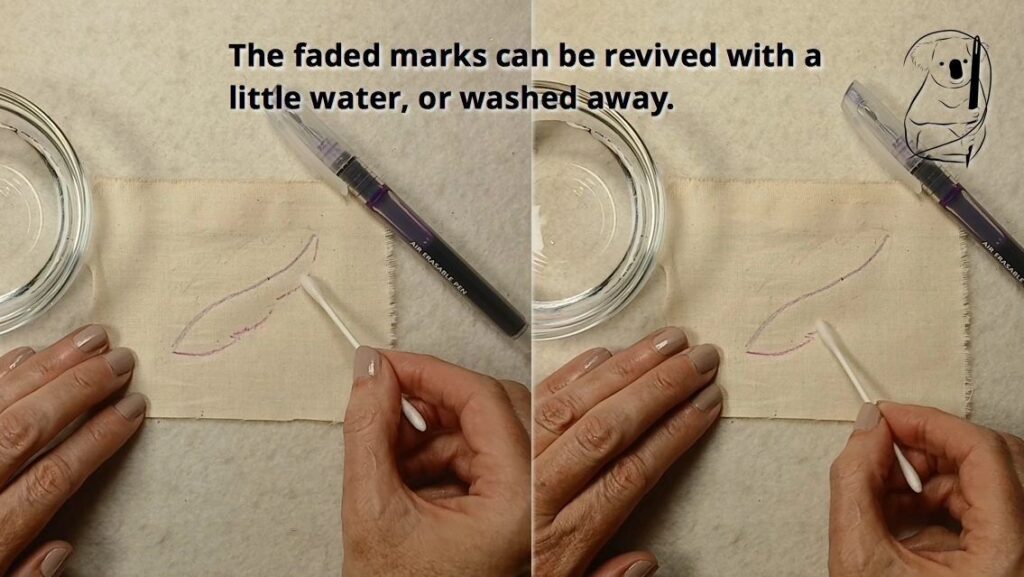
Air fading pen - usually purple, these marker pens also draw easily on the fabric, but unlike the water erasable pens, you can just let them fade away. The more ink you use, the longer the mark will remain visible, but these are best for work you know you will be doing straight away.
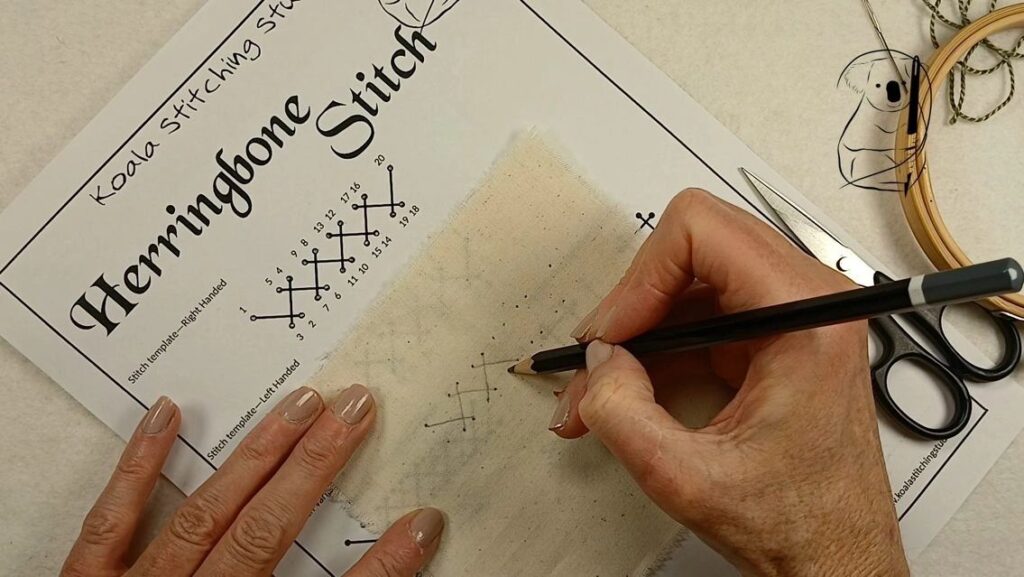
Pencil - the good old fashioned pencil is also an option when drawing directly onto the fabric. You will need to choose one that is soft enough to leave a clear mark without damaging the fabric. When marking the stitches for the Stitch Library, we use a standard 2B pencil.
Tools for Heat Transfer of the design
Available for some time now, heat transfer designs have been published by embroidery pattern companies, that you can simply iron onto your fabric. But if you can trace you design onto a piece of paper, you can create your own heat transfer for your project.
Heat Transfer pencil - originally these pencils were a dark red, but they are now available in a few colours to be visible on different fabrics. Draw on a piece of paper, either an original design, or a tracing, then turn the paper over, and iron it onto the fabric of your project.
Heat transfer pen - easier to get a consistent line, these heat transfer pens draw like a marker pen. Simply turn the paper over and iron it onto your project. These are available in medium or fine, although the medium are easier to source.
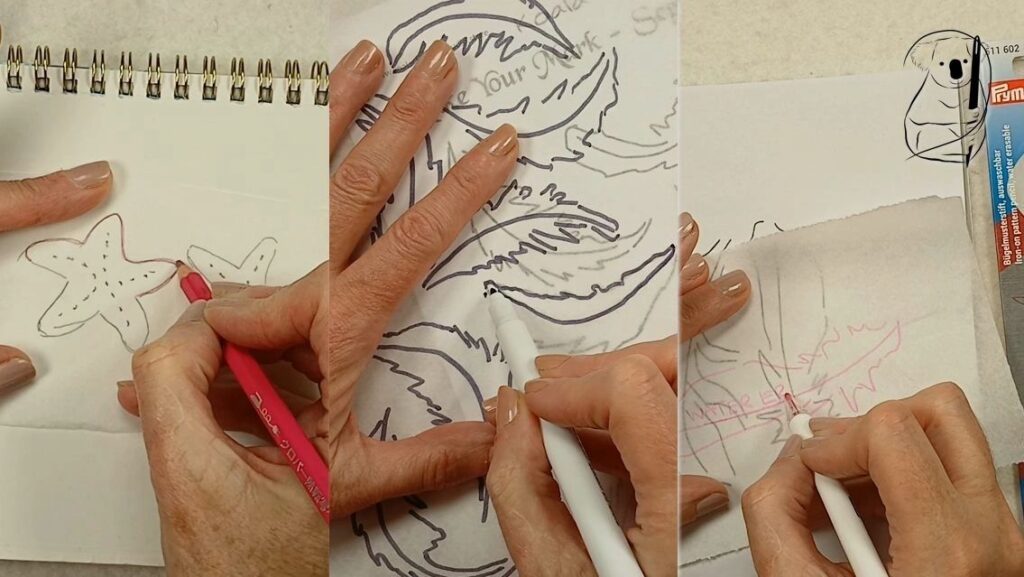
Water soluble transfer pencil - this is a newer tool, which acts like a heat transfer pencil, but disappears with water. Useful if you are stitching a design that isn't completely covered by the threads.
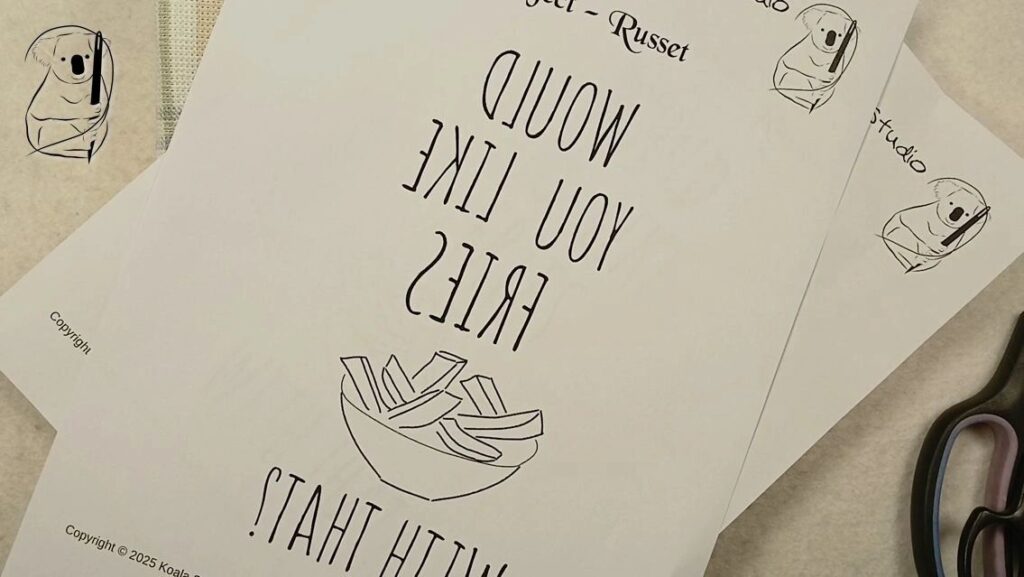
Laser printed design - discovered by accident, you can actually transfer a design from a laser printed sheet of paper onto fabric. The smoother the fabric, the clearer the resulting transfer will be.
When using heat transfer tools, there are a few things to keep in mind:
- you can often get more than one transfer from each tracing, but they may fade with each use.
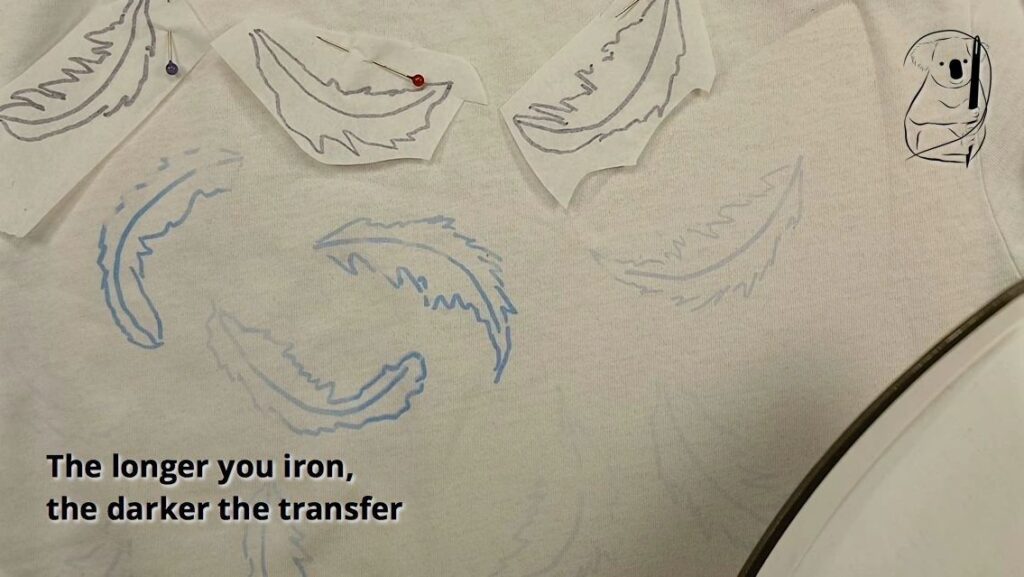
- the longer you hold the iron over the image, the stronger it will transfer to the fabric.
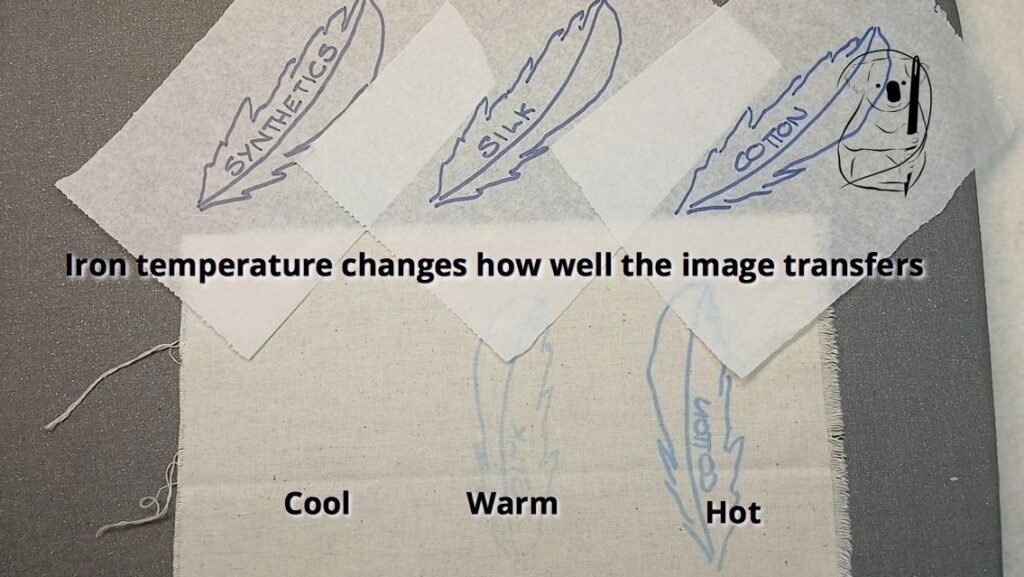
- the temperature of the iron makes a difference to the success of the transfer, so keep this in mind for your choice of fabric. The paper will protect the fabric a bit, but too hot, and you might damage synthetic fabrics even through the paper.
- depending on the type of fabric you are ironing onto, the design may bleed through the fabric, so it is a good idea to protect your ironing surface. Likewise, if you are using a thin tracing paper, the design might also bleed back through the paper onto the iron, so an extra layer of protection might be in order. I have found this more likely to happen with the heat transfer pen.
- when you use heat transfer methods to iron your design onto fabric, the image is reversed, so if you have text, you need to mirror the text before tracing the design.
Drawing on an overlay
Sometimes the best way to get a design onto your fabric is to use an overlay. This can be something that you draw through or sew through.
Prick and pounce - a very old way of transferring designs, this uses an overlay on paper that you prick lots of holes in with a pin. Follow the lines of the design closely, and keep your pin-holes close together, to get the most accurate result. After you have created your stencil, place the design over the fabric, and gently work the powder or pounce through the holes. Standard powders are chalk, which is clear to see on dark fabrics, and charcoal for light fabrics.
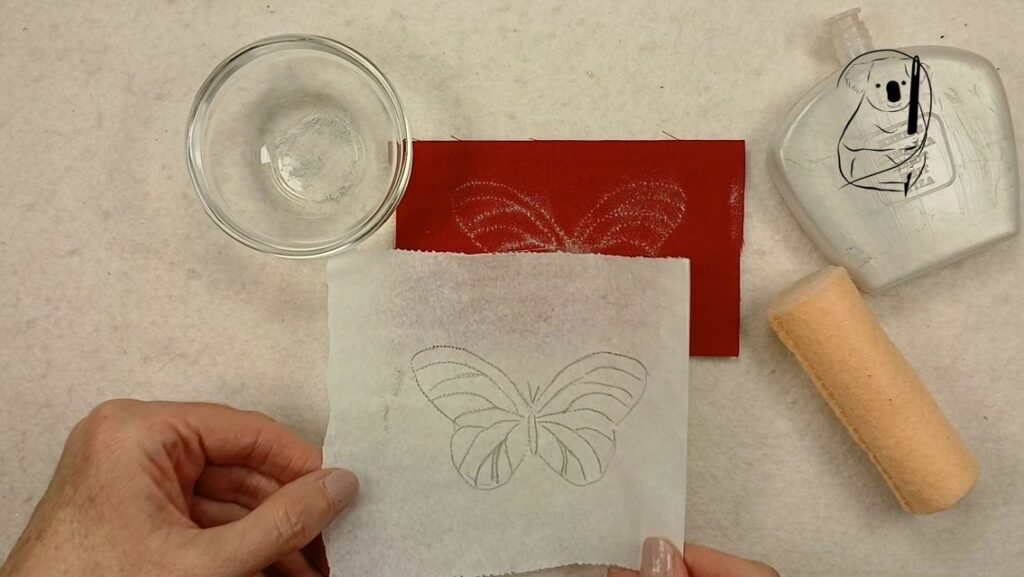
Although time consuming and potentially messy, this is a reliable way of transferring a design onto your fabric. It is particularly useful with napped fabrics, such as velvet, which are tricky to draw on.
To speed up the pricking process, perhaps using a sewing machine to trace over the design (without any thread in the needle) would help.
Another potential drawback is that handling can rub the design off the fabric. To counter this, you can lightly draw over the dots to create a more lasting image. For fabric that is difficult to draw on, try painting a very fine line with gouache, which will wash out later.
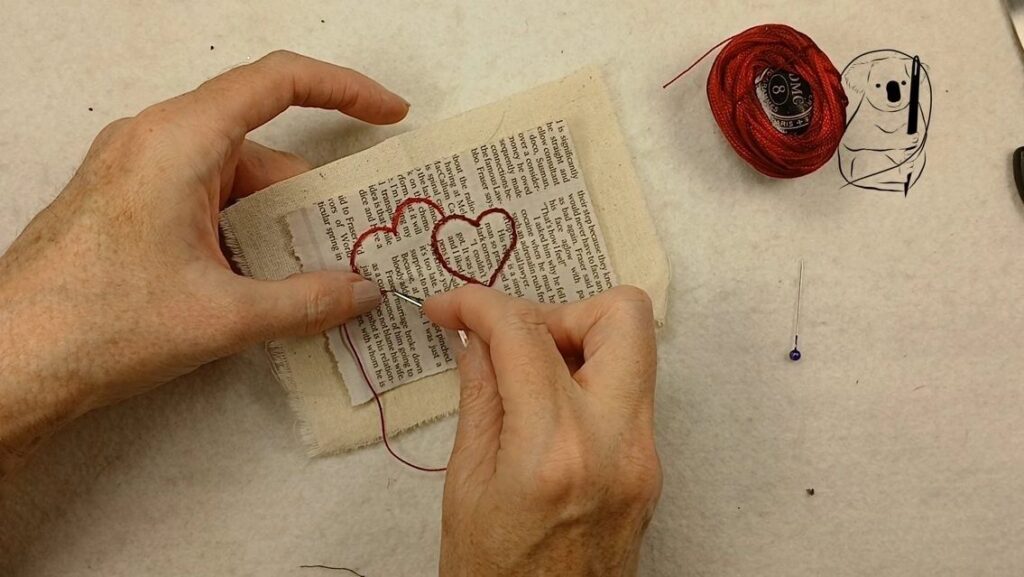
Tissue overlay - tissue paper or any light-weight paper can be sewn through, to transfer the design to the fabric. Depending on the complexity and size of the design, you can sew a running stitch through the lines, tear away the paper, and then sew over the running stitch guide, or you can make your stitches directly through the paper.
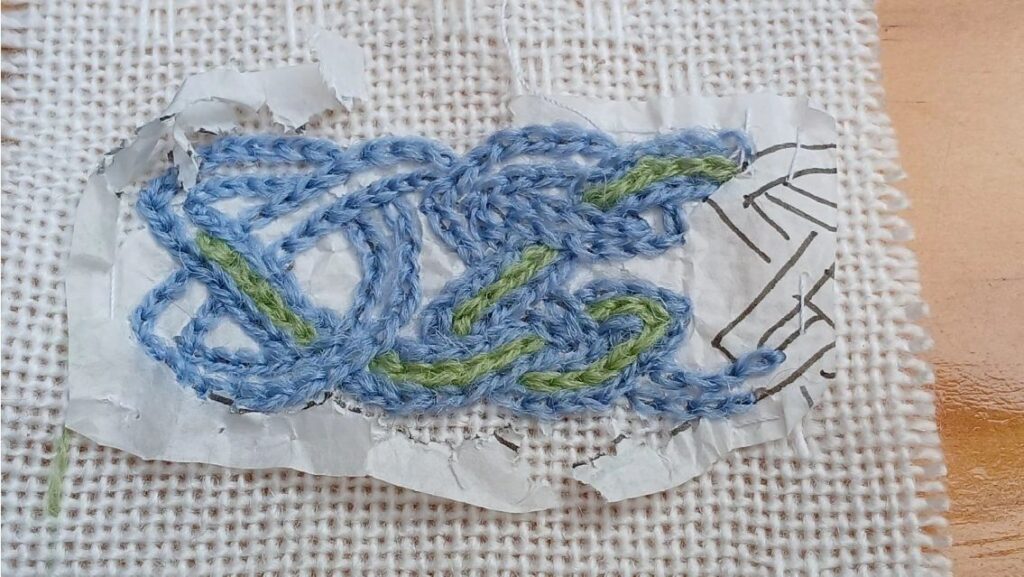
Remember that lines of stitching close together may result in paper trapped between the stitches and the fabric, so consider how easy it will be to remove the paper when deciding which approach to use. The perforations made by the needle make it easy to tear the paper away from your stitching.
Water dissolving film - if you can wash your project, this makes it easy to transfer a design from paper to fabric. Light-weight and easy to see through, it is easy to trace your design onto the film. Some have a structure like interfacing, while others are more like plastic.
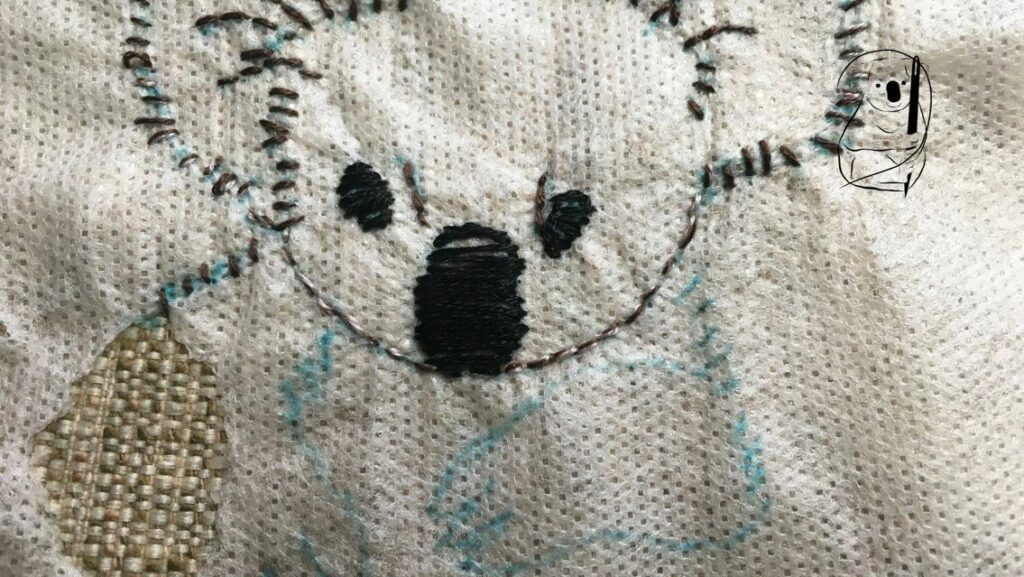
Be careful to keep your hands dry when working with this type of product, as the film can disappear under damp finger tips.
If you don't want to wet the project, you can also tear the film away from the stitching line.
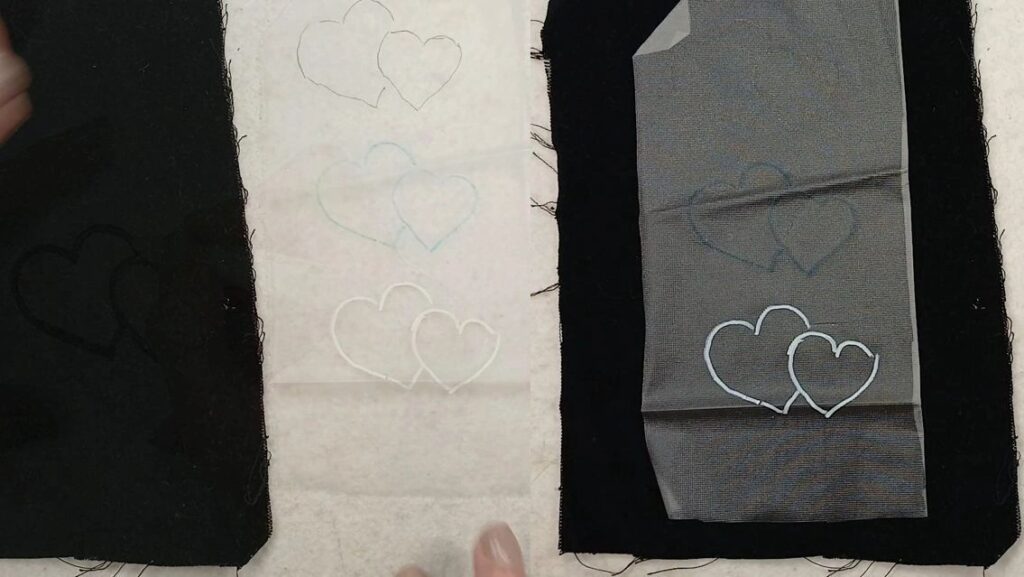
When using these films, because they are almost transparent, it is important to use a pen colour that will be easy to see on your project fabric. A dark pen over a dark fabric will be difficult to see. White fabric pens are hard to see over light colours, but easy to see over dark.
Sticky water dissolving film - again, best used for washable projects, this is an interfacing like film with adhesive on the back. Draw, cut, peel, stick. Because it has a backing sheet, it is harder to see through, even when using a light box. The old-fashioned window tracing method works quite well. This product can also be put through a printer, so more intricate designs can be transferred this way.
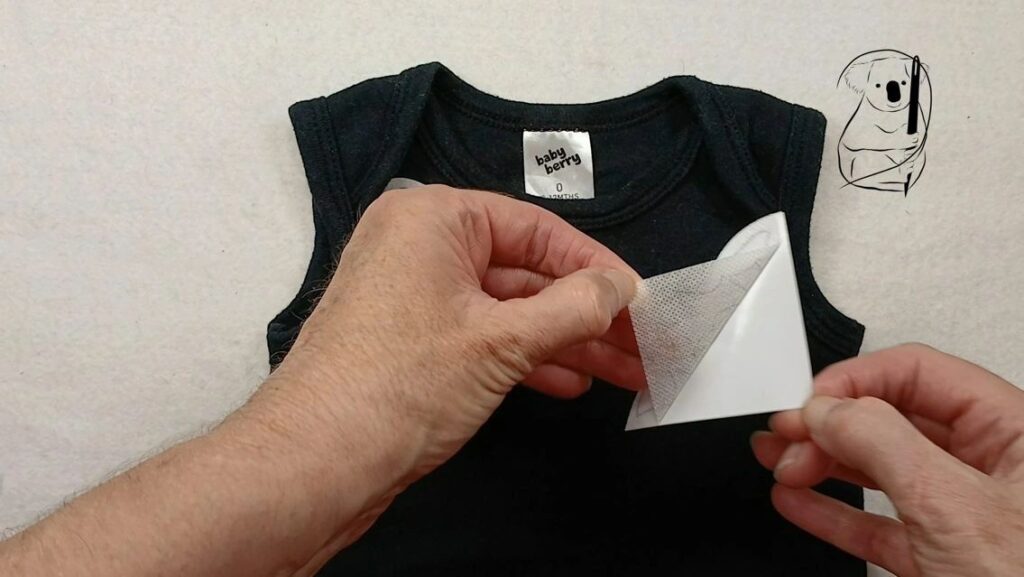
Because it sticks to the fabric, it is great for stabilising light-weight knits such as t-shirts, which are easy to stretch while you stitch on them.
The sticky glue may slow the needle through the fabric, but it's not show-stopper by any means.
It is important to wash the item well, and rinse away any residue from the film and the glue, otherwise your project will be left stiff.
Drawing on Tulle - another technique that might seem rather old-fashioned, this is actually a very effective way of transferring designs that are not overly detailed.
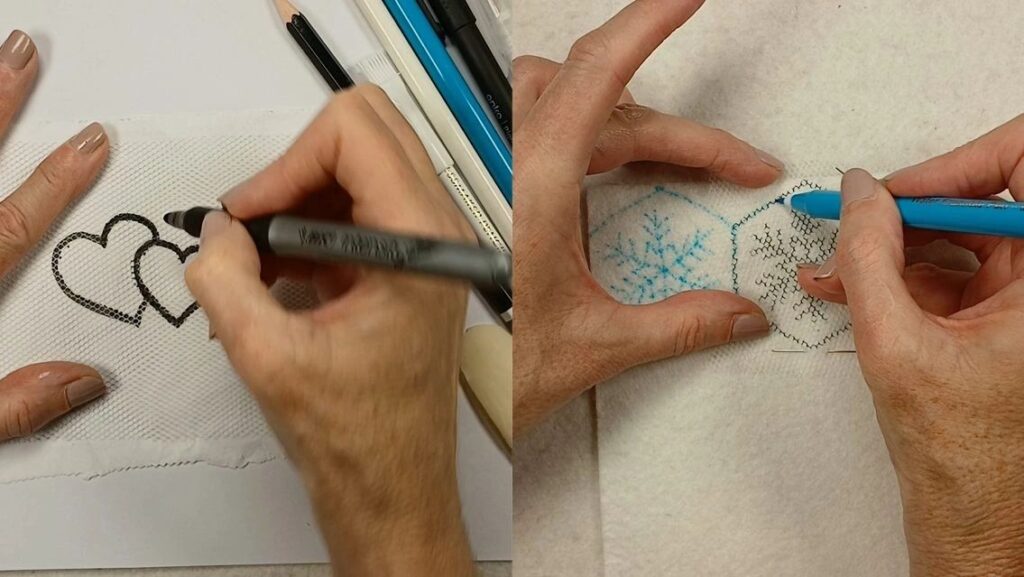
Step one, draw your design onto tulle with a marker pen. It needs to be sufficiently thick that the design is easy to see.
Step two, place the tulle over your fabric, and trace the design with the marking tool of choice.
In our video, we try a dry sliver of soap, pencil, dressmakers chalk pencil, water soluble pencil, water erasable pen, pigment pen, and white fabric marker. The biggest variant to the success of the transfer was the colour of the marker on the fabric. Some tools simply show up better than others.
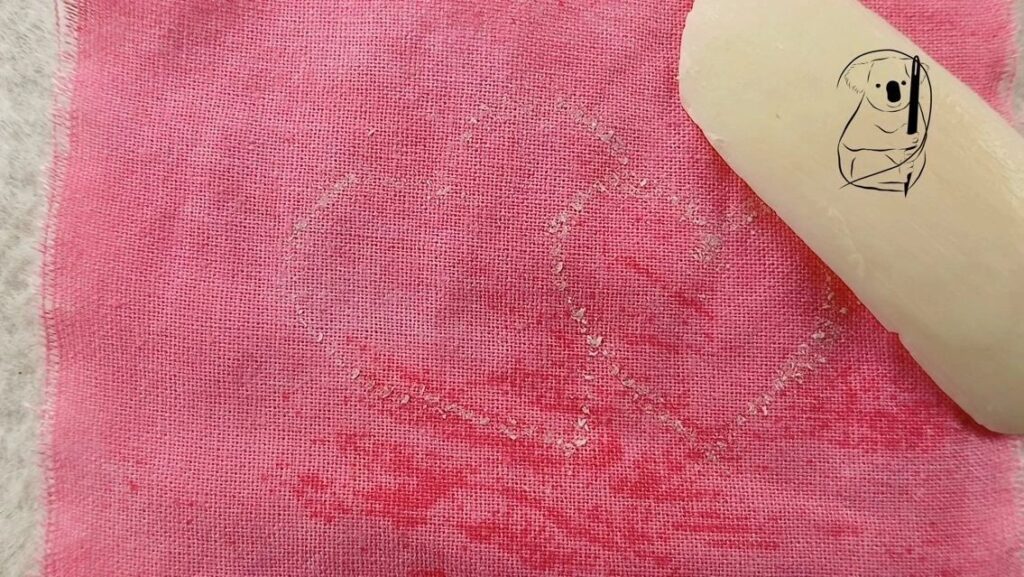
One great advantage of using tulle like this is that you can make multiple copies of the design, with what is effectively a stencil. Another advantage is that with the transparency of the tulle, placement of the design is easy.
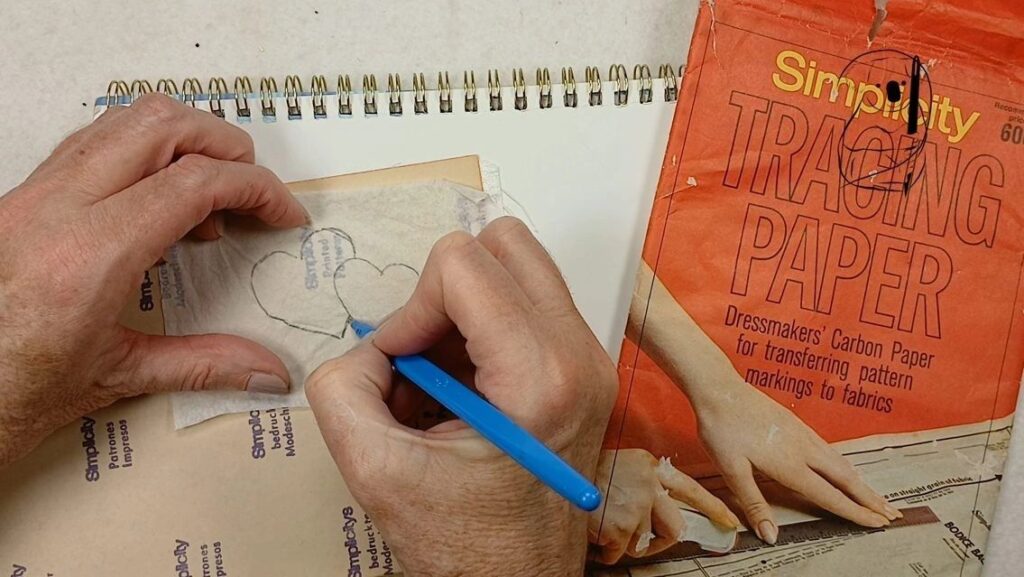
Carbon paper - dressmaker's carbon is designed for transferring pattern marks onto the fabric, and it works with embroidery designs as well. It is important to have the work on a firm surface, otherwise it is easy to tear the paper as you draw over it. You can use a pen or a fine stylus to draw over the design. Again, use a colour that works with your fabric colour.
Many of the techniques described above combine methods to give you the best results. Some things to consider when choosing a method
- is it permanent or not - will the lines be seen after the stitching is complete? I you are doing dense stitching or using a thick thread, you don't need to worry about lines that can be removed.
- type of fabric - can you draw on it? does it benefit from stabilising? can it be washed?
- After transferring the design, you can always trace over faint lines to make it clearer and more lasting.
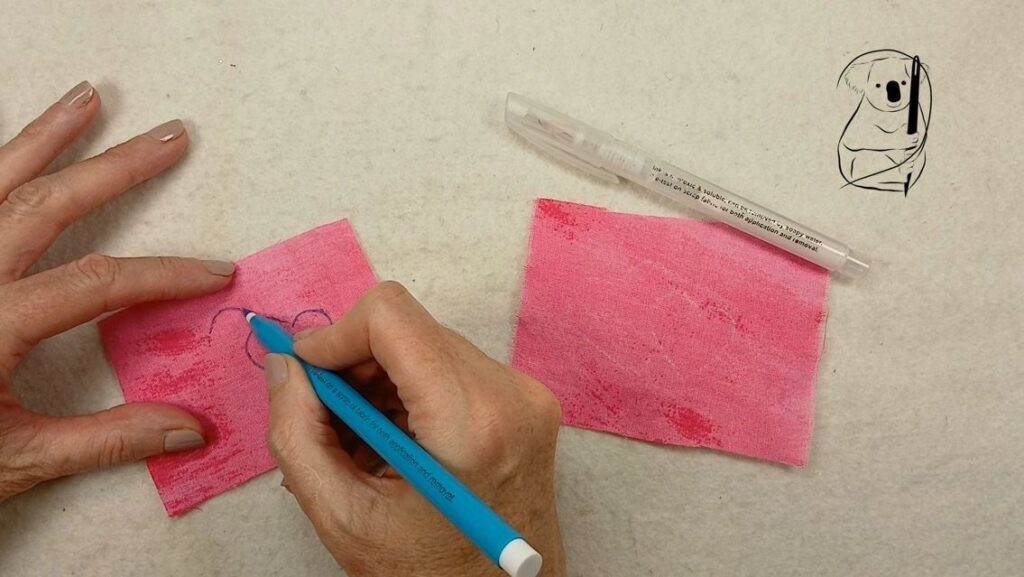
While we've tried to be comprehensive in our tour of transfer methods and tools, there are some we haven't tried, and of course, there will be new ones appearing over time. If we find something particularly exciting, you can be sure we'll share it with you.
Click here to watch these methods and tools in action on YouTube.
Go to the top of this page.