
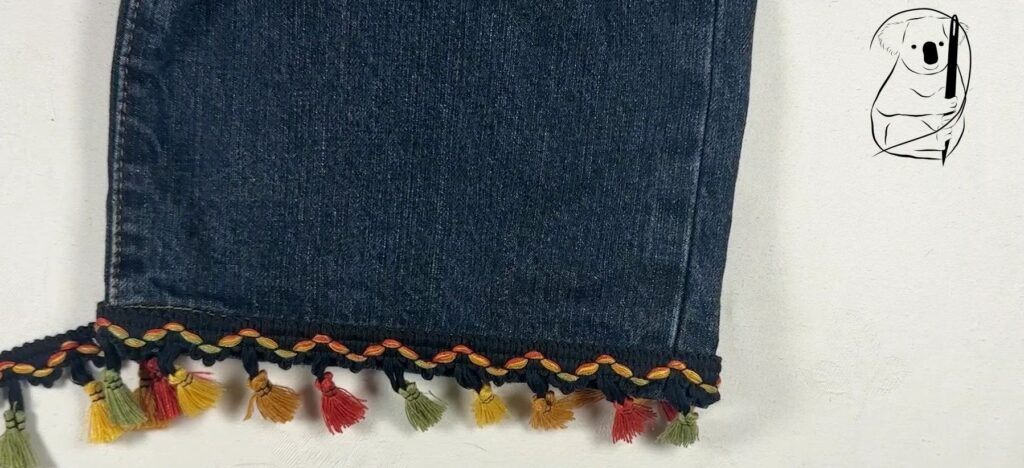
We often tend to think of fringes as pretty uncommon, however they are everywhere especially in decor items and costumes. They are an easy way to increase aesthetic value to plain items and add fun and movement to clothing. There is a substantial range of fringes available in fabric stores but if you have specific needs regarding colour, strand length or texture, then making your own fringe is perfectly possible and sometimes very easy.
I will just add a few notes in this blog regarding the methods to create your own fringes which were in the video. There are more methods to create fringes which we might look at in the future.
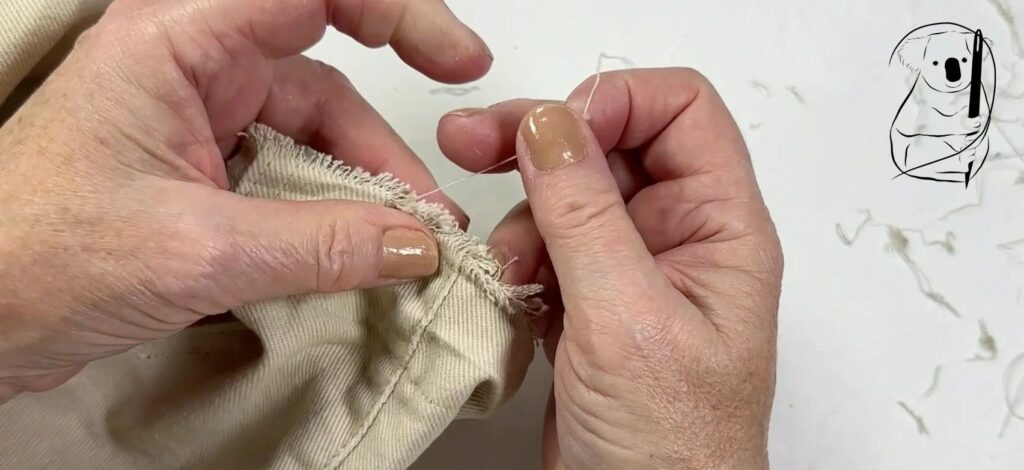
1. Fraying and Edge
I took a pair of jeans and unpicked the leg hems to pull threads away from the fabric. Very Easy!
It is very common to see denim frayed this way. This is an simple way to lengthen a pair of jeans by a couple of centimetres without adding additional trims or fabric. Just undo the hem and the turnovers add a bit of extra fabric to extend the leg length.
Dealing with the side seams was the only complication here and I simply cut away the seam further up the pant's leg by about 1/2 cm.
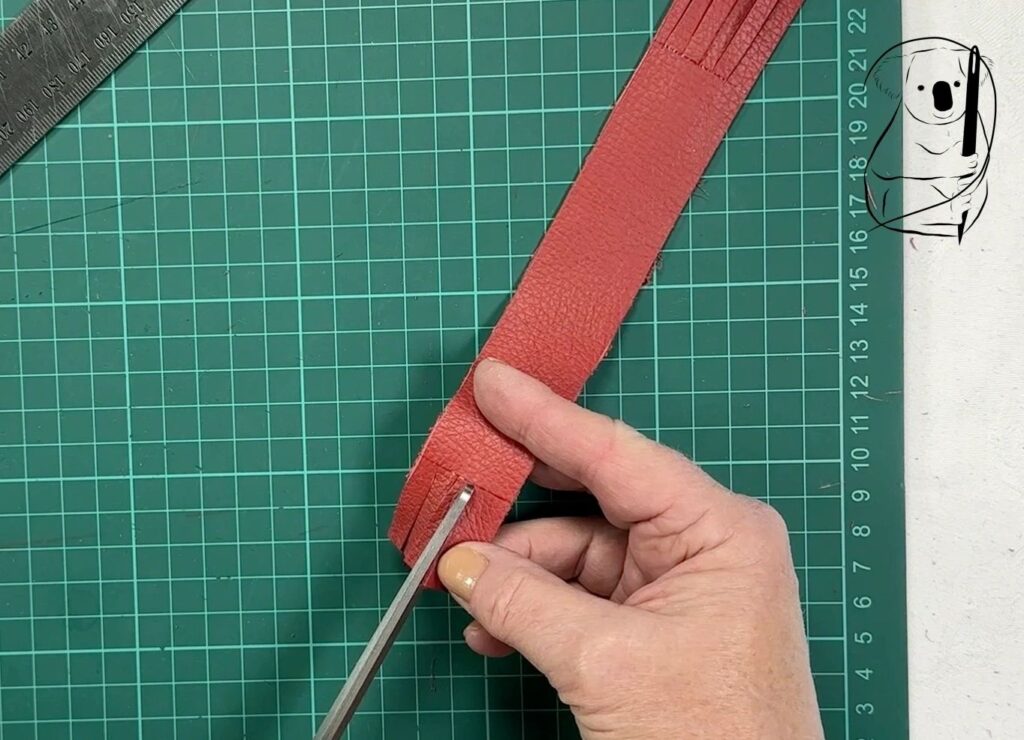
2. Cut Material with Scissors
Cutting fabric or leather to create a fringe is another quick and easy way to make a fringe . The bookmark to the left is a great example of a quick gift that a child could make for friends or family.
This particular leather came from a lounge thrown out on the footpath for clean up collection. It is not too thick, so it will sit between pages of a book comfortably but has strength and substance to manage handling and long term use.
Just be sure to cut the edges straight before clipping the fringe. Use a fading marker pen to make any guide lines.
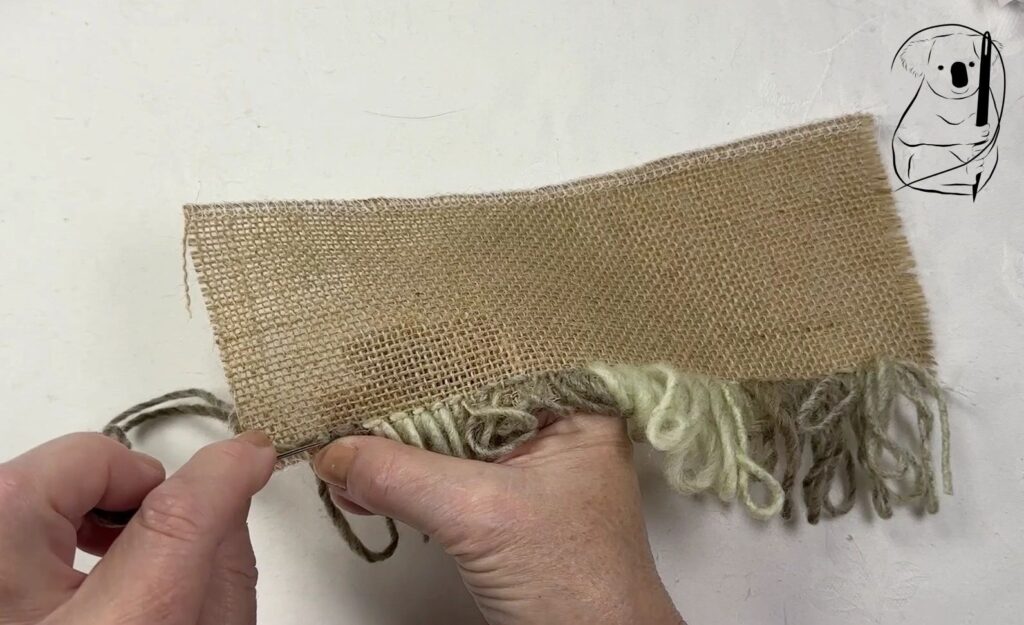
3. Turkey Rug Knot to make Loops
If you need a refresher on Turkey Rug Knot, have a quick look at our video.
Watch our Turkey Rug Knot video on YouTube.
For this demonstration I used a bulky yarn to create the loops of the fringe on hessian fabric. To use a yarn of this ply, you need a very loosely woven fabric. The hessian is very rough and would not be suitable for clothing. However the large weave did make it easy to count my threads and keep spacing even.
A fringe like this with bulky yarn would also be possible on mesh fabric which could be a little softer.
This is a great fringe to make if you want it to follow a curving line or take on a complex shape. But it still works great on a straight line as seen here.
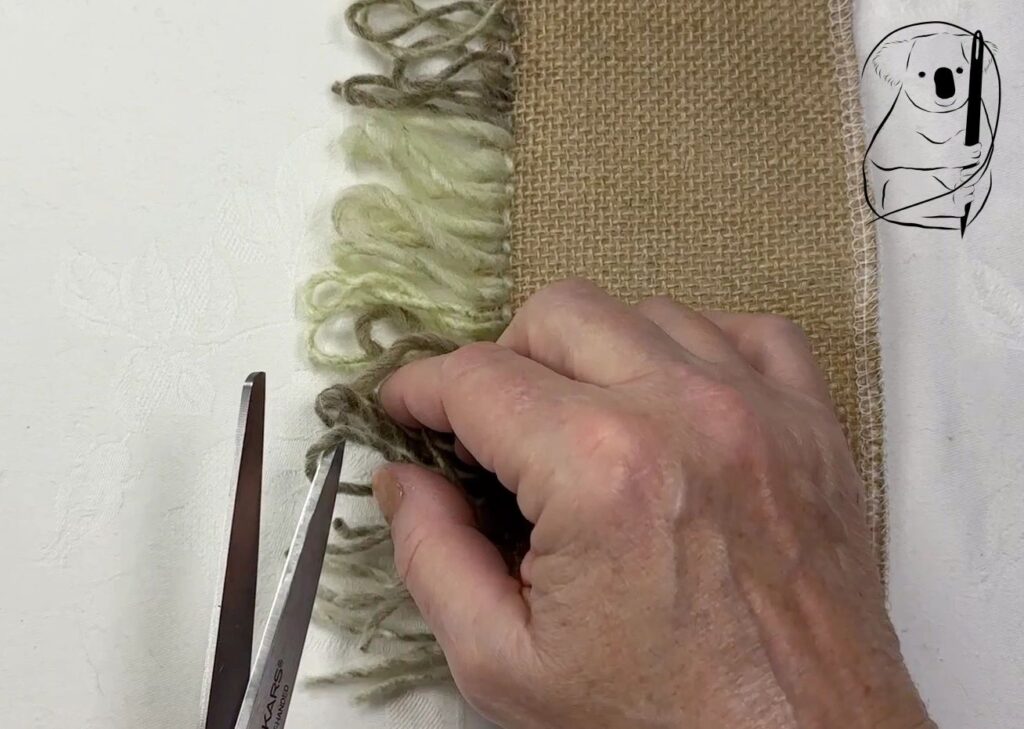
4. Brush Fringe by Cutting Loops
The loops made with the Turkey Rug Knot were quite consistent in their length. So simply cutting the loops produced a good fringe immediately.
If your loops are not all equal, trim the ends of the cut loops so they are all of equal length.
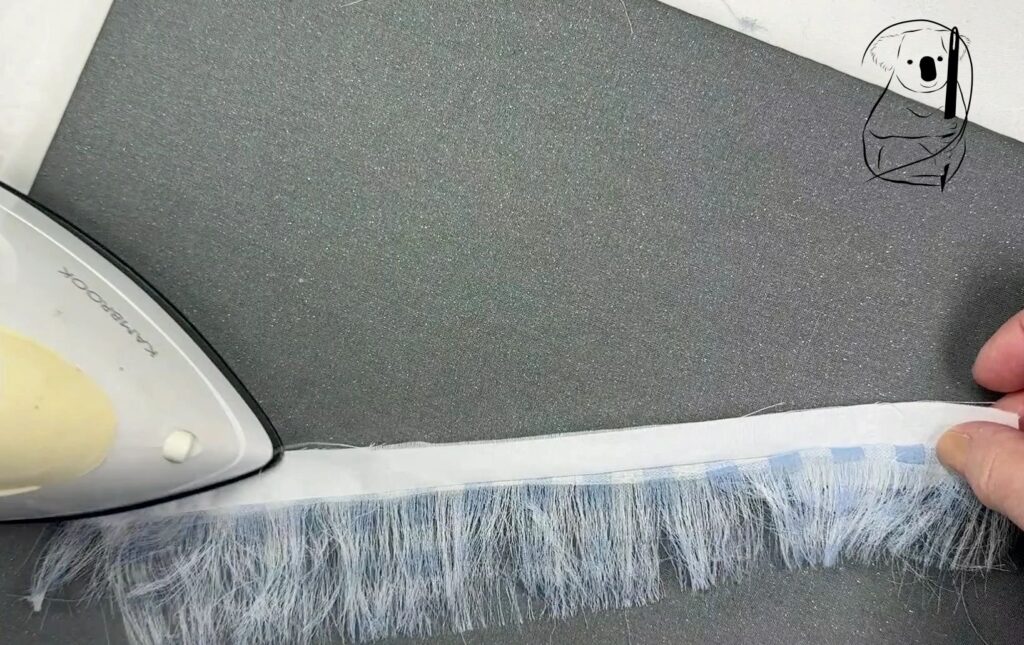
5 Make Fringe with Header
I was really impressed by this method to create your own fringe. It gives you a fringe that is well supported and can be directly added to fabric or garments.
The fringe made was really long and the threads very fine. I could have made the fringe much longer without any extra difficulty. If you use this method then your fringe can be made from fabric matching your garment or might be made from a contrasting colour.
I chose this fabric because it looked like it would fray really easily.
But be warned. You can see from the image to the right that the check pattern doesn't follow the actual threads very well. This was a cheap fabric and may be a manufacturing issue. At the right hand end this is very clear.
The tape has been stitched following the check pattern, but the fringe which has to follow the actual threads diverges from the tape.
If you use this method to create your own fringe, this should 't be an issue if you use a plain coloured fabric or a non recurring visible pattern. Or if you need to use a geometric pattern check the fabric really well to ensure the colour pattern follows the woven threads accurately.
Adding a fringe can bring movement, colour or change the silhouette of the garment or item. It is a lot of fun, and easy to achieve, whether you are making your own fringe or adding one that you have bought.
Watch our Fringes video on YouTube.
See the video of our Fringes project Sasha