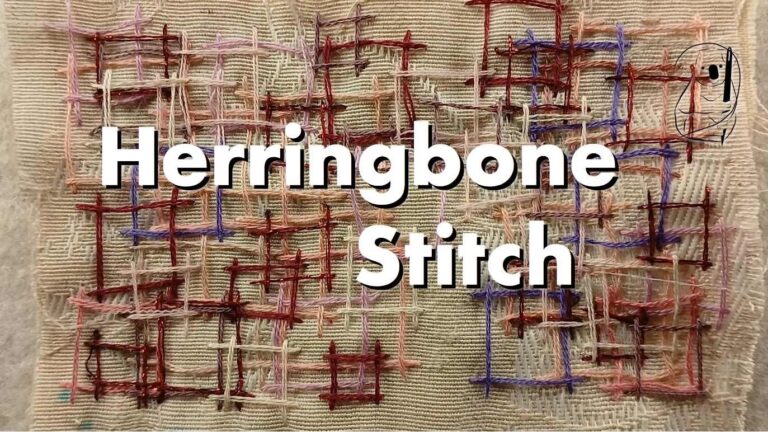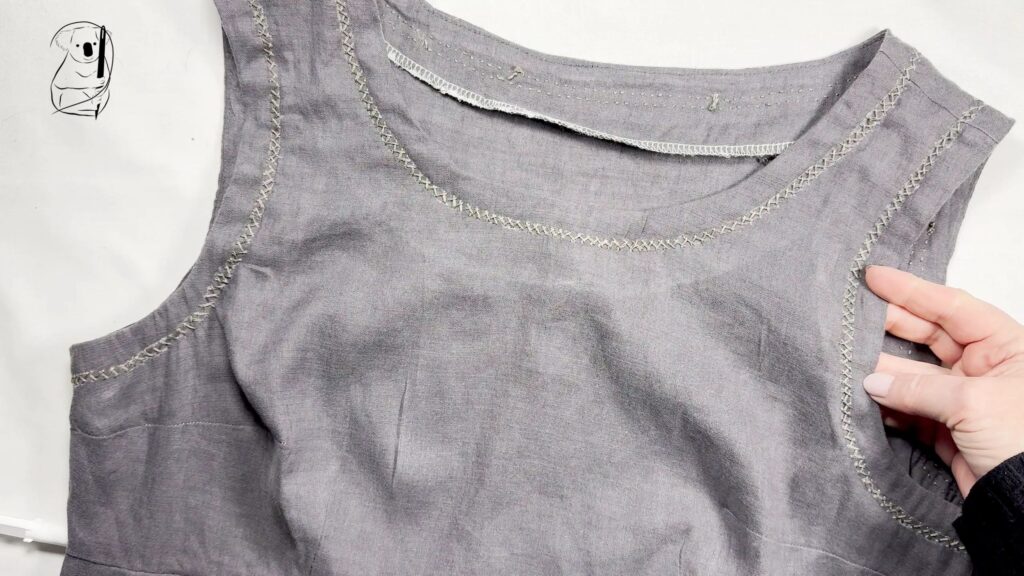
Here we have a homemade sleeveless, linen dress with a typical issue - the facings never want to sit properly out of sight!
The problem was remedied in an afternoon by stitching a row of herringbone around the offending openings. This was not as simple a project as first appeared and took some trial and error to devise a method of working around the garment.
Not having tried herringbone stitch before, some quick practice on spare fabric didn't prepare me for the curves of the arm and neck openings.
When working a stitch of two connected parts like Herringbone, coping with curves must be taken into account. The outer edge of the stitch moves at a different rate than that of the inner edge.
To begin, I ironed the facings then basted them in place. You will see in the video that I marked a line around the opening 1 1/2 cms from the edge and then another at 2cm from the edge. These guides set the width of the stitches.
I eagerly started stitching within my guidelines only to find that my stitches were becoming closer together as I went on - a beginners curse. I also found that as I approached a curve in the armhole opening, it became more difficult to keep my spacings regular.
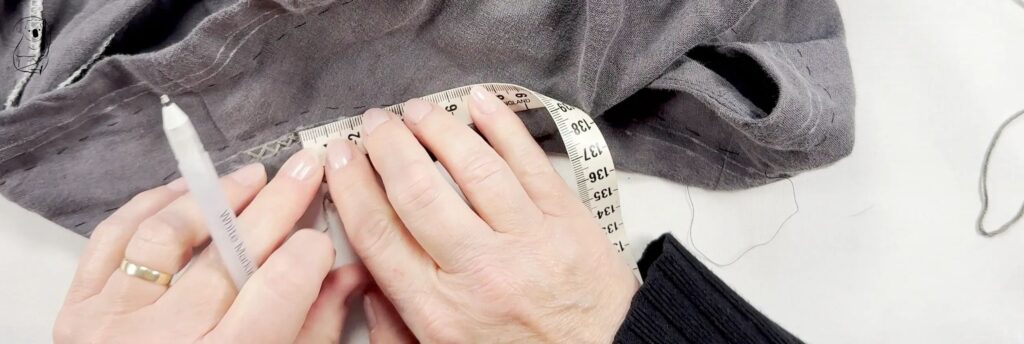
So I marked every 5mm along the outer line to guide the placement of each stitch. On the inner edge of the embroidery, I placed the needle for each stitch at the halfway point between these 5mm markers.
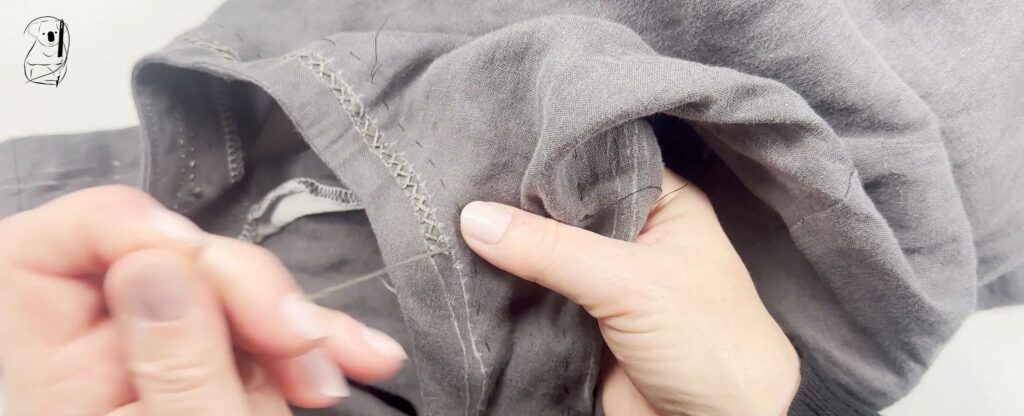
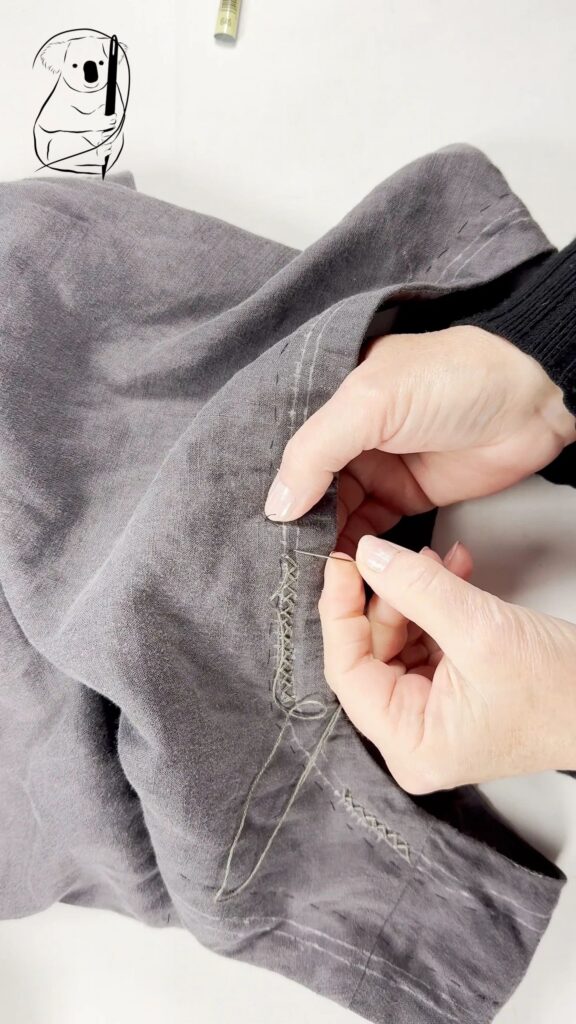
The dress is plain grey fabric and I wanted to keep the theme of a monochromatic colour scheme. The thread colour I chose is DMC 645 and here I'm using 2 strands of floss. This colour was as close to the grey as I could achieve and it contrasts just enough to make the stitching noticeable.
I also love how the Herringbone stitch is decorative in a geometric way which is modern and restrained going hand in hand with the monochromatic look of the garment.
Overall this was a quick and easy fix to an irritating problem and the appearance of the dress has been lifted to a new level.
This DMC 645 thread is available at Amazon for Aus $2.43 each. Click here to find it on Amazon https://amzn.to/3J2PnvR
Disclaimer: This post contains an affiliate link. I may receive a commission from purchases you may make at no additional cost to you. I only recommend products I would use, love and are of good quality. Opinions stated are my own.
Watch how the project came together on YouTube.
See our easy to follow video tutorial on Herringbone stitch.
Find our other Herringbone stitch project Harlow here.
Our web site pictorial tutorial for Herringbone stitch is here.