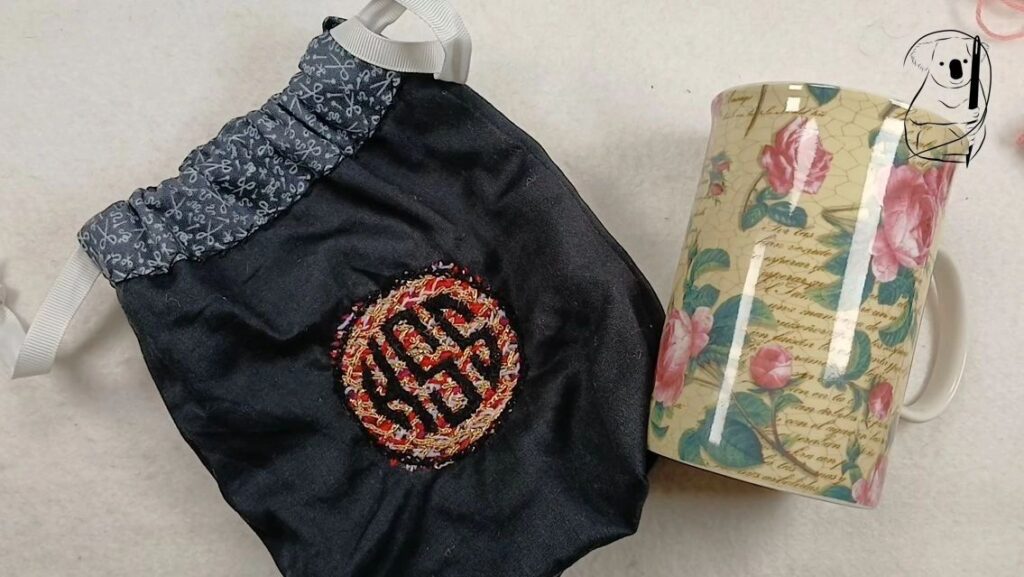
Attending a Stitch,Knit,Yarn group is always fun. And it is even better when you can pause for a cup of tea or coffee while you chat. But in these informal groups, there is not always the facilities to properly rinse and dry your mug before popping it back in your bag to go home. Then if your bag falls over, there is the risk of the last drops of drink spilling into your bag.
Enter the mug bag. This protective little gem not only absorbs those last few drops in an emergency, but it also guards your favourite mug against knocks and bumps in transit.
I was gifted the drawstring bag that used to house a quilt cover by someone in my local Knit, Stitch, Yarn group, and had it sitting there waiting for its moment to shine.
I was putting my not-quite-empty mug in my bag to go home one day, and the two elements came together in the idea of Harlow.
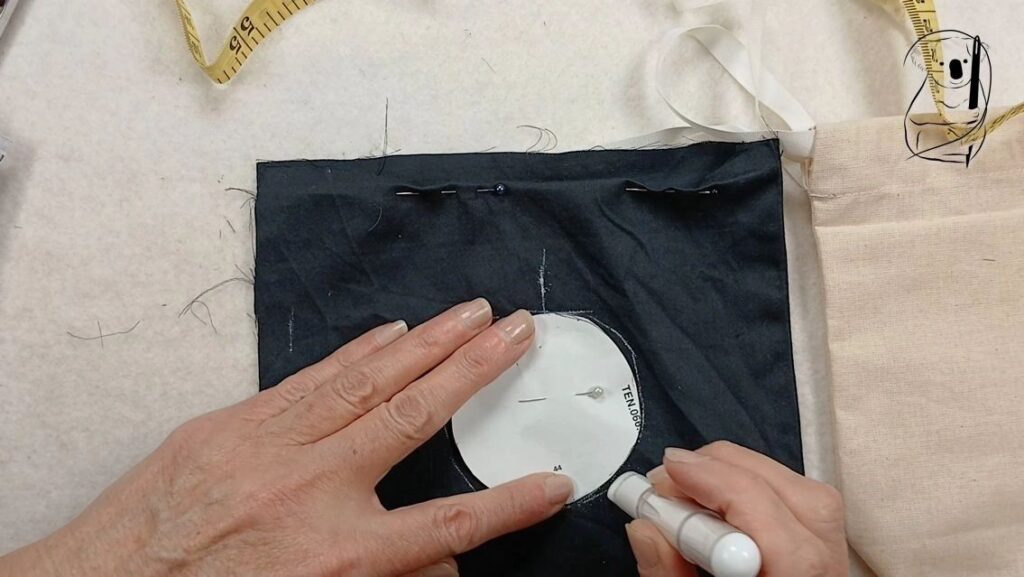
I decided to take advantage of the construction of the existing bag, and cut the fabric to take into account that there was already two seams sewn.
After constructing a mock-up bag for size and placement of the embroidery, I adjusted the pattern to allow for the lining to show at the top of the bag and create the drawstring channel.
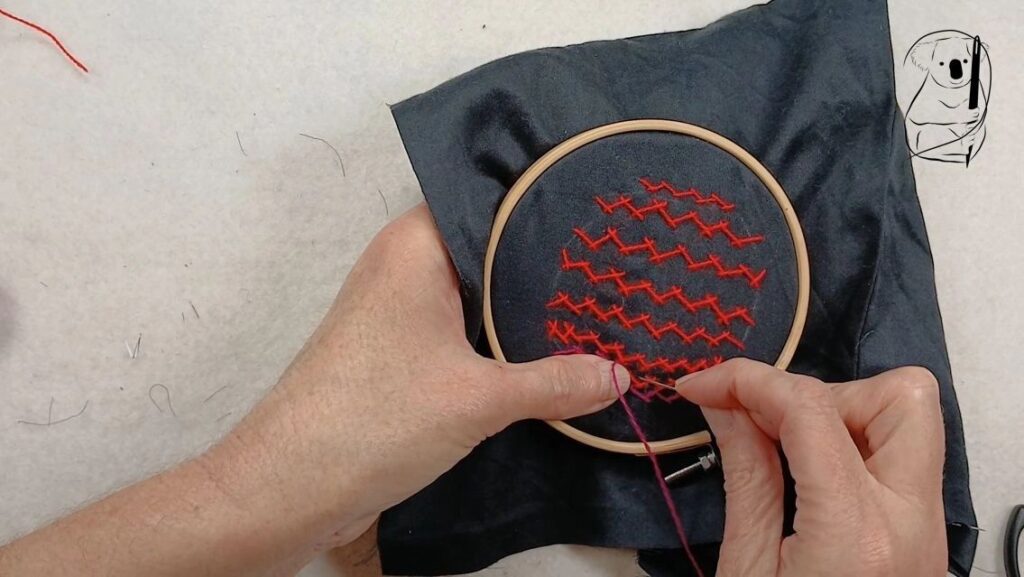
I wanted to play with colours and textures for this design, and so I selected a range of fuzzy acrylic yarns (I believe they may be designed for punch embroidery) in reds, pinks and purples, and started to layer rows of herringbone stitch in the marked space.
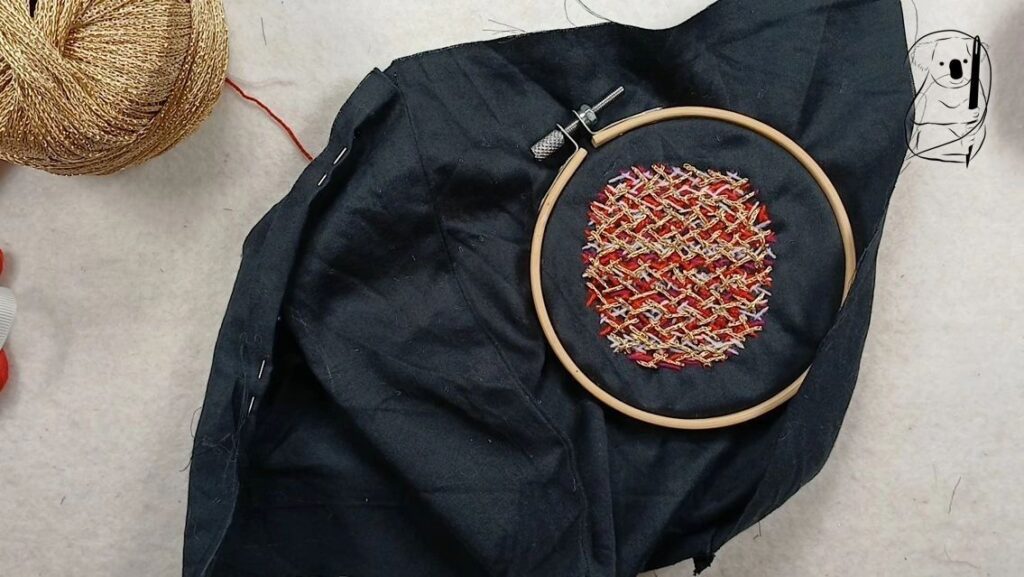
As a final touch, I added rows of herringbone stitch in gold yarn.
At this point, the panel of stitching looks a little uneven, however with the monogram layer to come, I was happy with the stitching so far.
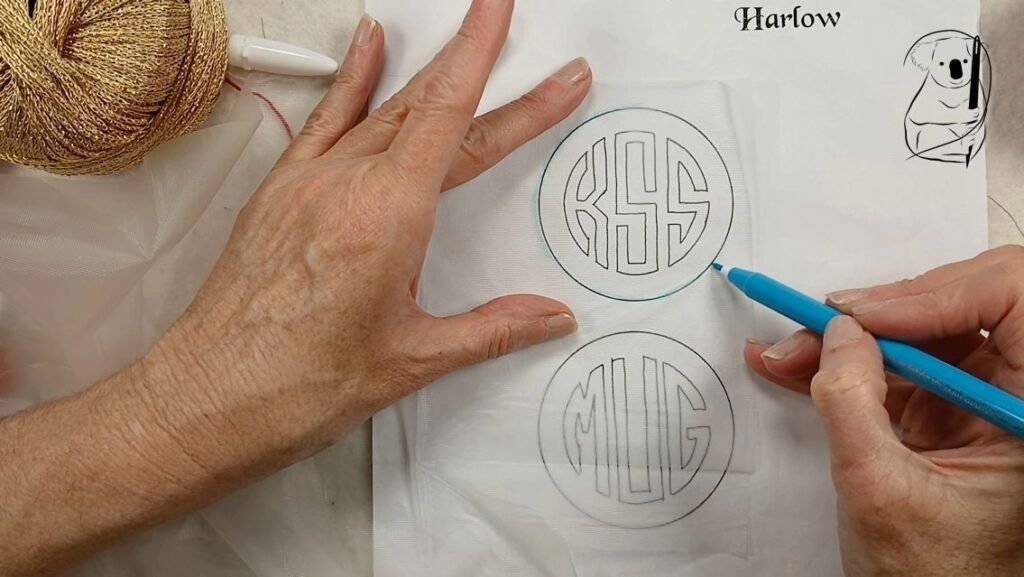
The choice of monogram was easy - Koala Stitching Studio on one side, and a cheeky indication of the use of the bag on the other.
The first monogram was traced onto water soluble stabiliser using a water dissolving pen.
Over the uneven pattern of the stitching, this was actually quite difficult to make out as the pen is quite light in colour. I needed to go over the design again with the pen, then add a line of running stitch along the lettering outlines.
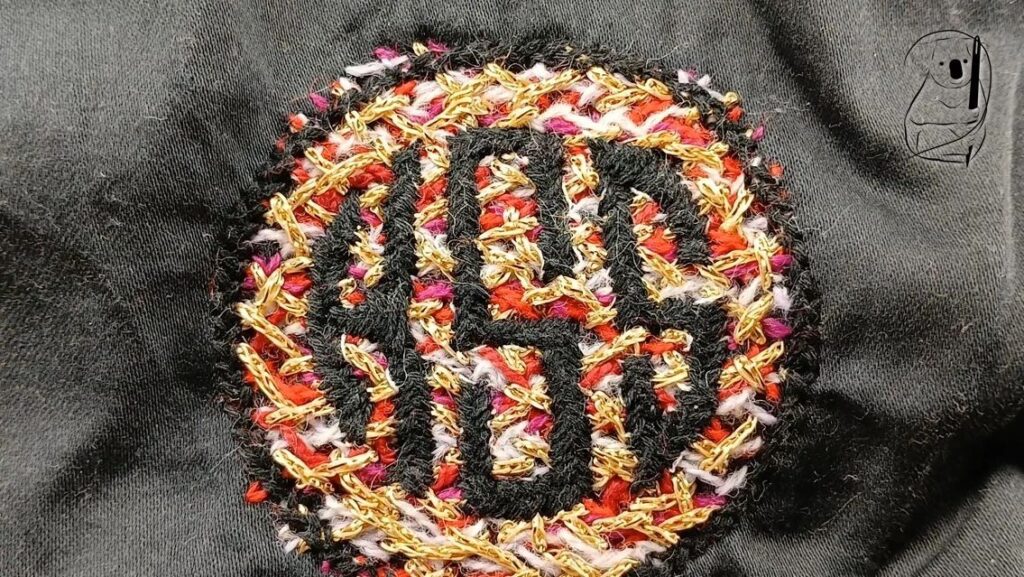
The monograms were completed in black cotton floss, in overlapping herringbone, which gives an almost satin stitch finish, but with a line down the centre where the overlapping threads meet.
Once the monogram panels were complete, the bag itself was constructed using a sewing machine
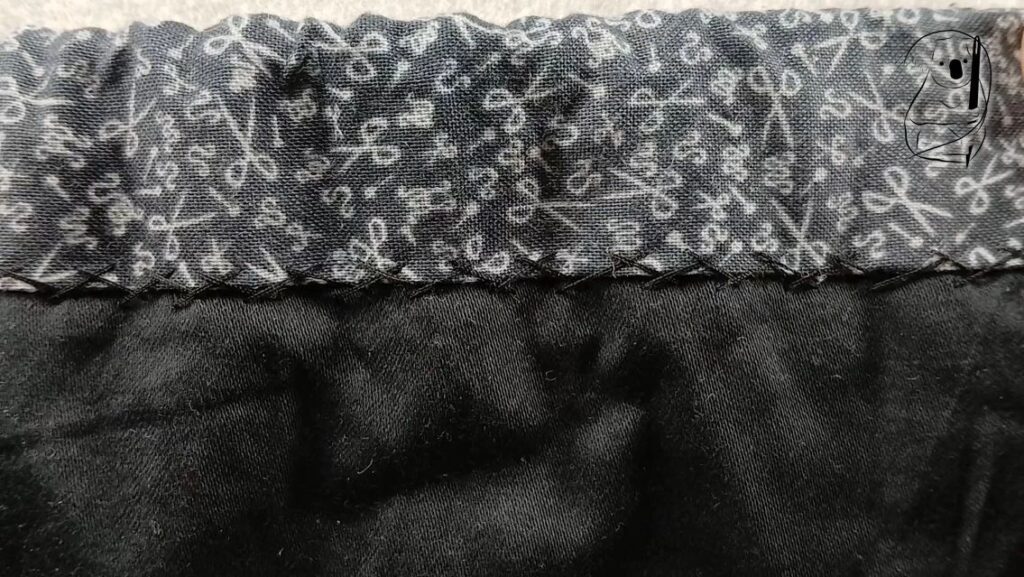
The lining was attached at the top with a row of visible herringbone stitch.
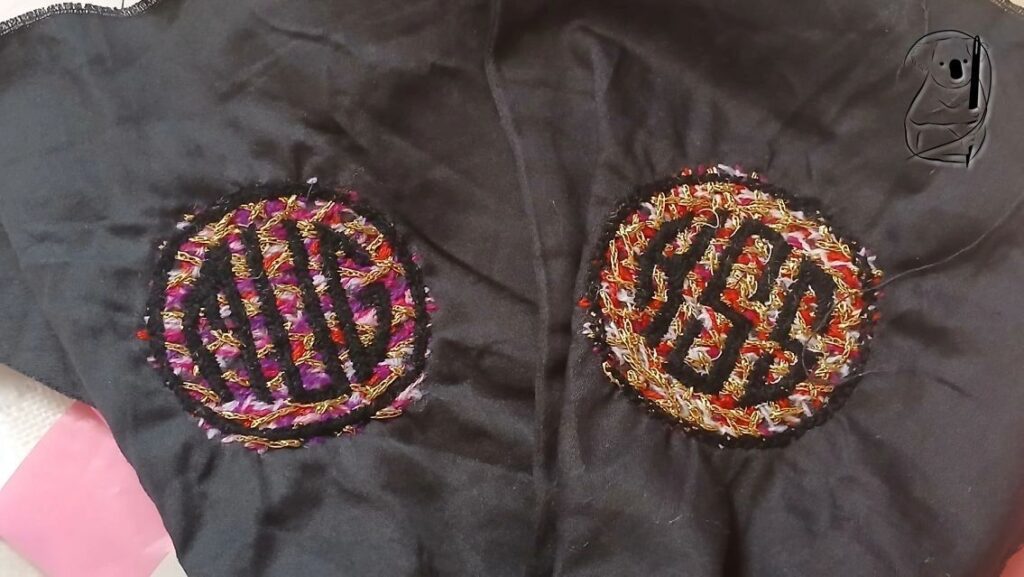
While I wasn't aiming to have matching panels of herringbone stitching on each side of the bag, the fact that the bag was partially constructed, and I could not therefore, see the first panel while I was completing the second did contribute to the two panels being so different in colours and the amount of gold.
There is a little bit of bunching around the stitching even though I used an embroidery hoop to keep the fabric taught as I stitched. I think that this may have been even more pronounced if I hadn't used a hoop.
This is a common result that can come from layers of stitching done over one another, and even though I am well aware of it, it is still so easy to keep the tension of the thread just a little bit tight as I sew.
Definitely something to keep in mind for future projects, but I am happy with the finished bag as it is.
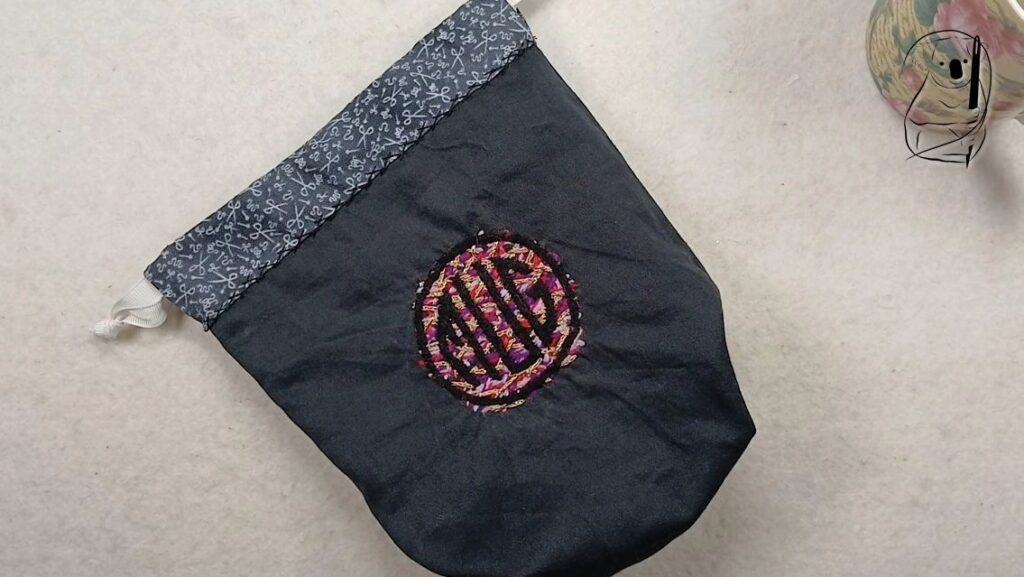
The outer bag and drawstrings were made from a gifted, upcycled quite cover bag.
The lining was a happy scrap in a small bundle at a thrift shop.
The acrylic yarn (approximately equivalent to crewel wool, but on a continuous spool) was thrifted over a number of shops and shopping expeditions.
The black cotton floss is a Chinese brand that is not as soft or shiny as some of the commercially available brands, but I was happy with the resulting texture and coverage.
Watch how the project came together on YouTube.
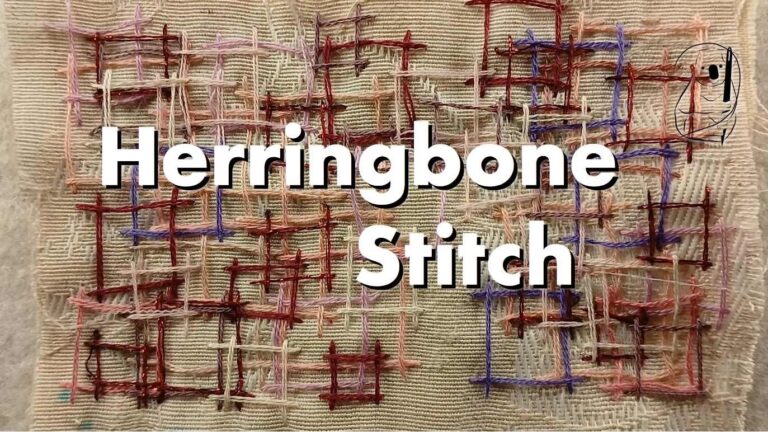
See our easy to follow video tutorial on Herringbonbe stitch.
Find our other Herringbone stitch project Miriam here.
Our web site pictorial tutorial for Herringbone stitch is here.