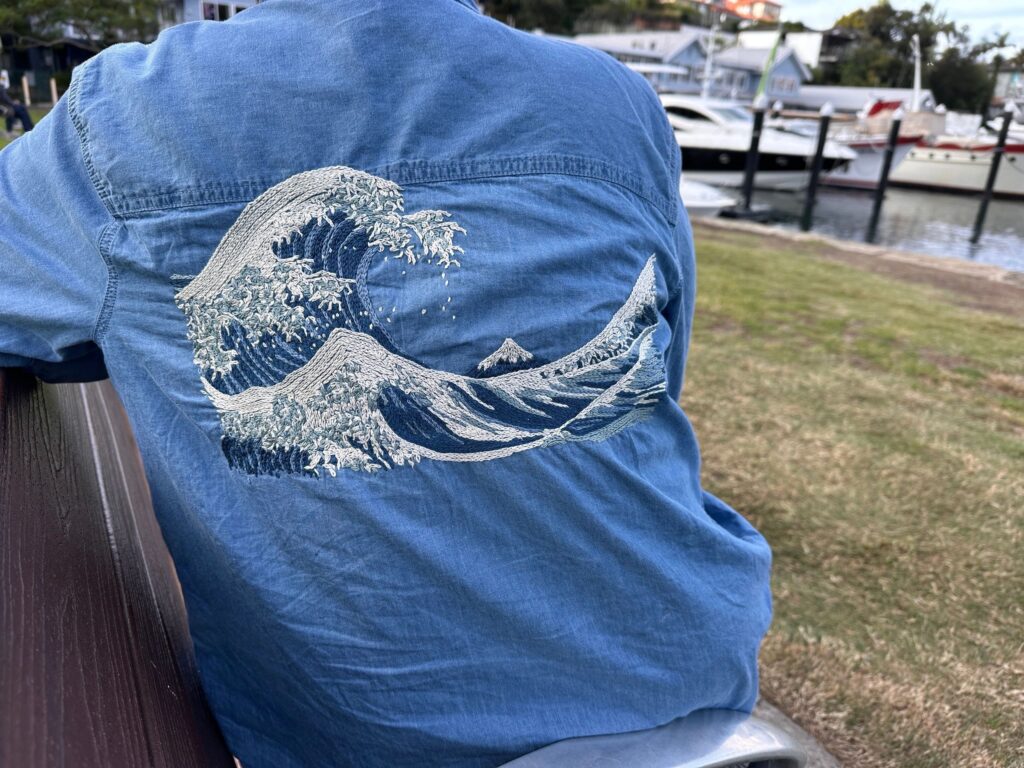
Here is another project in our Artist Series - it is an artwork by Hokusai called The Great Wave off Kanagawa. I love the movement in this work and the detail the artist has created. The original work has been simplified by omitting several elements of the original work such as the men in boats on the wave and the entire sky. So in effect this is my homage to the original.
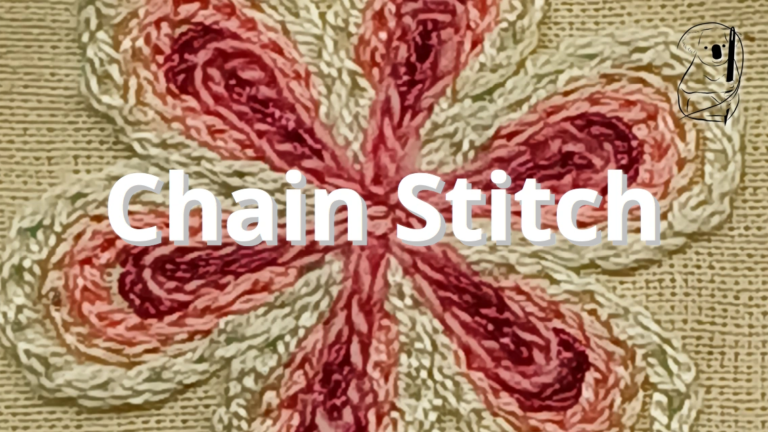
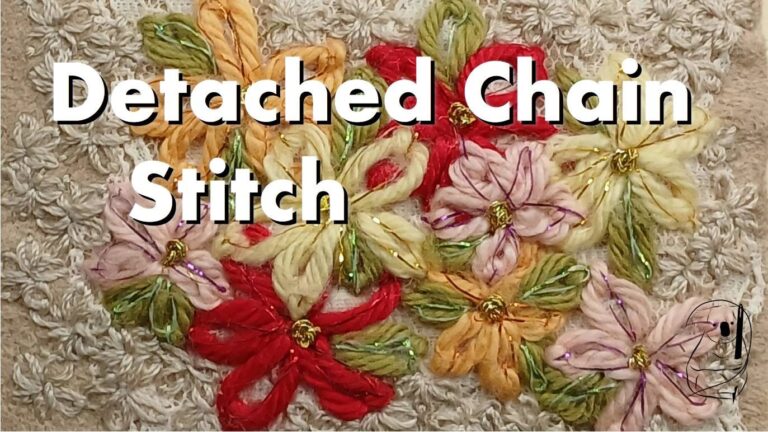
My last piece in this series was Vincent - The Starry Night messenger bag. That work was stitched entirely with Straight Stitch. This current piece is also kept very simple with only 2 easy stitches which we have looked at previously in our videos - Chain Stitch and Detached Chain Stitch. Also keeping it simple, there are only 4 colours here. And the outcome is stunning! The finished work is 32 cm wide by 19 cm high.
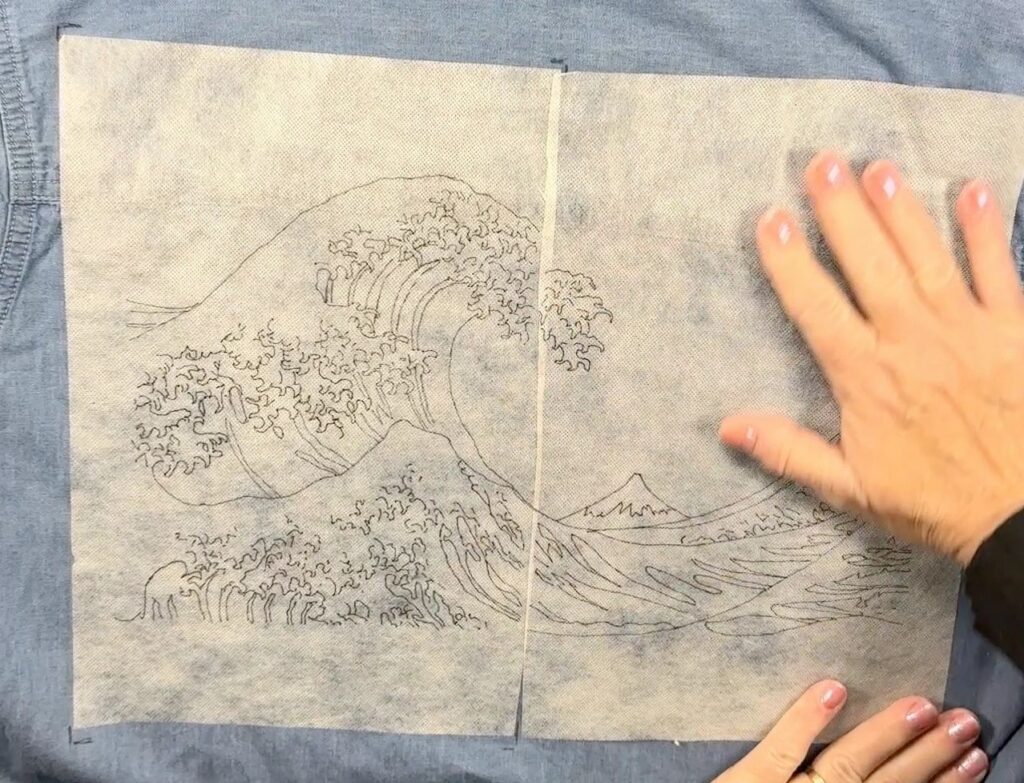
The embroidery is worked across the back of a denim, long sleeved shirt which was purchased new. The pattern can be found for free in this website in the Resources Section. As you can see the pattern is printable over 2, A4 pages.
I have drawn the pattern on my favourite Sticky Water Soluble Paper. You will find an affiliate link to this product at the bottom of this blog. In the video you will see I used a light box to see the pattern through the Sticky Paper. This is a new purchase for me and it works a treat. I used a Pigment Pen to draw the pattern.
If you budget doesn't stretch to buying a light box, then you can hold up the pattern and Sticky Paper against a window to see through them. If you want to see this method demonstrated, have a look at the video Vincent. Holding the pattern against a glass window is perfectly effective however my arms do get tired when the pattern is detailed and takes time to draw.
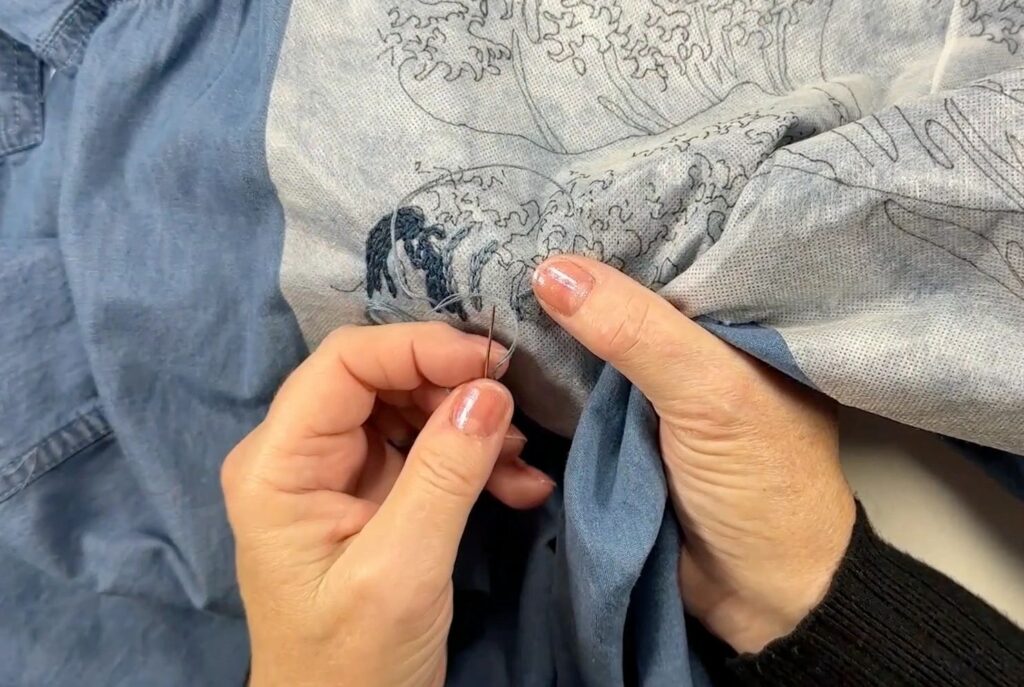
You will see the way in which I approached the stitching here seems a bit haphazard. I started with Chain Stitch sitting in long curves on the waves. Then moved onto the spray of the top wave. I think that the spray needed to be done early on as the spray detail couldn't be covered by the solid areas of Chain Stitch.
The spray is largely Chain Stitch in non regular, non linear lines, and Detached Chain to fill in between the Chain Stitch. The spray moves in lots of directions and the Detached Chain picks up this movement very well.
You should also see throughout the video that the threads did stick a bit to the sticky paper. This was a real issue in the making of the Vincent image of The Starry Night. I had thought that the Australian summer heat was the primary cause of the stickiness however this particular project was undertaken in late Autumn when the weather was quite mild.
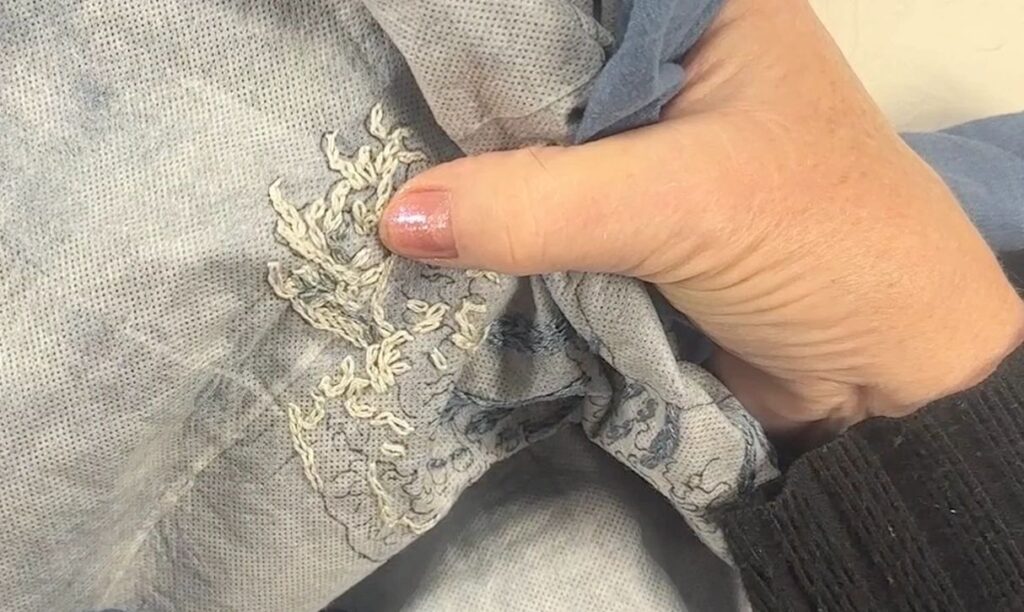
At the end of the video I highlight the "hooks' on the end of some stitches. These hooks were formed from the placement of the last part of the stitch not being placed aligned to the direction of that stitch but offset at a different angle.
Sometimes this last part of the stitch was made a little longer than normal to emphasise the movement in another direction but it was also useful to help fill in small gaps between stitches. Throughout the project, there is a lot of scope to manipulate the stitches in size, fullness, and shape.
Gaps between stitches are filled with others running in lots of directions to maintain the chaos of the splashing wave, while in other parts of the image, the stitches are aligned to reflect wave swell prior to it breaking.
Some Chain Stitches run in a line or slight curve, while others zig zag. Some stitches are kept larger to fill bigger spaces or kept thin where gaps between rows of stitches are small.
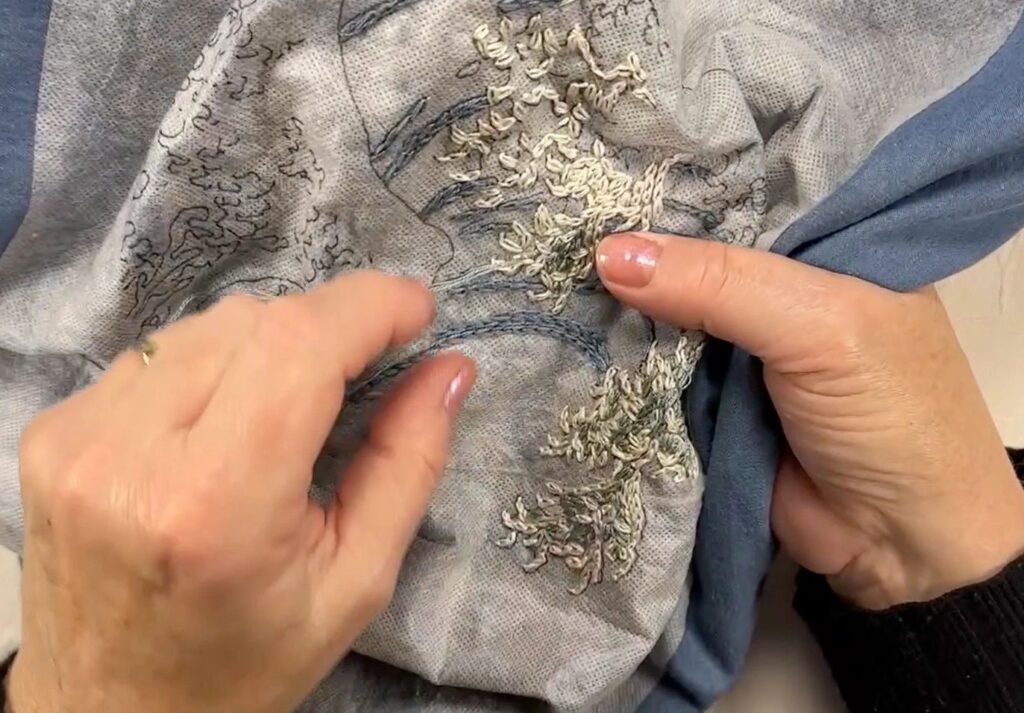
Throughout this project, I had a printed image of the artwork by my side. I was constantly referring to it especially in areas where the colour changes represented shading.
The DMC colours ( 3 strands of each) used here were:
Off white - 3024
Pale blue - 931
Grey blue - 926
Dark blue - 3750.
The denim provides and ideal colour for the background. Any gaps between stitches were very hard to spot as the blue of the fabric blended into the colours of the threads. And the complete absence of any sky detail is perhaps less noticeable with the blue background.
The end result here is stunning and belies the fact that this is a beginner piece. It took about 3 1/2 weeks to complete. The image builds up reasonably quickly as the stitches aren't that small and the Chain Stitch is quick and easy. I added a partial facing inside the back of the shirt to protect the back of the embroidery and hide the untidy threads which are to be found on the rear side of almost all embroidered pieces. Just love it!
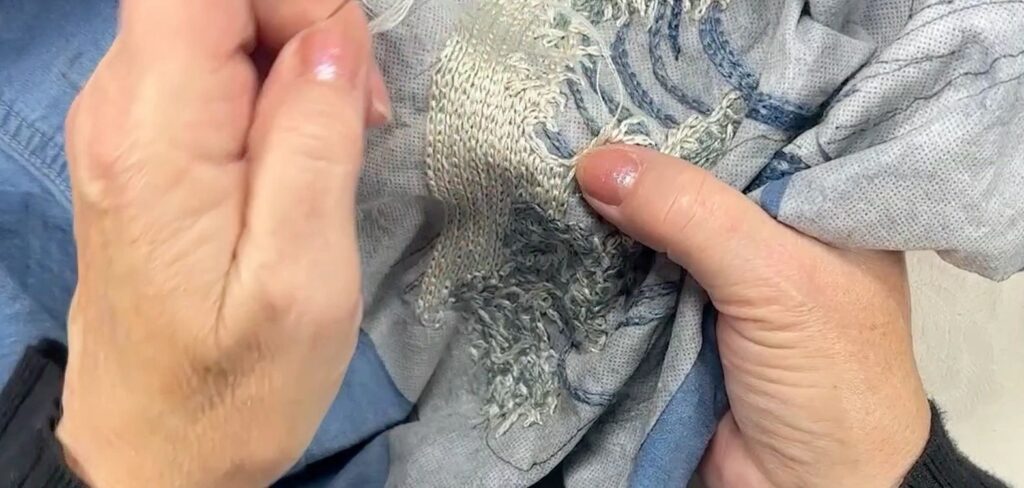
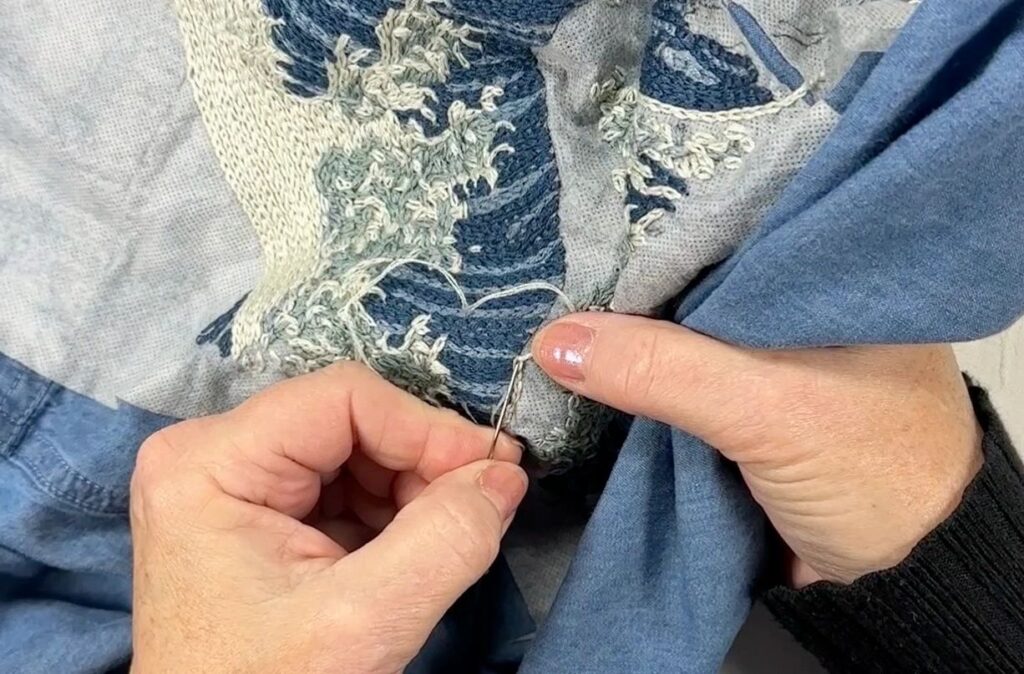
There are large areas where the Chain Stitch is laid down in even lines with regular stitches to look smooth, I worked the piece one way- then turned - and stitched back. This forward / backward stitching looked completely even however as mentioned in the video, watch your tension.
When stitches are going in different directions over pulling your stitches may cause your fabric to scrunch up. However if your stitches are all going in the same direction, tight tension will be exaggerated, especially if the worked area is large.
On the right, you can see I completed the top wave before stitched the crest of the next wave. The ends of the blue lines actually were very neatly lined up, however if your stitching is not so neat, then the white row of Chain Stitch at the crest can sit over the uneven ends and hide little discrepancies.
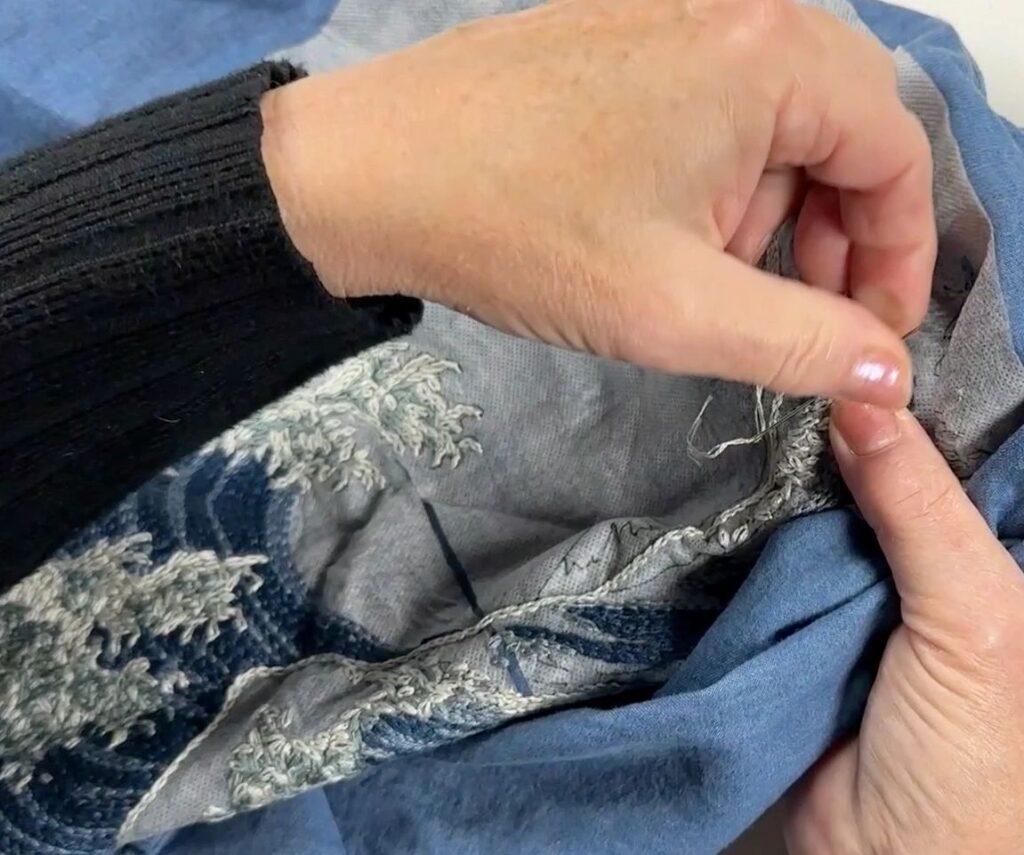
After the first wave was completed and the second well under way, I realised that the 2 sheets of Sticky Paper no longer meeting in the centre of the shirt. How did this happen?
While stitching, the edges of the paper did catch on my hands and rubbed away from the fabric but it did stick back down again easily. Maybe the paper shrunk slightly, maybe the fabric stretched slightly. I don't know.
Once I realised the pattern was shifting, I started to stitch across the middle of the shirt to anchor the paper.
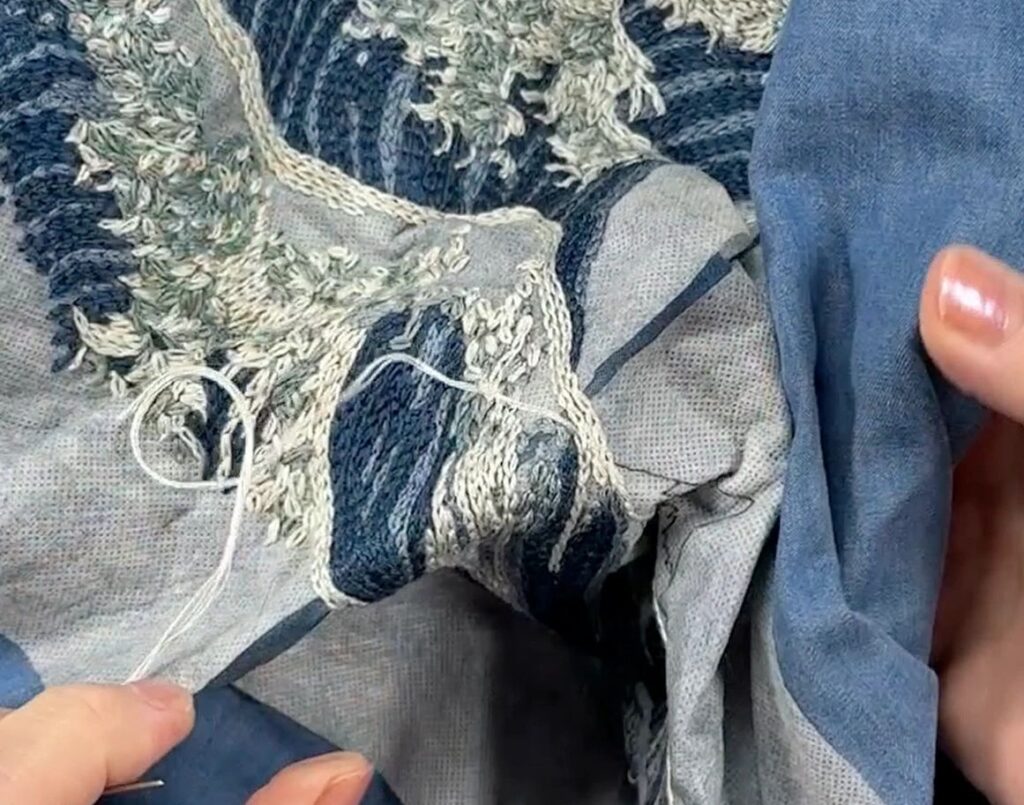
At the lower right of the image, we have the swell of the oncoming wave. There are areas of solid colour moving in the same direction. Some of them merge, some form closed shapes and some will meet the Detached Chain which is laying in many directions.
I tried to stitch these blocks of colour along converging lines to blend them smoothly along the wave.
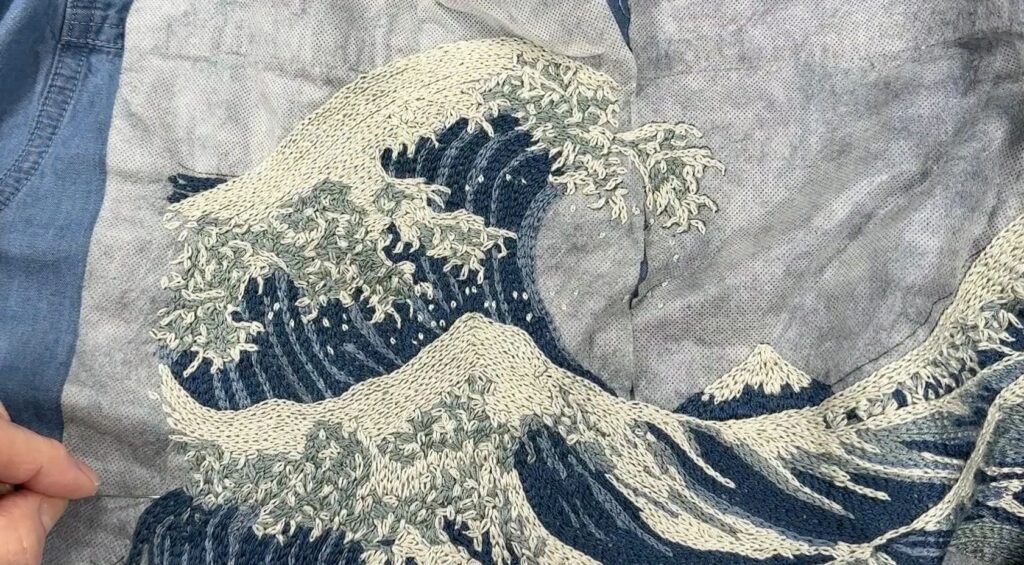
You will note in the image below that I purposely kept the edges of the image somewhat loose and feathered. This was my personal choice and if you prefer a firm edge to the image you may want to consider actually stitching a border around the whole piece.
This feathered approach did require me to review areas at the outside of the picture which needed a bit more filling. And in some parts of the image, particularly at the bottom right, the edge is quite solid in a curving line.
Watch the creation of Hokusai on YouTube
See our video tutorial for Chain Stitch on YouTube
Watch our video tutorial for Detached Chain Stitch on YouTube