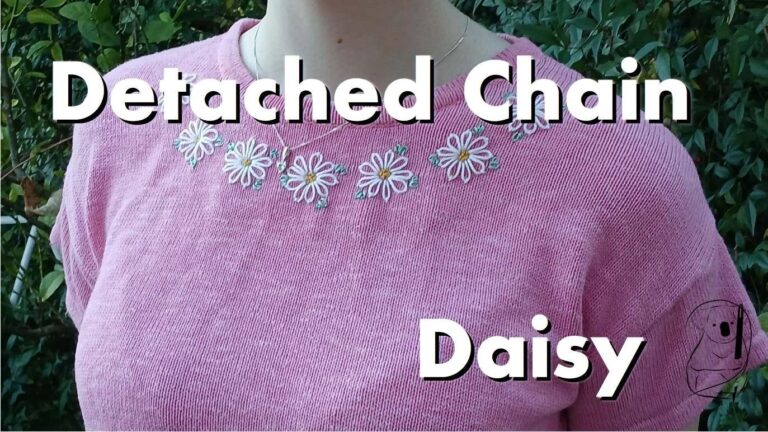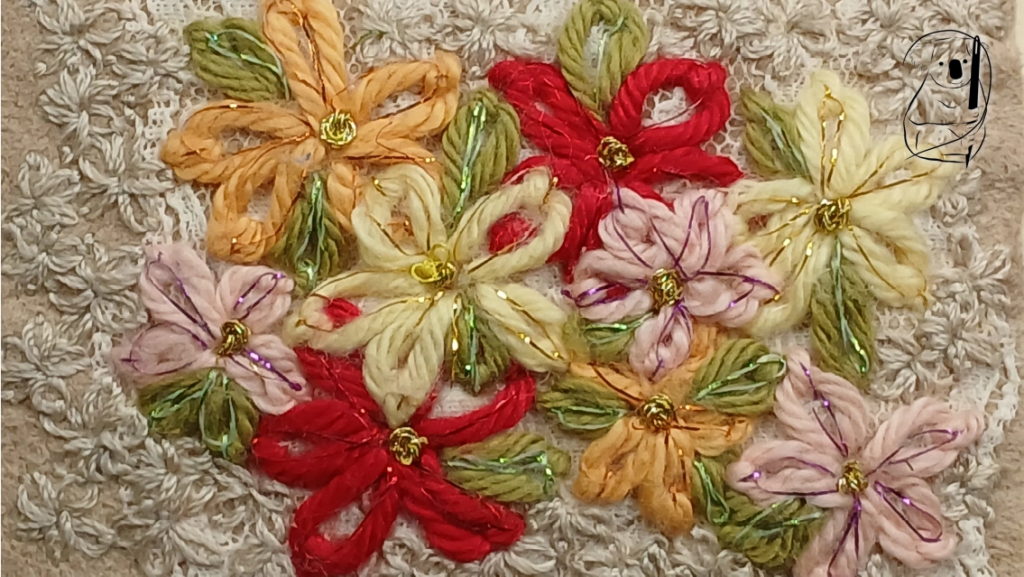
Detached Chain Stitch, also know as Lazy Daisy stitch, is a delightful and simple embroidery technique that creates charming petal or leaf shapes. Named for its resemblance to the petals of a daisy, this stitch can do so much more than add some little whimsical flowers to your embroidery project. The stitch, characterised by its looped design, can be arranged in various patterns to create flowers, leaves, and geometric designs.
Steps to Create a Detached Chain Stitch
Step 1: Preparation
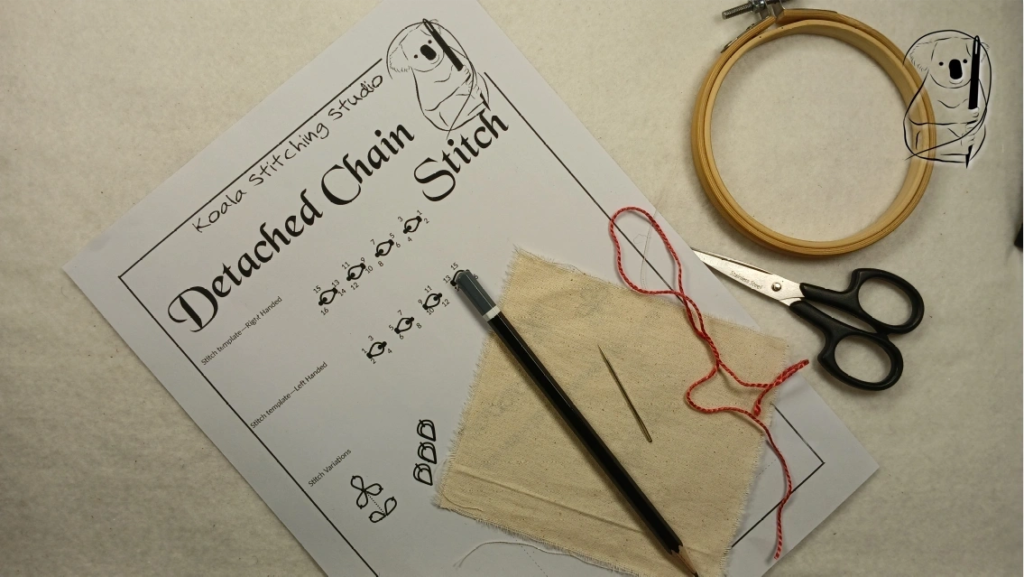
Cut a length of thread, usually about 12 to18 inches long, to ensure it is manageable and doesn't tangle easily. Thread the needle and knot the end of the thread to prevent it from pulling through the fabric. (see our video - Getting Started in Hand Stitching for a simple starting knot, or the Getting Started blog page for a description with photos.)
Step 2: Starting the Stitch
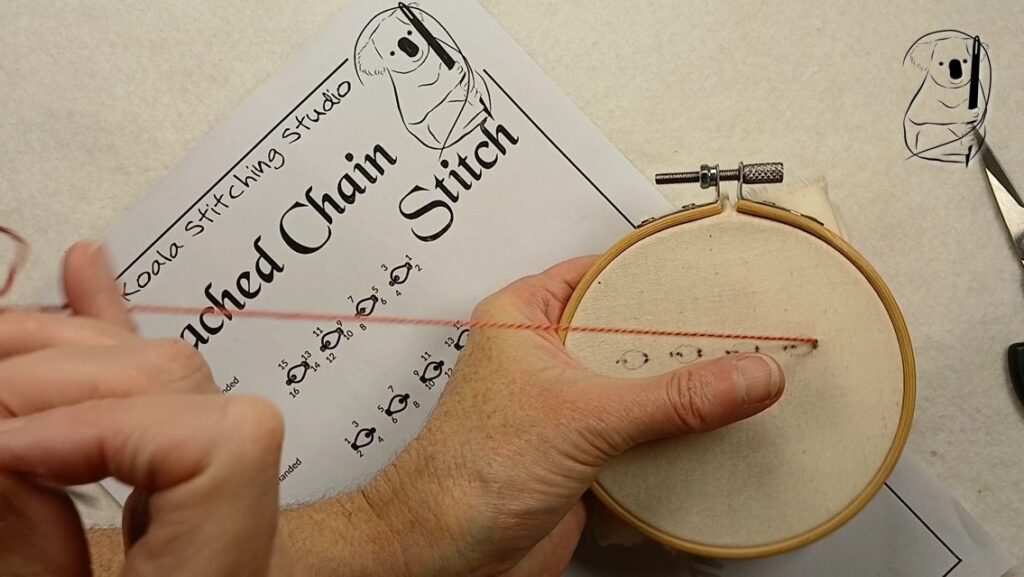
Insert the needle into the fabric from the underside at the point where you want to start your stitch. Pull the thread through until the knot rests against the fabric.
Step 3: Making the Stitches
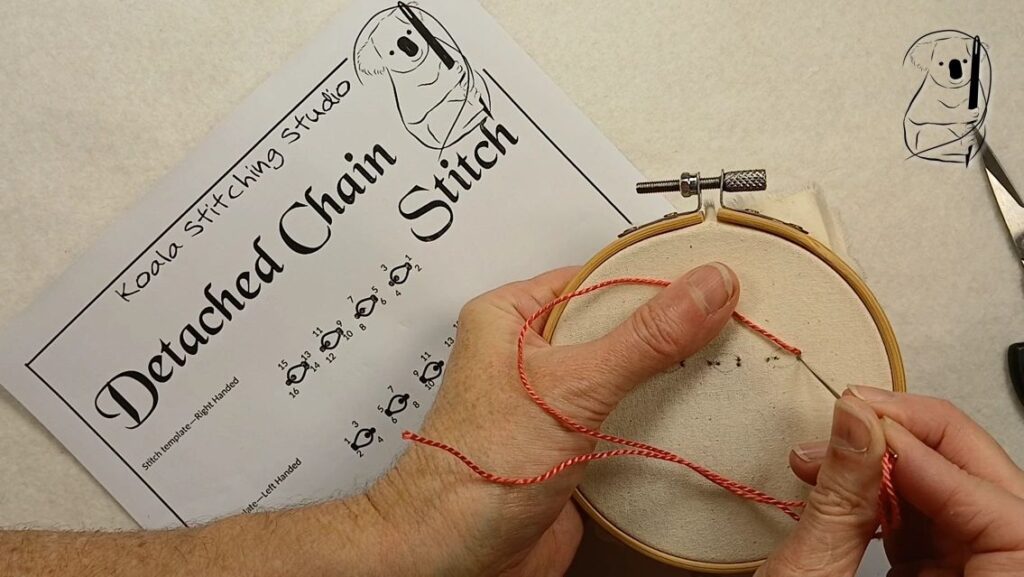
Loop the thread over the surface of the fabric, and insert the needle back into the same hole where it emerged (or just next to it), leaving a small loop of thread still on the surface.
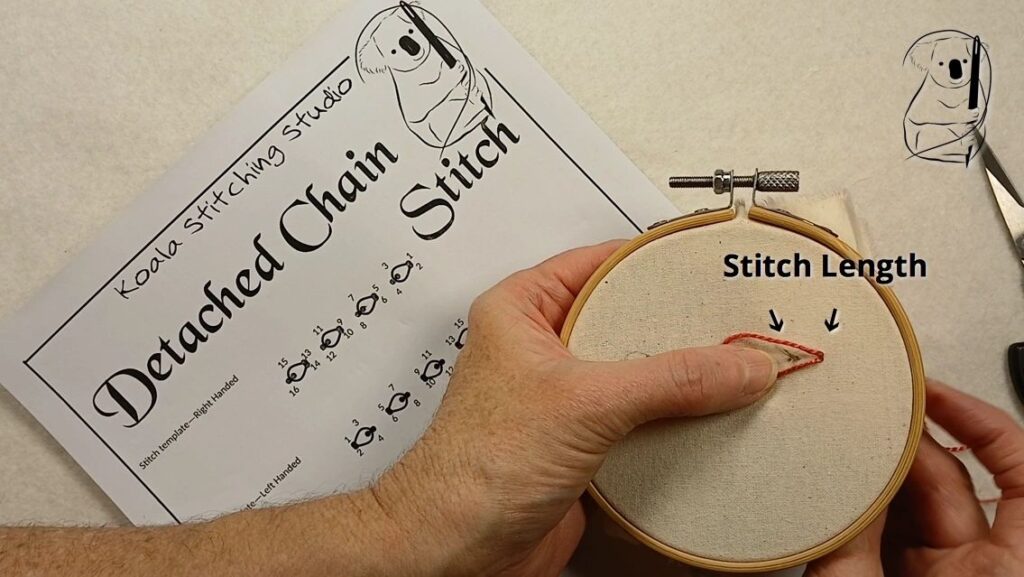
Bring the needle back up a short distance away at the desired length of the chain link, petal or leaf, in the direction the stitch is to sit and within the thread loop. Gently pull the thread until the excess thread has been drawn through the fabric, leaving a small loop caught by the emerging thread.
Do not pull the thread too tightly, or the loop will loose its round shape.
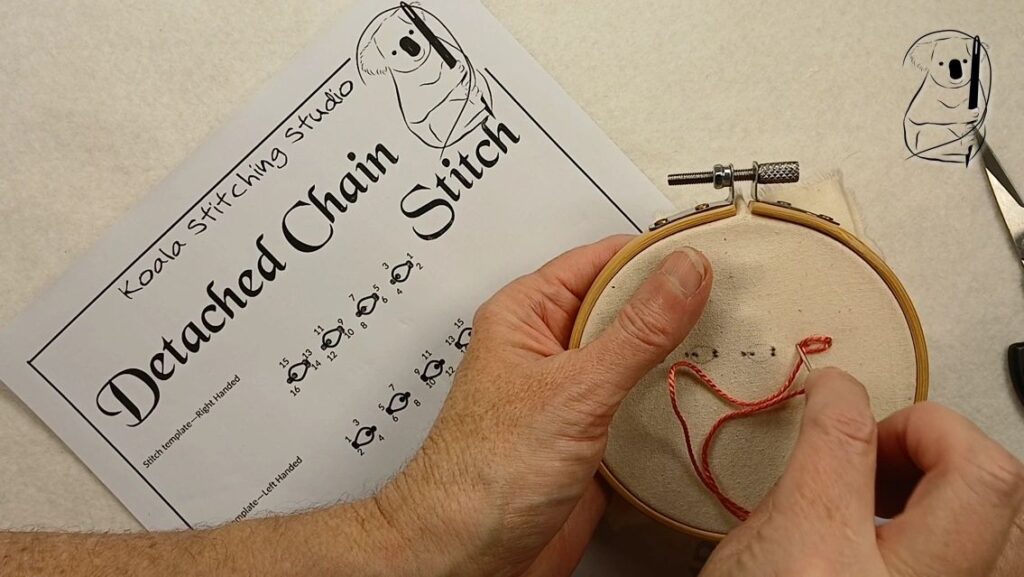
Secure the loop by inserting the needle just on the outside of the loop, making a small straight stitch.
Step 4: Continuing the Pattern
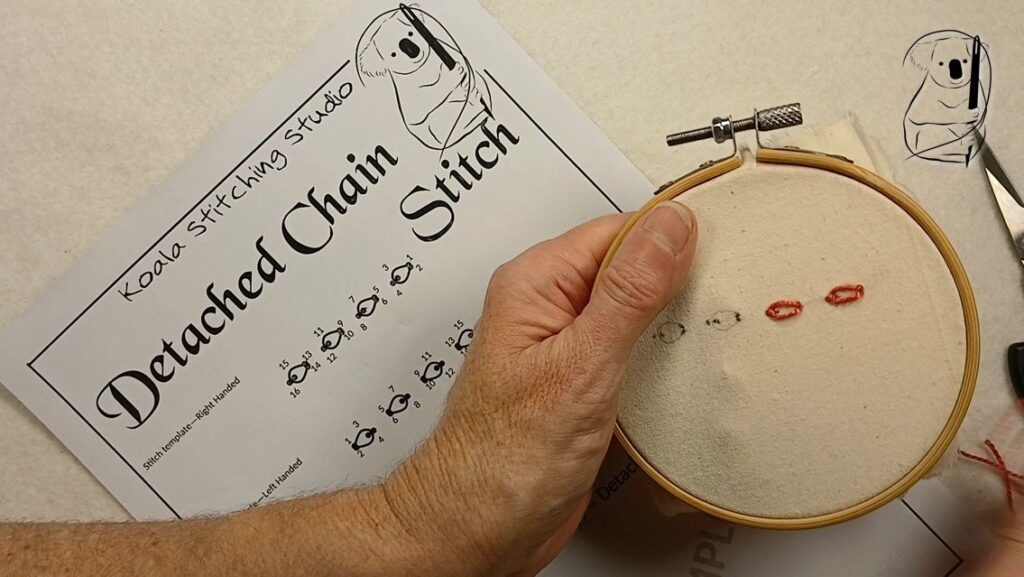
Repeat the process to create more detached stitches, arranging them in your design.
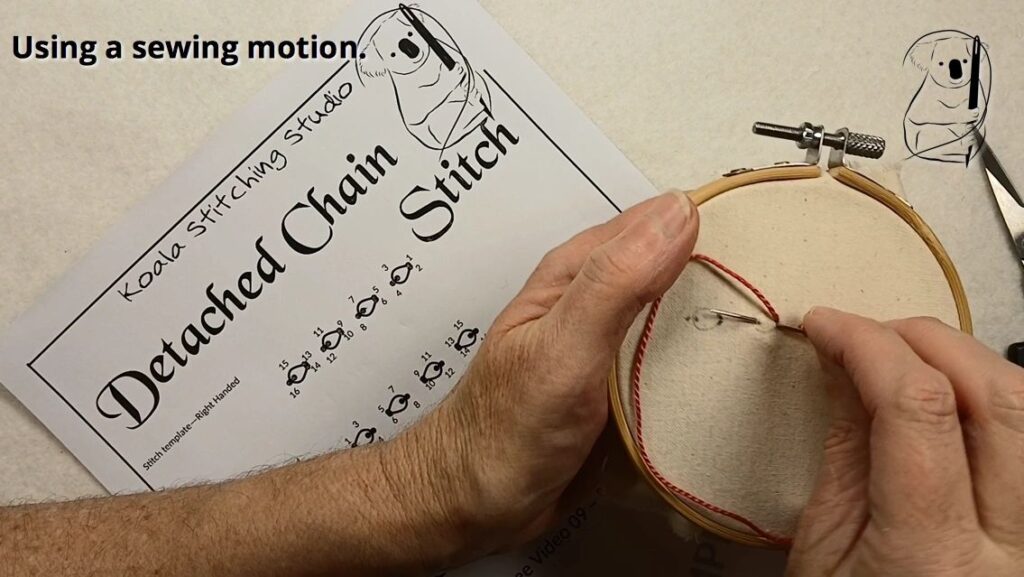
Instead of pulling the thread all the way through the fabric for every stitch, you can use a sewing motion to take the needle into and out of the fabric in one action. If you are not using an embroidery hoop, take care that the tension on the thread remains even to maintain a uniform appearance and a smooth fabric surface.
Step 5: Finishing the Stitch
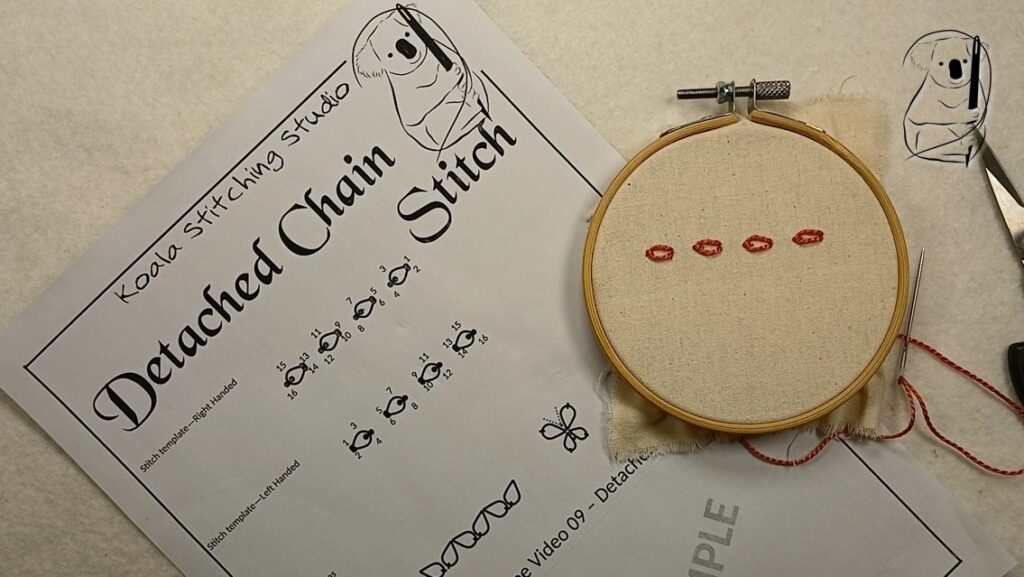
Once all your stitches are complete, take the needle to the rear of the fabric.
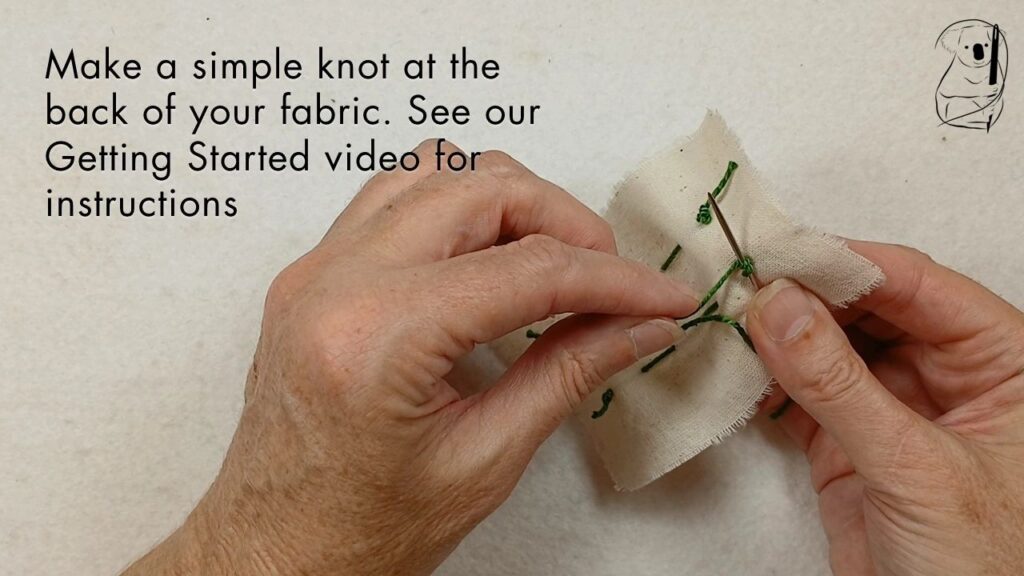
Make a small knot close to the fabric to secure the thread. Trim any excess thread with scissors. (see our video - Getting Started in Hand Stitching for a simple end knot, or the Getting Started blog page for a description with photos.)
Variations on Detached Chain Stitch
With many stitches, simple variations in length and spacing can create useful variations of that stitch.
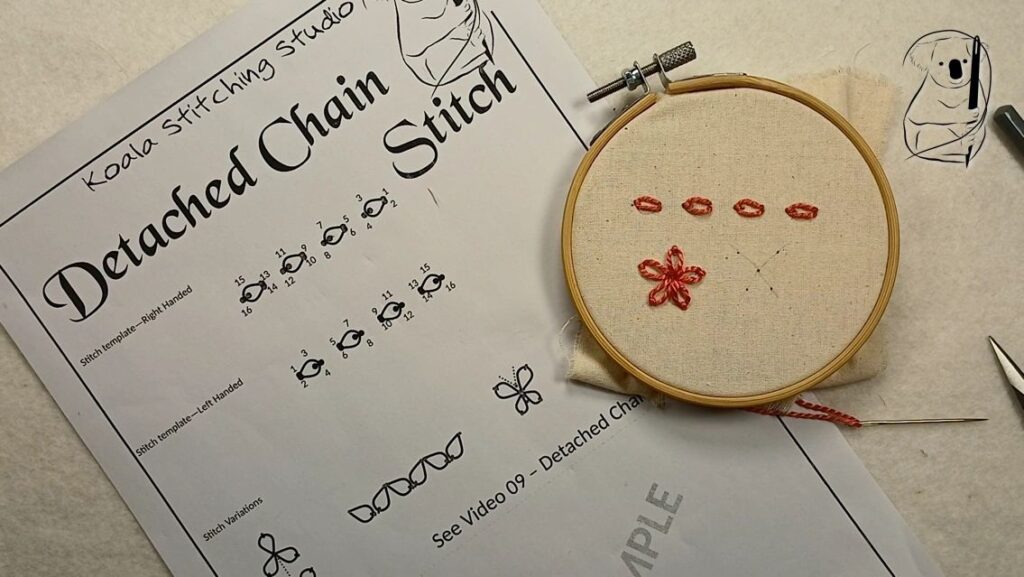
Detached chain stitch is especially known for grouping into flower shapes, particularly the five or six-petalled daisy shape, often with French knots at the centre.
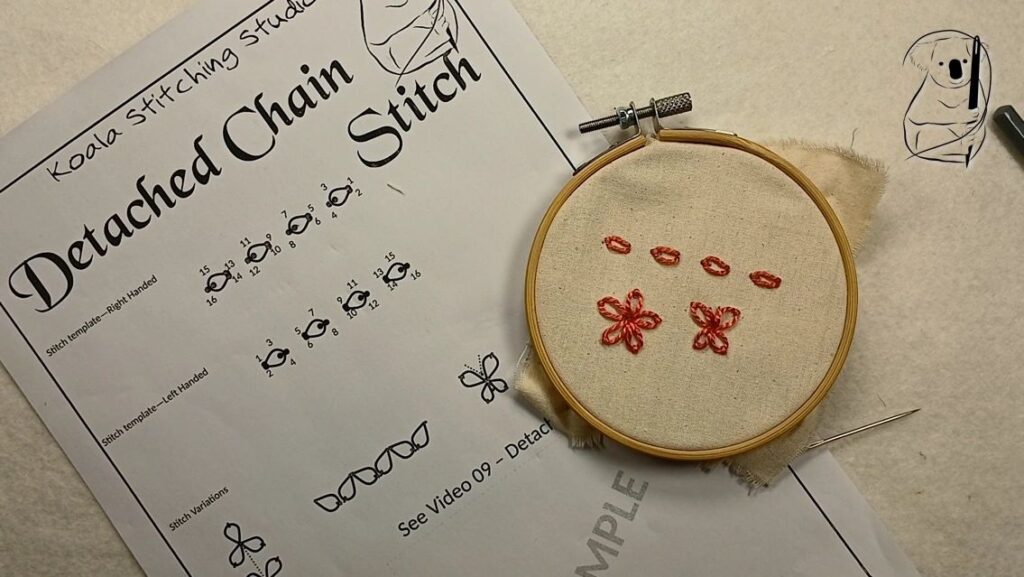
Other shapes, such as butterflies, other flowers and abstract patterns, can be made with detached chain stitches.
Applications of Detached Chain Stitch
Detached chain stitch is highly decorative and can add simple or complex decorative elements to clothes and décor items.
Individually, the detached chain stitches can be used as a filling stitch, scattered randomly in the space to be filled.
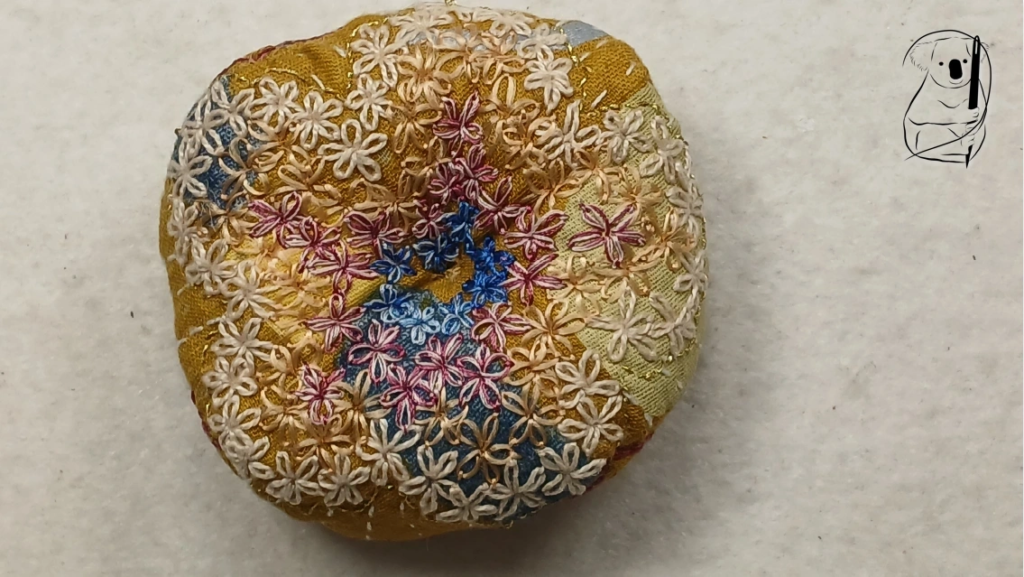
When grouped, it can create many different flower shapes, from tulips, to irises and daisies. Flower centres may be left bare, or filled with knots or beads.
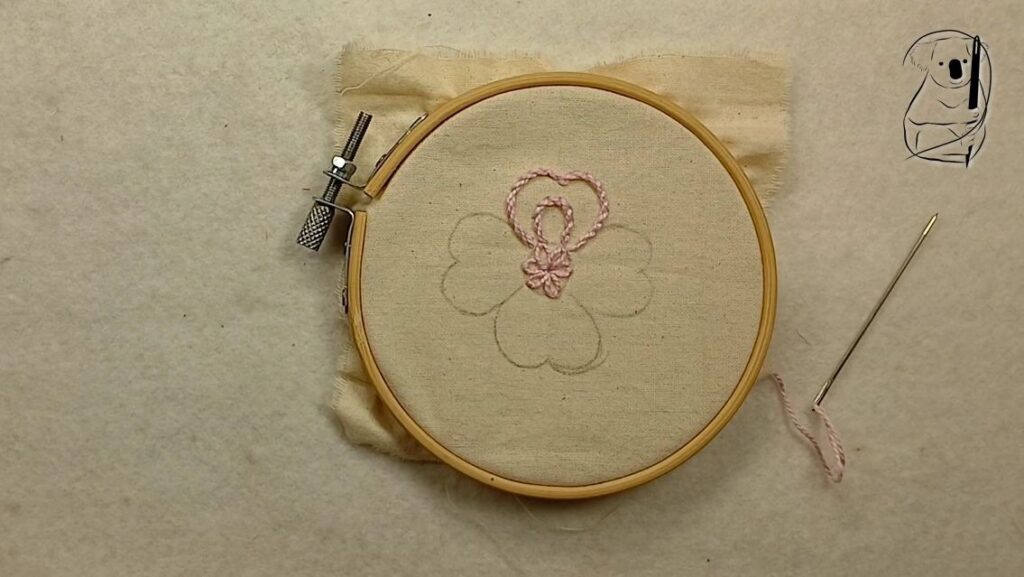
It can be used as a border stitch, sewn in a line, as seen in our project Cora.