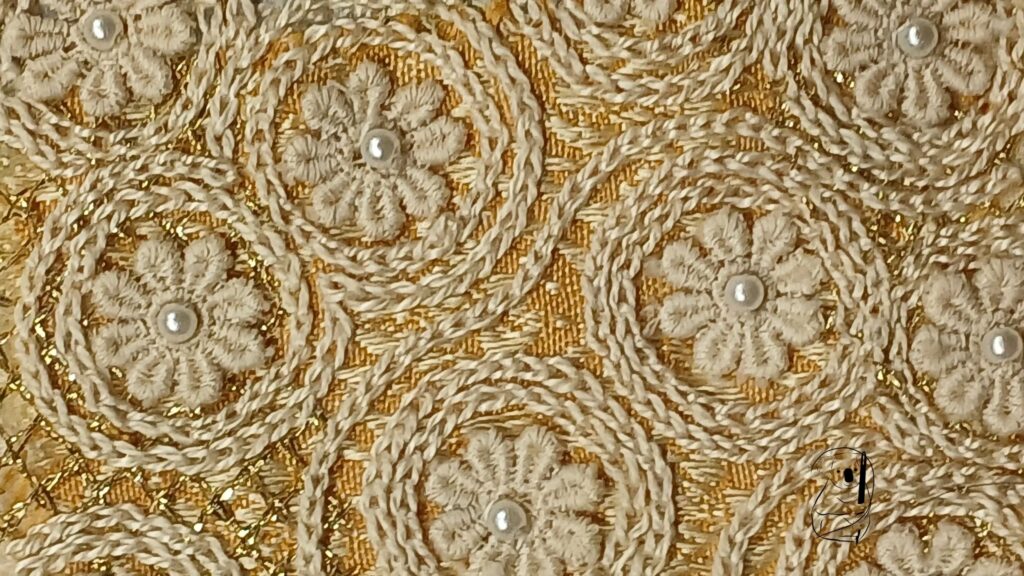
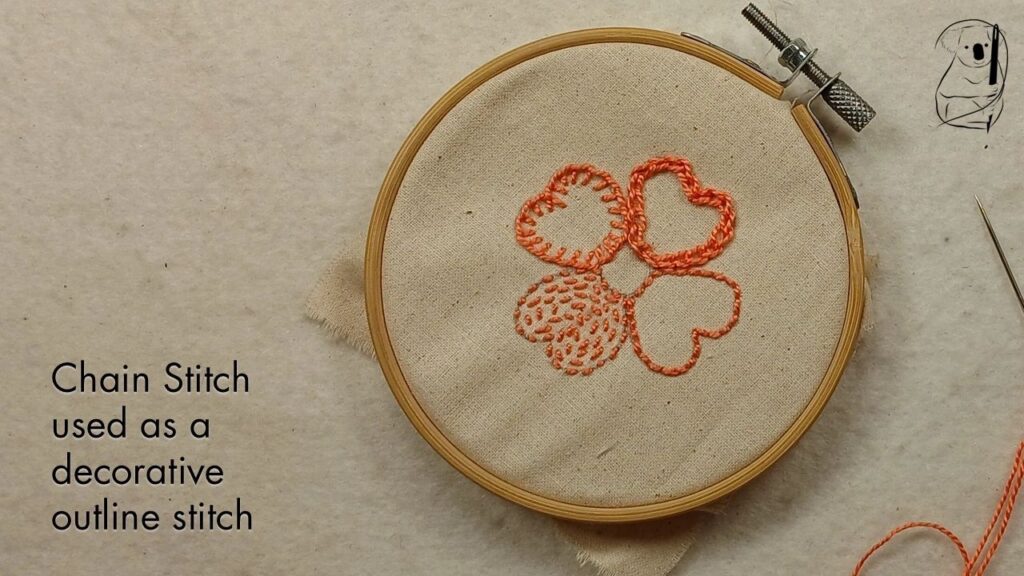
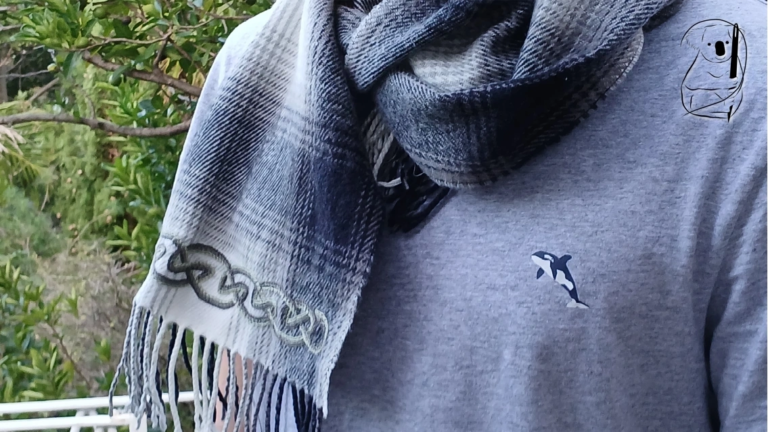
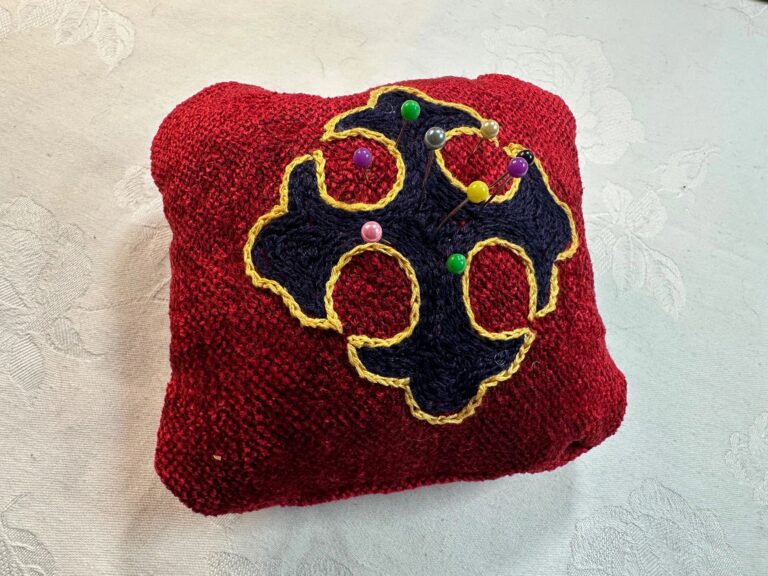
The hand-sewn chain stitch is a classic and versatile sewing technique that has been used for centuries across various cultures. Known for its distinctive looped pattern, this stitch is highly decorative, making it a staple in the repertoire of skilled sewists. Chain stitch can be employed in a variety of applications, from embellishment to embroidery and craft projects.
Steps to Create a Chain Stitch
Step 1: Preparation
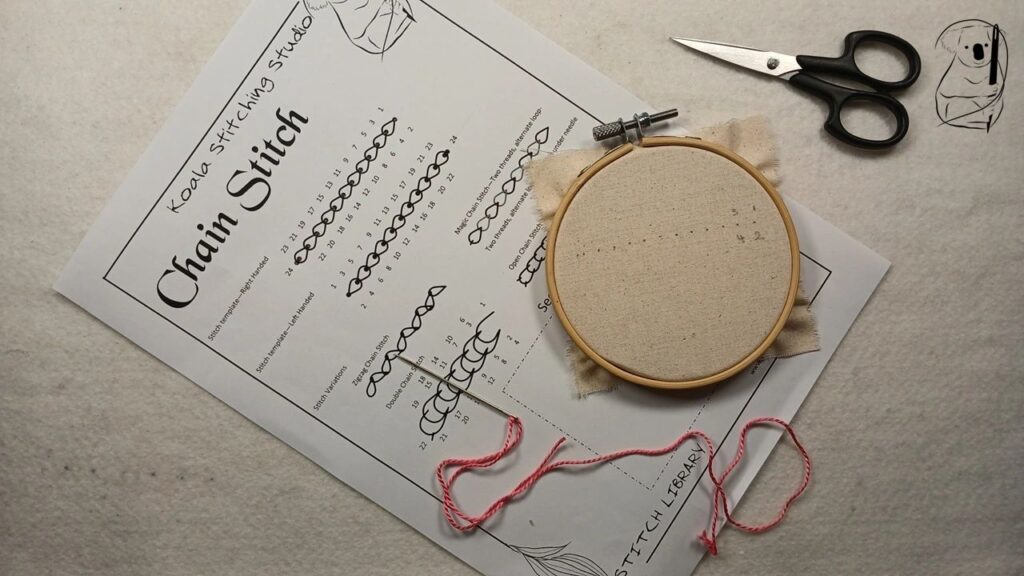
Cut a length of thread, approximately 12 to18 inches long, to ensure it is manageable and doesn't tangle easily. Thread the needle and knot the end of the thread to prevent it from pulling through the fabric. (see our video Getting Started in Hand Stitching for a simple starting knot, or the Getting Started in Hand Stithcing blog page for a description with photos.)
Step 2: Starting the Stitch
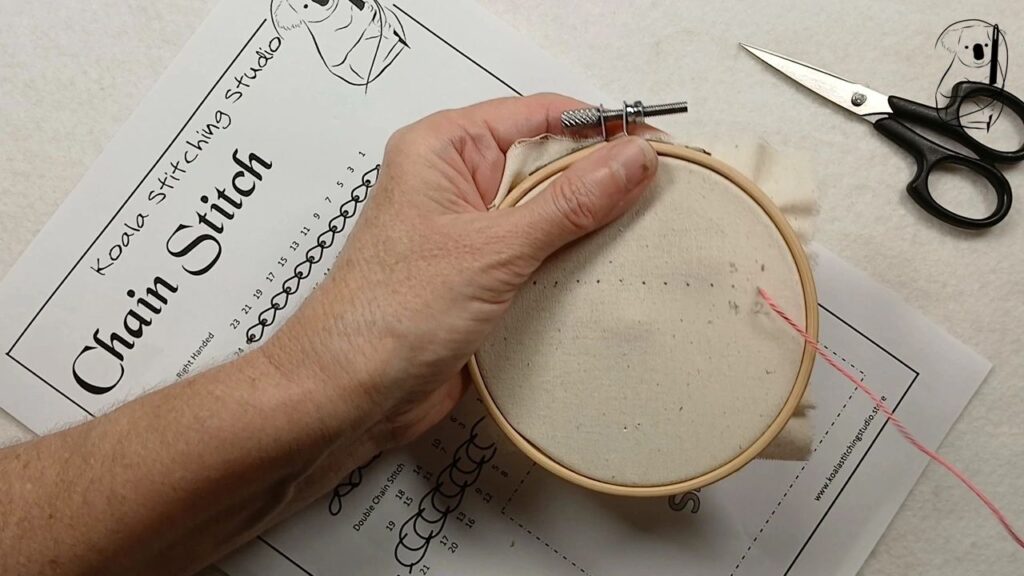
Insert the needle into the fabric from the underside at the point where you want to start your stitch. Pull the thread through until the knot rests against the fabric.
Step 3: Making the Stitches
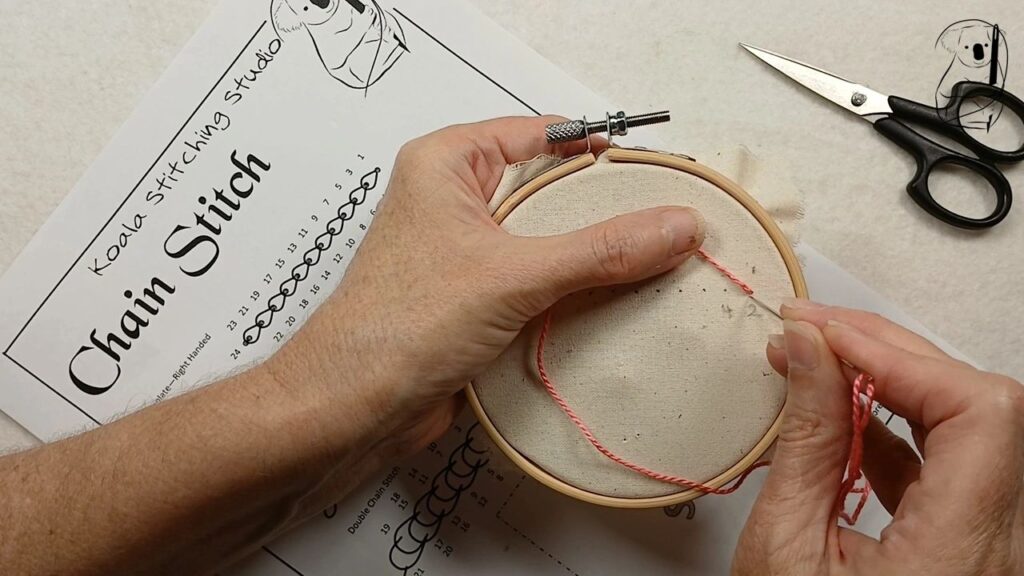
Loop the thread over the surface of the fabric, and insert the needle back into the same hole where it emerged, leaving a small loop of thread still on the surface.
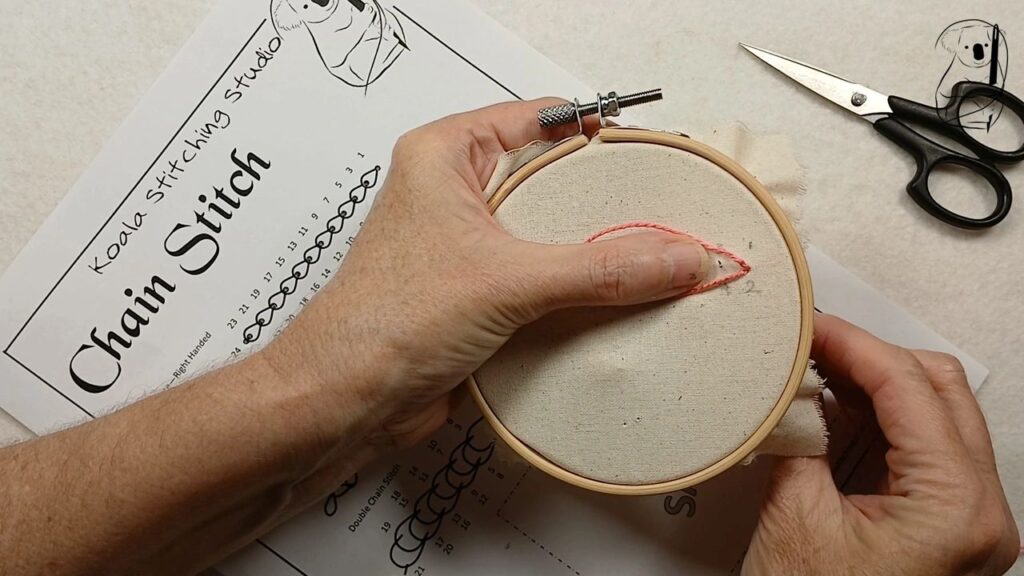
Bring the needle back up one stitch length along the stitching line and within the thread loop.
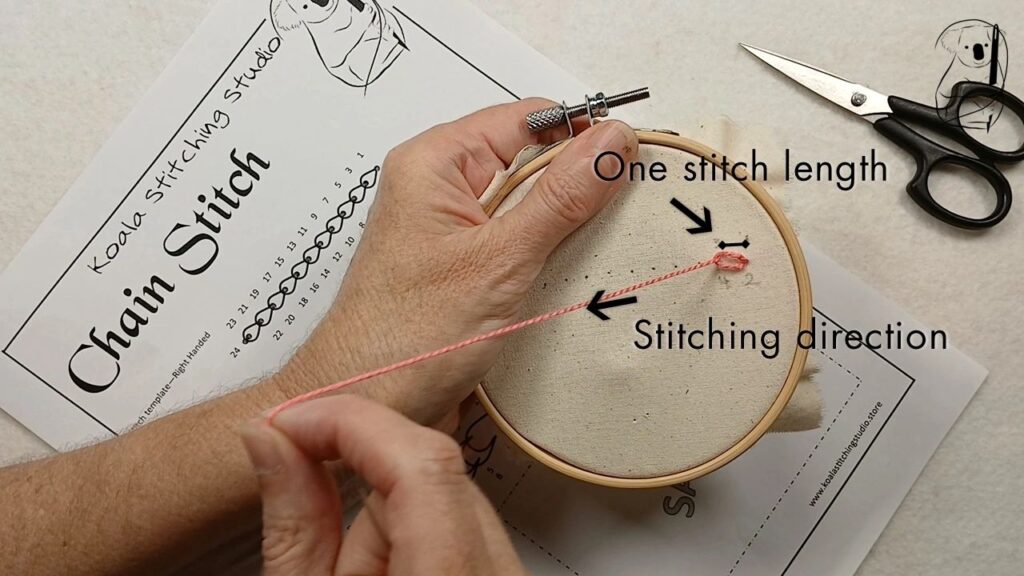
Gently pull the thread until the excess thread has been drawn through the fabric, leaving a small loop caught by the emerging thread. Do not pull the thread too tightly, or the loop will lose its round chain shape.
Note, if you can’t quite put the needle back into the same hole, that’s fine. Here, near enough is good enough. Just next to the hole made by the emerging thread is great.
Step 4: Continuing the Pattern
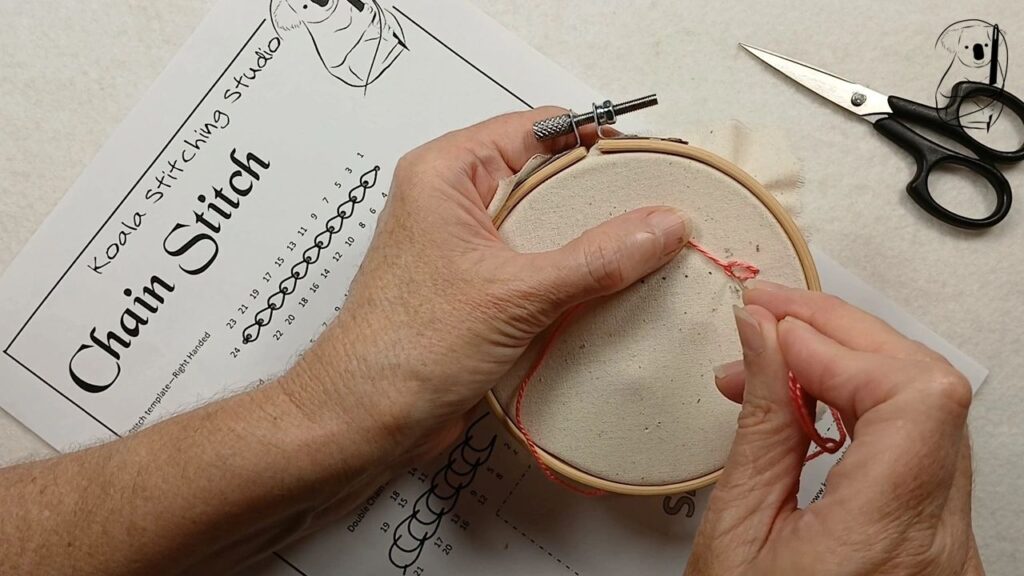
Continue the chain stitch by repeating the process, ensuring that your stitches are consistent in length and spacing. The evenness of the stitches will contribute to the overall appearance of the stitched design.
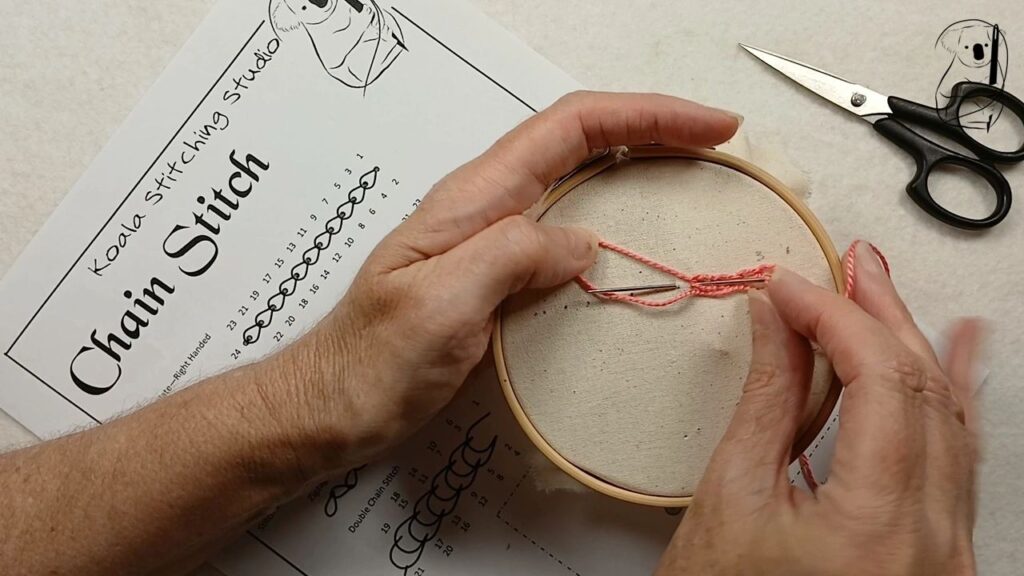
To simplify the process, insert the needle back into the previous hole and then up to catch the loop in one action. Repeat this process to the end of your stitching line.
Step 5: Finishing the Stitch
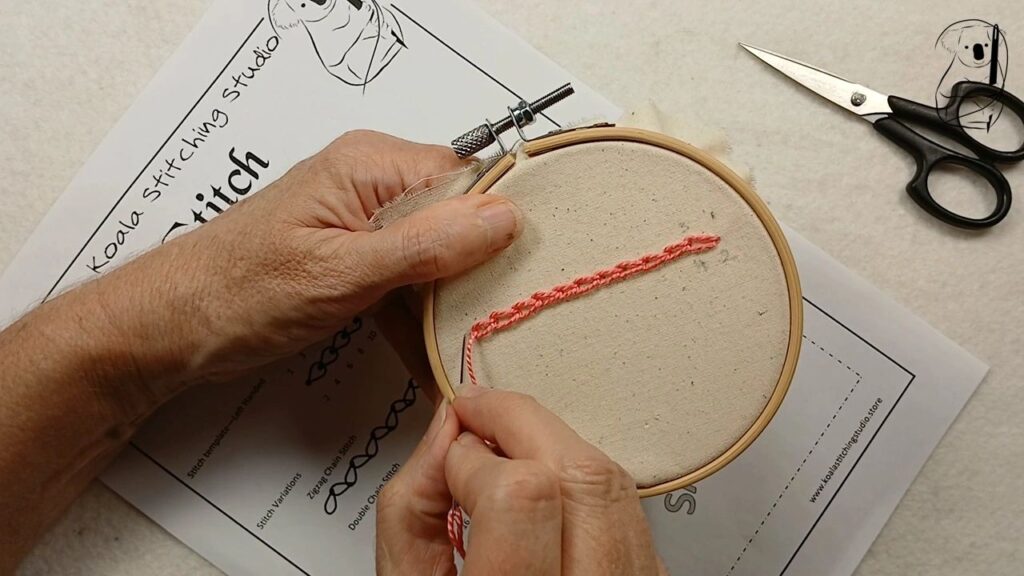
When you reach the end of your stitching line, take the needle to the underside of the fabric, making a small stitch over the last loop to secure it.
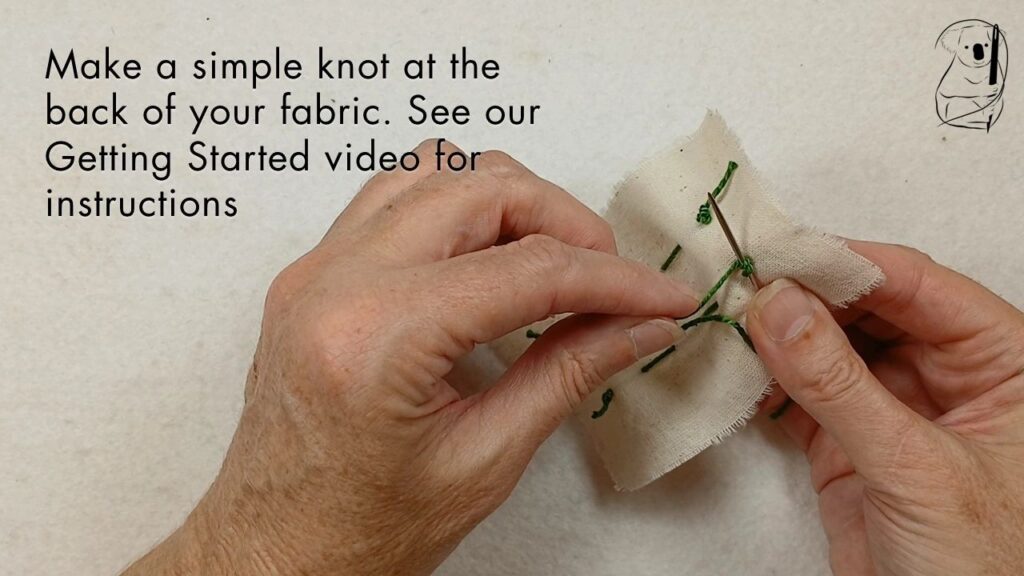
Make a small knot close to the fabric to secure the thread. Trim any excess thread with scissors. (see our video Getting Started in Hand Stitching for a simple end knot, or the Getting Started in Hand Stitching blog page for a description with photos.)
Variations on Chain Stitch
There are many variations of chain stitch that bring a range of effects to your stitching. Here are a few to get started, and we plan to look at more in the future.
Magic Chain Stitch - this is one of my favourites for the impressive effect gained from a simple action. With two threads in the needle, by alternating which thread is caught to the fabric surface, you have a two-colour chain appear as you stitch.
Bring the needle up through one loop of thread, leaving the other aside to be drawn through the fabric.
On the next stitch, bring the needle up through the second thread,leaving the first aside.
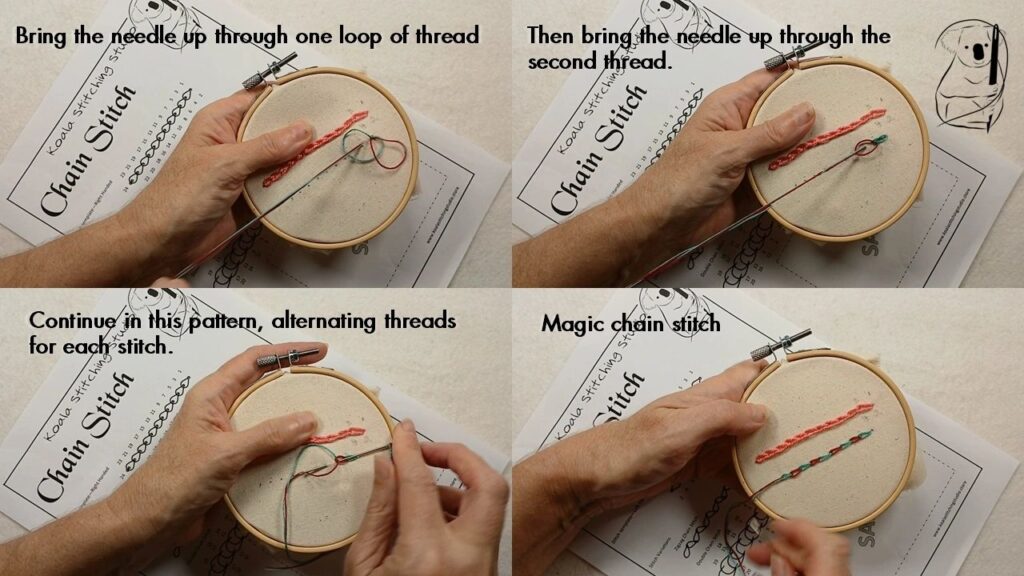
Continue in this pattern, alternating threads for each stitch, creating a magic chain of two colours.
Open Chain Stitch - Creating a wide band of stitches, open chain stitch is made by separating the points at which the needle goes through the fabric. Created along parallel lines, the stitching makes an open ladder effect.
Working along parallel lines, bring the needle to the front of the work, then insert it evenly along the second line, the bring it back to the front of the work on the first line, one stitch length along the line of stitching.
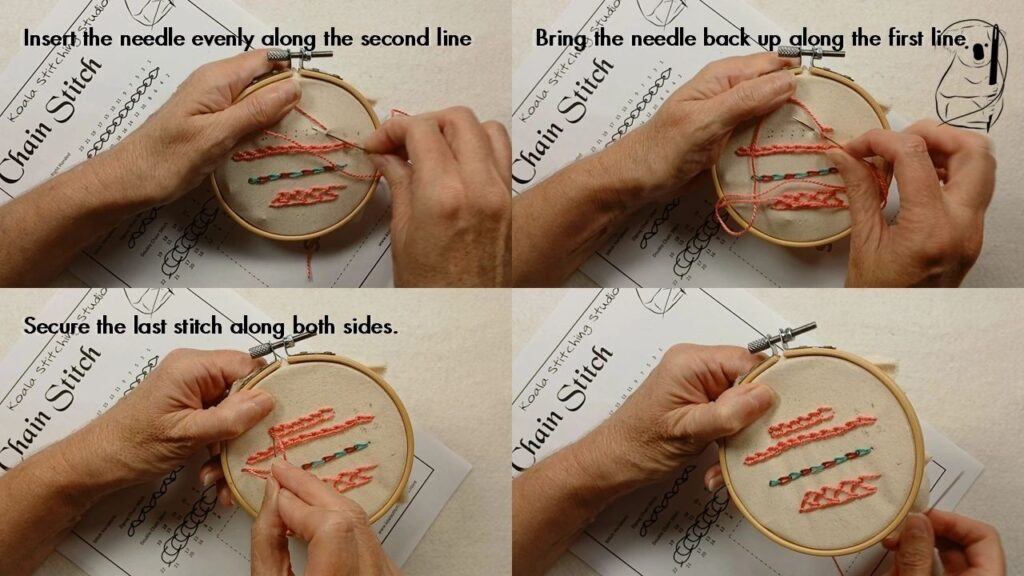
Repeat the action, keeping the points at which the needle goes through the fabric level for each stitch.
At the end of the stitching line, anchor the final loop with two small stitches, one along each of the parallel lines.
Double Chain Stitch - this stitch creates a wider band of stitching, suitable for a border. Sewn along two parallel lines like open chain stitch, each chain is anchored on alternating sides of the stitching, and also alternating distances along the lines.
Bring the needle up through the fabric at the start of line A (point 1). For the first chain, insert the needle half a stitch length forward of the starting point on line B (point 2). Then bring the needle to the front of the fabric one stitch length from the start of line A (point 3). Loop the thread under the needle and draw the thread through.
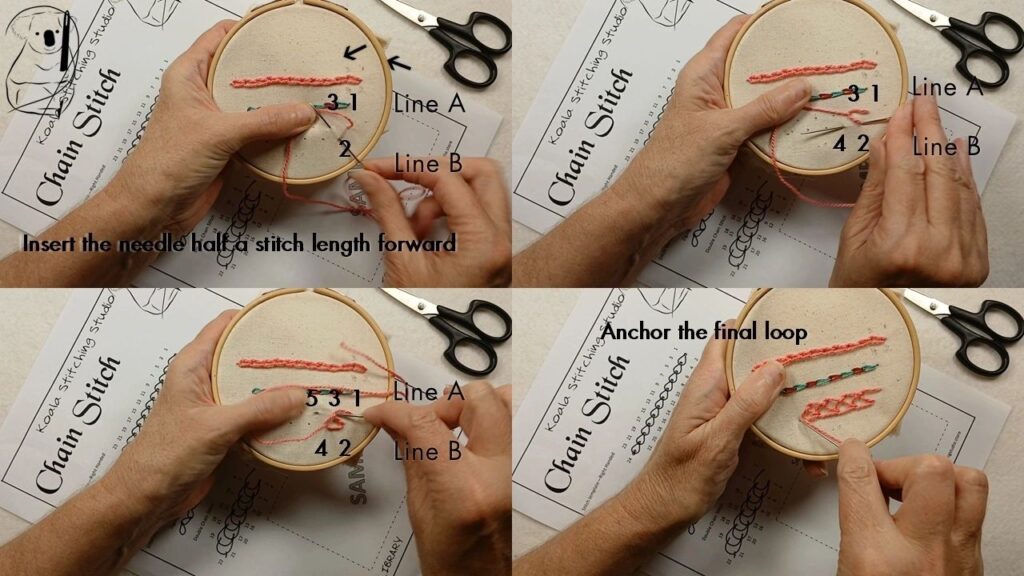
Insert the needle back through the fabric at point 2, and bring it back up along the same line, at point 4, looping the thread under the needle. Draw the thread through the fabric.
Insert the needle back through the fabric at point 3, and bring it back up along the same line, at point 5, looping the thread under the needle. Draw the thread through the fabric.
Repeat this pattern, alternating between the two lines. At the end of the stitching line, anchor the final loop with a small stitch.
Applications of Chain Stitch
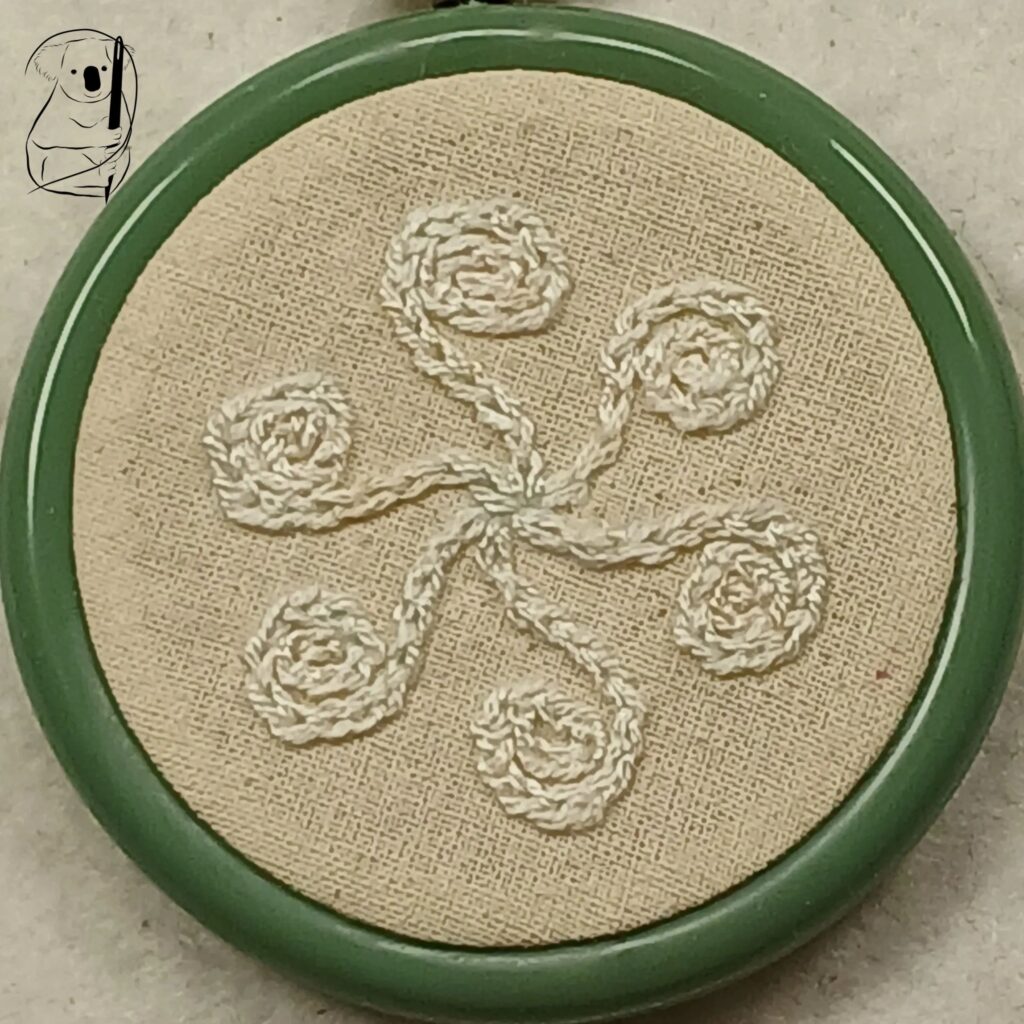
Embroidery
Chain stitch is a popular choice in embroidery for outlining shapes, creating intricate patterns, and adding texture to designs.
It can be used as a filling stitch as well, creating texture and movement with the lines of stitching.