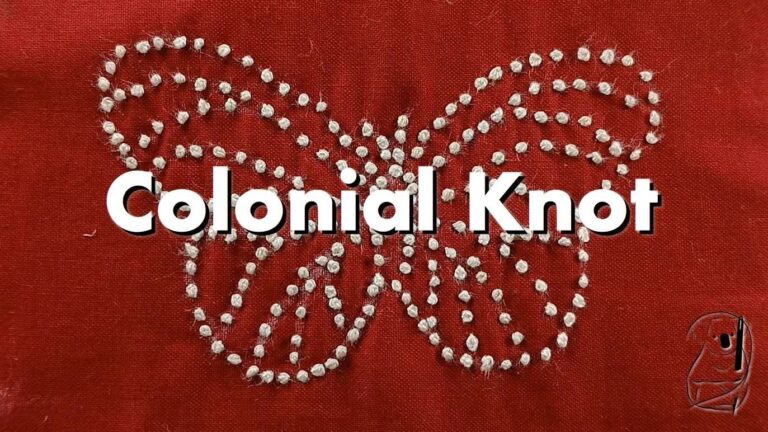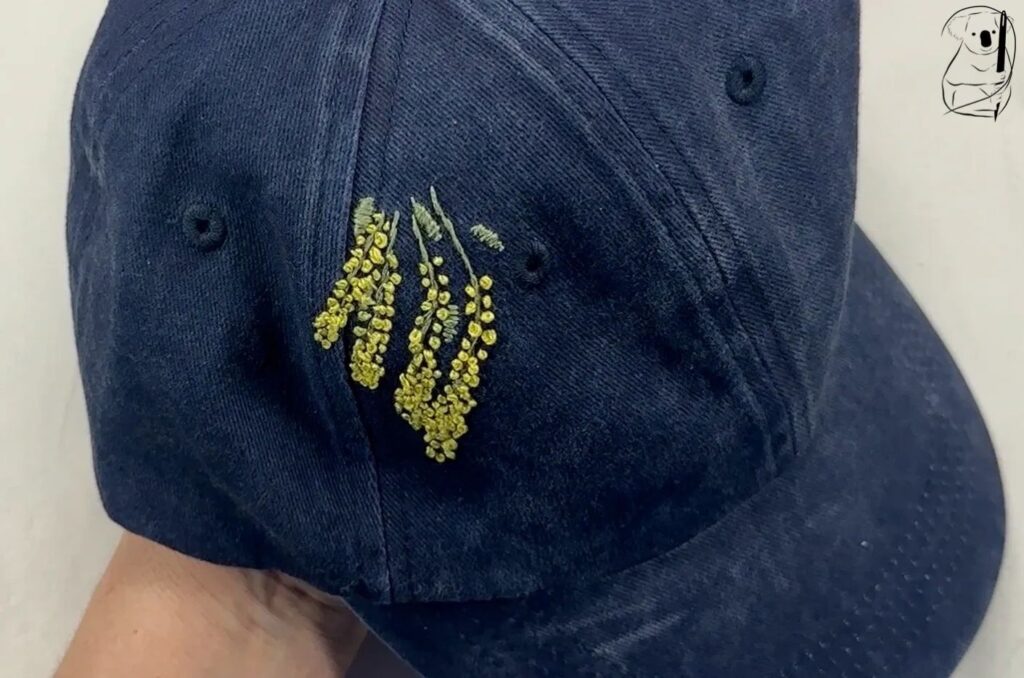
This is a quick project I made up to demonstrate Colonial Knot and to pay homage to Australia Day on January 26. I still cant believe how quickly this project was completed and you can undertake a similar project for your own celebratory dates with your own motifs. This one was completed in a day and the results are outstanding. Embroidering a cap is such a great project as the motifs are small, the fabric is easy to work with as it has body without stretch, and the design potential is enormous.
The wattle flower is the Australian floral emblem and the colours of green and gold are often seen in our sporting team's uniforms. It flowers around August each year and has a wonderful floral sweet scent. It is the smell of springtime on the way in the Australian bush.
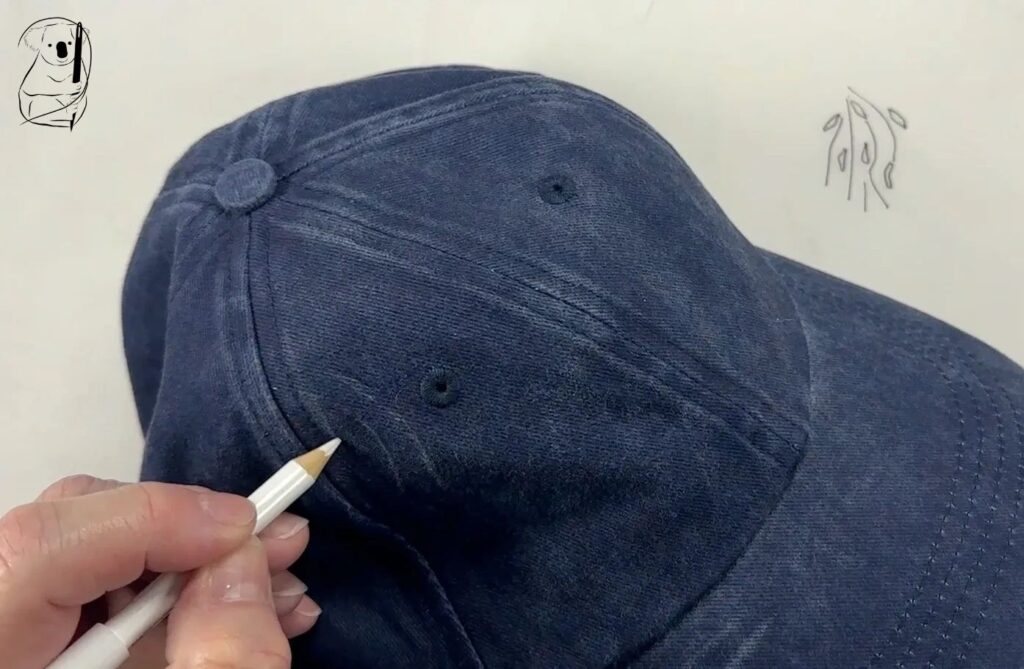
The pattern is available in our Resources Section of the website but it is very basic. It consists of some stems and leaf placements. With this one, you fill out the blanks and add as much as you think is needed. As someone once said, a great artist knows when to stop adding to his or her painting. In this case I just added wattle blossom until I thought it looked right. I drew the outline of the pattern entirely by free hand.
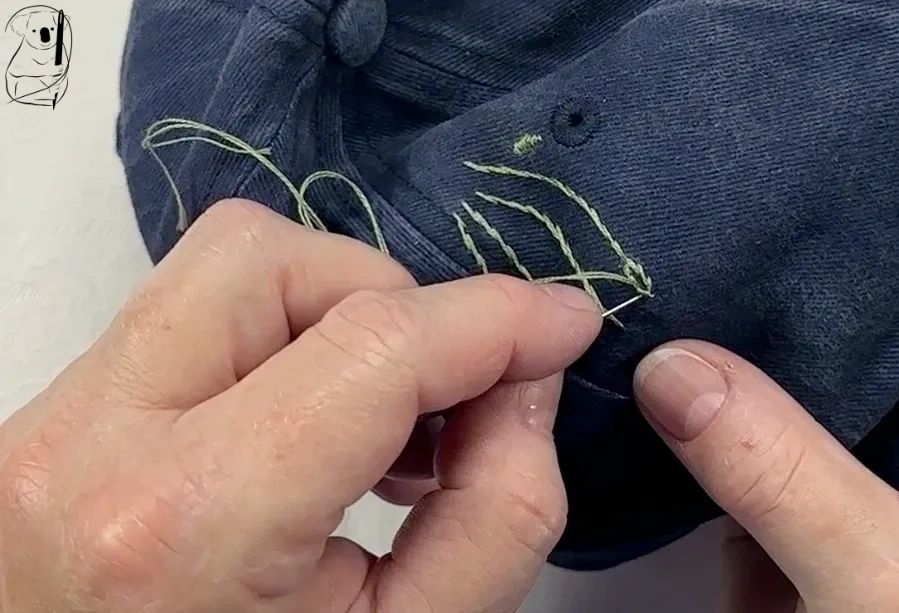
I used 2 strands of DMC cotton in green for the stems and leaves. The stems are stitched in Stem Stitch and the leaves are made with Satin Stitch. This part of the design works up quickly as the components are quite small. The wattle blossom are stitches using 3 strands of yellow DMC cotton. I used a Birch marking Pencil in white which was adequate for the purpose as the design was only roughly drawn and the details drawn were minimal. It did not easily leave distinct marks on the fabric and had to be reworked several times to be seen at all. Next time I try a similar project, I will look for an alternative to this pencil.
When placing the design , I tried to work around the eyelet holes in the cap and this meant part of the pattern fell on a seam of the cap. It was pretty tough to stitch through the seam, however Colonial Knot required the needle to pass through the fabric in an up and down motion, not stitching across the fabric. So here it was quite manageable to work the Colonial Knots over the seam.
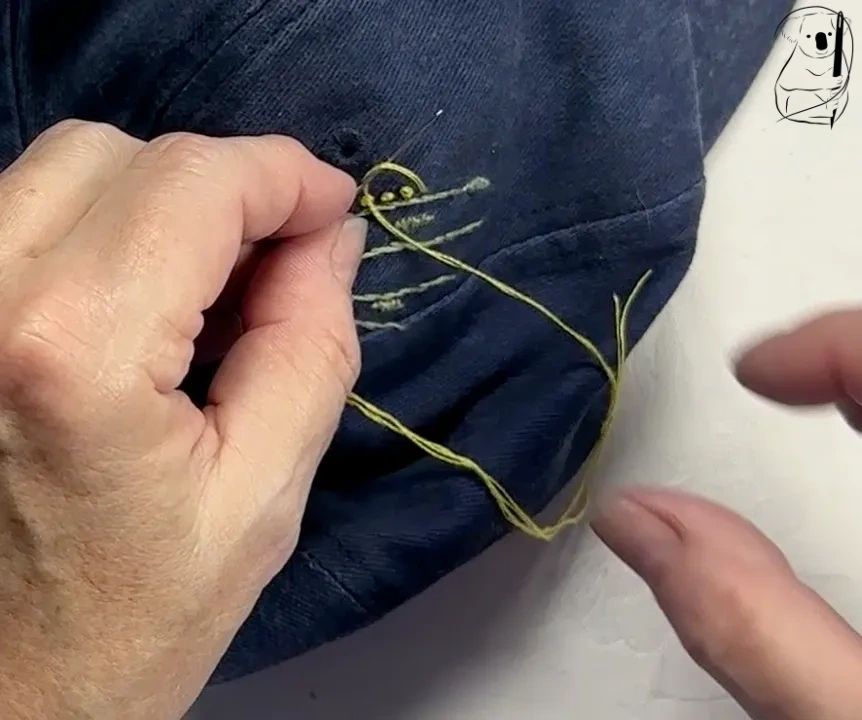
You can see in the above image, that as a left handed person, I reversed the curve of the thread when making the Colonial Knots. I am also working left to right.
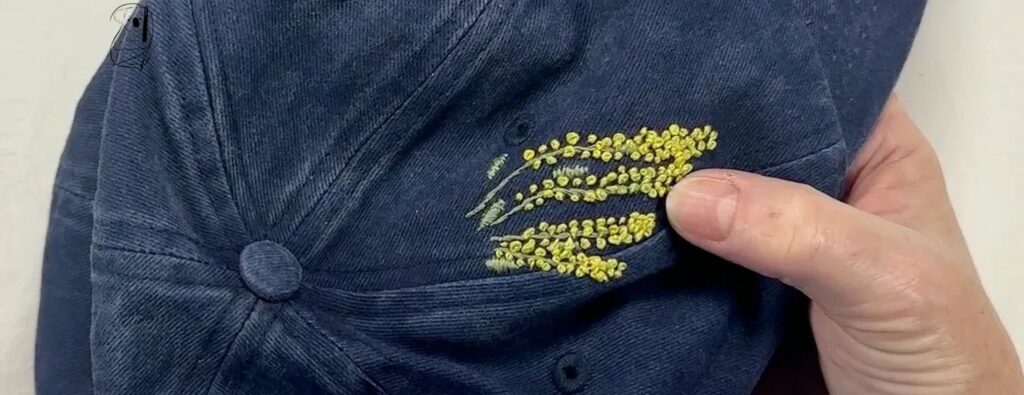
The wattle flowers start one on each side of the stem at the top of the stem and then turn to a mass of flowers near the bottom. How you manage that transition is up to the sewer. However near the bottom of the flower, it should be a mass of yellow with very little background showing through. I worked around the flower with one pass then filled out the blooms until I felt there was enough colour. I think that the result was pretty realistic.
Next time I work on a cap, i will actually wear the cap in front of a mirror, when deciding where to place the motif. I think that the motif here is quite high on the cap and would be more visible if it were placed closer to the brim.
This pattern could also be used for other flowers which have a "hand" such as wisteria, fuschias, mimosa and orchids.
I love that this pattern is so quick, versatile and flexible. And I get to wear the cap all year round not just on Australia Day. It's very individual and allows for your own input as to how far to take the embroidery.
My materials here were,
1 The cap cost me $15 at my local department store. It took a bit of searching to find a plain cap as most seem to have a motif already printed on them.
2 DMC Green thread in colour no 3052, 2 strands used
3 DMC Yellow thread in colour no 726, 3 strands used
4 Birch Marking pencils with brush
Watch the video of how this project came together on YouTube.
Watch our video tutorial on Colonial Knots on YouTube.
Look at our web tutorial for Colonial knot here.