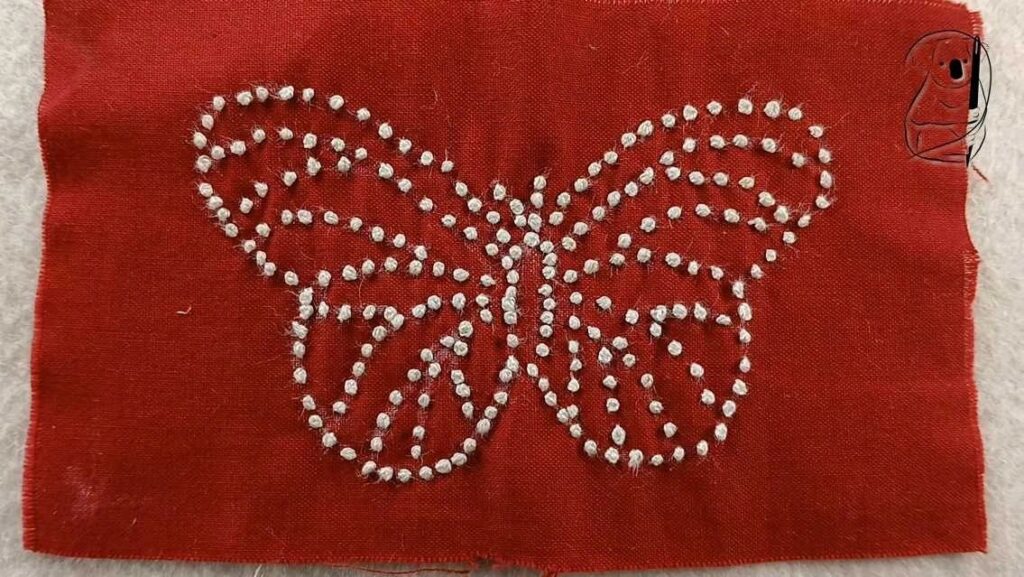
A little more complex than French knots, the Colonial knot is one of the stars of Candlewicking, a type of embroidery from the 1800s, when resourceful pioneers used what they had to hand, and used the soft cotton threads destined to be candle wicks as their embroidery thread.
But once you get into the swing of it, the action becomes comfortable and repeatable, and easy to do.
Steps to Create a Colonial Knot
Step 1: Preparation
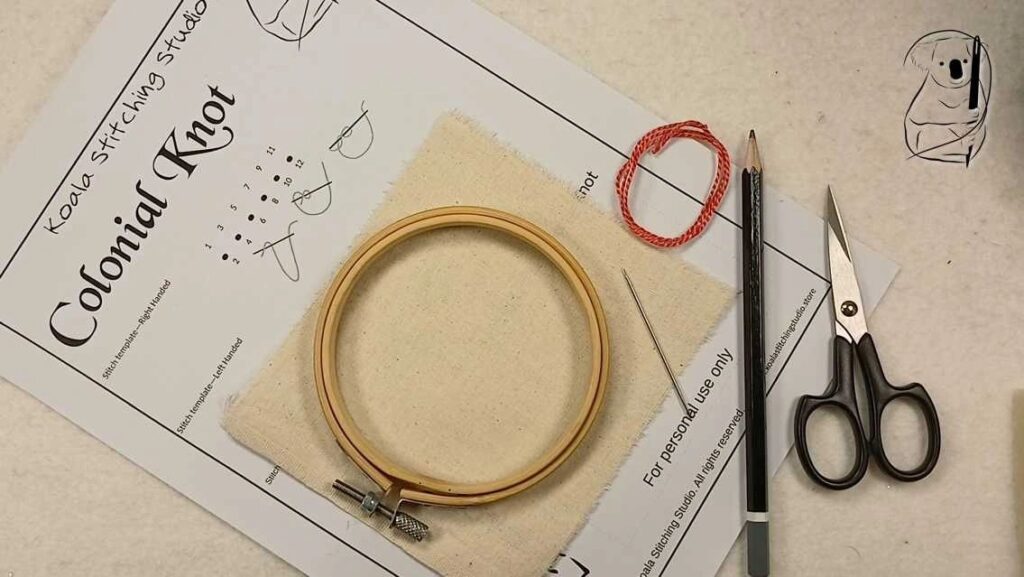
Cut a length of thread, approximately 12 to18 inches long, to ensure it is manageable and doesn't tangle easily. Thread the needle and knot the end of the thread to prevent it from pulling through the fabric. (see our video - Getting Started In Hand Stitching for a simple starting knot , or the Getting Started in Hand Stitching blog page for a description with photos.)
If you are using our stitch guide, mark your fabric. For practice stitching, pencil works well. I have used a 2B pencil here, which is soft enough to make clear marks.
Step 2: Starting the Stitch
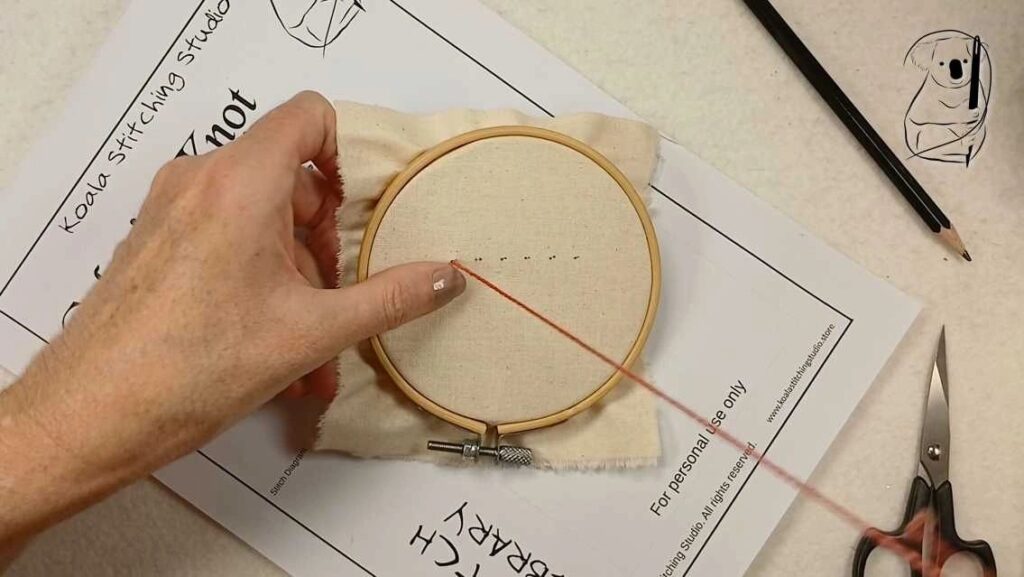
Insert the needle into the fabric from the underside at the point where you want to start your stitch. Pull the thread through until the knot rests against the fabric.
Step 3: Making the Stitches
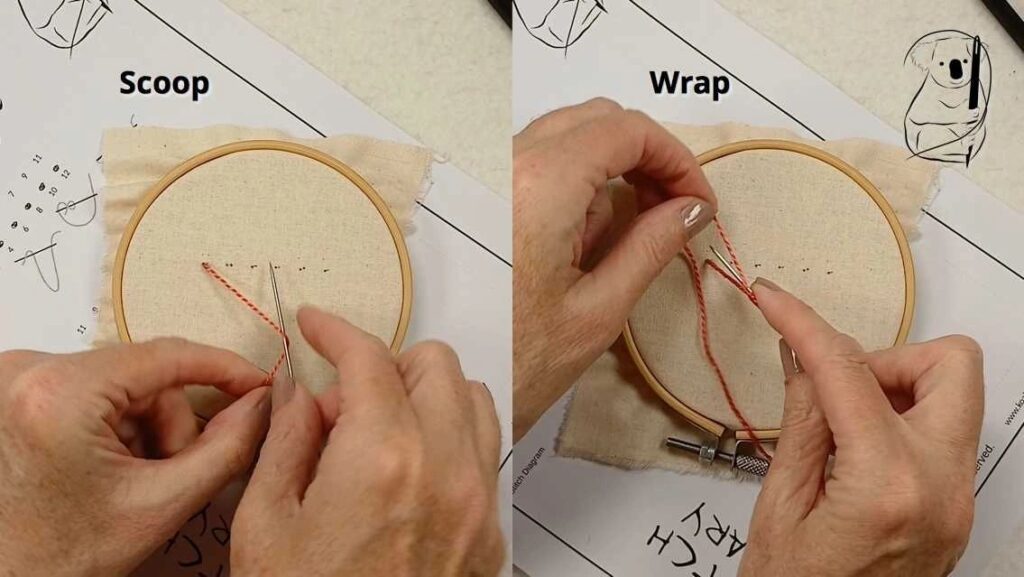
Keeping the thread gently taut, first scoop the needle under the thread. Then with the hand holding the thread, wrap the thread back over the top of the needle.
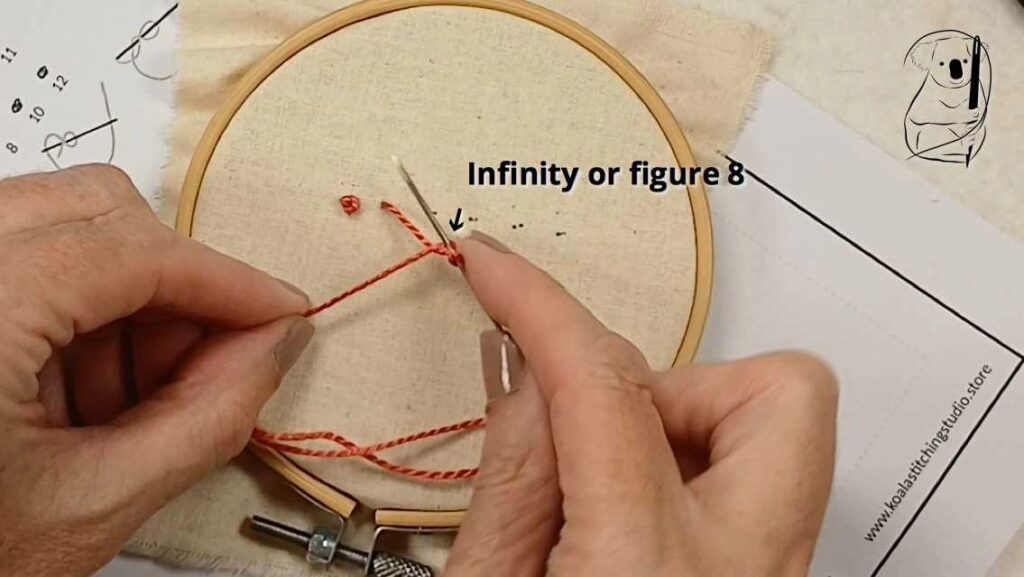
This creates an infinity symbol or figure 8 wrapped around the needle.
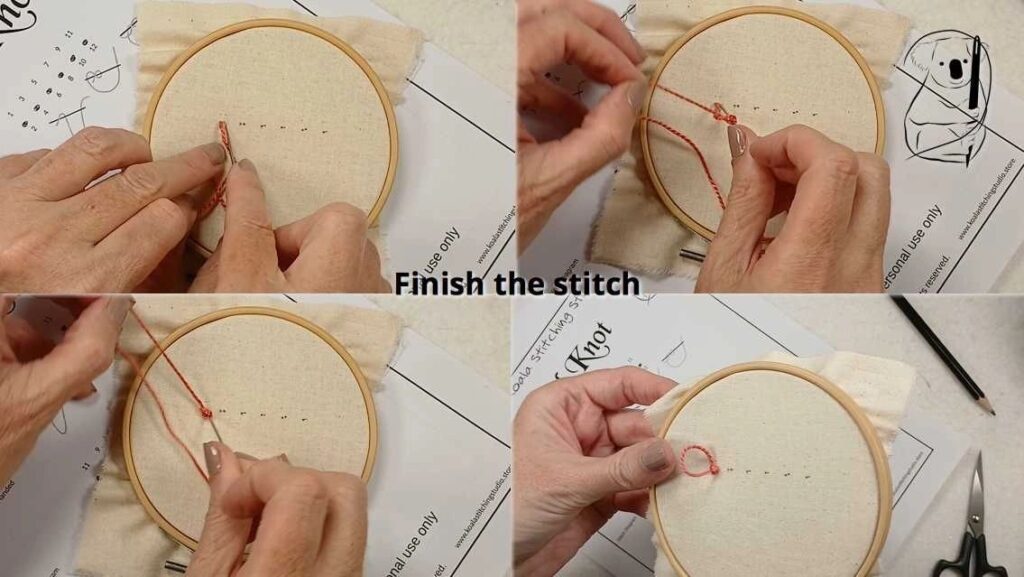
Finish the knot by inserting the needle back through the fabric, just next to where the thread comes through the fabric. Gently pull on the thread to tighten the knot around the needle. Push the needle all the way through the knot and the fabric. Pull the thread through to finish the stitch.
Step 4: Continuing the Pattern
Continue the colonial knots by repeating the process. The evenness of the stitches and the spacing between them will contribute to the overall appearance of your stitching.
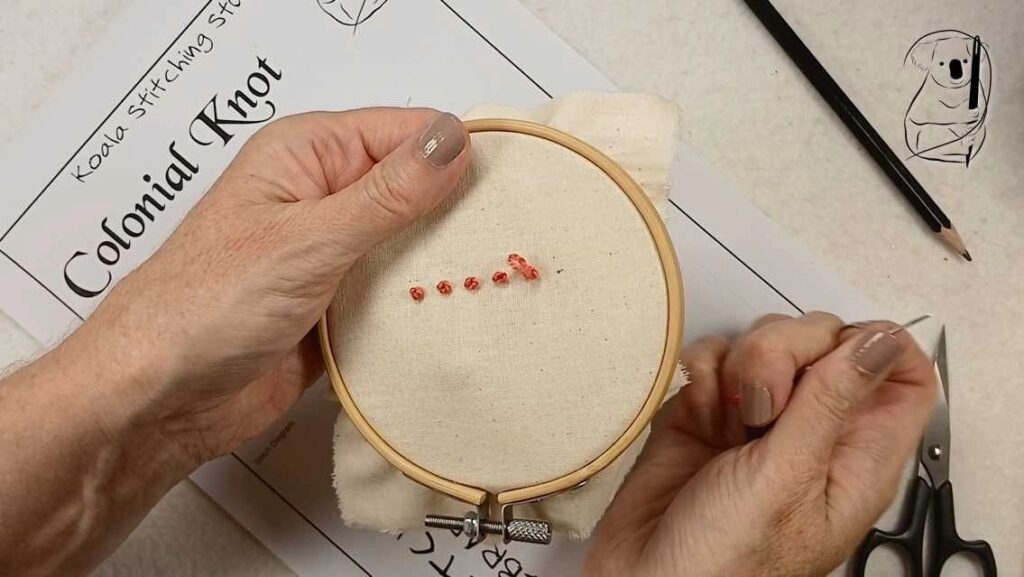
Step 5: Finishing the Stitch
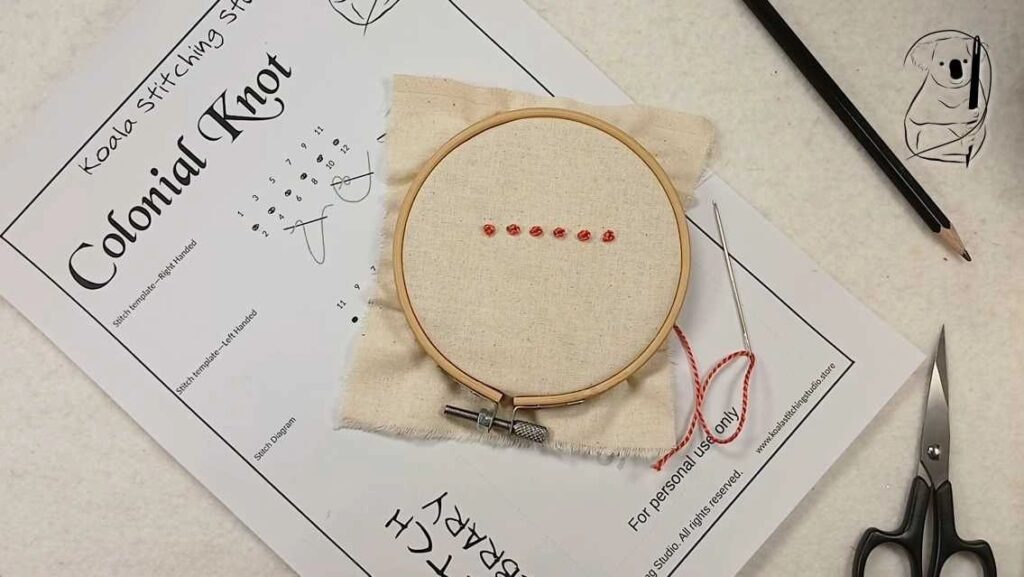
When you reach the end of your line of stitching, bring the needle to the under side of the fabric.
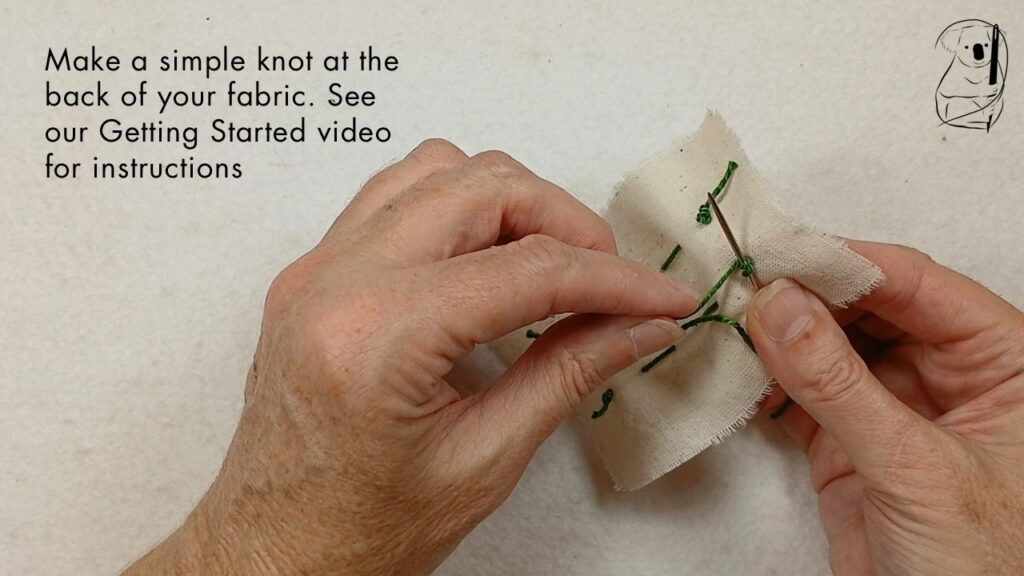
Make a small knot close to the fabric to secure the thread. Trim any excess thread with scissors. (see our video - Getting Started in Hand Stitching for a simple end knot, or the Getting Started in Hand Stitching blog page for a description with photos.)
Comparison between French Knot and Colonial Knot
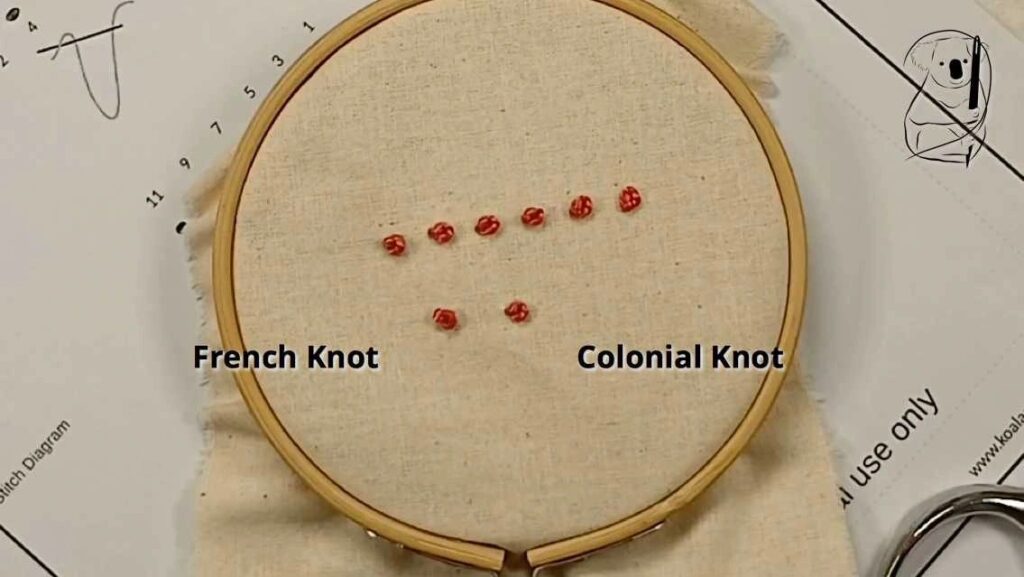
How different French knots and Colonial knots look will depend on a number of variables.
Firstly, the thread you use will affect how the knots sit, and how different they look.
Secondly, the number of wraps used to make the French knot will result in a smaller (one wrap), similar (two wraps) or larger (three wraps) sized knot.
Applications of Colonial Knot
Colonial knot is widely used in Candlewicking, a type of embroidery that traditionally used unbleached cotton thread on unbleached cotton fabric, to create a different type of whitework.
Decoratively, Colonial knot can be used as a feature stitch, to create an outline, or as a filling stitch.
Thread labelled specifically for Candlewicking is available today, as a three or four-ply, gently twisted unbleached thread.
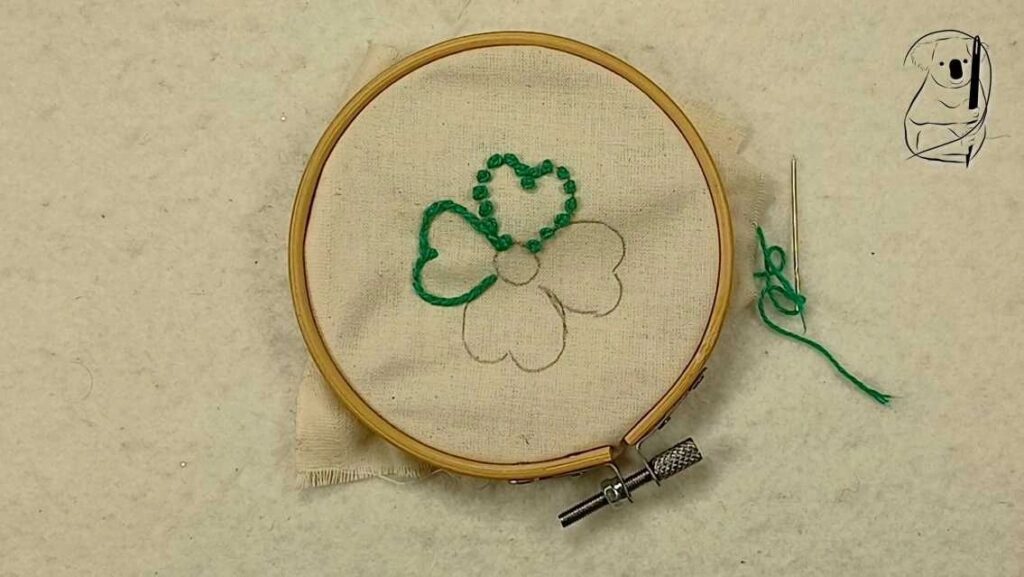
Our sample flower with a petal stitched in Colonial knot.