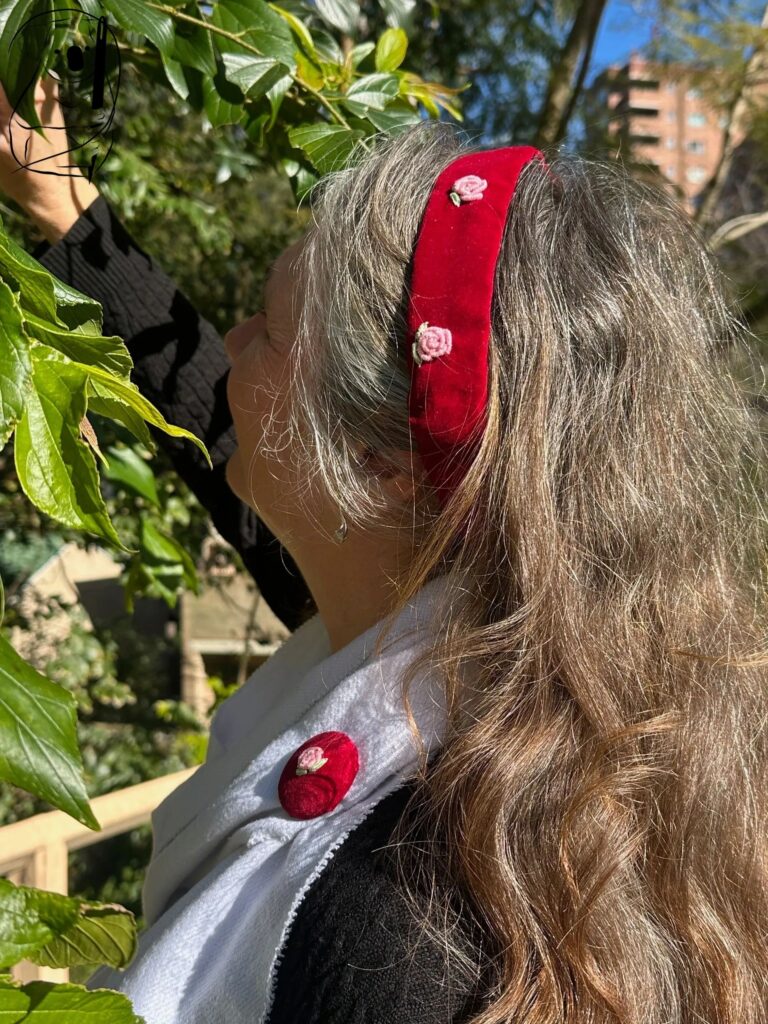
Here is a quick project to smarten up an outfit for a special occasion.
This headband and matching button set are both pretty and practical and are easy to make. Set on some leftover pieces of red velvet, the bullion knot roses were made using a Perle crochet thread while the leaves are made of 3 strands of green DMC thread.
Are bullion knots hard? Definitely not. But they can require a bit of massaging and manipulation to get the threads to sit right.
There was no set pattern for this piece. I measured the circumference of my head at 58 cm and cut a rectangle of fabric that length and 9 cm across. This allows for some seam allowance and also accommodated the elastic which was 32 mm wide.
The centre of the fabric was located by folding the fabric in half and marking it. A flower would sit on that centre point, and I marked points for 4 more flowers evenly spaced across the fabric. My flowers were 8cm apart.
Once the flowers were completed I folded the fabric around the elastic with the flowers sitting in the middle of the headband. The ends were simply stitched by hand using a whip stitch, with seam allowance tucked in and the elastic stitched to the fabric.
Initially I thought that Bullion Knots would be difficult and was concerned that strands of floss would separate and pull unevenly. I therefore chose a Perle thread which is quite thick but is a single strand of cotton. This thread was very manageable. When making the leaves for the roses, I did use 3 strands of DMC cotton floss. This was also easy to manage and pulled smoothly and consistently.
I was impressed at how forgiving the Bullion Knot is. Rarely does this knot behave perfectly. Instead threads get loose, loops of threads get jumbled and stitches don't quite sit right or flat. A little tugging is also required to complete the knot. But there is a lot of leeway to massage the threads and move them around, bend the way they sit against other stitches and conform to the look you want to achieve.
You can see in the video of Alice, that some of the threads really looked like they were out of control when pulling the knot tight. However gently moving threads around and rubbing the loops whilst keeping the thread taut, enabled the knot to form properly. In fact only once did a knot totally miss the mark and had to be completely undone.
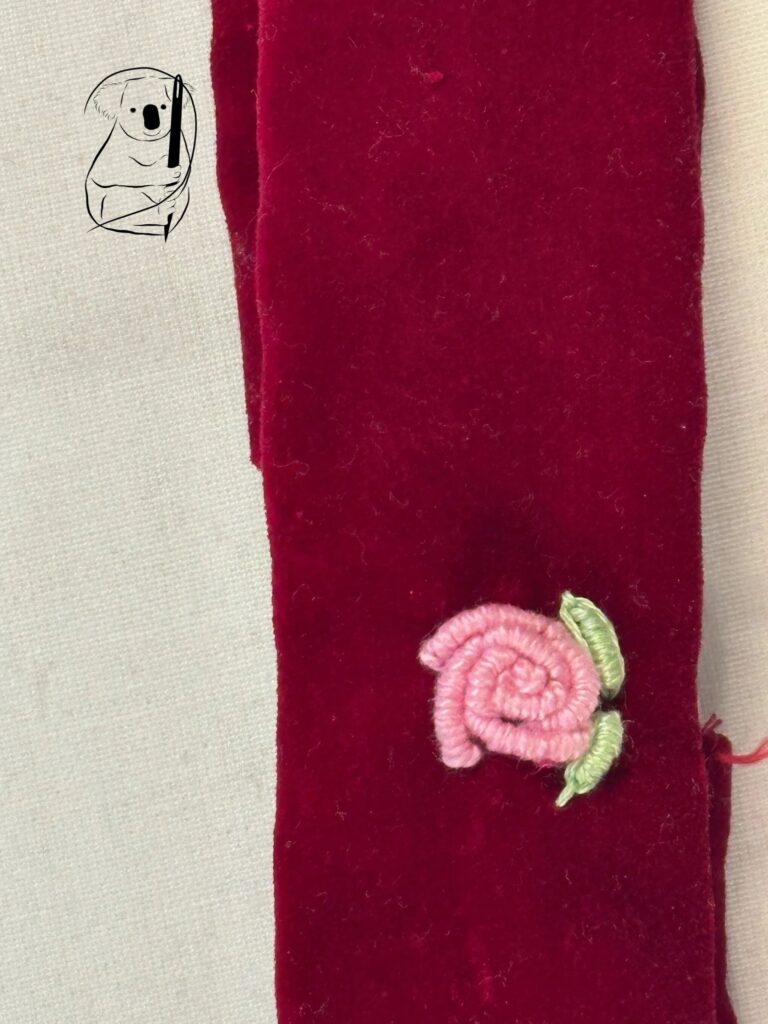
The main issue I encountered in making this headband was developing an accurate looking flower shape. My flowers were pretty variable in their shape. As you can see in the image to the right, this particular flower looks more like a pinwheel that the traditional grub rose. Each flower is quite different and whether they turned out circular or a bit lopsided, had more or less petals,or had the odd gap here and there, they were perfectly OK.
The button was made up to provide the look of a set of accessories. I used a button making kit from Daiso which was inexpensive and worked quite well. Accomodating velvet in the button kit was pushing the limits of the kit's abilities due to the fabric thickness. To overcome this, I stitched a line of basting around the edge of the fabric circle. This allowed me to gather the edges of the fabric over the form of the button and hold the edges in place. When pressing the back and front of the button together, the thickness of the fabric really became noticeable as a lot of force had to be used to embed the front of the button into the back. The button is attached to the scarf using a safety pin.
What mistakes did I make here?
A few. I think a template for the shape of a rose would have been helpful. This is especially true if you want your roses to look similar. You can find a template for a grub rose in the Bullion Knot Stitch Guide in our Stitch Library. No two flowers are identical in nature and I took that truth to heart in this project. More practice in forming the rose shape would have paid dividends.
I would also consider placing the flowers a bit closer together. To me the roses at the side of the head are a little too far down to the ear. It might look better to have them closer together and more towards the top of the head.
I also ran the elastic completely through the headband around the head with a couple of inches exposed at the back. The stretching of the elastic caused the fabric pucker a little when worn. In hindsight a better design might have been to attach a few centimeters of elastic between the ends of the headband only. As the elastic has provided some body and weight to the fabric band, this would now have to be provided by stiffening or stabiliser.
I would also have no concern again about using several strands of floss thread to make these Bullion Knots. The Perle thread worked well and provided some bulk to the flower petals, however DMC floss would provide a much greater range of colours as well as variegated colours which would be interesting.
This project used materials on hand with a button covering kit. It took about 4 hours to complete and was an easy project.
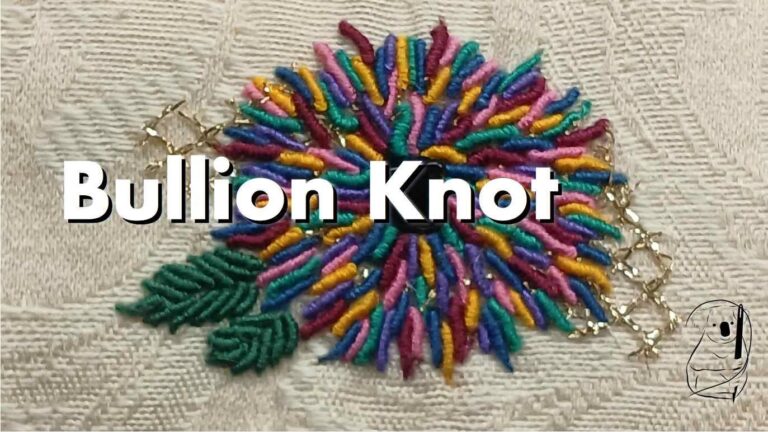
See our Bullion knot blog tutorial for a refresher on how to do Bullion knots.
Or watch our Bullion knot tutorial video on YouTube.
See a short video of the making of Alice on YouTube.
See our other Bullion knot project, Peyton on our website.