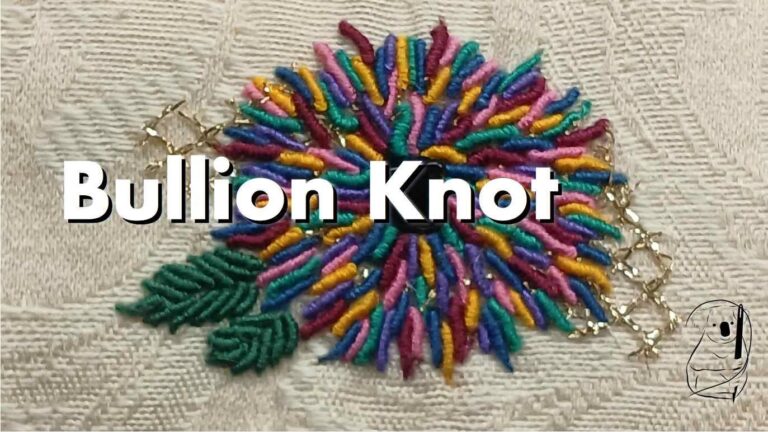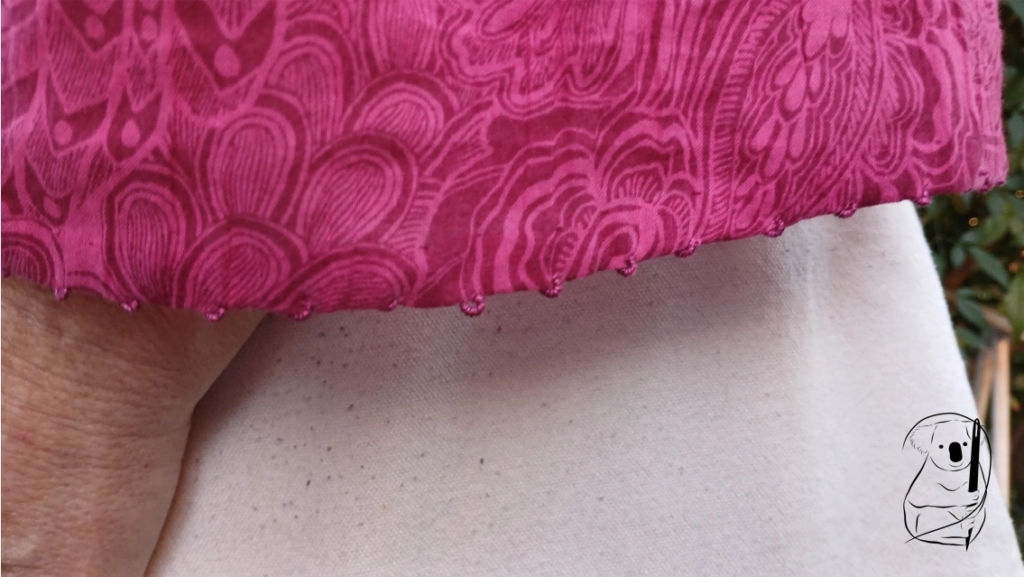
A few years ago, I came across the idea of stitchingbullion knots over the edge of the fabric. I loved the idea, but had no practical application for it. The some time later, I saw a sleeve hem with French knots sewn on the edge. And so the idea for Peyton was born.
When I found this top, I was drawn by the colours and the light weight of the fabric. In summer, you need the coverage, but not the weight. The only drawback ws that the sleeves ended in shirred cuffs. Nothing like tight cuffs to make a cool shirt hot again, and it made the top feel too busy. So, off they came, and onward we go.
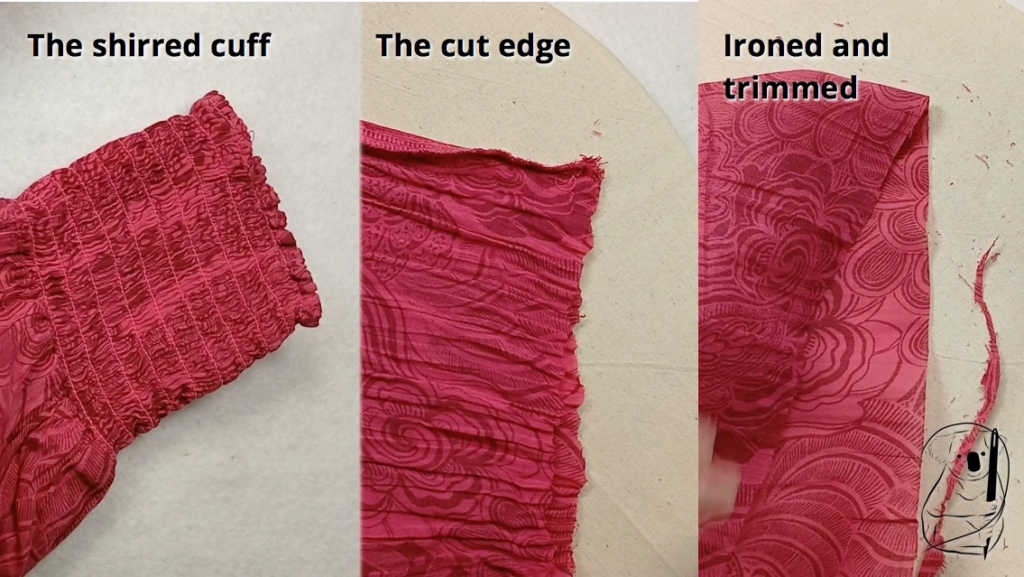
Initially, I thought to carefully unpick the shirring, but looking at the construction, I decided simply cutting it off was the way to do it. After ironing out the creases and tidying up the edge, I marked a quarter inch line and folded and pressed the hem twice.
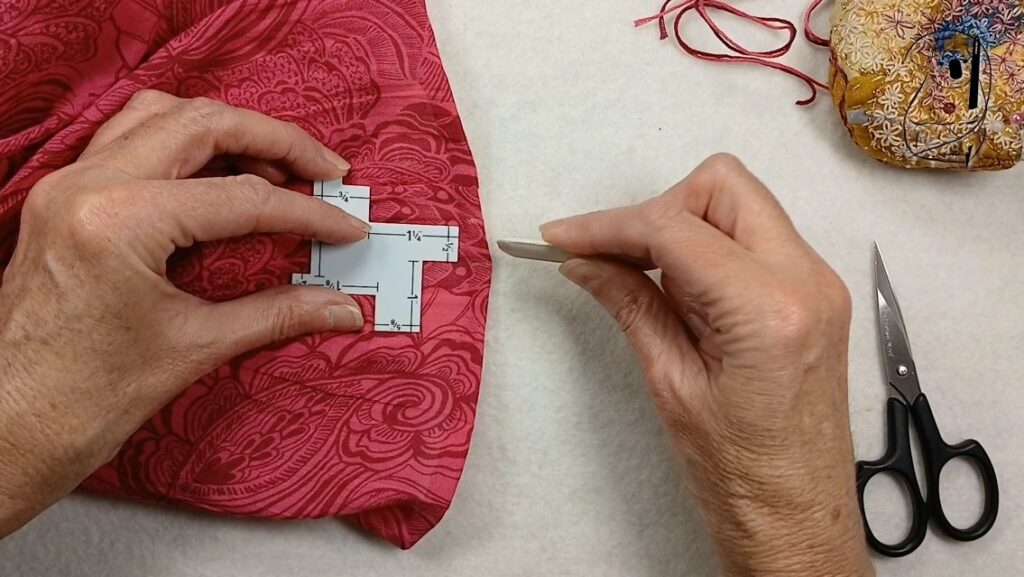
This was caught with a slip stitch to secure the new hem. I then marked out the spacing for each bullion knot a generous half-inch apart.
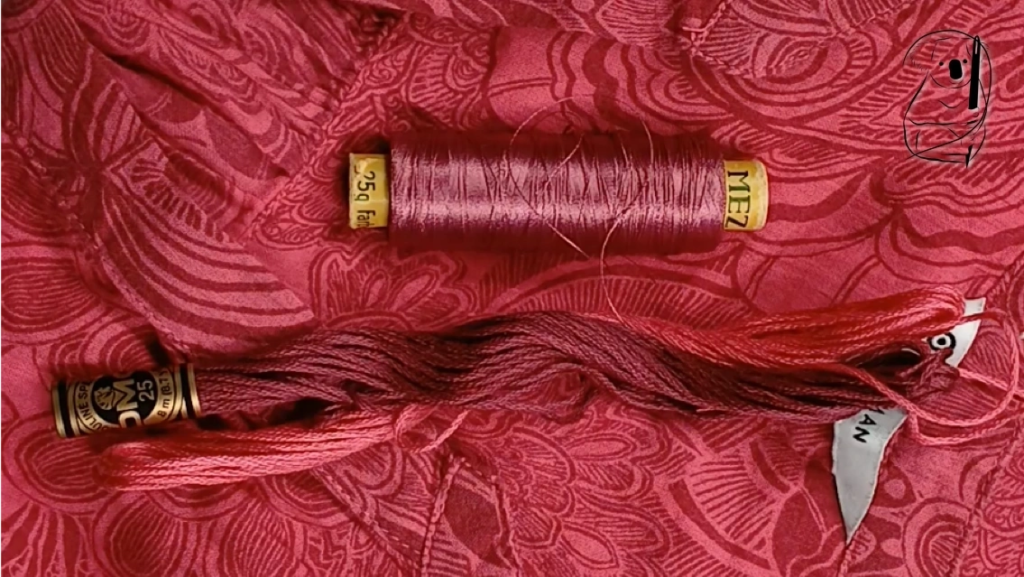
I considered a couple of different threads for this project. I did have one thread the perfect shade, but it was woolley, so the texture wasn't quite right for such a light top. In the end, I selected two stranded cotton threads that matched each of the colours in the pattern, and added a toning thread in a silky texture. I believe this third thread is rayon machine embroidery thread. I was very happy with the blend of colour these three threads gave me.
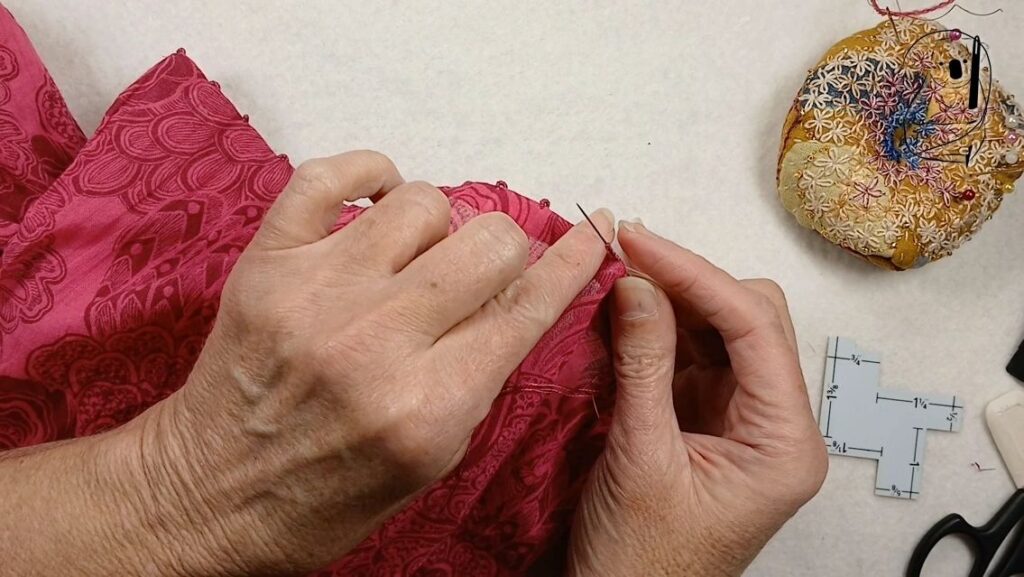
The stitching for this took time and patience. Bullion knots are not necessarily difficult, but they do take effort to make them even and smooth. A little fiddling with the stitch as you make it is more than acceptable.
Definitely practice the stitch before you start a project like this. It is worth securing your thread at regular intervals around the hem as you go, in case you need to cut our a stitch and start that section again.
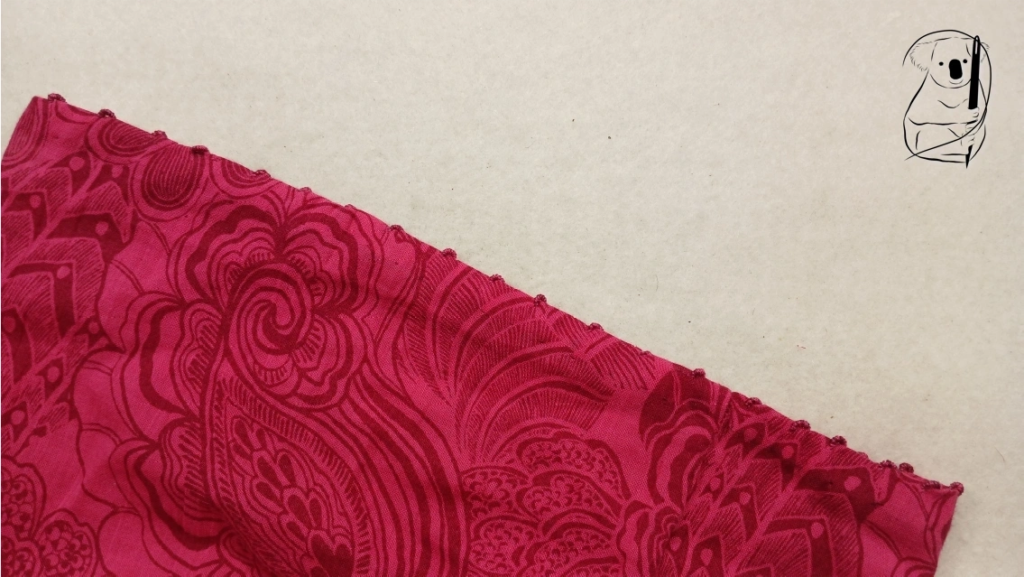
While I would not call this a beginner level project, I wouldn't discourage anyone from learning to make a bullion knot. Like most things, a bit of patience and a lot of practice makes the difference between novice and experienced stitcher.
I am very pleased with the way this top turned out, and I'm looking forward to warmer weather, so I can wear it and enjoy the work I have done. I hope if you try a similar project, you are just as pleased with your results.
See our Bullion knot blog tutorial for a refresher on how to do Bullion knots.
Or watch our Bullion knot tutorial video on YouTube.
See a short video of the making of Peyton on YouTube.