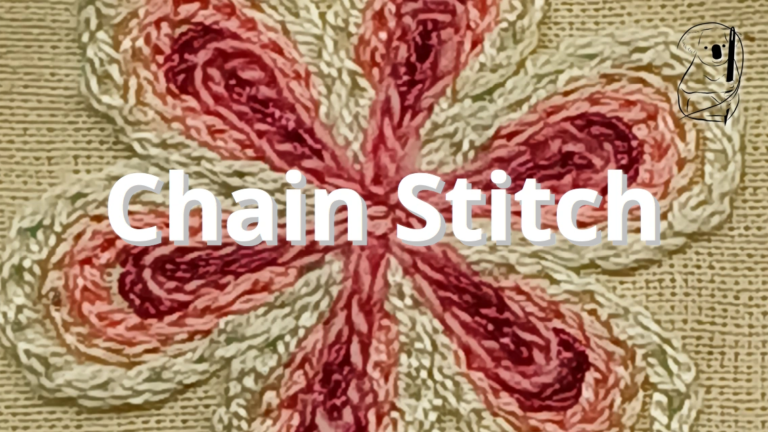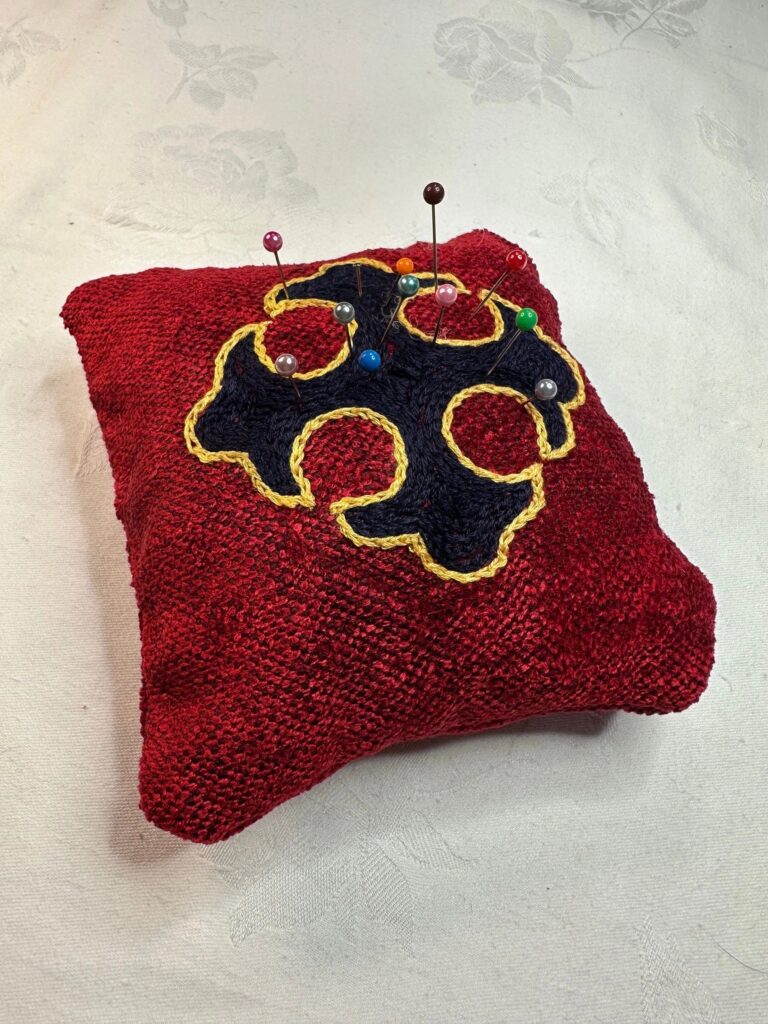
I had great fun making this pin cushion project. Following the Koala Stitch Guide for Chain Stitch, I practiced the stitch before starting the project and then got better and better at the stitch as the project went on. I found this really satisfying and the outcome was a striking object which has great utility.
The design was developed from a basic Fleur-de-Lis and after several attempts settled upon a central image. The solid image on the fabric provides a strong surface through which pins will be plunged for years to come.
The finished piece is 13cm square and the image is about 8cm across. Inside the pin cushion, I placed some kitchen steel wool and a magnet all surrounded by polyester fill. Steel wool is to help maintain the sharp points on the pins and needles. The magnet should enable pins to be picked up easily by placing the pin cushion over the pins.
WARNING : Keep mobile phones and electronic devices away from magnets as magnets can damage them.
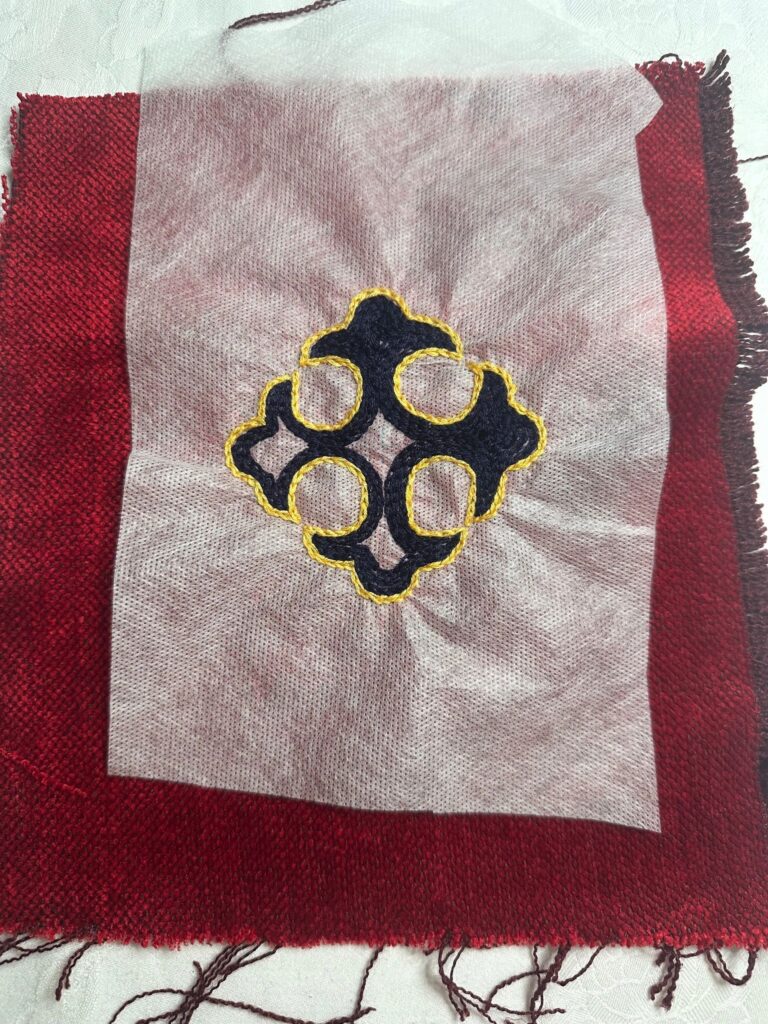
I worked the design up on a sheet of paper then traced it onto semi transparent kitchen baking paper. After then tracing the design again onto a square of Hemline Wash Away stabilizer using a Sullivans Fabric Marker Pen, it was pinned onto my fabric.The fabric used is a square of rich red velour left over from making chair coverings. It is heavy duty, non stretch and looks a little luxurious. It should withstand the pins being pushed into it for a long time.
Following the outline of the image, I stitched a single line of chain stitch using 3 Strands of yellow DMC thread. Then the inside of the image outline was filled with lines of chain stitch made with 3 strands of navy DMC thread. The rows of chain stitch need to be quite close to each other to ensure the underlying fabric is well covered. After 2 rounds of navy chain stitch, each point was then filled out in turn going around the section until filled. Lastly the centre was filled in to complete the image.
I thought that in a couple of places the lines of chain could have been a bit closer so I filled in those gaps with short lines of navy chain stitch, and the "repair" of the work was not noticeable.
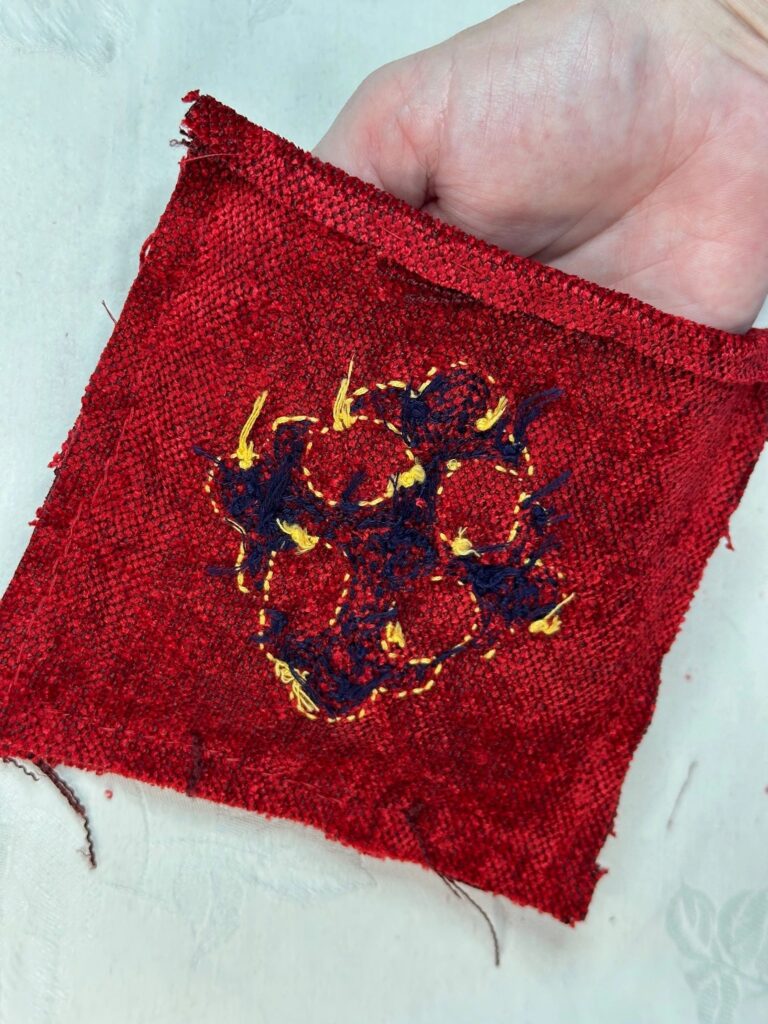
After the completion of the image, I washed the fabric to remove the Wash Away. I did this twice. Perhaps the thickness of the fabric required a bit more washing to remove residue from the pile of the velour. I also had Wash Away trapped under my embroidery. This kind of item is unlikely to washed regularly once it is assembled so all the residue needed to removed prior to moving on to the assembly of the piece.
To assemble the pin cushion, I took the fabric with the image on it and estimated the size of the final pin cushion I wanted. Then adding on some seam allowance I used pins to mark a square shape around the image keeping the square aligned with the points of the Fleur-de-Lis. After cutting the square to size with scissors, I used it as a template to cut a second square of fabric the same size to form the bottom of the pin cushion.
Ensuring that the right side of the embroidery was sandwiched between the two pieces of fabric, they were pinned together with corners matching up. The 2 pieces of fabric were stitched together using back stitch. I stitched around 3 sides of the square leaving the fourth side open.
In order to keep the fourth side tidy and in place, I basted the fabric edges down so the fabric was folded back and seam allowance held in place.
The piece was then turned inside out so that the image was now on the outside.
To stuff the pin cushion, I took a ball of steel wool and massaged it to loosen it up. Over the top of this I placed some Hobby Fill polyester fill. Under the steel wool I had another layer of Hobby Fill polyester with the magnet sandwiched in between.Then with a needle and matching red sewing thread, the fourth side was stitched closed with a top stitch.
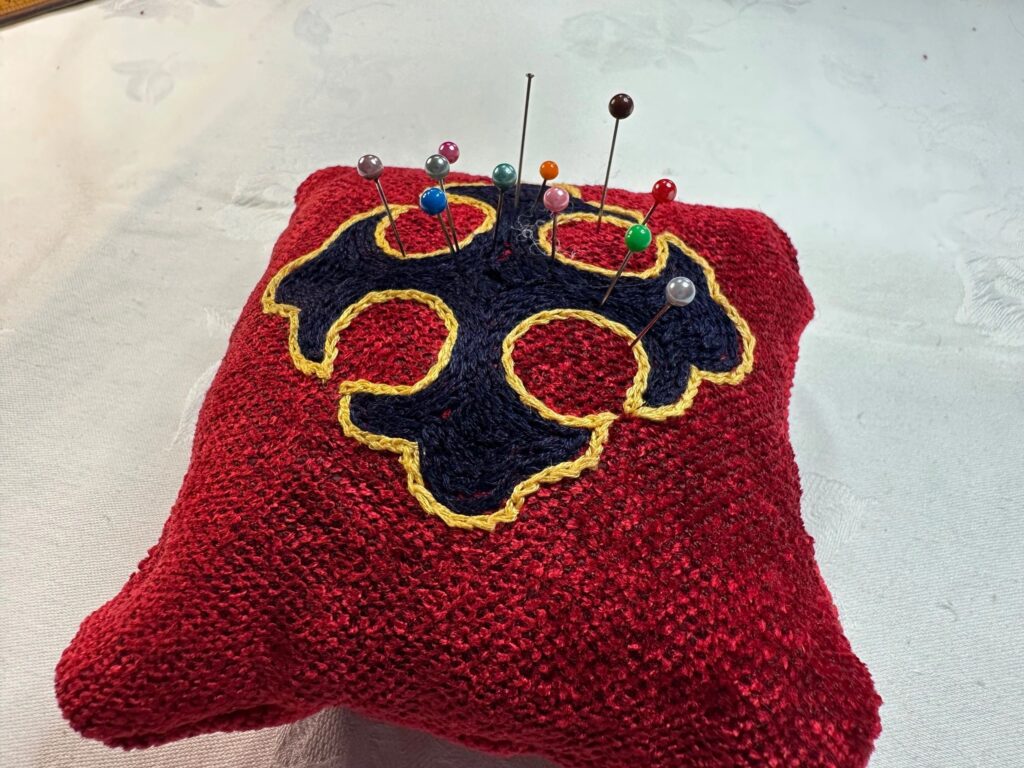
I love the look of this project. The fabric is rich as are the colours. Would I change anything? Definitely.
I liked the idea of the magnet inside the pin cushion to pick up loose pins. However the magnet isn't very strong and can only pick up a few pins at any one time. I think this may be at least in part to the thickness of the fabric and a layer of polyester fill. Being a solid and relatively heavy object, I would not consider putting the magnet in the pin cushion without some padding around it. A problem like this could be partially remedied by having a different, thinner fabric on the underside of the project. As most of the wear and tear on the pin cushion occurs on its top, this should be perfectly possible.
I would also change the shape of the corners to be more rounded. If I had stitched the sides of this item with a sewing machine I may have pushed out the corners with a bit more force. However the hand stitching combined with a thicker fabric makes sharp corners more difficult to achieve. I could also have trimmed the corners with scissors prior to turning the item right side out, however I was conscious of the fabric wanting to fray.
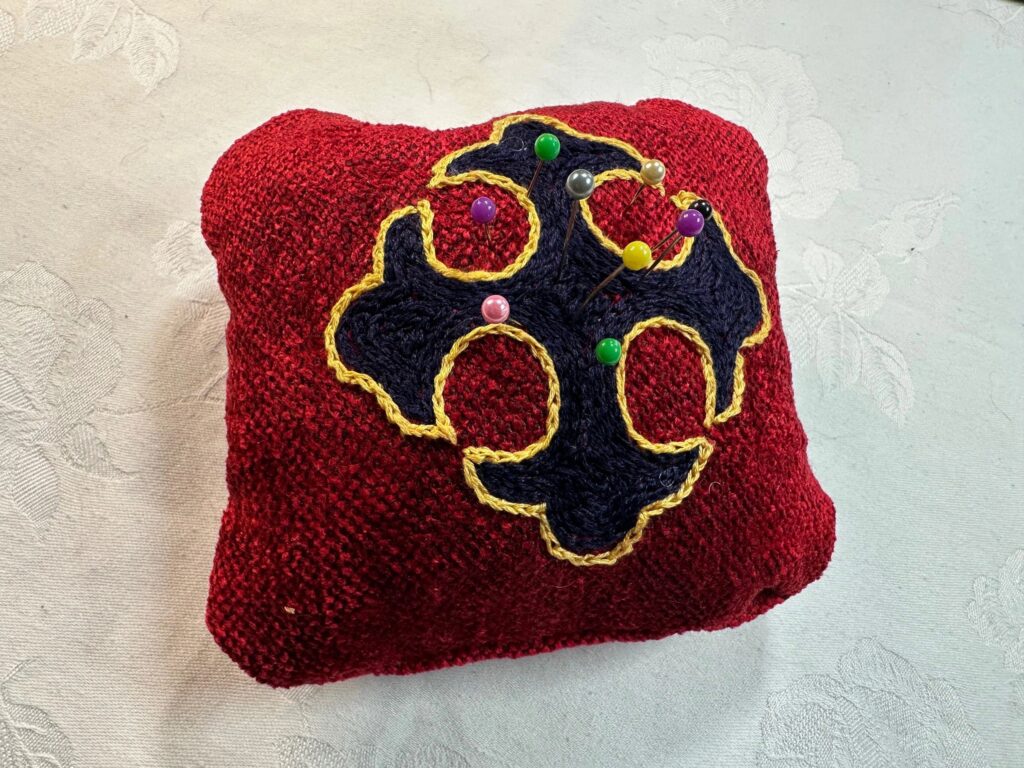
After looking at the finished piece for a couple of days I decided to rework the corners to slightly change the shape of the pin cushion. The stitching along the fourth side was easily undone and I trimmed the corners from the square shape to remove the sharp points.
I think that since I will keep using this item for years, it was well worth the additional effort to improve its overall look.
The materials used to create the pin cushion were my Fleur de-Lis image on kitchen baking paper, wash away stabilizer, fabric marker pen, scrap pieces of red velour fabric, DMC threads in 2 colours, polyester fill, steel wool and magnet, sewing thread, needles, pins and scissors. The magnet was purchased from a a hardware store. Cost was minimal as most these items were hand and the piece took under 3 hours to make.
See the video for Chain Stitch here, including video of the making of Olivia.
Find the downloadable design for Olivia on our Resources page.
See the web page for Chain Stitch here.