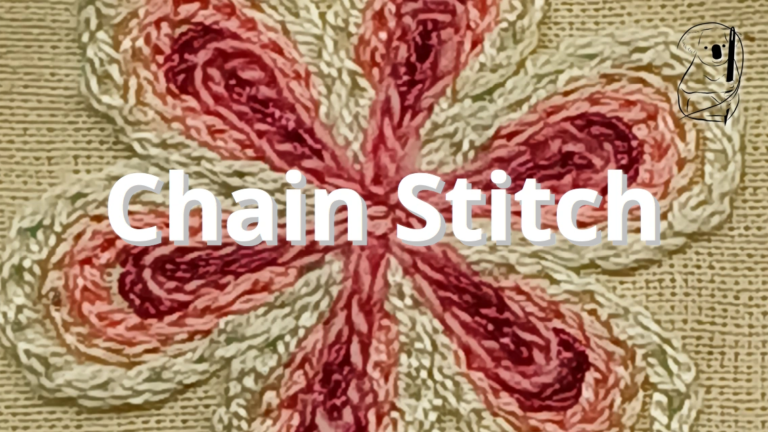
There are projects where you learn a lot really quickly, and there are projects where you don’t figure things out until you are quite a way into them. And then there are projects where you seem to be learning the whole way through.
Although the idea behind this project is quite simple, it has developed the whole time I have worked on it.
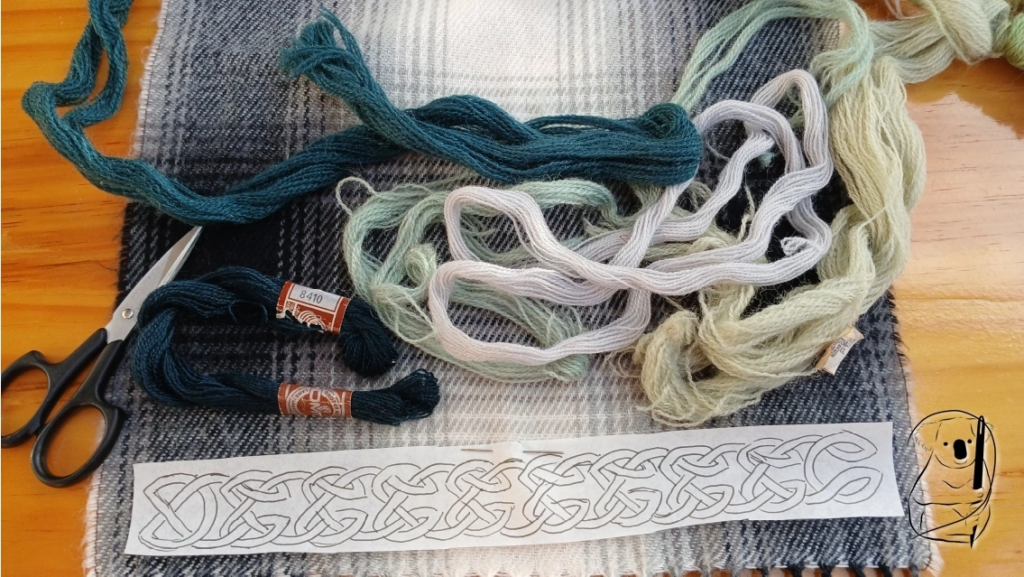
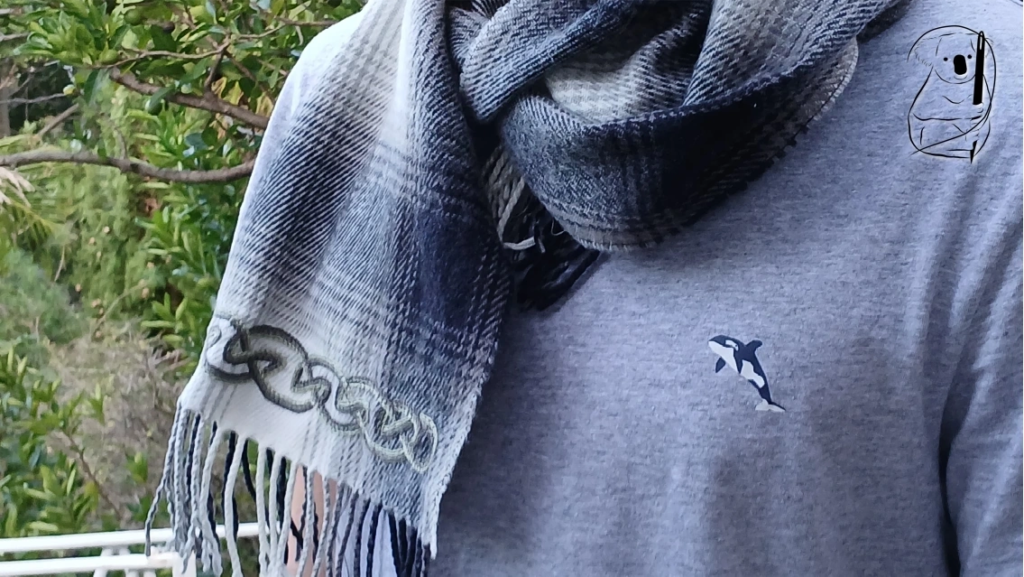
Starting with a soft, warm acrylic scarf, I wanted to do something that would sit comfortably on the scarf without being loud or showy. Very early on, I decided on muted greens to work with the greys of the scarf. I also wanted to use a Celtic knot motif, and had to choose between a border pattern or corner knots.
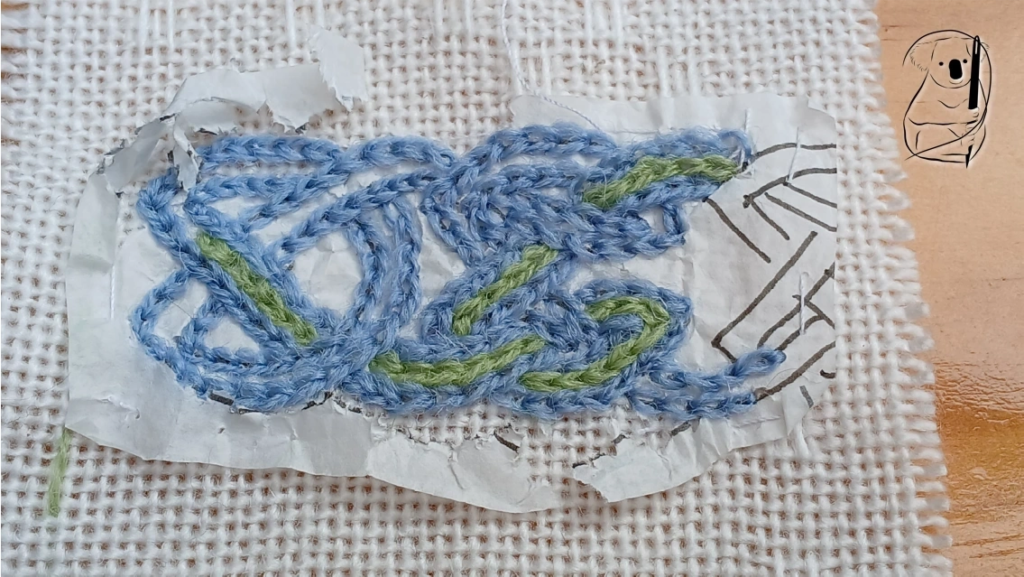
My decision regarding thread was helped by working a practice piece, using a scrap of fabric of similar weight and drape to the scarf. I trialed stitching part of a border design in crewel wool, using a pattern marked on tracing paper and pinned to the fabric.
My first discovery was that at this scale and density, the crewel wool made stitches that were too stiff to maintain the drape of the fabric. Secondly, I realised that by stitching directly over the tracing paper and treating it like tear-away stabiliser, with three lines of stitching, I would be trapping tracing paper under the stitches, adding more stiffness to the embroidery.
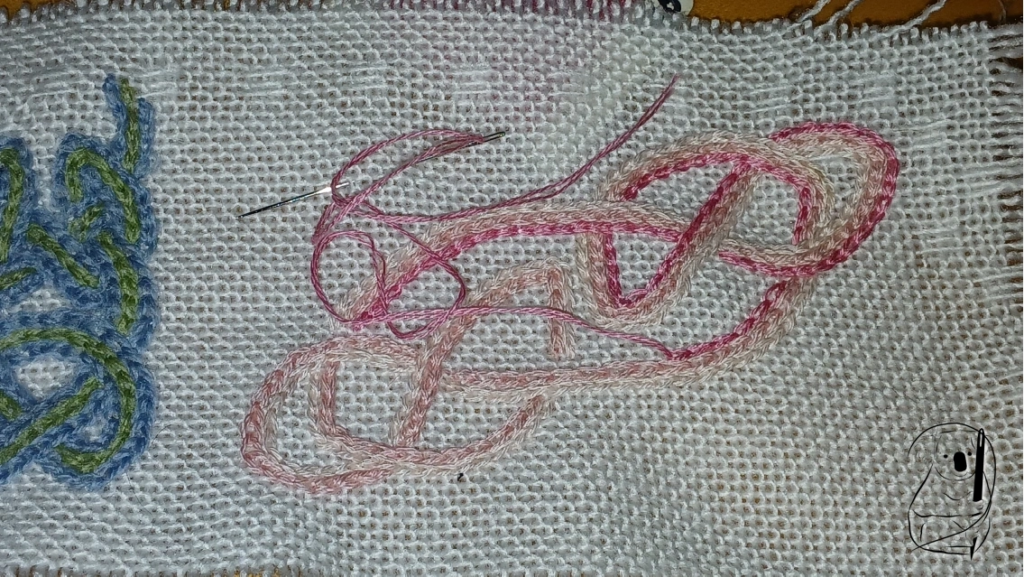
I changed the thread to 2 strands of 6-strand cotton, and decided to transfer the design from tracing paper to the scarf by completing a running stitch along the centre line of the design. First problem solved – the embroidery was much softer worked in the cotton. And now the tracing paper can be torn away after the running stitch is done, but you need to be very careful in your selection of thread colour for the running stitch.
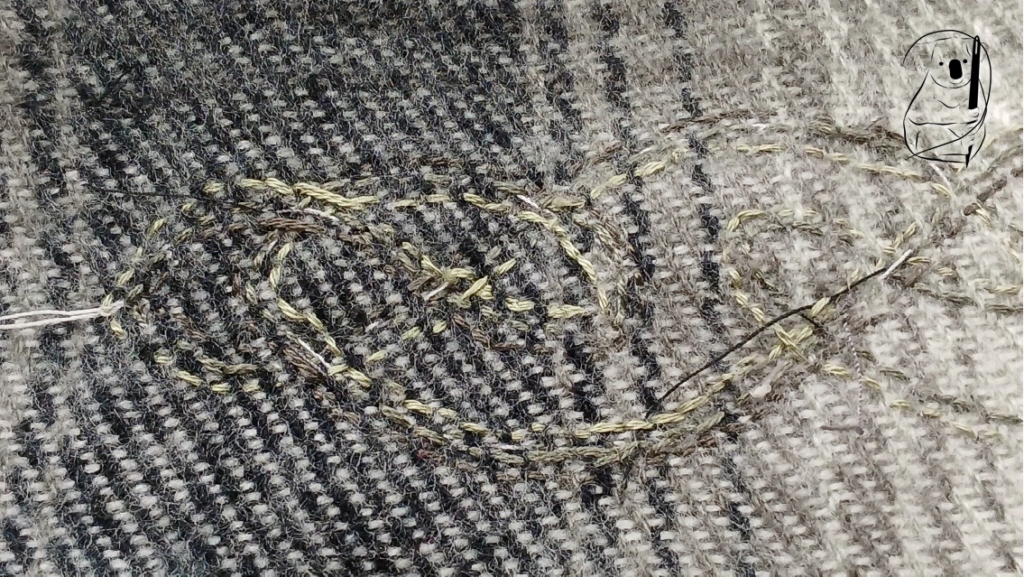
New challenge – what is the best colour to use to transfer the design? A colour that coordinates closely with the fabric is difficult to see when stitching, and one that contrasts too strongly may still be seen after the design has been completed. And no, you can’t just pull it out when you’re done, because the thread will get caught up in the chain stitches. (I think contrast is better, because it is easier to see, but it may not work in every situation.)
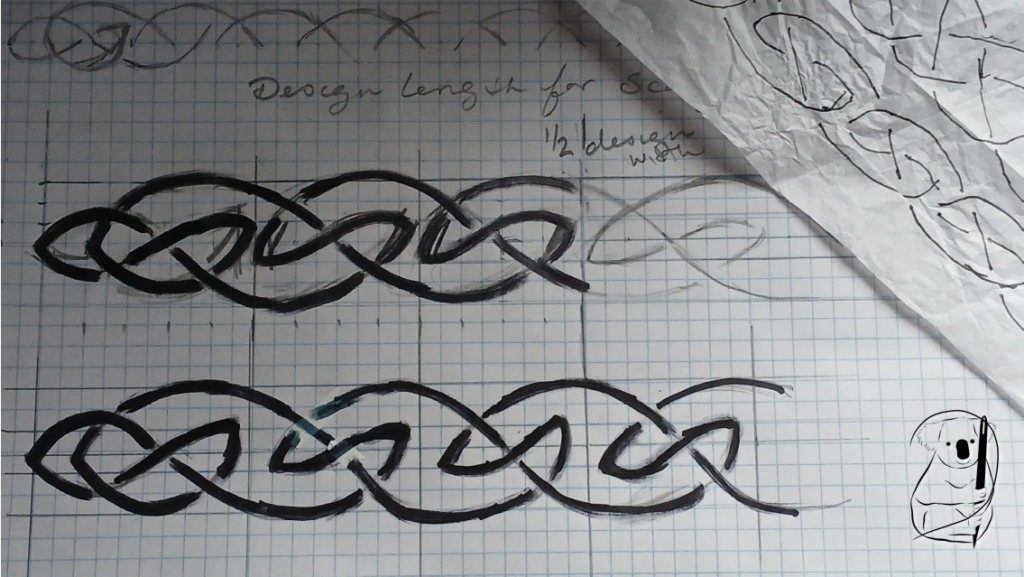
There are some lovely examples of Celtic knot work available, but I wanted to go to an original source, and had a look through images of the Lindisfarne Gospels. This is an illuminated manuscript that was produced in the monastery at Lindisfarne, in the 8th century. It didn’t take long to find a knot on which to model my design, and I sketched out a border that would fit the width of my scarf.
Having transferred the motif to the scarf, I started stitching the design in chain stitch, making this the centre line of stitching. The tricky bit here is to keep my under and over lines clear so the knot motif flows properly.
The design is to be completed in three shades of green, so I started with the mid-shade along the centre line of the knot.
After completing a full round of the knot, I then worked the chain stitch in the lightest shade, and then the darkest.
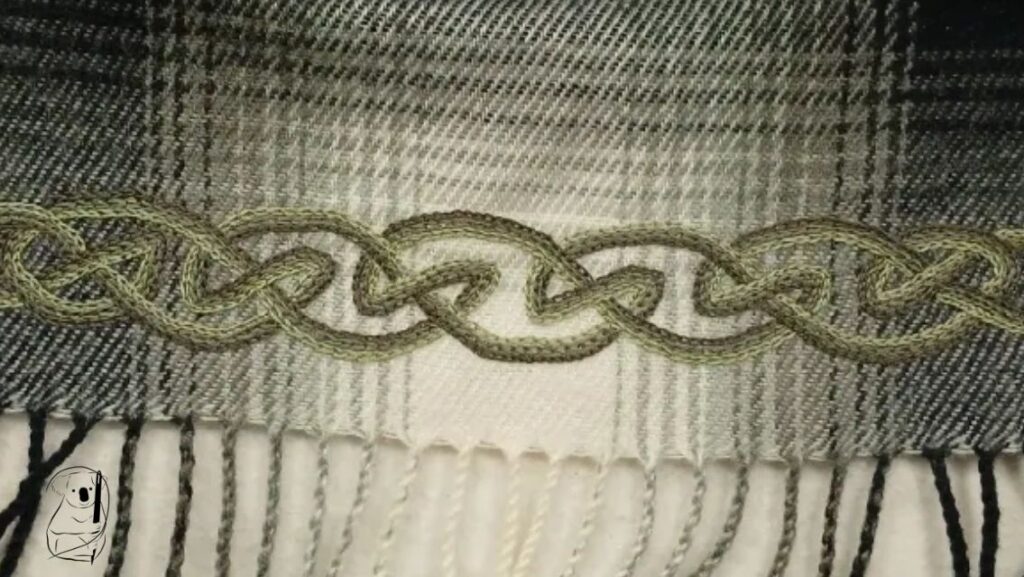
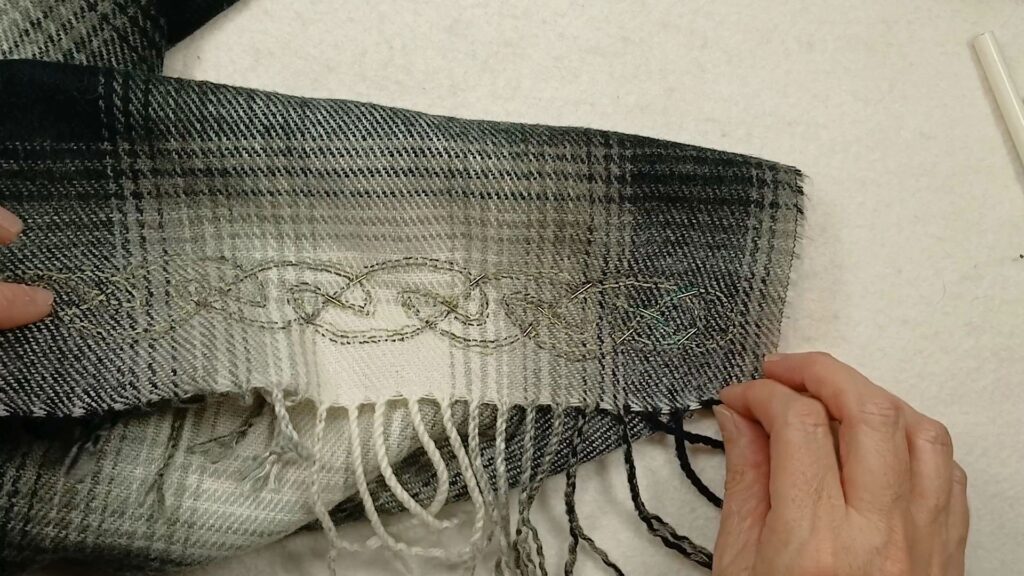
I had originally thought to complete the knot at both ends of the scarf, but looking at the reverse side of the embroidery, although the stitching is reasonably neat, it was suggested that repeating the chain stitch on the reverse would be very effective, and make the scarf “reversible.”
Apart from the additional stitching making the scarf a little stiffer, my greatest concern at this point was running out of the mid-shade green, as this was a part-skein, purchased at a thrift shop. Finding extra thread in the same shade was a project in itself.
I found something that was very close by comparing my remainder with the shop display, and given that the stitching will be on opposite sides, I was pretty happy with my selection. Before I started stitching, however, I found a photo with a thread tape around the original thread with a number on it. Back at the craft shop, and this number doesn’t look much like my thread at all. Note to self: flexibility is key when working with thrifted supplies and changing design specifications.
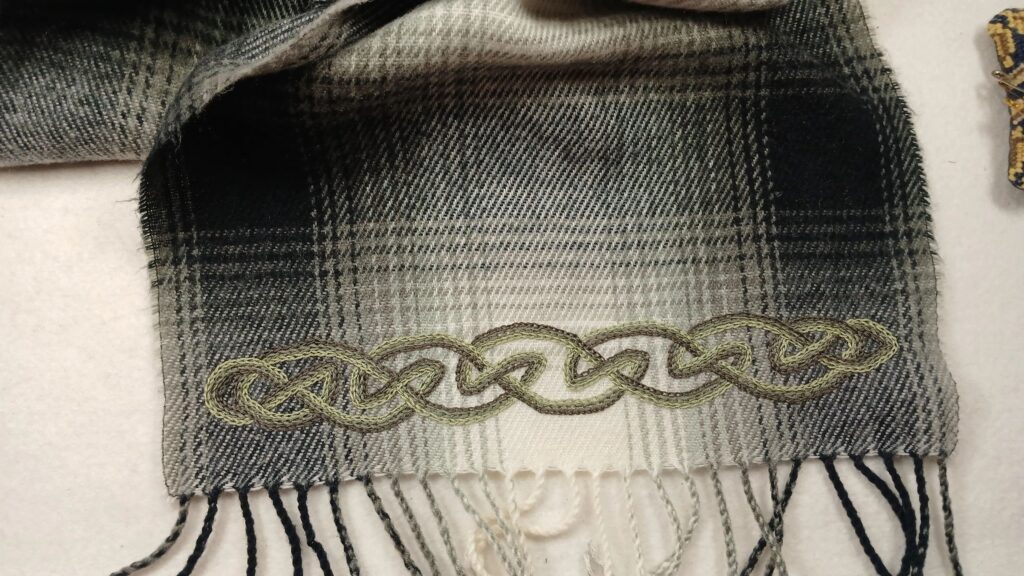
After some reflection I was not completely satisfied with the ends of the knot, as one end of the knot was round and the other pointed. I had a good look at it, and decided that it wouldn’t be too hard to remove part of the stitching, as long as I kept ends long enough to weave back into the work. Funnily enough, when I look back at my original design, the ends were pointed and I chose to keep the round end. Talk about changing design mid-flight.
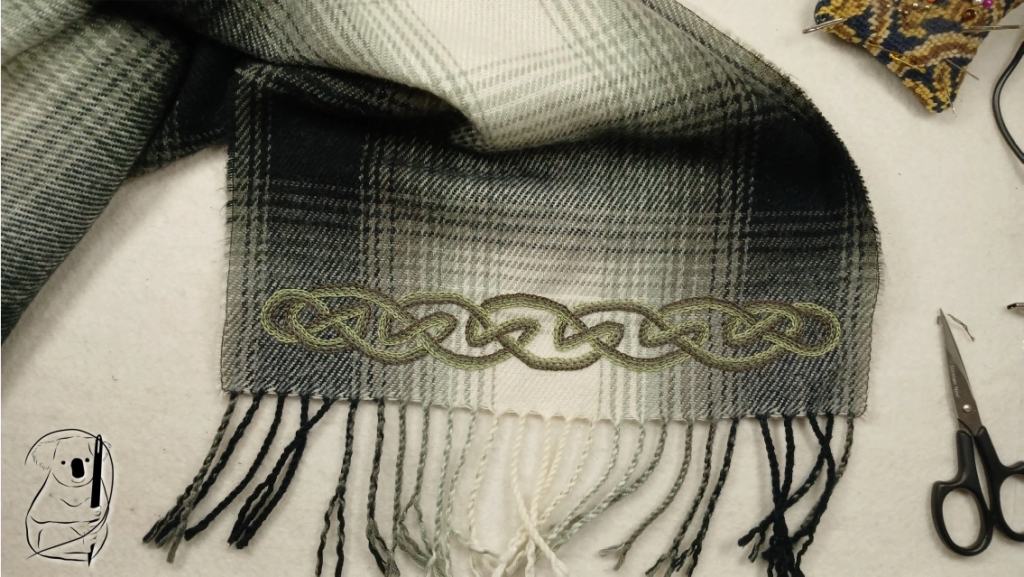
Having made my ends match, I worked on the reverse side of the scarf. Here, identifying my under and over lines from the reverse side of the stitching was a bit tricky, so I pinned them out to ensure they matched. Now it can happily flap in the wind.
This was not a difficult project to sew, but it did take time and concentration. There was a lot of stitching involved, and I estimate that it took six plus hours to complete, without extra time for the issues that I caused myself. Because of the concentration required to complete the pattern, I would recommend that you have some experience or lots of patience if you try to complete a similar project.
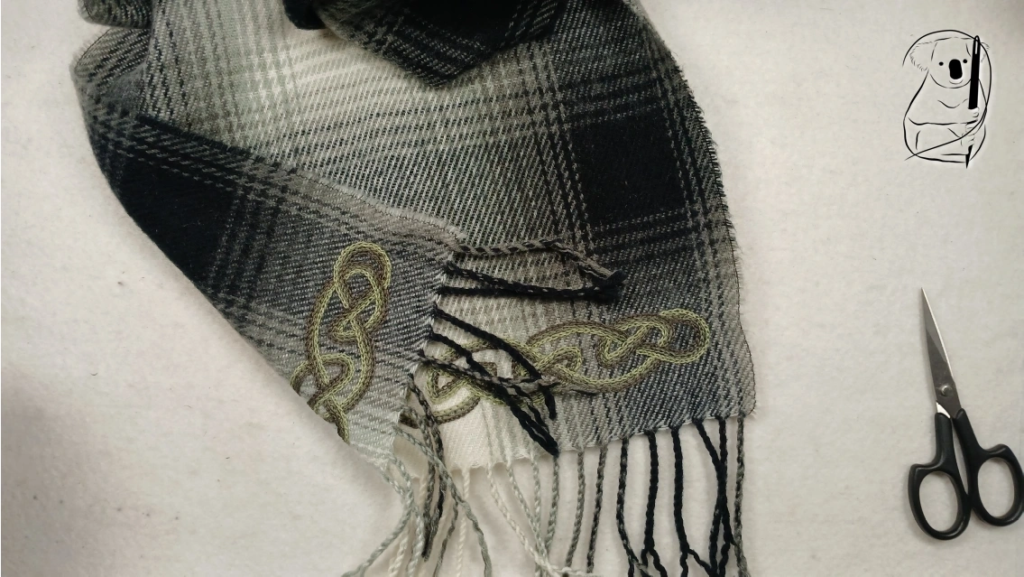
The materials were an acrylic scarf from the thrift store, and DMC stranded cotton in colours 522, 844 and 3787. (I think the thread 645 was mis-labelled by the previous owner when they were tidying their threads.) I used tissue paper and regular sewing thread to transfer the design from paper to the scarf.
Find our free downloadable resources here
Go to the Chain Stitch blog page tutorial here.
See the Chain Stitch tutorial video here, with video of the making of River.