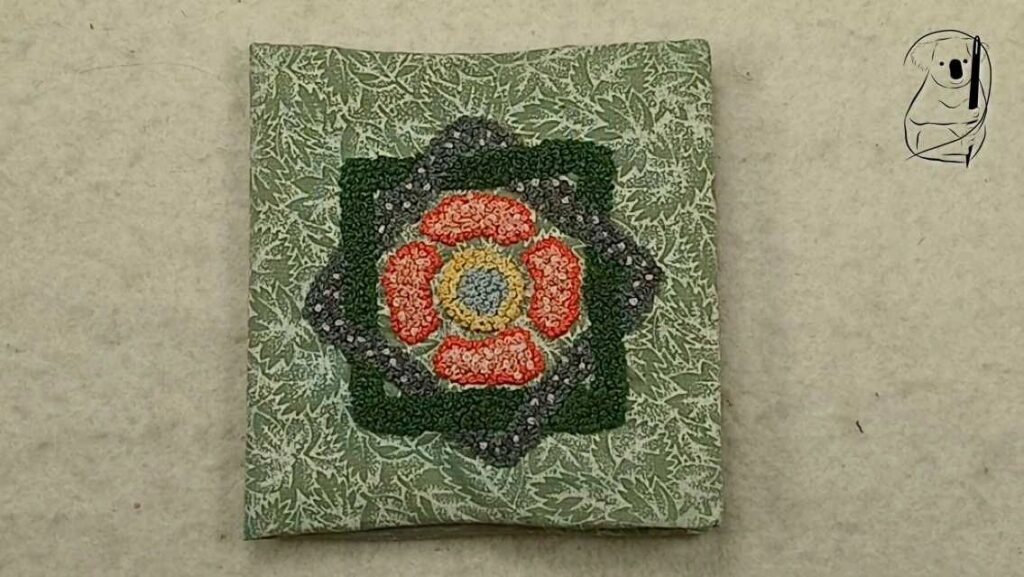
This little envelope contains a tea bag and some sticky plasters, making it a lovely way to offer some tea and sympathy.
The design on the front is a little sticher's pun, being a Tudor-inspired knot garden, with low hedges, flower beds, and a bird bath in the centre.
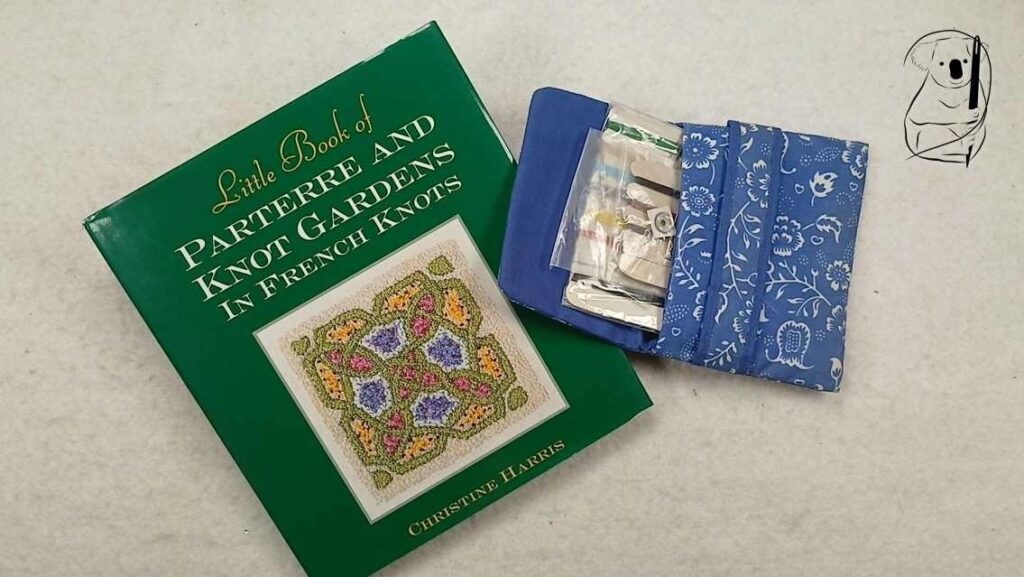
The original inspiration came from two sources - a little sewing kit, and a book of Knot Gardens completed in French Knots.
My execution of the pocketed envelop may leave a little to be desired, but I was more focused on the knots. Next time, I'll take a little longer to think about the pockets and the construction.
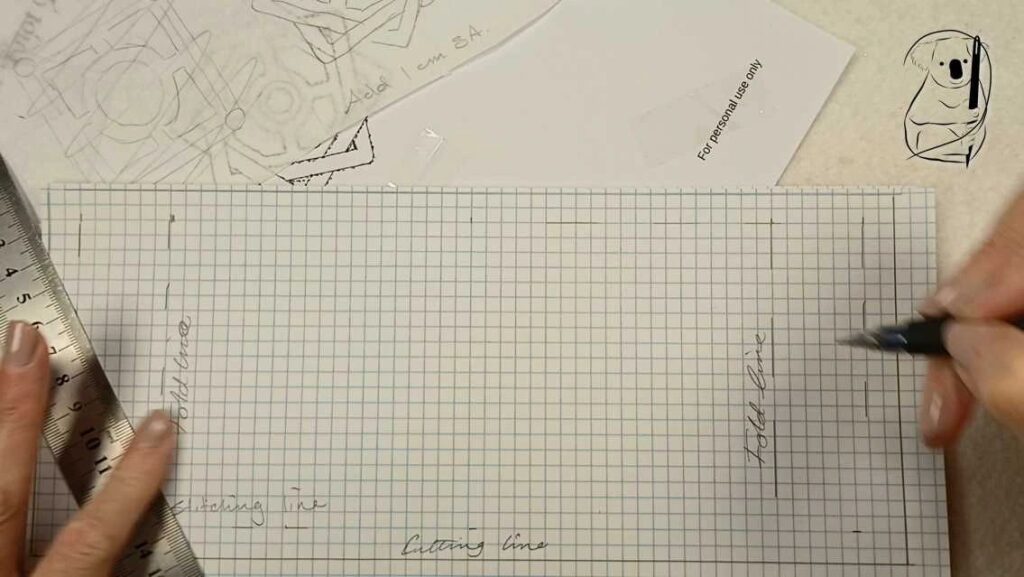
I thought, when I was drawing up the pattern, that the pockets would be plenty deep enough, but on reflection, looking at it after finishing the project, they could easily have been another 2cm deep.
Note to self - a little more beta-testing when drafting patterns from scratch.
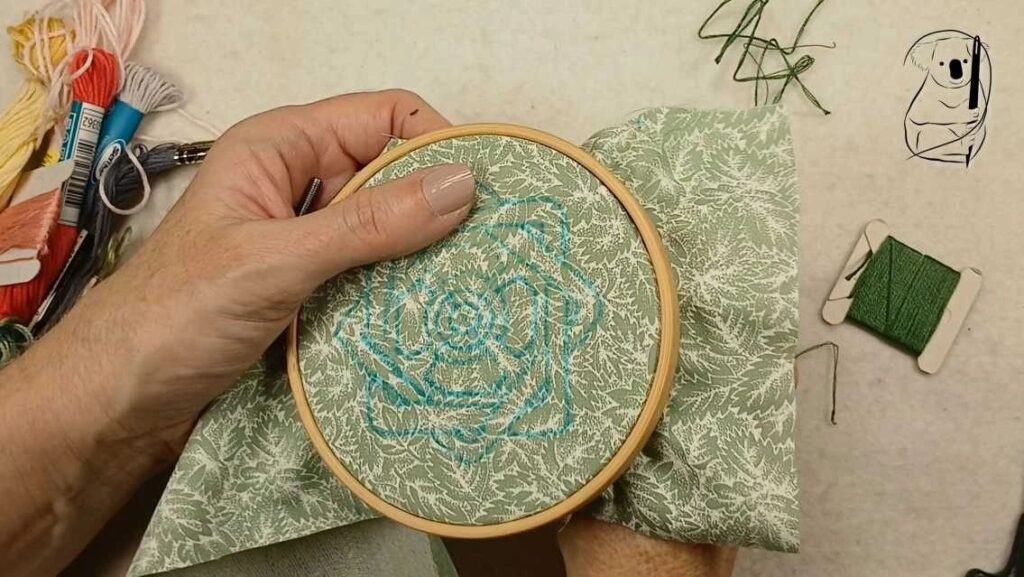
Before starting to stitch the garden, I added iron-on interfacing to the outside fabric, to give it a little more body and help support the dense stitching of the knots.
The garden outline was drawing on with water-soluble pen through a tulle pattern, and I chose to place the fabric in a hoop, to minimise the shrinkage that can happen when a design is very densely stitched.
Being a two-handed stitch (having to wrap the thread around the needle) the hoop also helped keep the design stable while stitching.
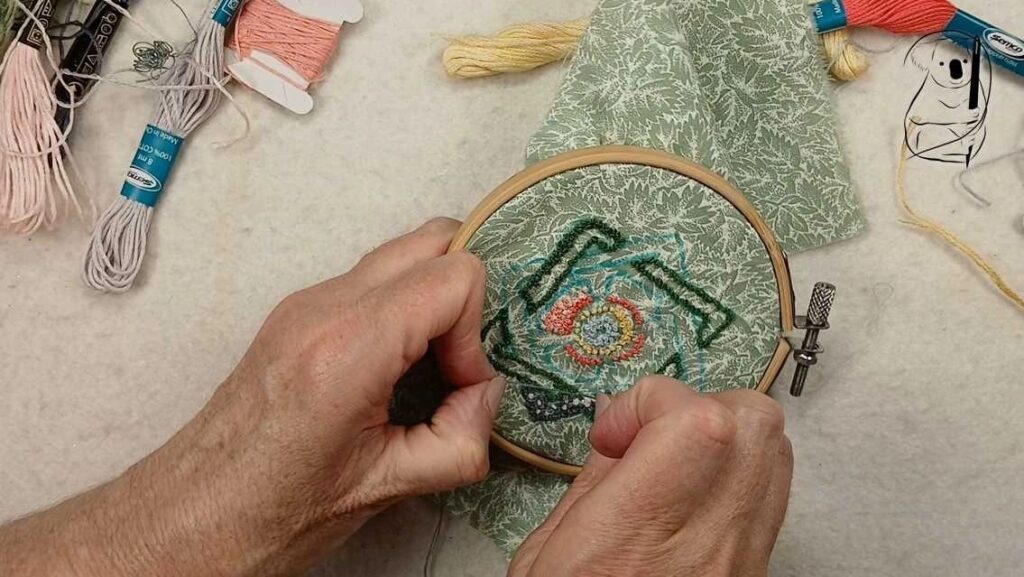
After completing the outline of each space in the design, it was simply a matter of filling them in with knots. Time consuming, but also very relaxing.
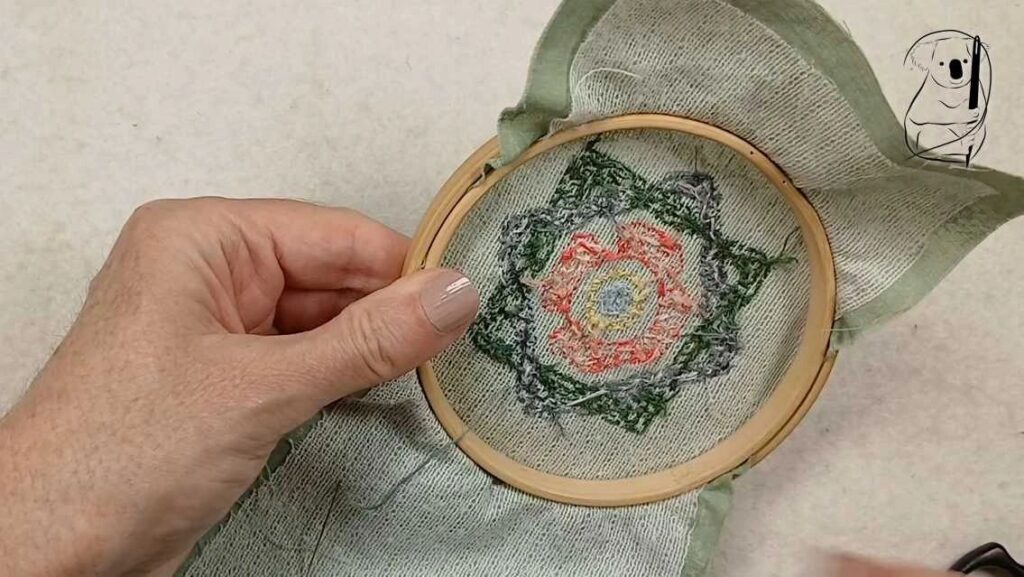
Another advantage of backing your fabric with an iron-on interfacing, is that there is a little extra to back stitch into when finishing off a thread.
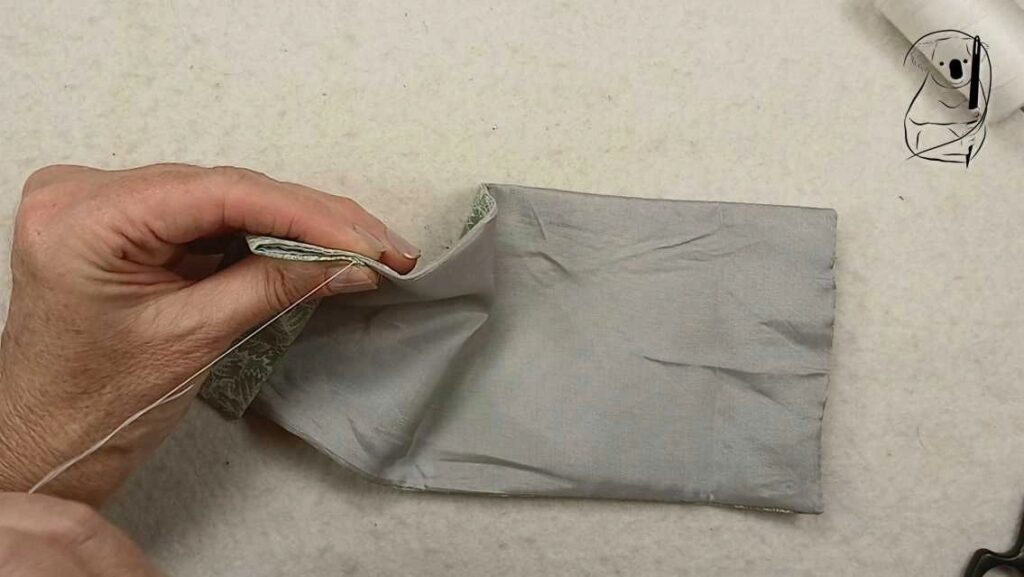
The lining and the shell were sewn together by machine, turned and pressed.
Then the pockets folded and hand stitched.
You can see that they're not very deep, but changing that mid-project posed too many alterations to the original plan.
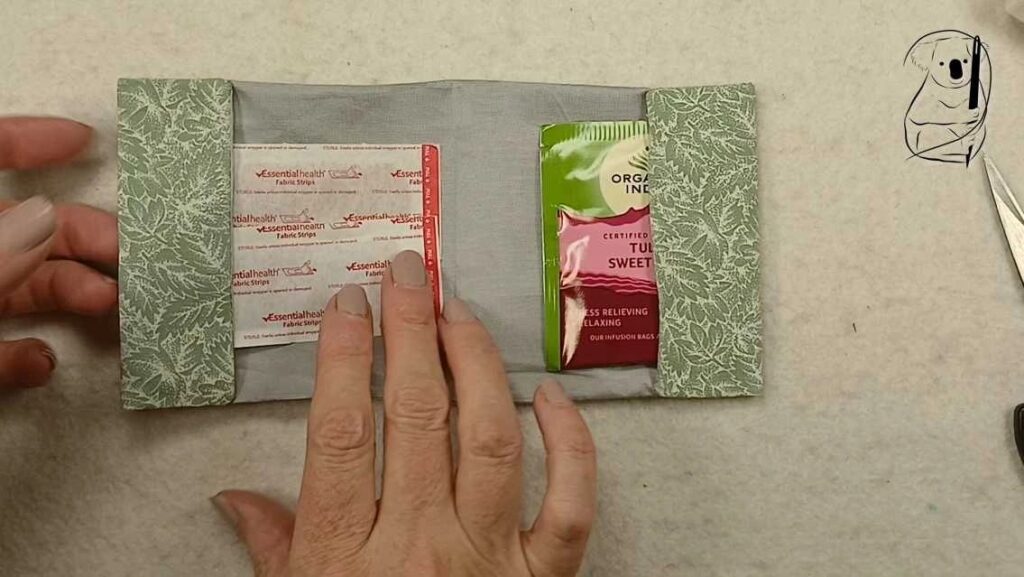
Once the pockets were completed, it was time to add the tea and sympathy.
The threads and fabric used were from my stash. Some of the threads were labelled, and others were not. Completing the design was a little like colouring in - feel free to choose the colours most appealing to you.
Watch the video of how this project came together on YouTube.
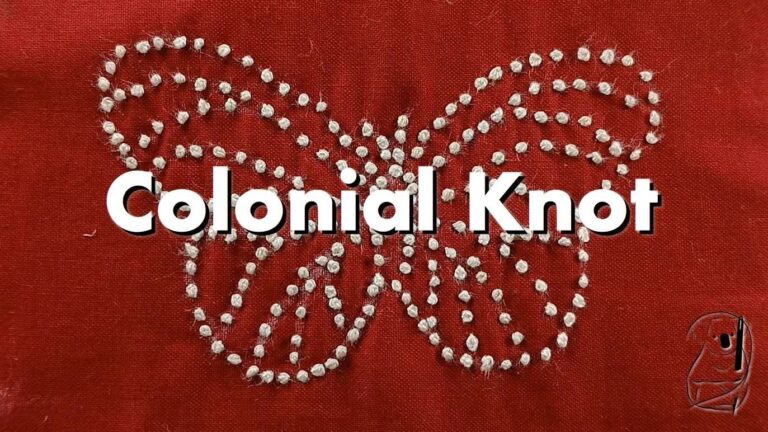
Watch our video tutorial on Colonial Knots on YouTube.
Look at our web tutorial for Colonial knot here.