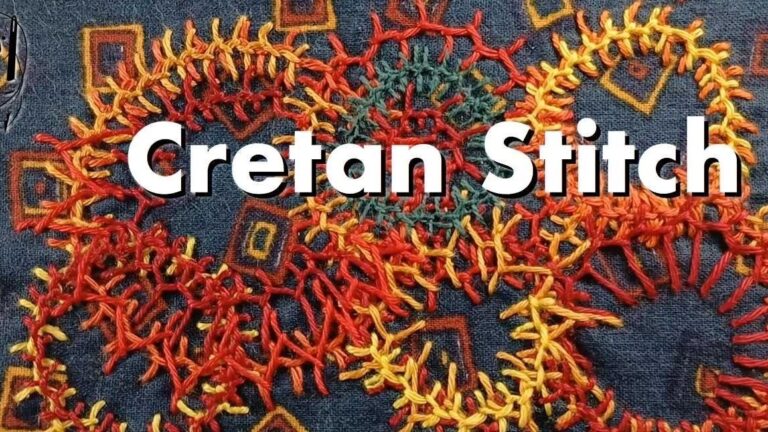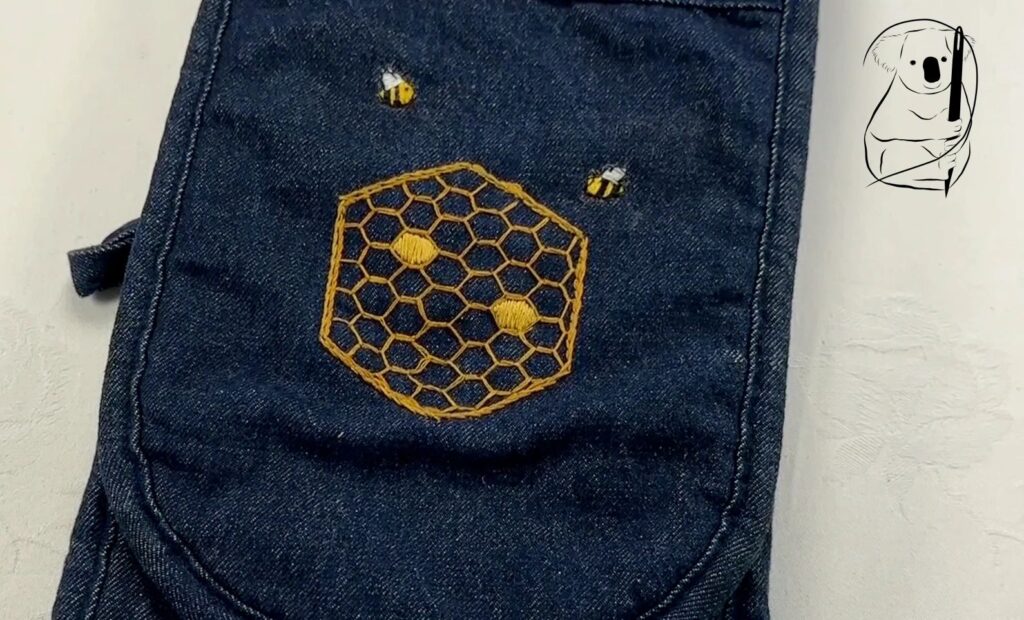
As soon as I saw Cretan Stitch, I wanted to try it out in a honeycomb pattern. This involves both a layering and stacking arrangement. For me as a beginner, this a step beyond the everyday Cretan Stitch, both in complexity and difficulty. If you see hesitation and working out the pattern on the run in the video, then yes, you're right! Added to this is the added complication of the shape of the outside hexagon which encloses the honeycomb. The sloping sides of this shape means that the start of the rows begin at different points of the stitch. However once the row is started in the correct way, the remainder of the stitching in that row flowed on pretty well.
Despite all theses challenges, the outcome worked out really well. For some tips and tricks on completing this project, read to the end of the blog.
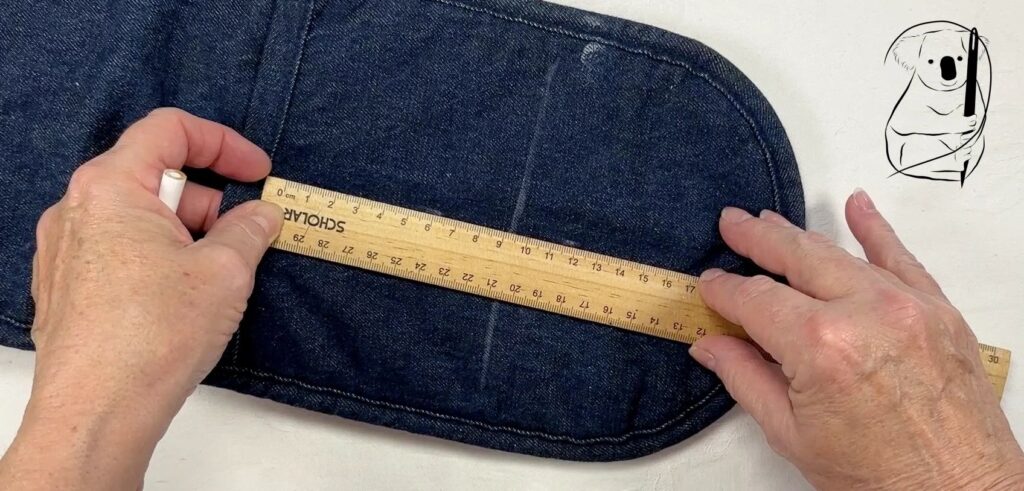
I worked this project on an old denim oven mitt. The food related topic of honeycomb fitted with the kitchen linen theme. The oven mitt is a little difficult to work on from the back of the fabric as space here is quite limited. Also if I had had more time with this project, I would have added more bees to the other end of the mitt.
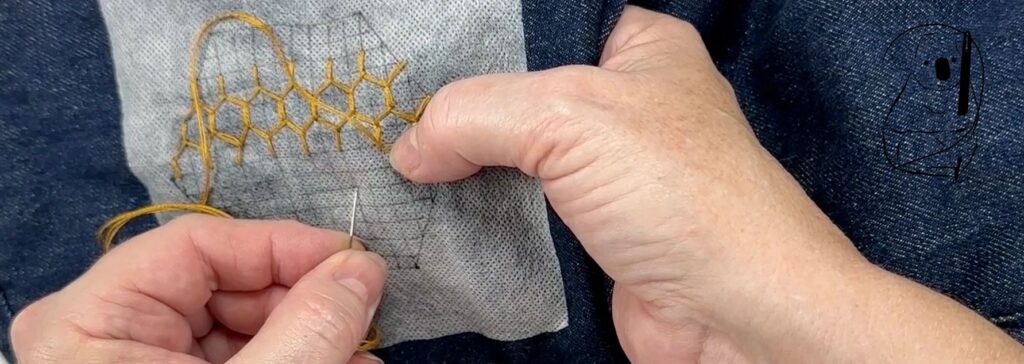
You will find the grid pattern in our Resources Section of the website. Here I have used Sticky Water Soluble Paper which was ideal for this purpose. I am using 3 strands of DMC embroidery floss for both the honeycomb and the hexagon.
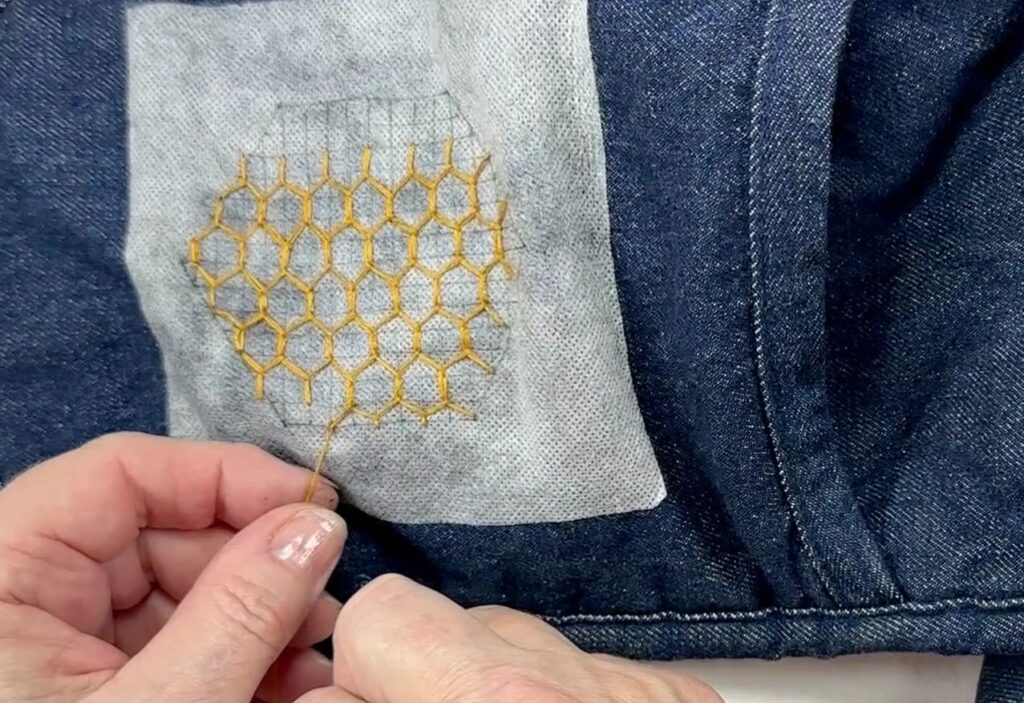
When Stitching around the edges of the pattern, I worked up the borders of the hexagon as best would fit. At the bottom of the pattern seen on the left, the bottom of the stitch is very short. At the edges on the side, the start of the stitch was different for each row. It was simply a matter of how to complete (and start) the row with the best look.
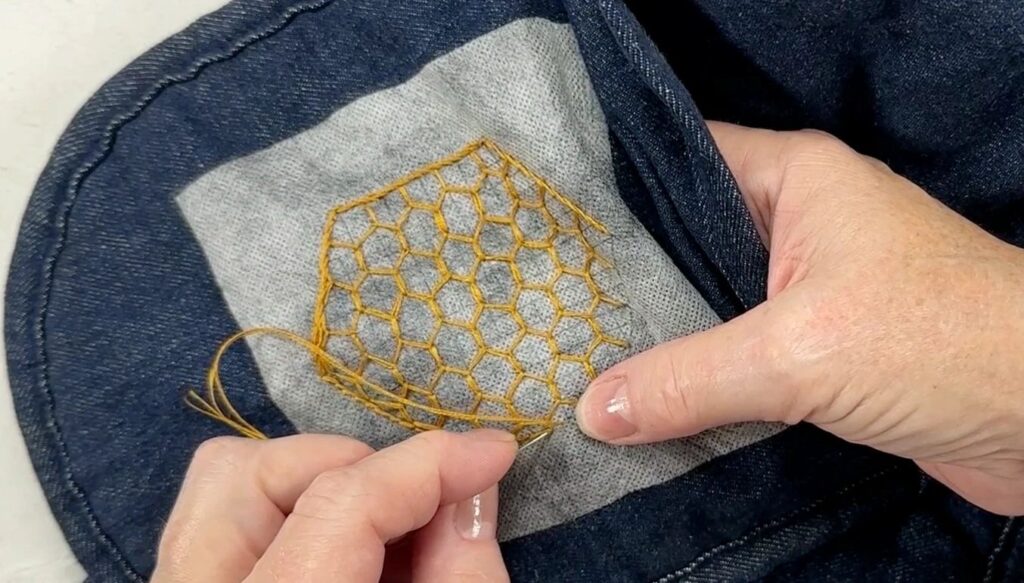
You can see in the image to the right, a border in Stem Stitch is made using the same colour as for the honeycomb, and again I have used 3 strands of DMC embroidery floss.
2 rows of Stem Stitch provided a bit of emphasis on the border to differentiate it from the honeycomb in weight and relief. It also provided a bit of extra width in the border to cover any irregular stitches that may have extended beyond the outline of the hexagon.
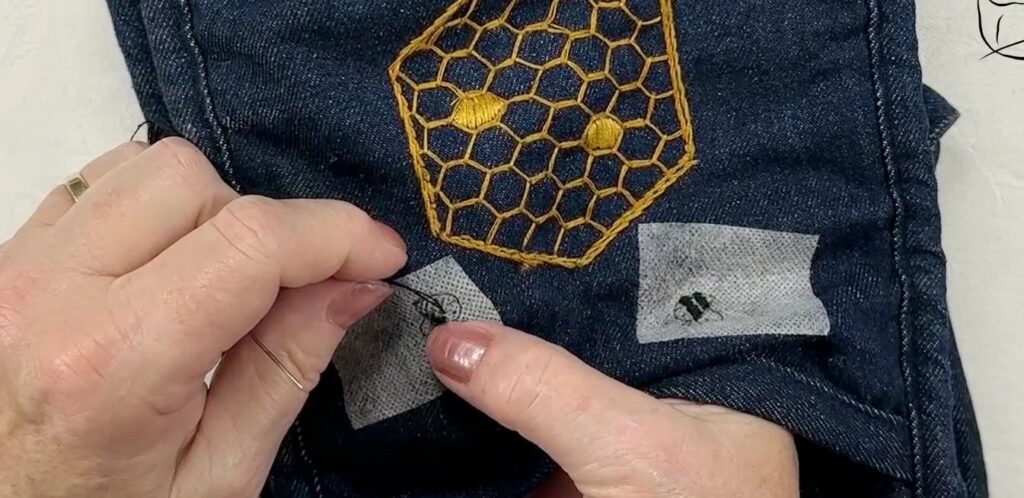
The cells of the honeycomb containing honey were stitched using Satin Stitch and some Long and Short Stitches. The colour here is slightly different from the honeycomb.
Satin Stitch is still something that I need to improve as the stitching still lacks some smoothness. When stitching the cells, I originally stitched to the outside of the cells. The result was less than I hoped for so I reworked these sections and stitched them again with the Satin Stitch remaining within the cell lines.
The bees were stitched in Satin Stitch as an extra touch.
My Materials used were
Honeycomb - DMC embroidery floss 3829
Honey - DMC embroidery floss 729
Bees - DMC embroidery floss 729, black 310, yellow 306, wings Blanc
3 strands used througout.
Sticky Water Soluble Paper
What would I do differently next time?
Throughout this project, I have used 3 strands of DMC embroidery floss. Next time I will use one strand of something thicker. If you look at the top image in this blog of the finished project, you can see that the strands are separating from each other in some places. I did try to pull the threads firmly when stitching however this has to be measured against the chance of having the overall tension of the piece too tight.
I would definitely consider adding more bees to the other end of the oven mitt. This would add more interest overall to the mitt.
I definitely struggled with the Satin Stitch and the Long and Short Stitches here. In the video you can see me using Long and Short Stitches initially as I thought that the size of the honeycomb was too large for Satin Stitch. I eventually undid my Long and Short Stitches and replaced them with Satin Stitch. The Satin Stitch did seem to cope with the size of the honeycomb cell fairly well.
Next time I undertake a project where stitches are layered and/or stacked, I will draw the stitches directly onto the grid or pattern to avoid later confusion. Make sure that if you draw lines on your pattern you use the appropriate pen. Water soluble and heat removing fabric pens are good for this but if your pattern is on paper the ink won't absorb into the paper in the same way as it does on fabric. I use a pigment pen which when dried, won't run ink into your work when you wash your soluble paper off your fabric.
Cheers