Cretan Stitch is a lovely stitch, with great possibilities for adding texture and shape to your surface embroidery.
Each stitch is formed in two parts, one on each side of the stitching line. By varying the length of each stitch, it can also be used as a filling stitch and shaped to create leave.
Steps to Create Cretan Stitch
Step 1: Preparation
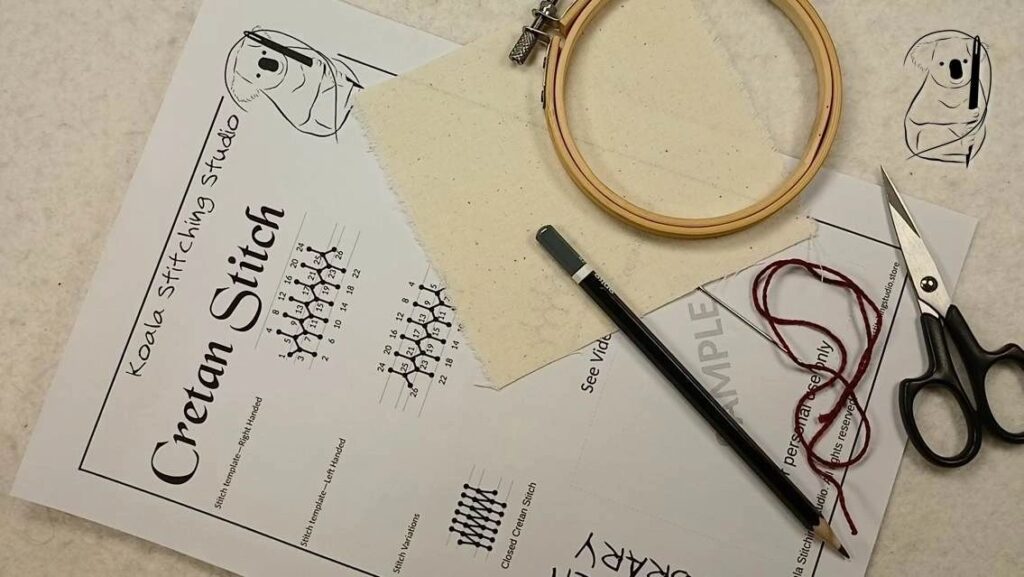
Cut a length of thread, approximately 12 to18 inches long, to ensure it is manageable and doesn't tangle easily. Thread the needle and knot the end of the thread to prevent it from pulling through the fabric. (see our video - Getting Started In Hand Stitching for a simple starting knot , or the Getting Started in Hand Stitching blog page for a description with photos.)
If you are using our stitch guide, mark your fabric. For practice stitching, pencil works well. I have used a 2B pencil here, which is soft enough to make clear marks.
Step 2: Starting the Stitch
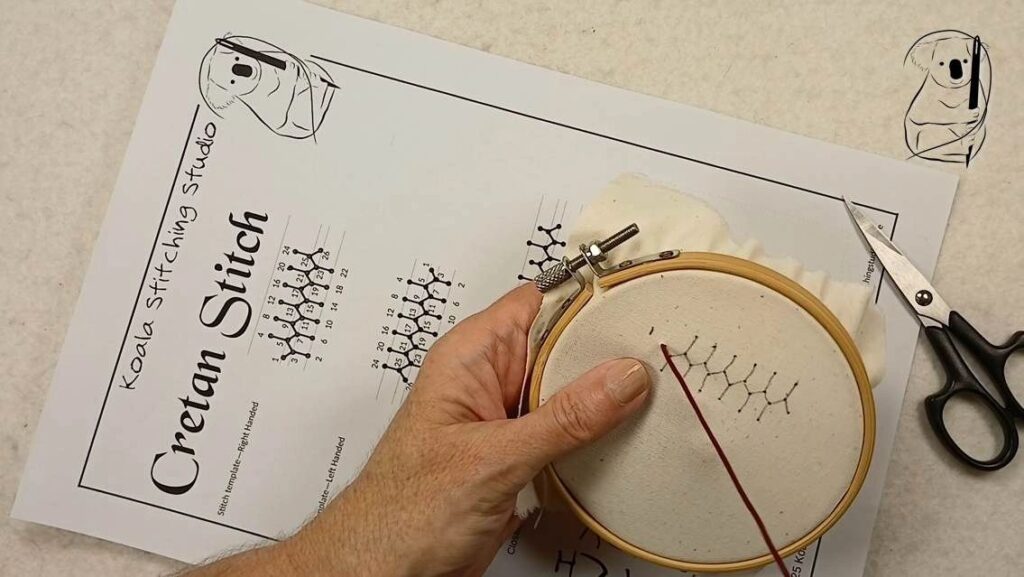
Insert the needle into the fabric from the underside at the point where you want to start your stitching. Pull the thread through until the knot rests against the fabric.
Step 3: Making the Stitches
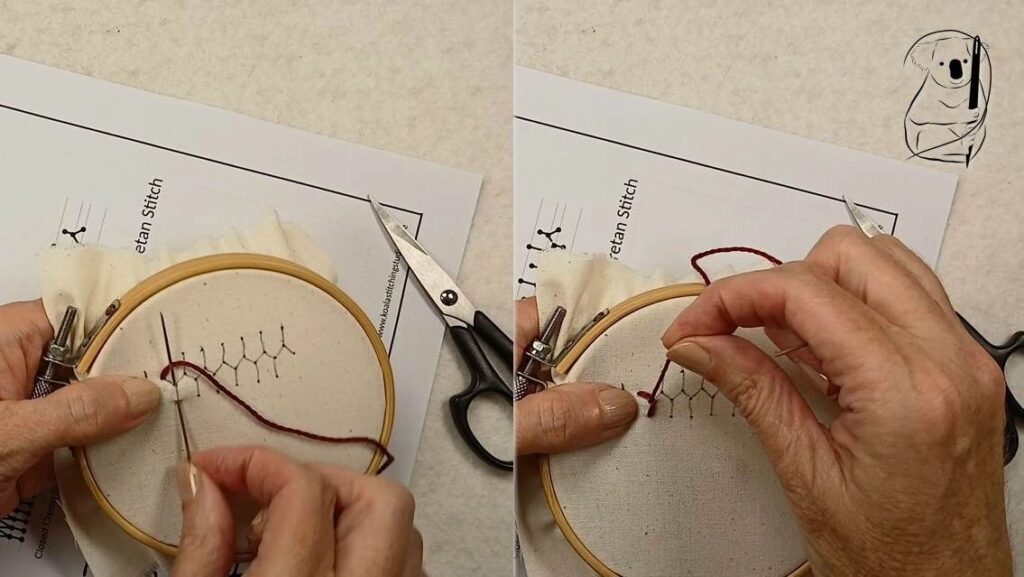
Push the needle back into the fabric, a short distance along the stitching line and at the outside edge of the stitches. Then, bring the needle back to the front of the fabric through the just across the centre line.
Keep the thread under the tip of the needle, so that it is caught by the thread as it comes through.
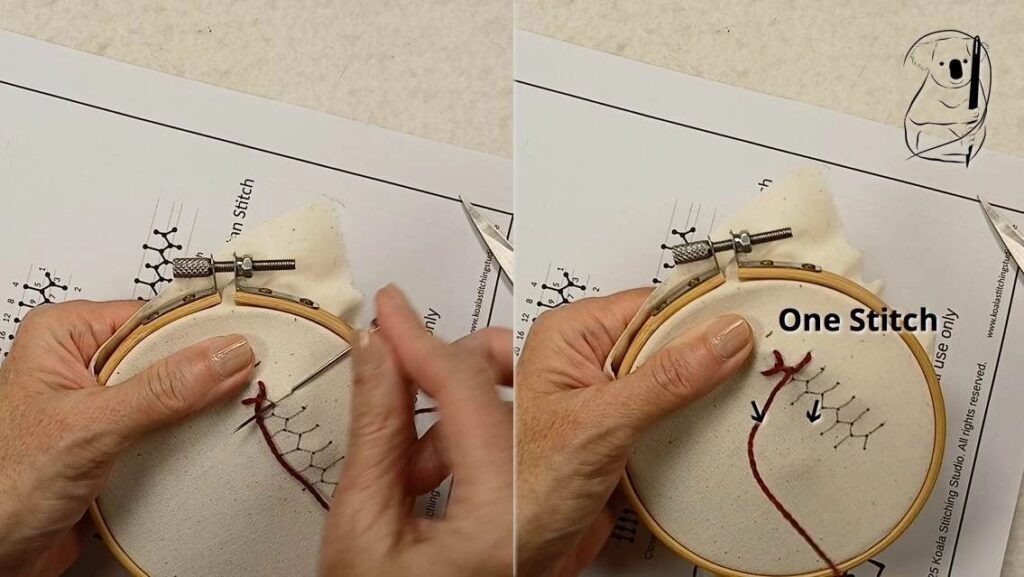
Take the needle a little along and to the other side of the stitching line, and insert it at the outside edge, bringing it back to the front of the fabric just across the centre line. Again, keep the thread under the tip of the needle.
This is one stitch.
Step 4: Continuing the Pattern
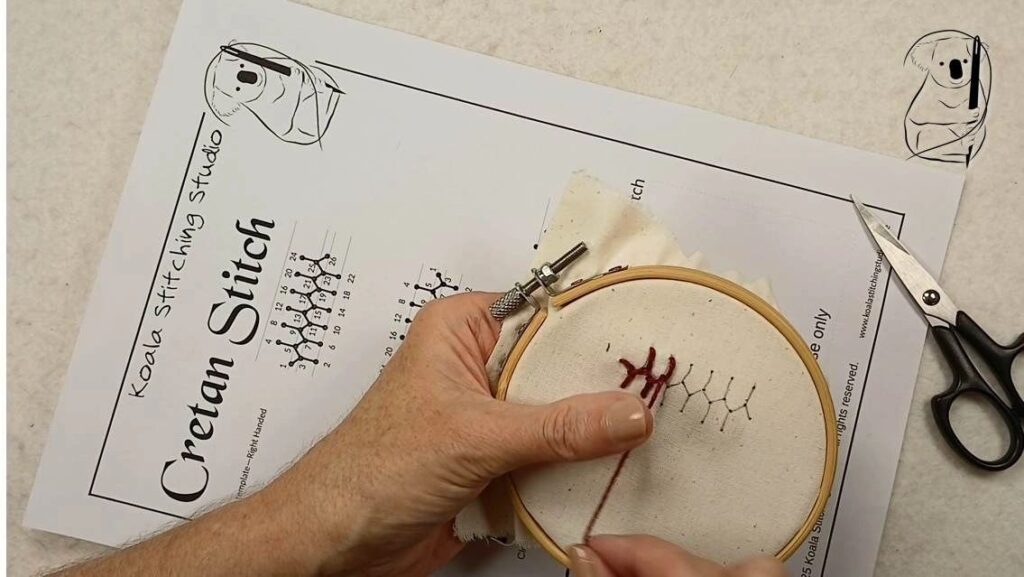
Start the next Cretan stitch by inserting the needle a little along the stitching line, back on the first side. Bring the needle back to the front of the fabric, just across the centre line, and over the thread. Repeat for the opposite side of the stitching line. Repeat this pattern, alternating sides, to create the stitch.
Continue creating Cretan stitches along your stitching line.
Step 5: Finishing the Stitch
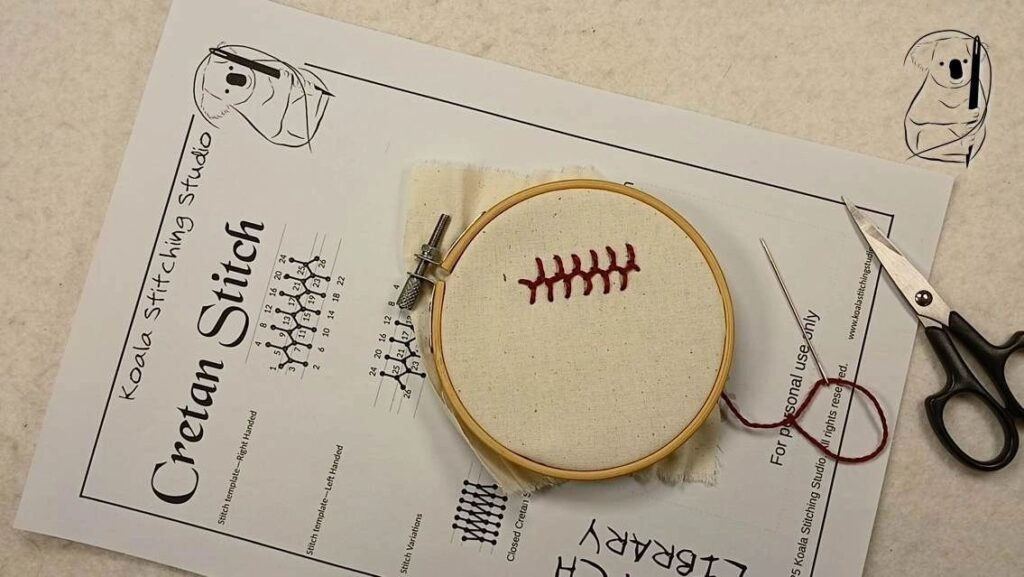
When you reach the end of your line of stitching, bring the needle to the under side of the fabric.
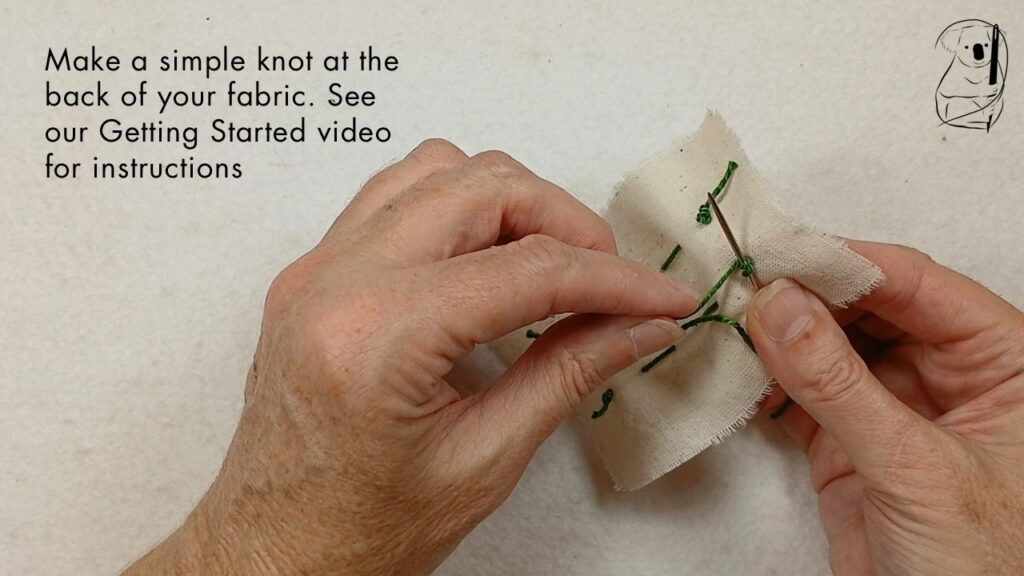
Make a small knot close to the fabric to secure the thread. Trim any excess thread with scissors. (see our video - Getting Started in Hand Stitching for a simple end knot, or the Getting Started in Hand Stitching blog page for a description with photos.)
Variations on Cretan Stitch
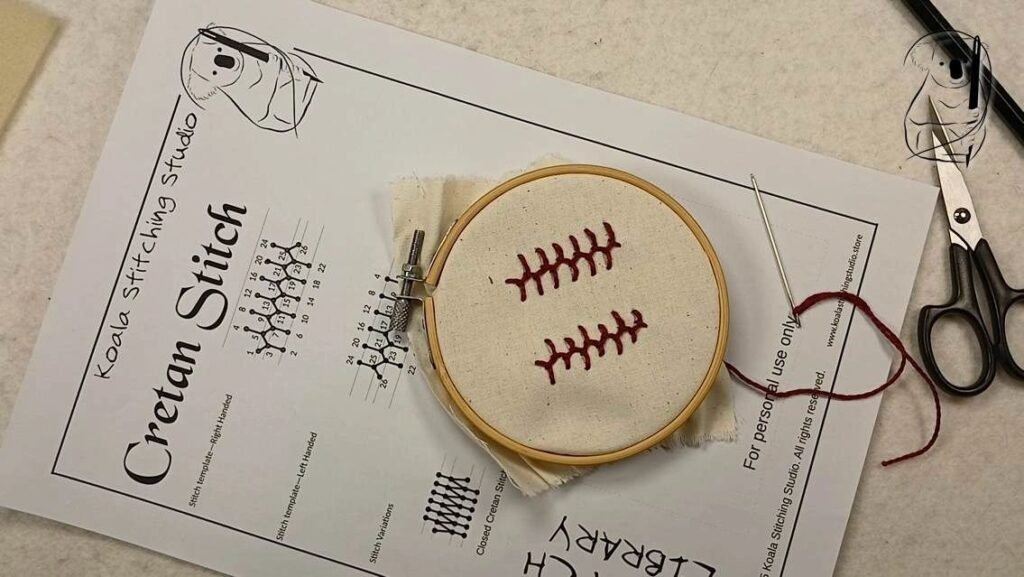
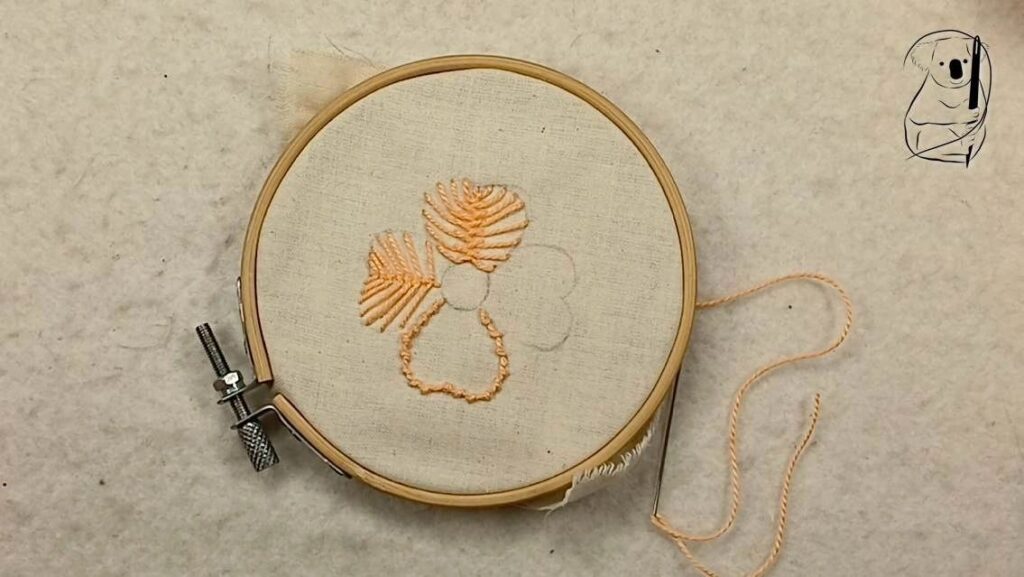
You can change the length of the arms of Cretan stitch, to create a pattern or a shaped filling stitch, for example as a leaf.
Changing the distance along the stitching line will change the density of the stitch.
Applications of Cretan Stitch
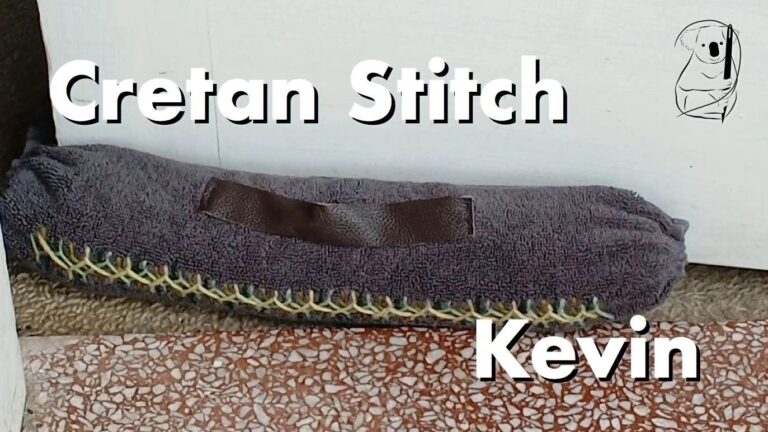
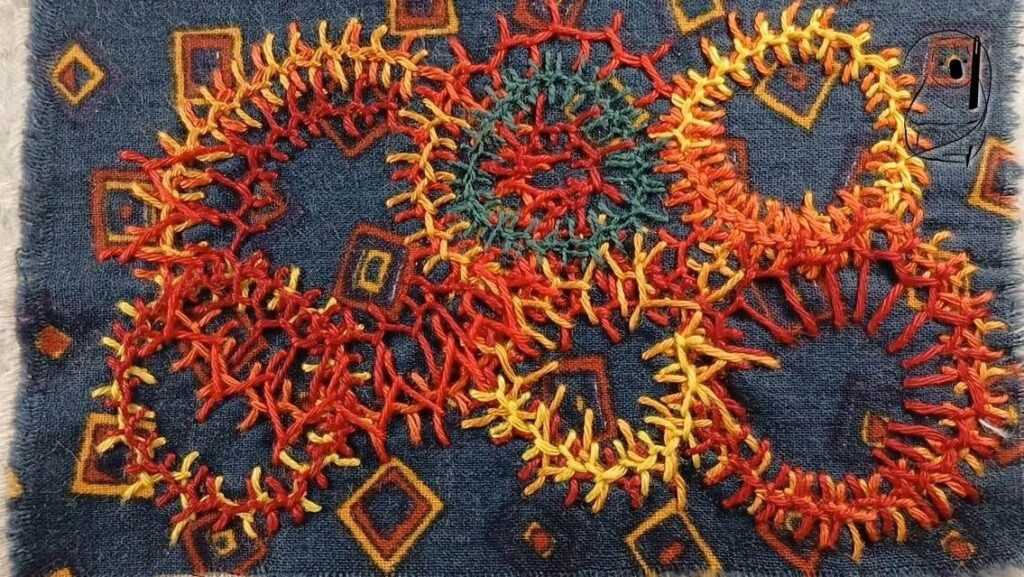
Cretan stitch is mostly decorative and works well in straight lines as well as curves and circles too.
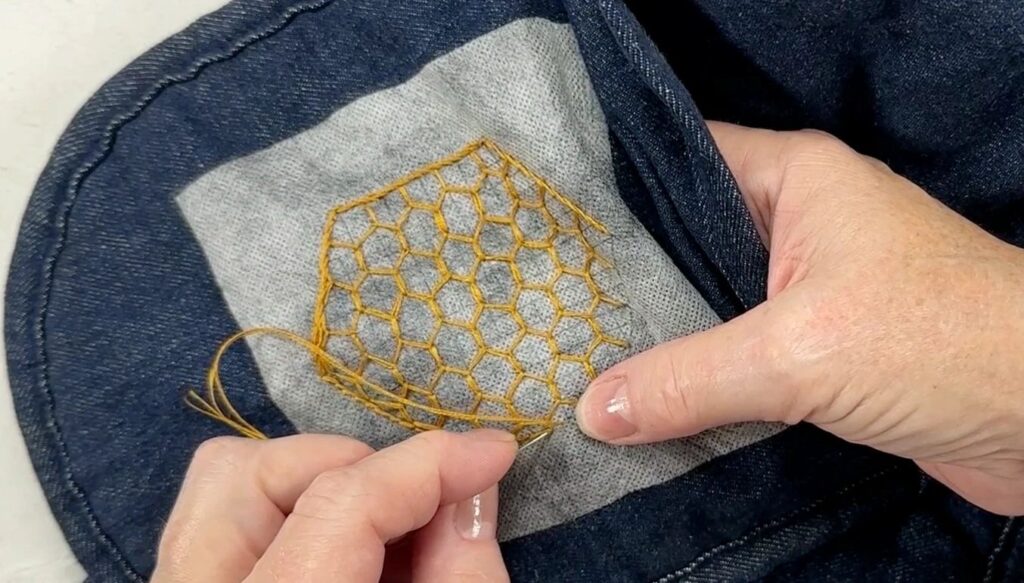
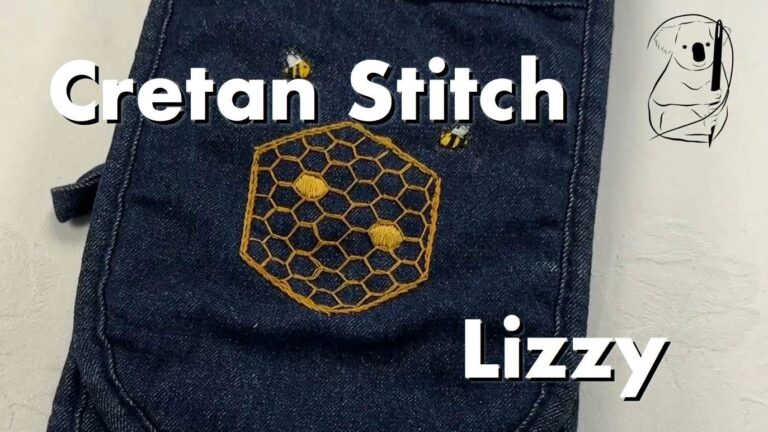
Stacked and layered, it makes great honeycomb.
Our sample flower with a petal stitched in Cretan Stitch.