All things considered, this is a pretty straight forward project. In fact, the most work was in assembling the coat hanger cover before decorating it.
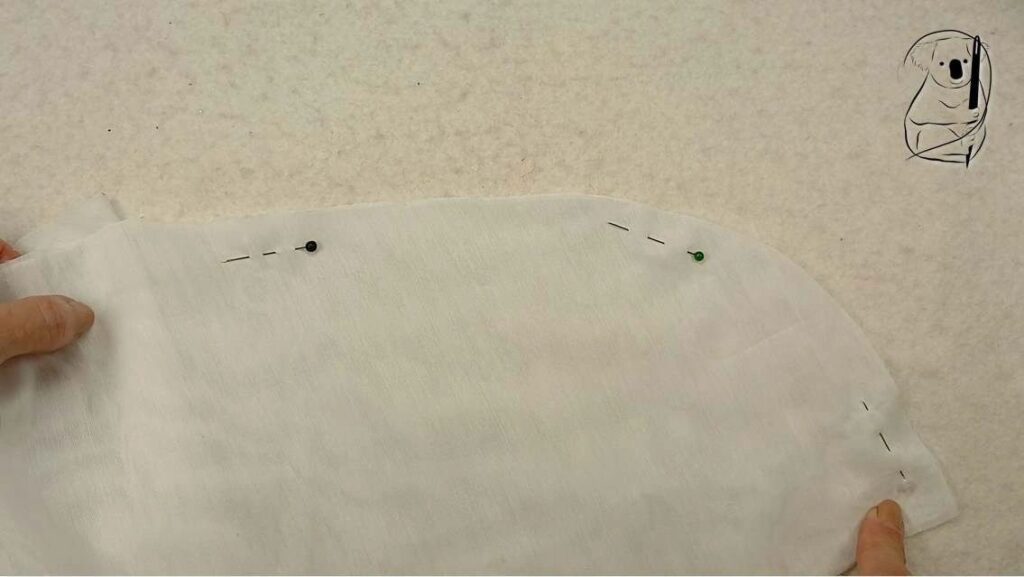
The pattern for the cover itself if just drawn around a coat hanger, with enough space around it to accomodate the clothes it will protect.
Start by sewing the two shoulders of the cover, leaving a gap at the top for the hook of the hanger to poke through.
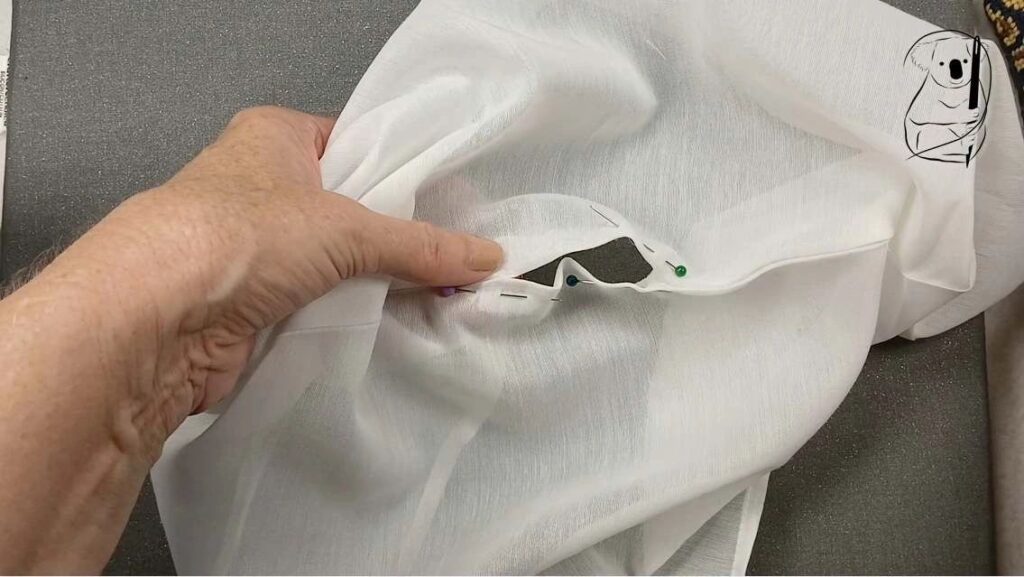
Because the hanger won't be subject to much wear or washing, I wasn't worried about finishing the seam. This makes it easier to press the seam open at the hem and the throat. The hem is turned twice and machined in place. The throat is turned once and top stitched.
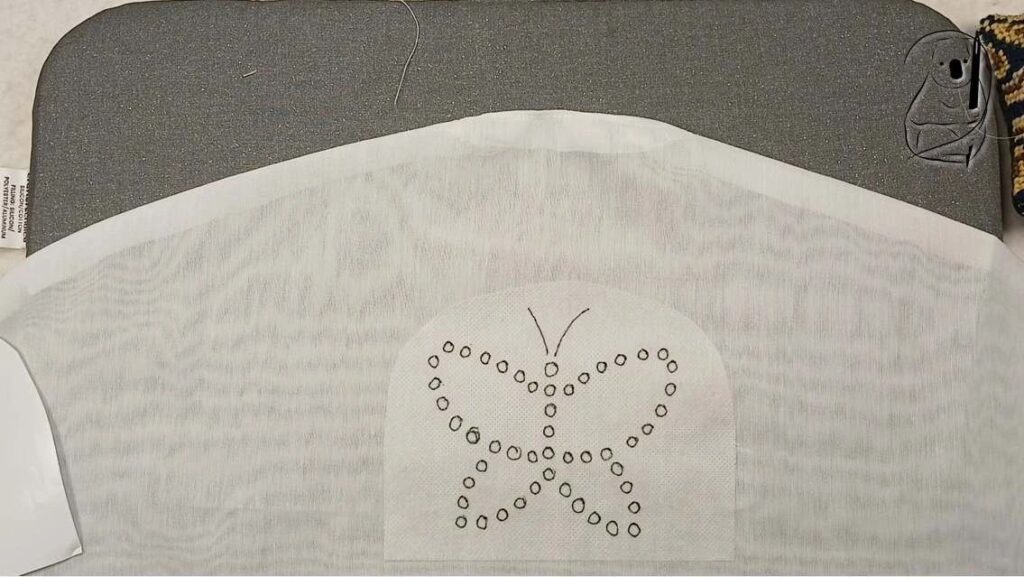
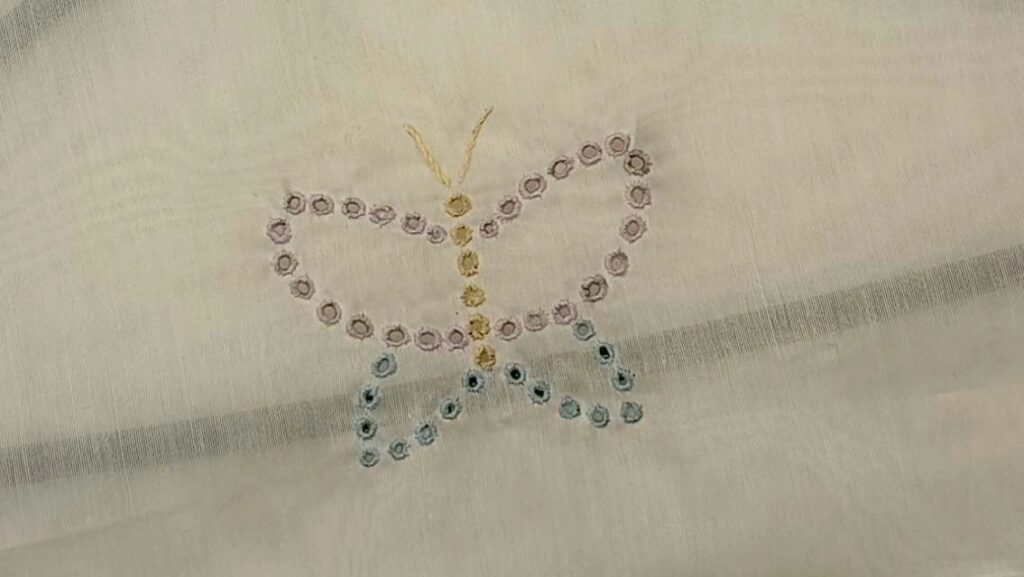
After the cover was sewn, I centred the design on some sticky solvy, and took my time to complete the eyelets in the shape of a butterfly.
When I stitched the eyelets, I completed a little ring of running stitch around the hole to add a little extra support to the stitch. The sheer fabric is quite light. I don't know if this was entirely necessary, but it felt right for the project.
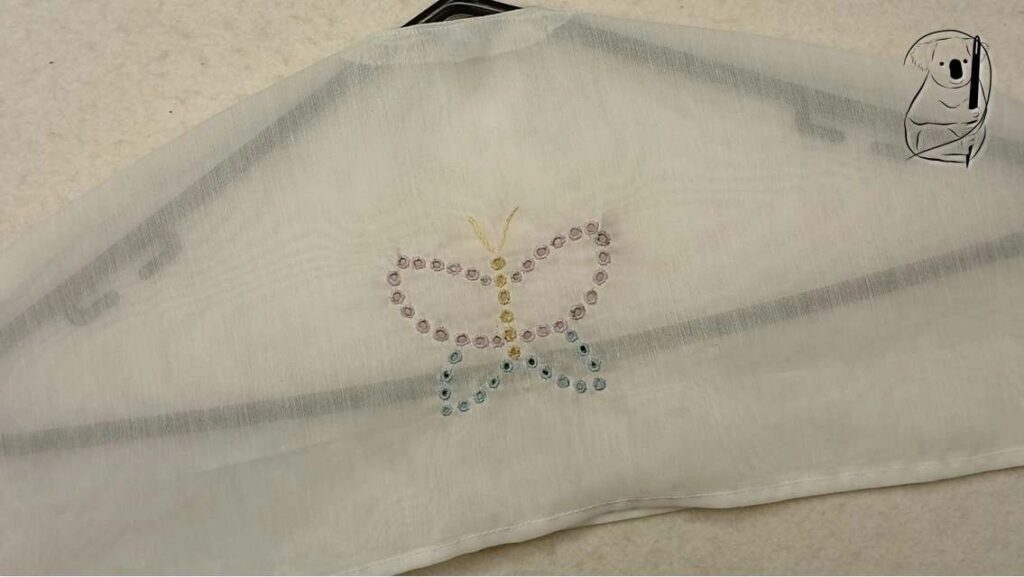
I finished the butterfly with stem stitch antenna.
Now, while garments are waiting for their season to be worn, they'll have a little more protection.
Watch the video for Belinda on YouTube
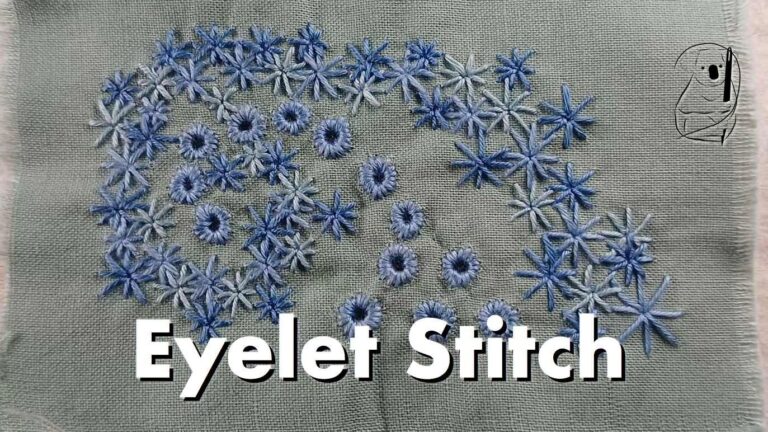
Have a look at our Eyelet stitch photo tutorial here.
See us making Eyelets in our video tutorial on YouTube.