Here is an age old problem. Winter approaches and the sweaters that have been stored away, have a hole or two in them which need attention.
In this project, I darn a grey jumper or sweater and a black cardigan, and cover over the offending spot in case the repair is visible.
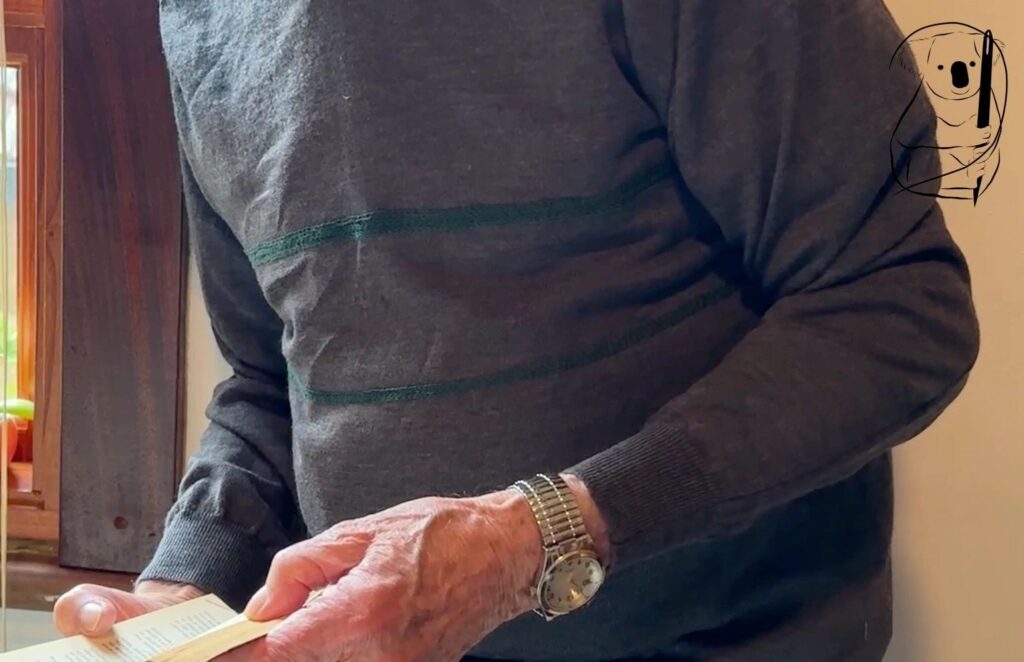
I picked up darning as a child when thrift was a way of life. But even today, it is worthwhile to repair and renovate garments which have quality or are favourite pieces.This grey jumper is a fine wool knit and is soft and warm. I am aware that you can invisibly mend knitted garments if you can acquire matching yarn and exercise patience. However this knit is so fine, that a repair of that nature was beyond my skills and eyesight.
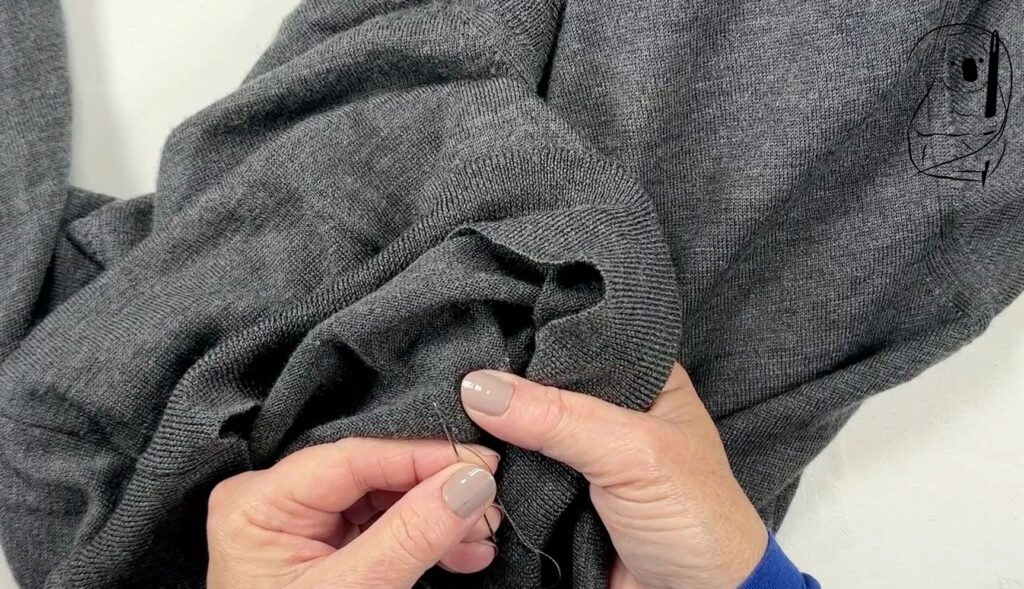
I darned this small hole using a single strand of DMC floss in a colour matching the knitted yarn. On the rear of the jumper's fabric, I took the threaded needle across the hole, vertically and horizontally several times. Each time I caught the back of the jumper's threads to prevent any further unravelling of the stitches. My stitches extended beyond the actual hole in order to catch good, unbroken knit stitches.
The tension here is just enough to draw the sides of the hole inwards to close it up. Too much tension and the fabric of the knit will start to pucker. Any puckering will draw attention to the spot on the jumper where the hole sat. The hole was pretty small to start with, and when finished there was practically no evidence of the hole or the mend.
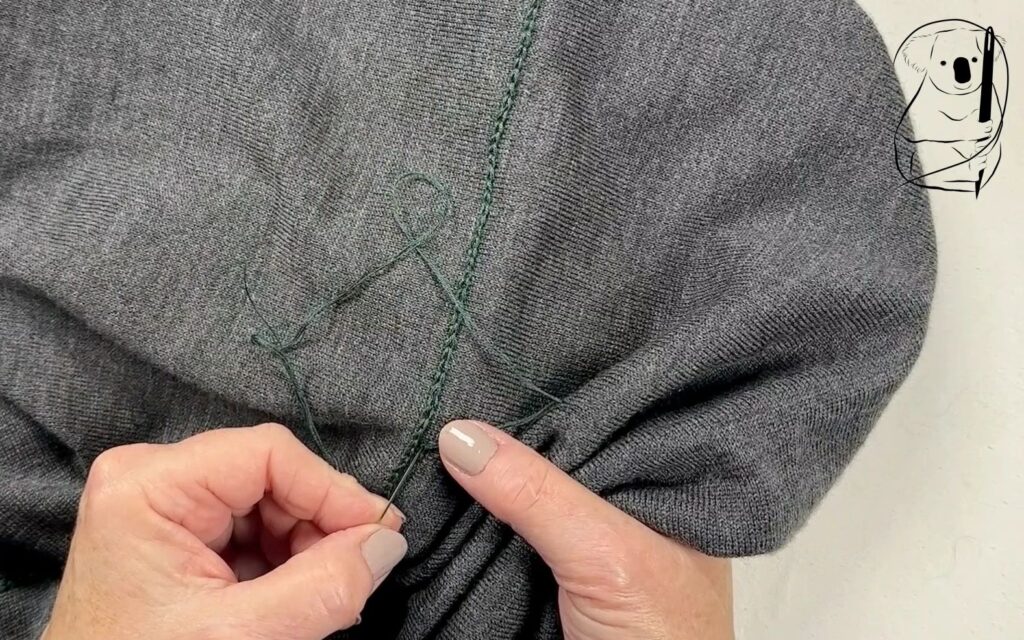
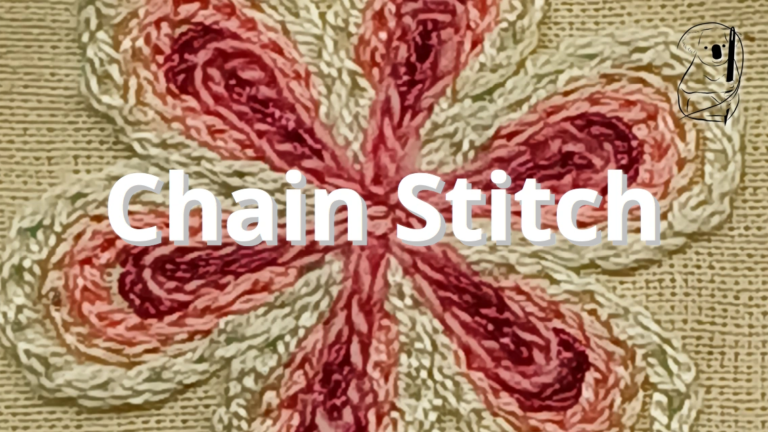
Regardless of the success of the darn, I decided to cover the hole with an embroidery and chose a Chain Stitch stripe. There are lots of examples of patching holes in jumpers with flowers, animals, leaves etc. That's great for the lovers of the ornate, however for something a bit more old school and geometric, the stripe was more appropriate.
The Chain Stitch here is loose to allow stretch in the garment when it is being pulled on and off. Chain Stitch itself has a little stretch in it. If you were to copy this idea with a different embroidery stitch, you will need to choose one with some stretch and give in the stitch itself.
I did consider making the upper stripe wider, however the wider this stripe is, the less stretch the garment will have. The stripe will effectively create a non stretch material sitting on the garment.
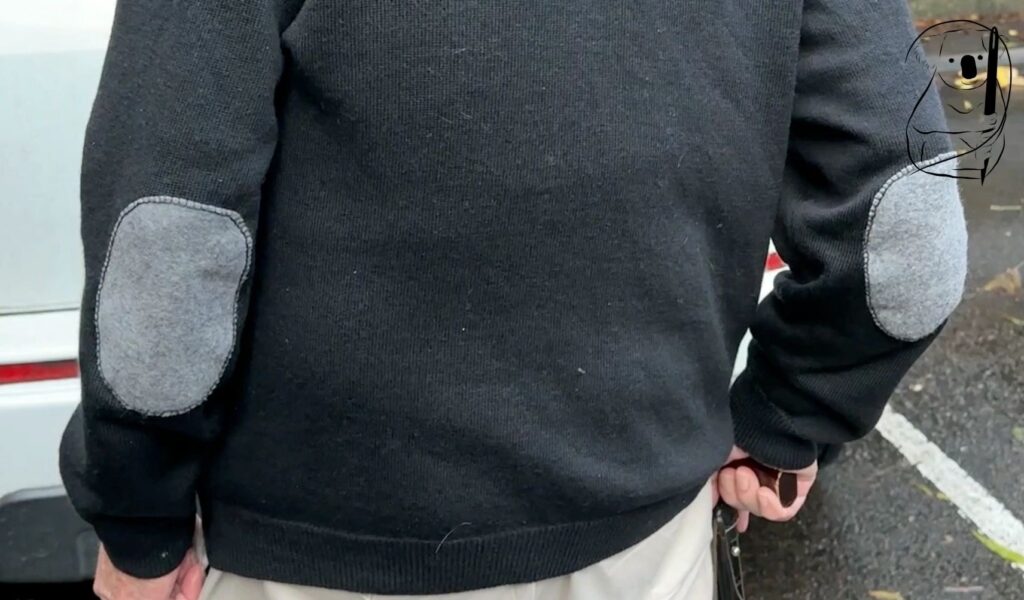
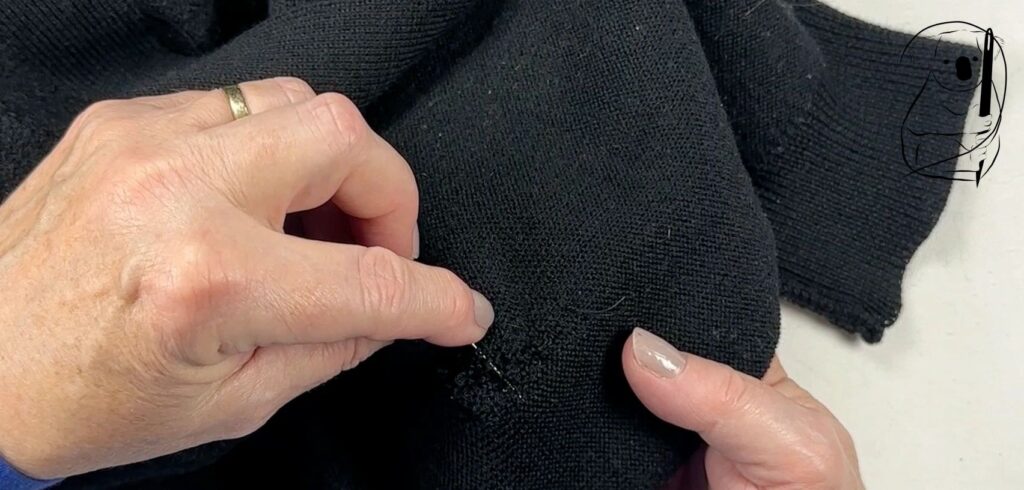
Our second example of repairing a hole in a cardigan involves a much bigger hole and I had no expectation that this repair would be invisible. Again the weave of the knit fabric is fine.
I chose not to trim away threads hanging within the hole. Any threads which were still whole, were kept in order to prevent them running in the future.
Also some loose threads were kept as they had knotted together and thus were also unlikely to unravel further.
The darn in this example involved passing the needle both vertically and horizontally across the hole on the back of the knit fabric. Some of those passes were quite long. In effect I am creating a mesh which joins existing stitches and holds the shape of the knit fabric in its original form.
The darn in this example is quite visible however I always planned to cover the area with elbow patches. These were much larger than the hole and it's repair, so the puckering around the darn was fully covered.
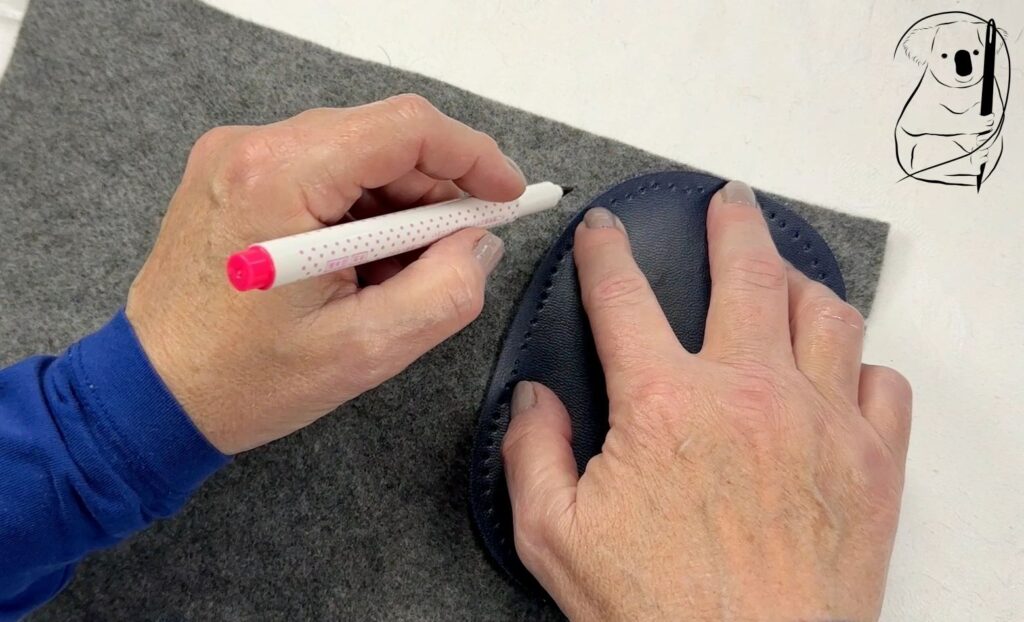
I used leather elbow patches as a template to create felt patches. This cardigan will need to be hand washed throughout the winter to keep it clean. Leather will take time to dry after washing, and would probably need to be conditioned after getting wet repeatedly.
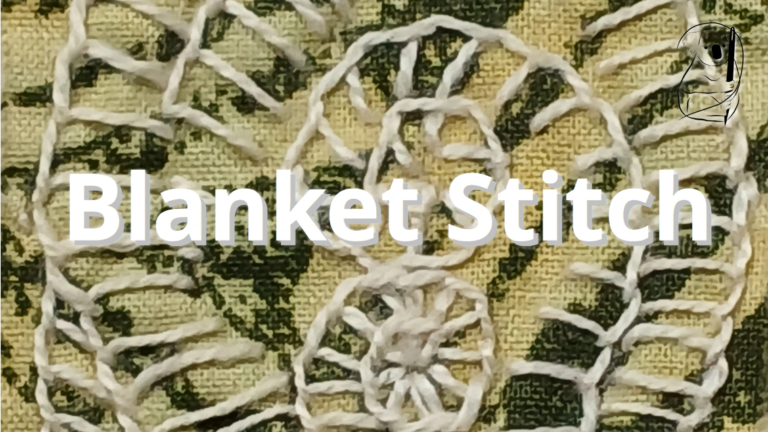
The alternative is to remove the patches each time the garment is laundered. The patch was attached using Blanket Stitch. There is no issue with the stretch of the garment here as the felt patch is a non stretch fabric itself.
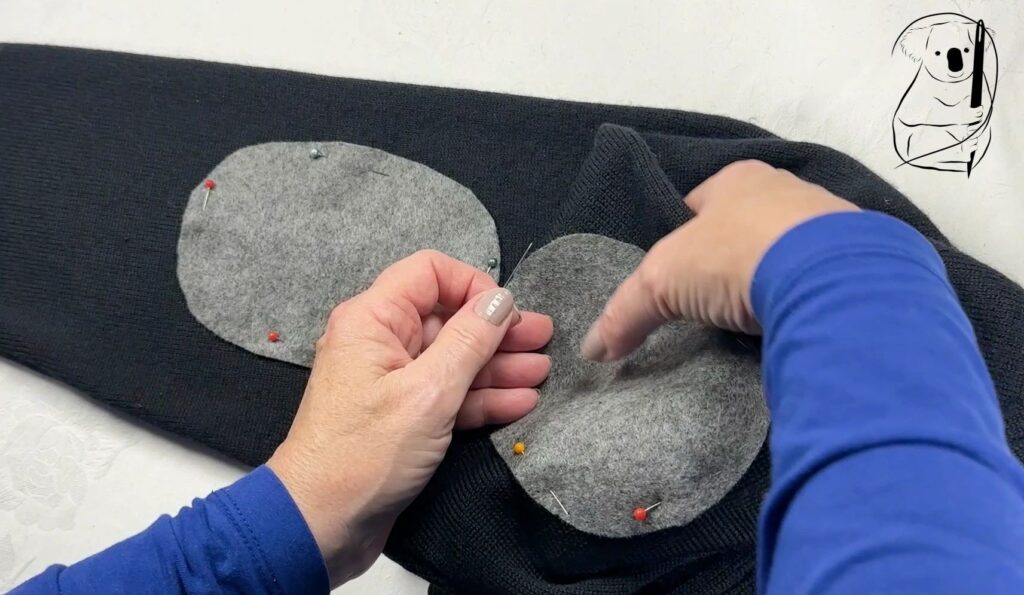
In order to position the elbow patches equally on each sleeve, the first patch was pinned in place on the darned sleeve whilst being worn. The second patch was laid directly on top of the first patch already pinned in place.
The cardigan was laid flat with the sleeves laying on top of each other. Sleeve seams were aligned and the underarms matched.
Then the top-most sleeve is gently pulled partially back and the second patch pinned in place.
In my video I used a contrasting felt so that the stitching would be easy to see. Quite often these patches are brown as they are made from leather. However you may choose to match your felt colour to the colour of the garment for a more subtle effect.
See our video on how these two projects came together on YouTube.