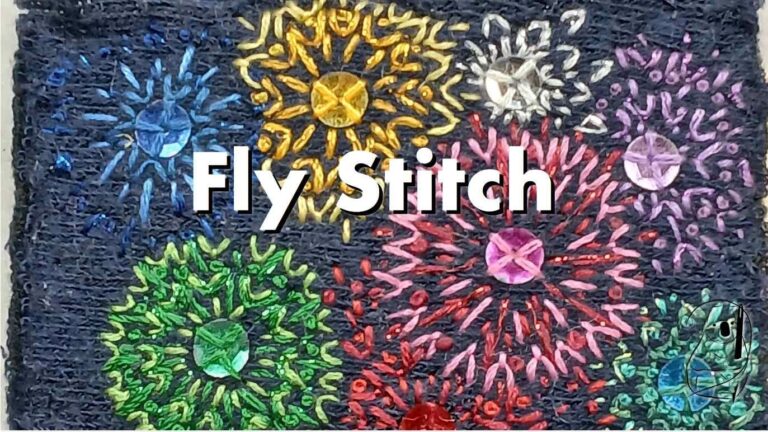
See the video for Kris on YouTube
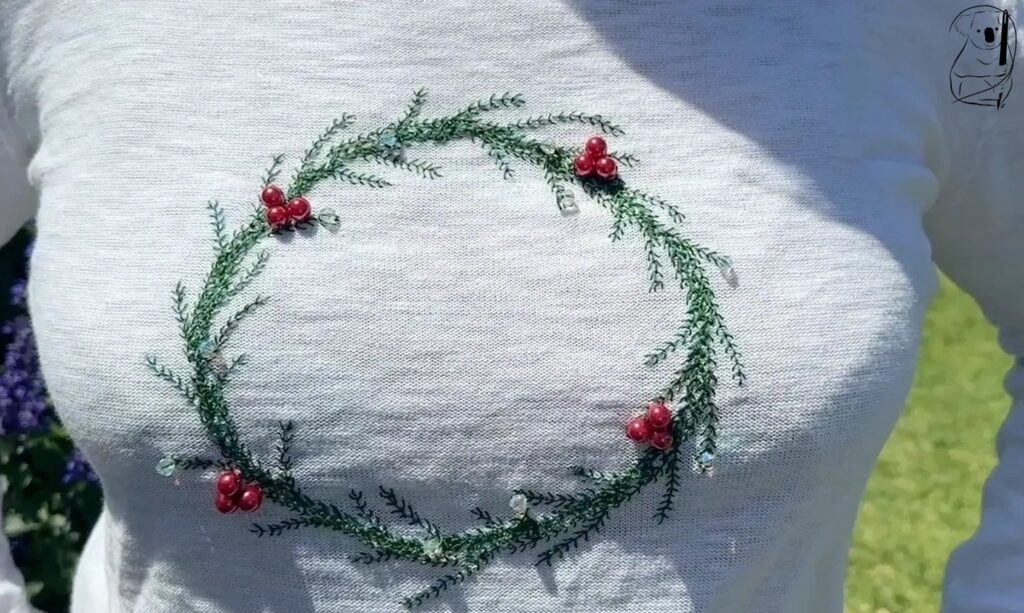
Lets up-cycle a sweater with some Holiday colours and sparkle.
I have taken a plain cream top and embroidered on a simple wreath pattern to add cheer. With just 2 shades of green in DMC threads and some beads, we can create a delicate wreath with glitter and glamour.
I chose red pearl beads and crystal bicone beads for this project purchased from my fabric and haberdashery store. You will also find beads at dollar stores and they are inexpensive, while still able to add an additional dimension to your project.
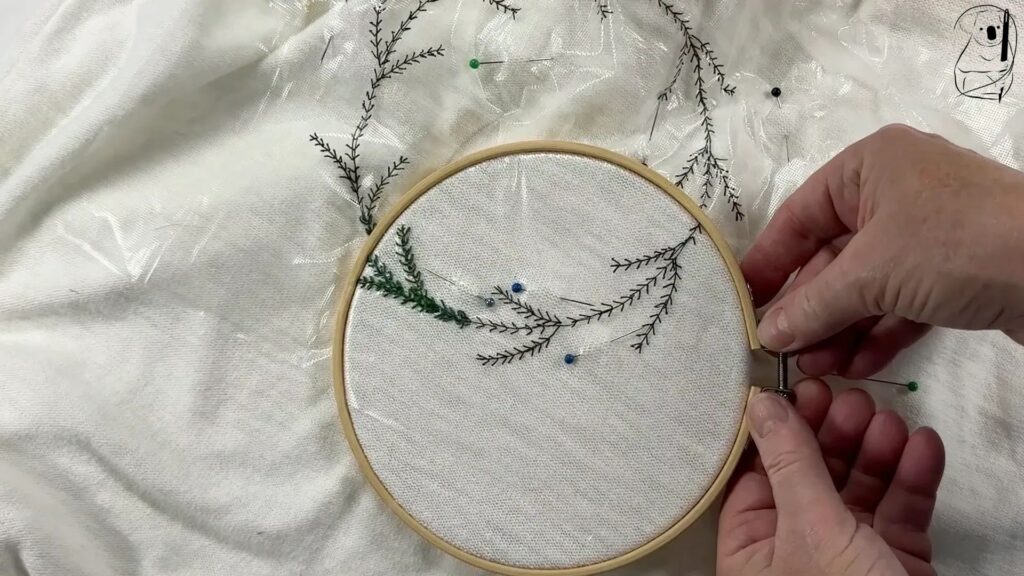
After tracing the pattern onto transparent dissolving solvy with a pigment marker, I found the centre line of the sweater and pinned the pattern to the middle of the garment.
This pattern is so simple, that you could easily draw it onto your garment directly with a marker pen. The most important factor is placing the circle right in the middle of your fabric or garment. My circle was made using a wooden fruit bowl and there are lots of suitable shapes in the kitchen which can be used as a template.
Using a wool needle and 3 strands of my first green thread I started stitching around the circle with Fly Stitch. This first green thread has a lot of blue colour in it, and it provides a contrast to the next green colour which is a deep forest green. Using 2 colours should add a little depth to the image.
I stitched around the entire wreath in the first colour in a single line of Fly Stitch. Then for each frond I stitched the leaves with the forest green colour, and continued on around the circle of the wreath to overlap the first colour with the second. When the wreath was completed, the circle had at least 3 layers of stitching sitting next to each other or crossing over each other.
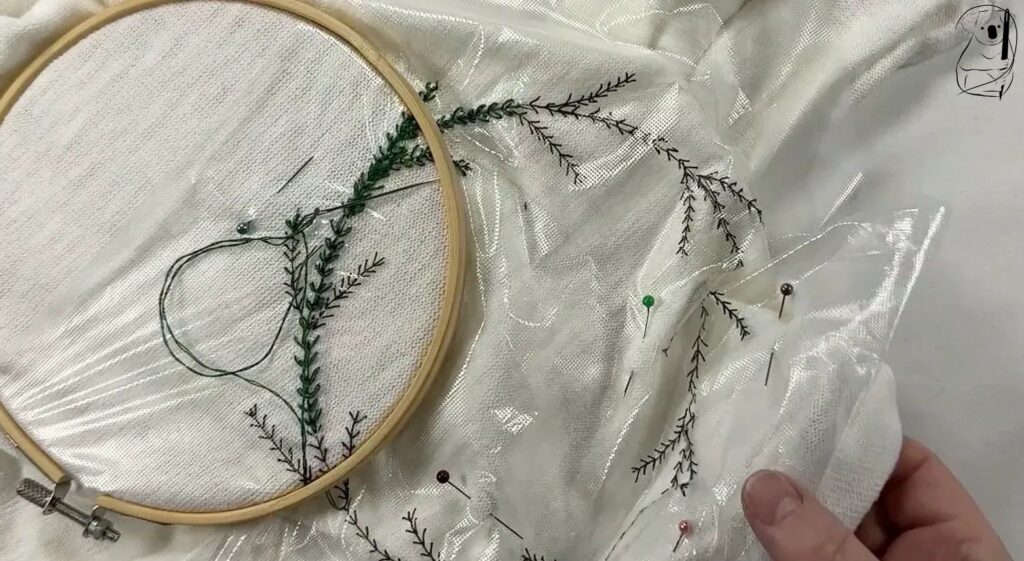
You will see in the video, that I reposition the pins around the work several times.
I used a wool needle for this project to slip in between the threads of the sweater. Unfortunately, I really needed a sharp needle to pierce the solvy. The blunt needle pushed the solvy around and was really too blunt to effectively work on the solvy.
When moving the pins was only partially successful in holding the solvy in place, I tried to put the embroidery in a hoop. Again I had only limited success in holding everything together.
When the pattern was completed, I removed the solvy by cutting away the excess then washing the garment in cold water.
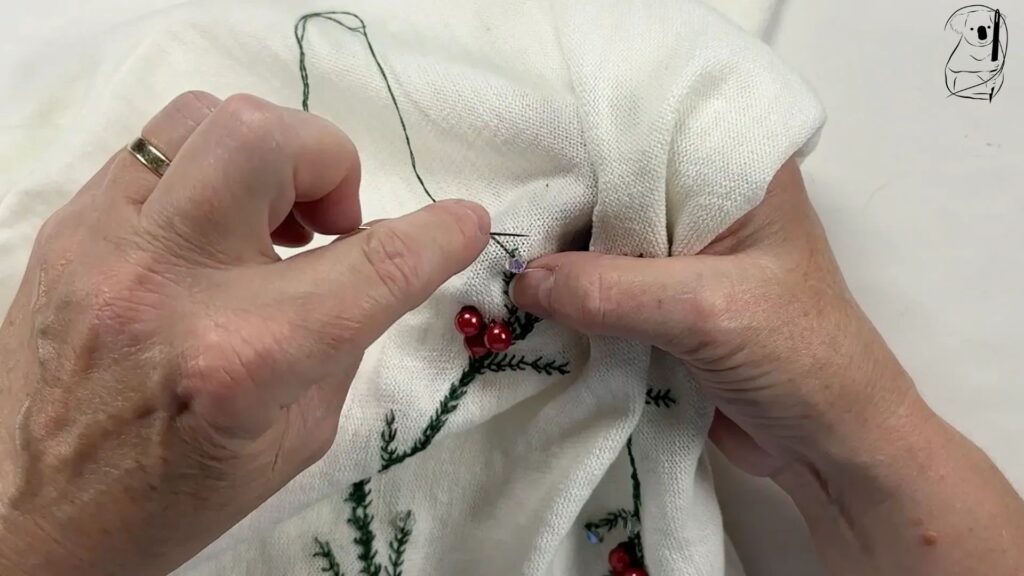
With the basic design was completed, I added the red pearls and crystal beads around the wreath. The red pearls were grouped in sets of 3. The crystal beads were added in singles.
For each bead I knotted the thread at the back of the work using a Quilters Knot. This should ensure that if a bead is pulled off, only one bead will come away from the garment.
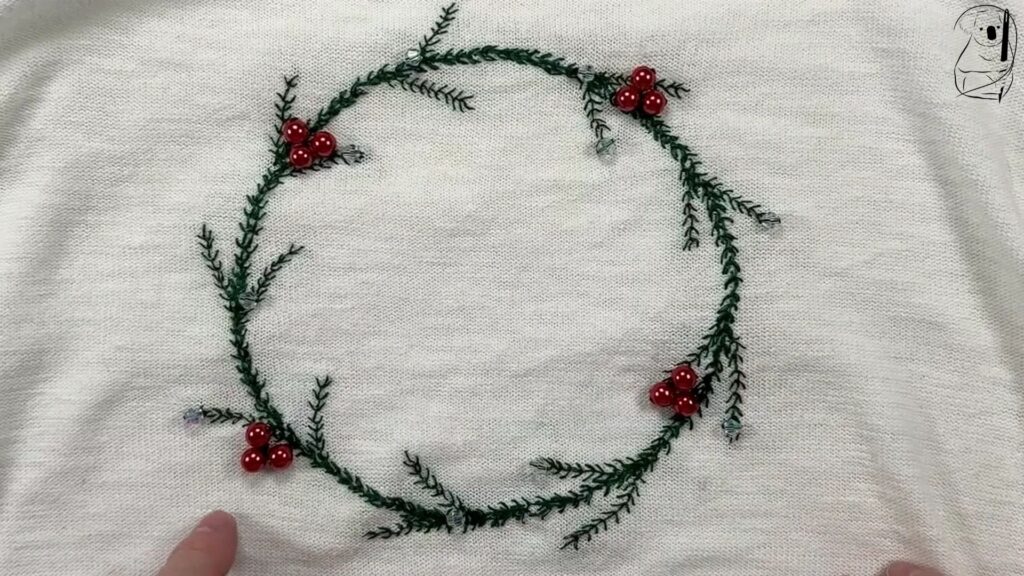
Looking at the wreath thus far it seemed bare and sparse and needed more filling out.
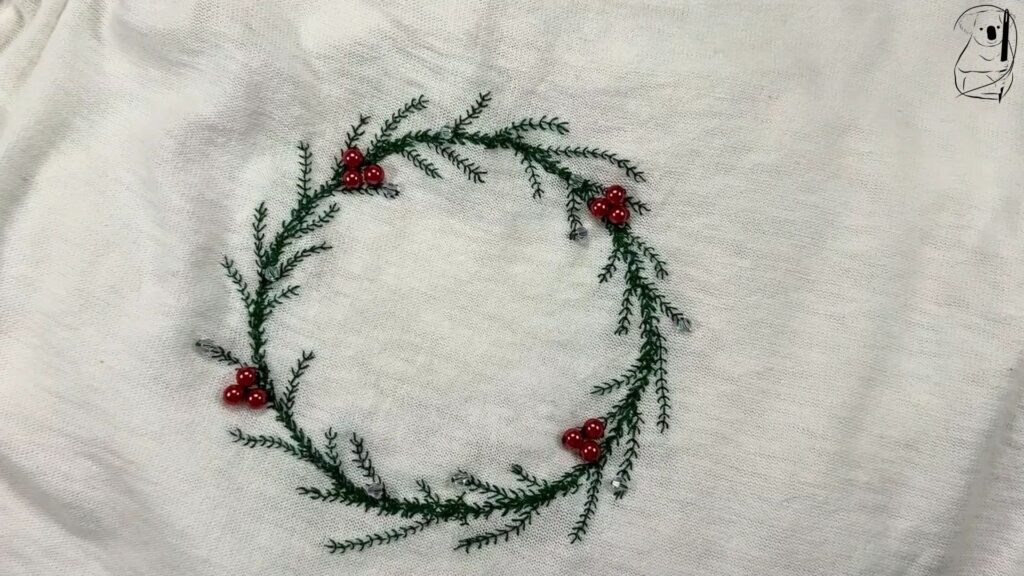
So with a blue wash away marker pen, I drew in more fronds around the wreath which improved the look tremendously. These additional fronds are not in the pattern - I just added them freehand.
More fronds definitely improved the fullness of the wreath.
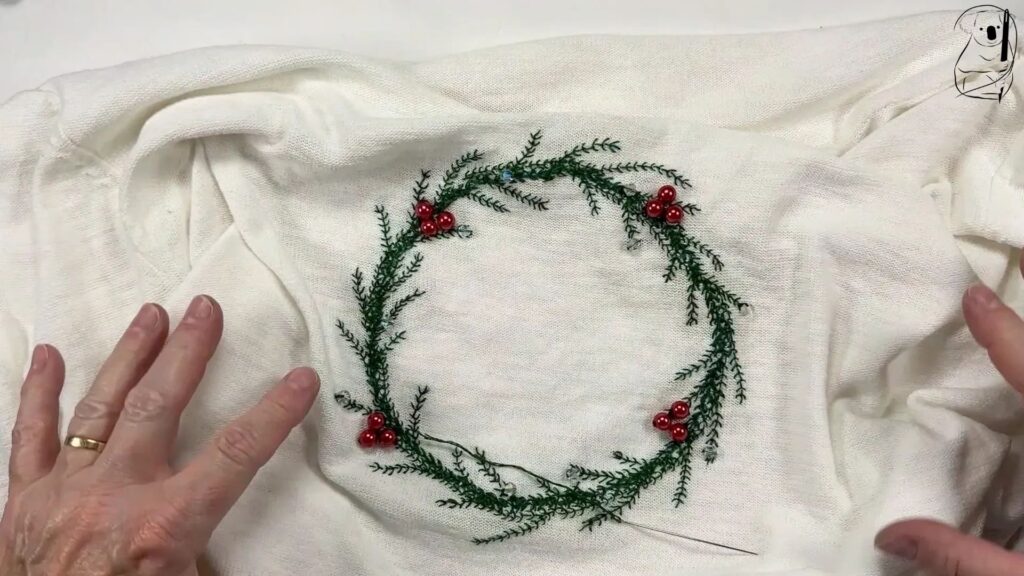
The wreath still looked a bit light, so I added more greenery to the circle by stitching over and around the existing stitches in the circle. I stitched alongside the existing stitches to broaden out the wreath.
I still like the simplicity of the original design and it may be suitable for a table centre piece, however for the sweater, I think the thicker and more complex wreath is much better. I has more weight and body to match the thicker fabric of the garment.
This was a really inexpensive project using just 2 colours of DMC threads and some beads. It could be easily drawn straight onto the garment with a marker pen negating the need for the use of the solvy. Indeed considering the issues I had with my needle, I would draw it straight onto the garment next time.
My garment here is a fairly light weight sweater and you may choose to work on a much thicker winter jumper or sweater. It may be more appropriate in that case to use a heavier wool yarn to stitch your pattern.
This was such an easy project as it only used Fly Stitch and my trusty Quilters Knot. It took a couple of afternoons to complete.
Materials used were
DMC cotton colour 986, and
DMC cotton colour 561 both costing $1.20
Style and Grace 6mm Glass Bicone Crystals 28 pack ( I used 10) $3.40
Style and Grace 8mm Glass Pearls Red 60 pack (I used 12) $5.20
Watch how Kris comes together on YouTube