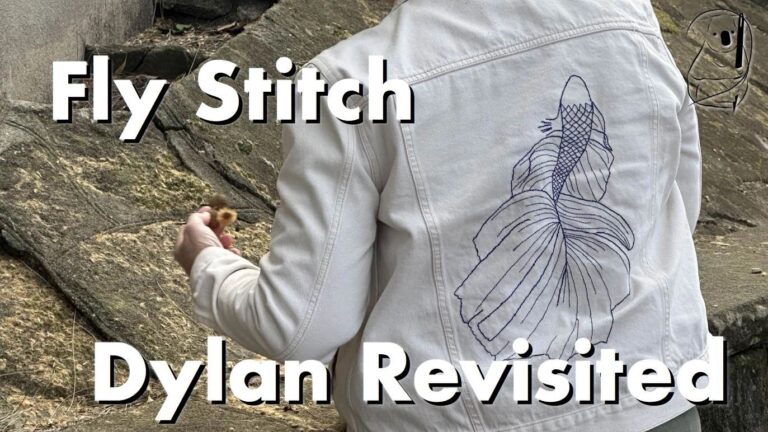
Fly stitch is a versatile and charming addition to any embroidery repertoire. It can be used in delicate floral motifs, intricate borders, or as a filler. Straightforward to create, it offers a variety of opportunities.
See our video tutorial on FlyStitch here
Steps to Create Fly Stitch
Step 1: Preparation
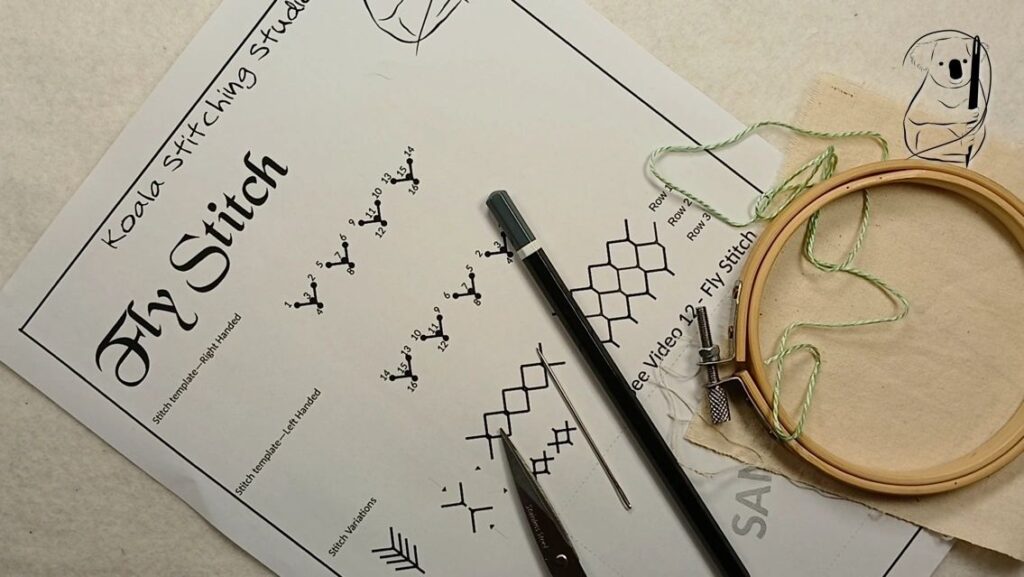
Cut a length of thread, usually about 12 to18 inches long, to ensure it is manageable and doesn't tangle easily. Thread the needle and knot the end of the thread to prevent it from pulling through the fabric. (see our video - Getting Started in Hand Stitching for a simple starting knot, or the Getting Started blog page for a description with photos.)
If you are using our stitch guide, mark your fabric. For practice stitching, pencil works well. I have used a 2B pencil here, which is soft enough to make clear marks.
Step 2: Starting the Stitch
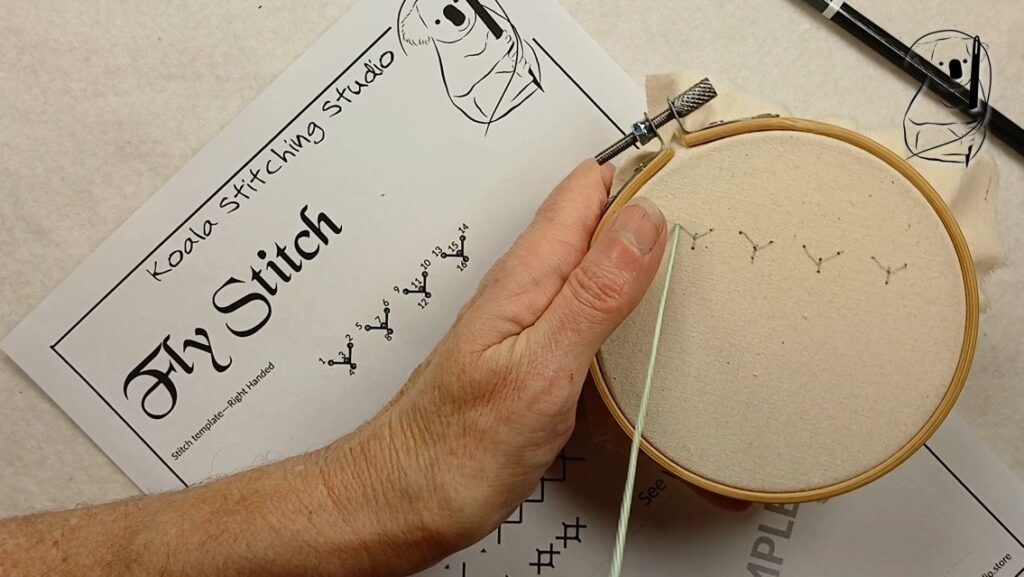
Insert the needle into the fabric from the underside at the point where you want to start your stitch. Pull the thread through until the knot rests against the fabric.
Step 3: Making the Stitches
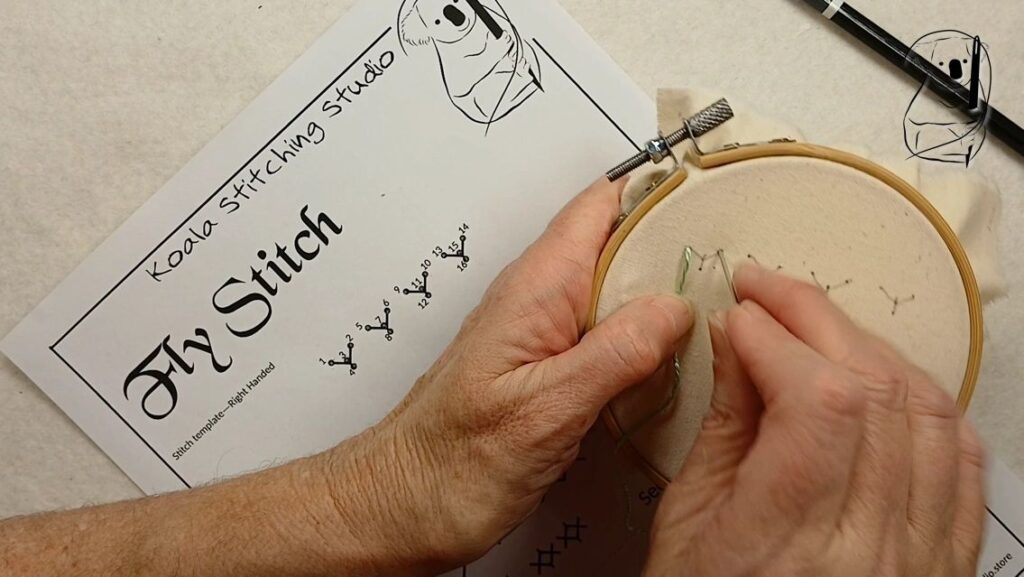
Insert the needle back into the fabric a short distance to one side of your starting point, leaving a small loop on the surface of the fabric.
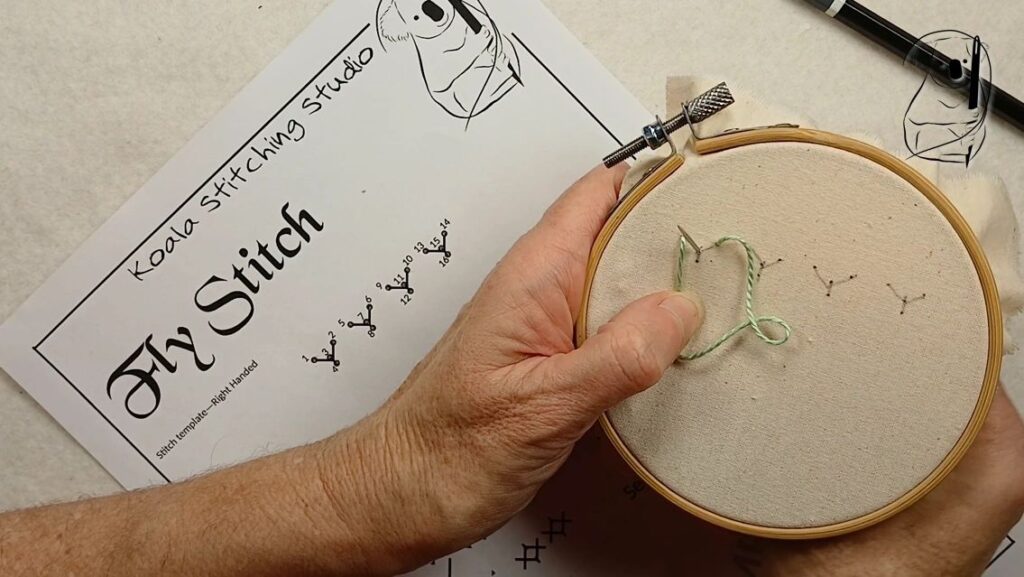
Bring the needle back up through the fabric, mid way between the previous stitch points, and a little distance below, catching the loop with the needle.
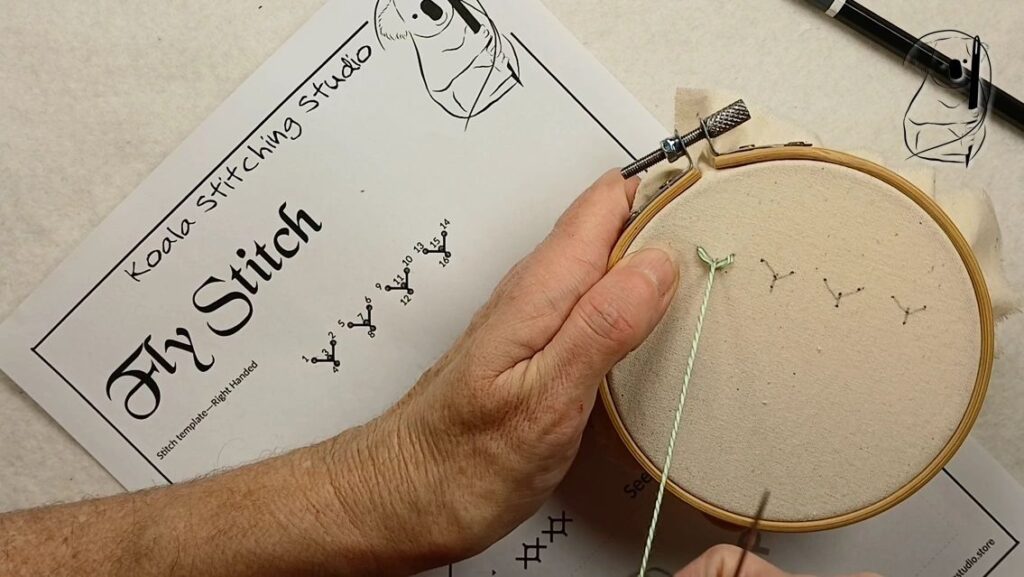
Pull the thread taut to form a V-shape with the loop,
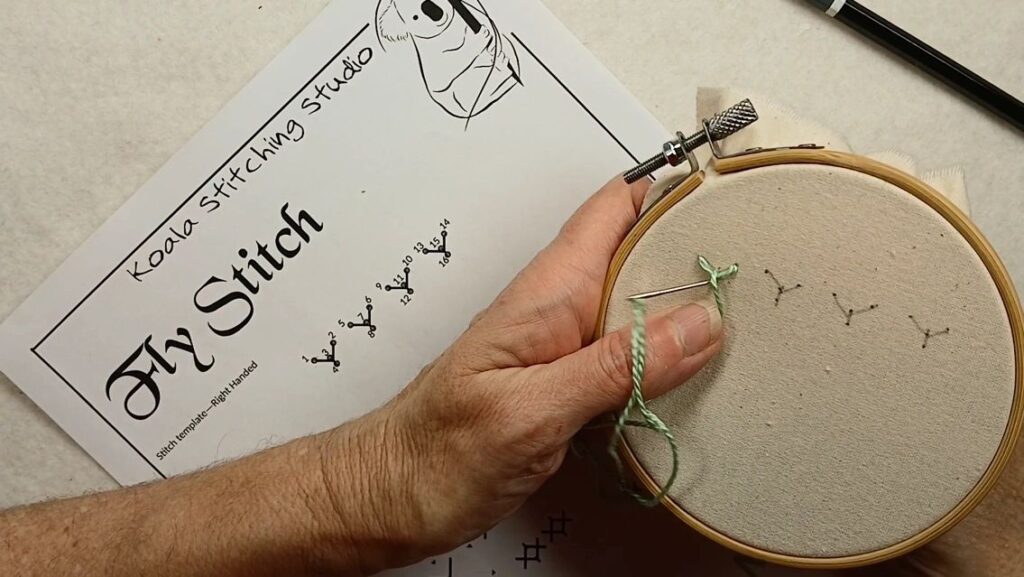
then insert the needle back into the fabric directly below the loop to secure it in place.
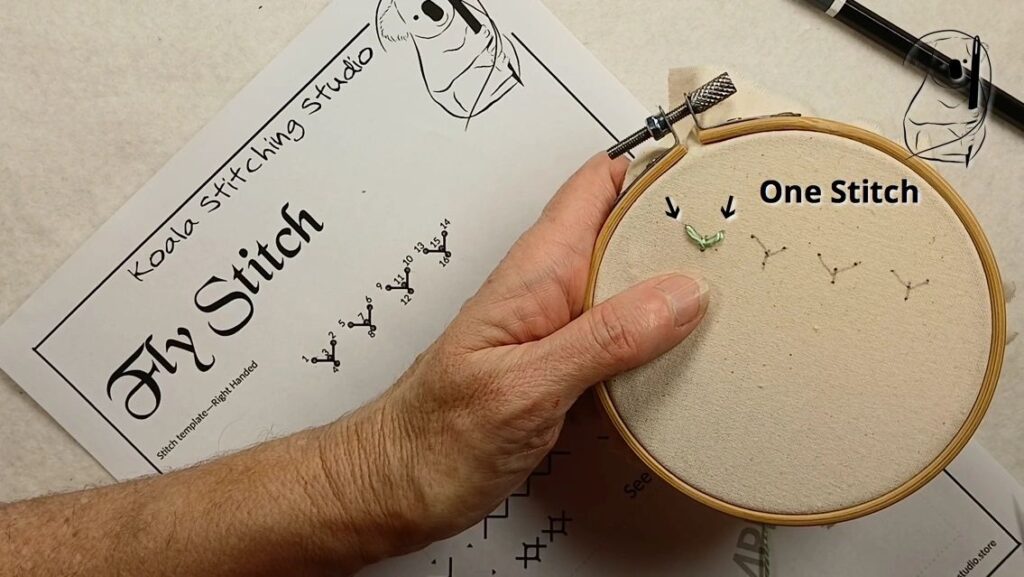
Step 4: Continuing the Pattern
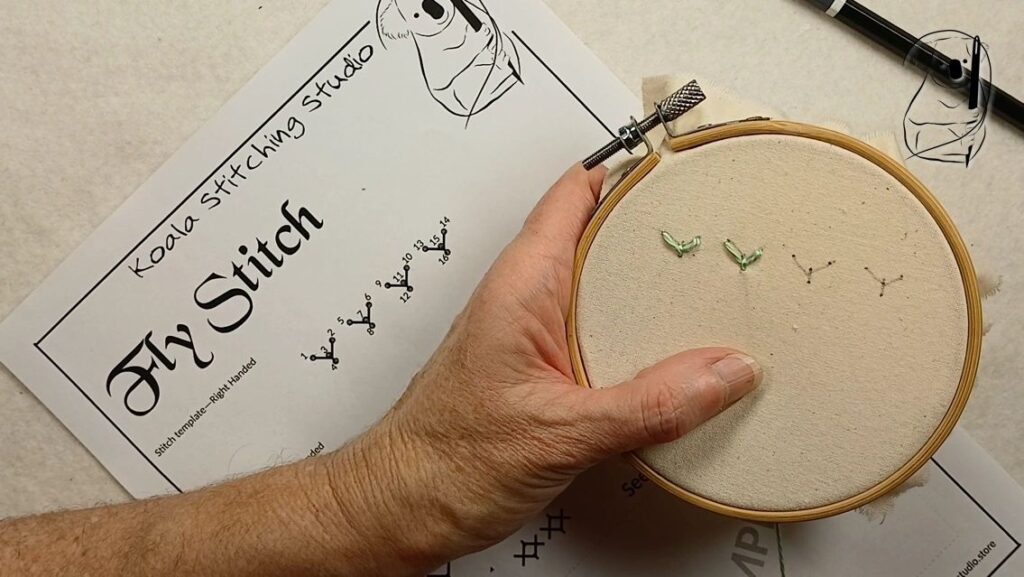
Continue the stitch by repeating the process a little distance from your first stitch.
Instead of pulling the thread all the way through the fabric for every stitch, you can use a sewing motion to take the needle into and out of the fabric in one action. If you are not using an embroidery hoop, take care that the tension on the thread remains even to maintain a uniform appearance and a smooth fabric surface.
Step 5: Finishing the Stitch
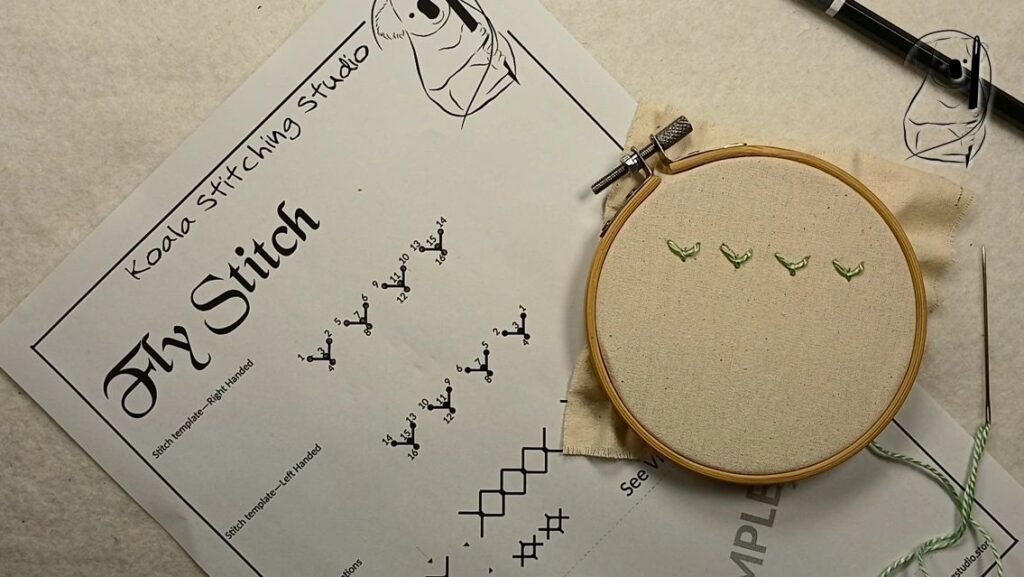
When you have completed all your stitches, bring the needle to the rear of the fabric.
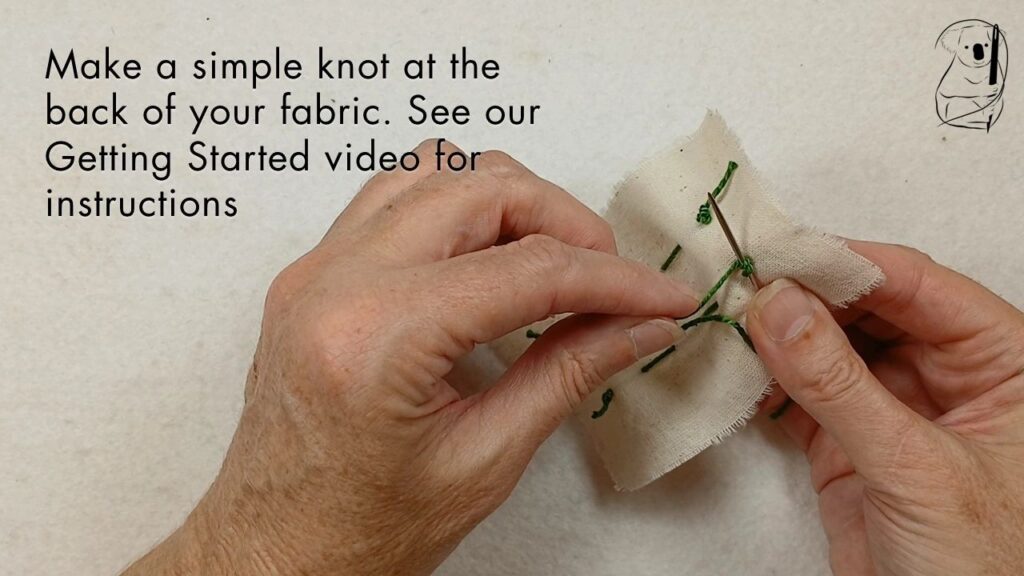
Make a small knot close to the fabric to secure the thread. Trim any excess thread with scissors. (see our video - Getting Started in Hand Stitching for a simple end knot, or the Getting Started blog page for a description with photos.)
Variations on Fly Stitch
Simple variations in stitch length and positioning can make effective changes to the stitch. The length and angle of the arms or leg of the stitch can easily be changed.
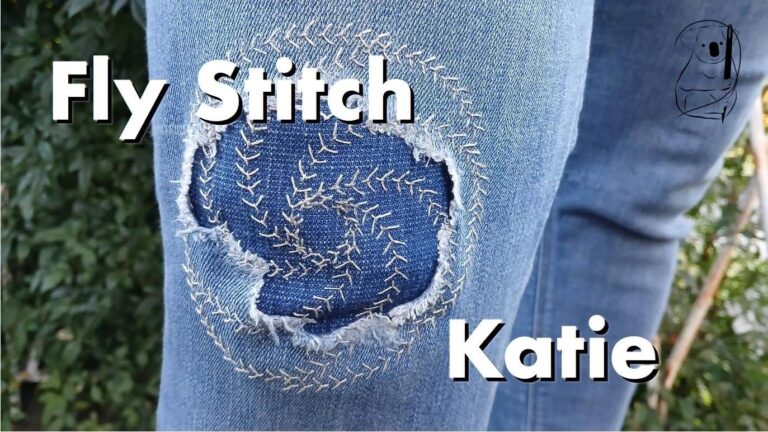
Fly stitches can be made in a random pattern on the fabric surface, side by side, or stacked on top of each other.
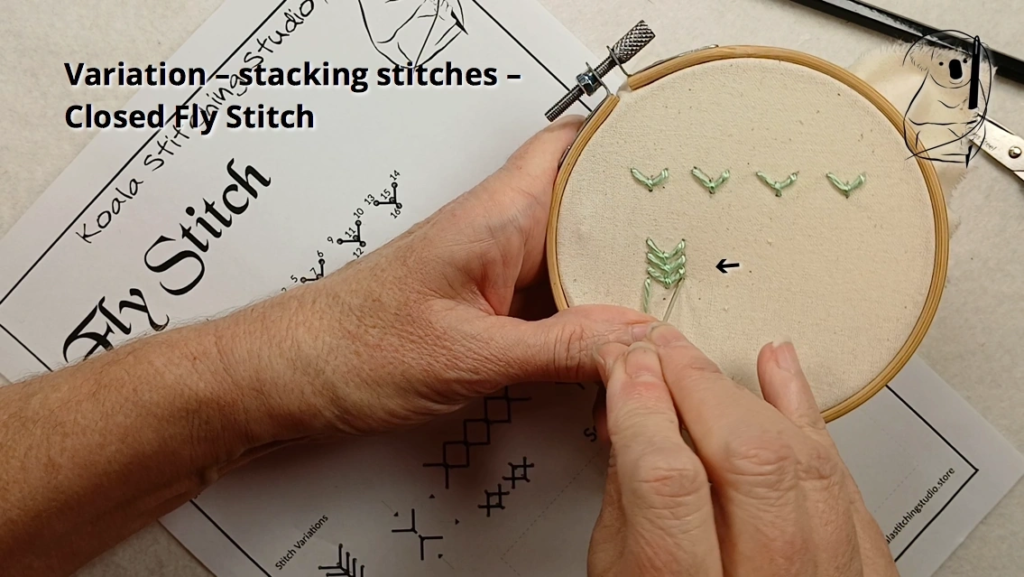
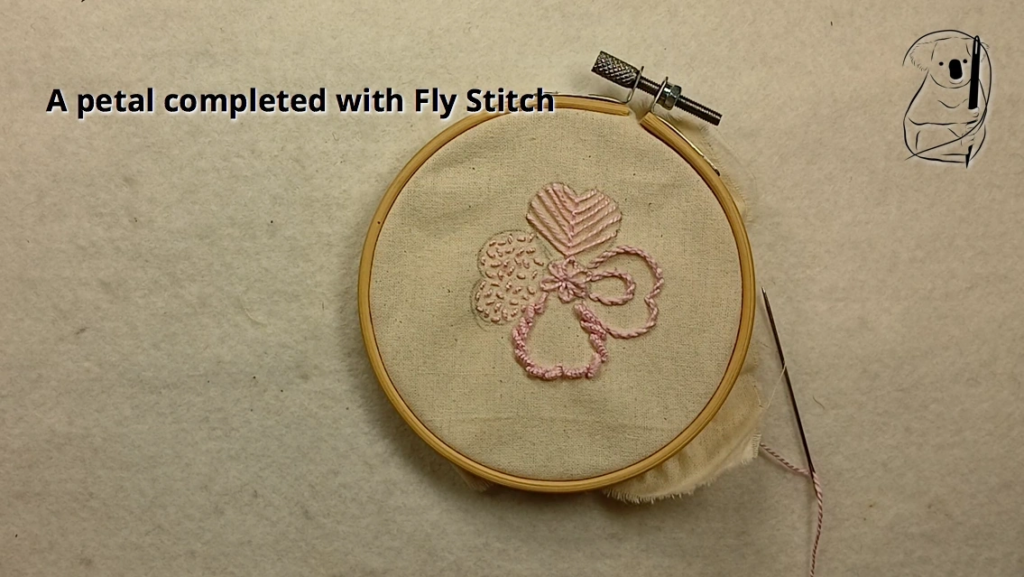
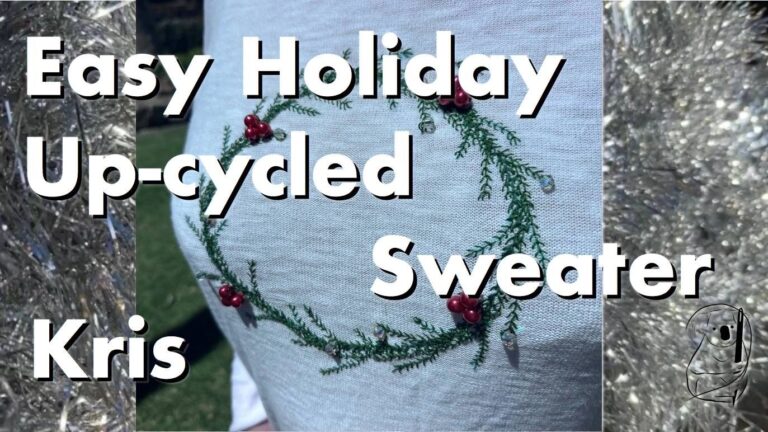
Stacking a collection of fly stitches can create frond-like patterns, or represent seed heads in a picture.
When the anchoring stitches touch each other, this is referred to as Closed Fly Stitch.
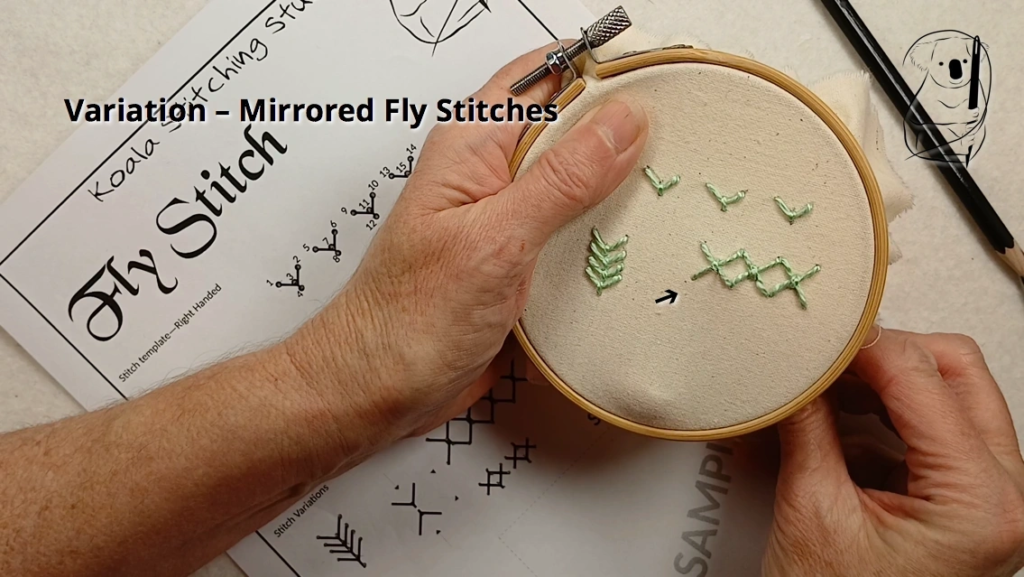
Mirroring a row of Fly stitch with itself makes a very attractive geometric border.
Care is taken to thread the second V-shaped part of the stitch through the first anchoring stitch, as both anchoring stitches go over both V-shaped arms.
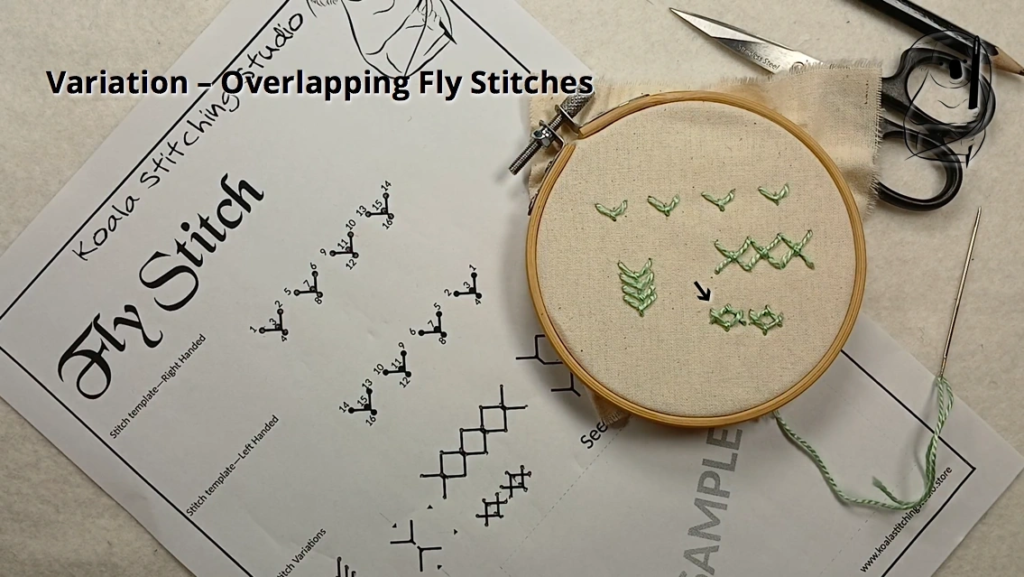
Reversed fly stitch is mirrored fly stitches placed so that their V-shaped arms overlap vertically.
From here, we can see other possibilities, such as overlapping the arms of the stitch along a horizontal line.
There are many different variations possible, simply by playing with the placement of the stitches in relation to each other, before we start changing stitch length and angles.
Applications of FlyStitch
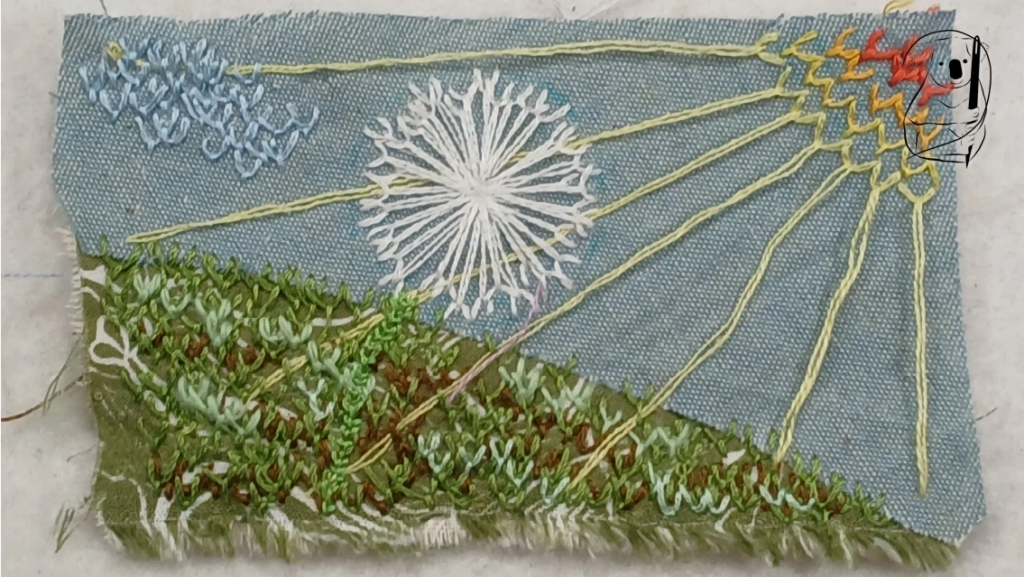
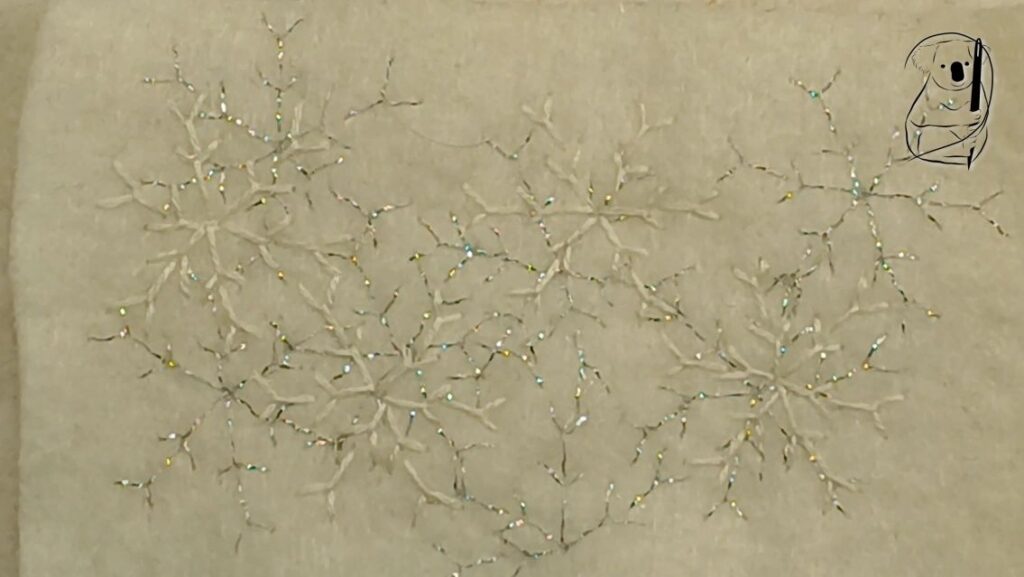
Combining fly stitches in different ways makes for very interesting visual elements to include in your stitching, whether this be natural, geometric or abstract.
Completed closely together in a column, fly stitch produces a neat braid-like appearance that would make an effective border pattern on table linen.
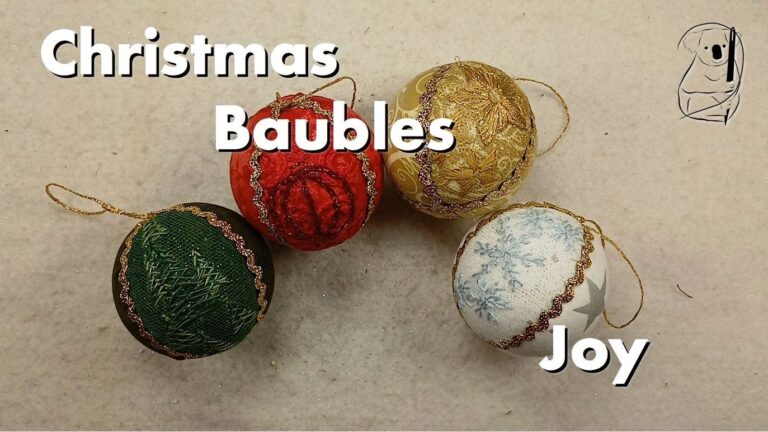
In natural compositions, it can appear quite frond like, or describe the shape of a veined leaf or even a feather. It particularly lends itself to snowflakes,.
A fill of offset fly stitch rows makes a net or scale-like pattern. See our Fly stitch project - Dylan Revisited, for an example of this.