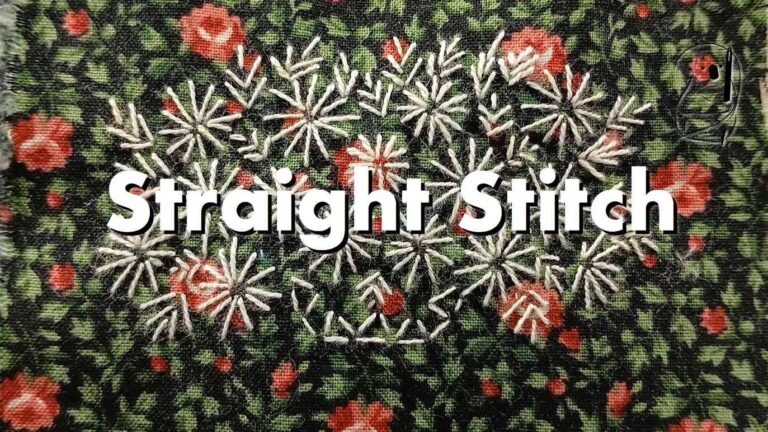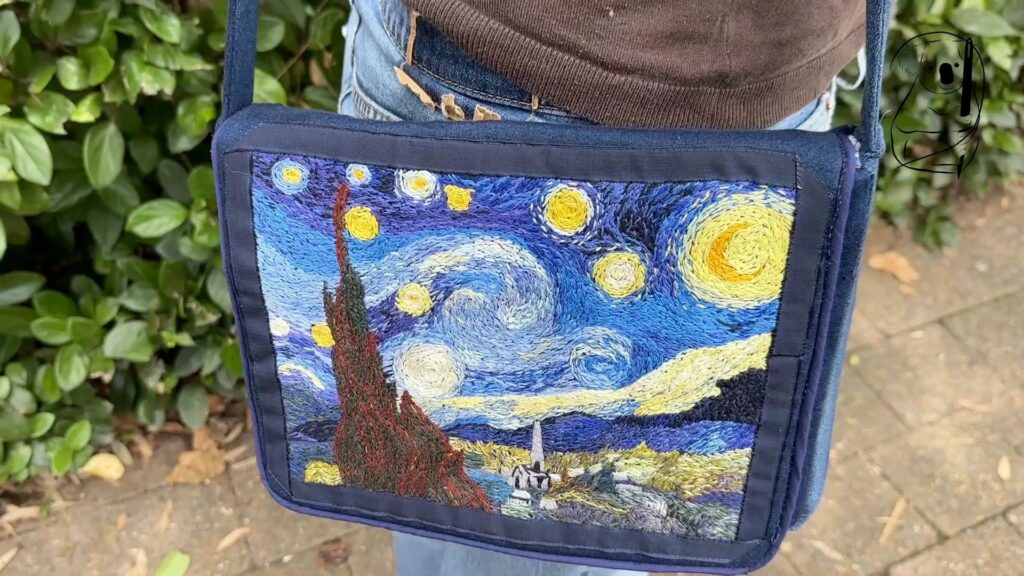
This project uses the Straight Stitch image worked on an repurposed, old pair of jeans . See our video "Vincent" on making the image. The result is a beautiful Messenger Bag which is functional and hardwearing as well. It fits my iPad plus a few other essentials all together. The denim is a great utility fabric which looks goode against just about any everyday garment. I love it and use it all the time. The construction of the bag was quick but not without drama. More of that later.
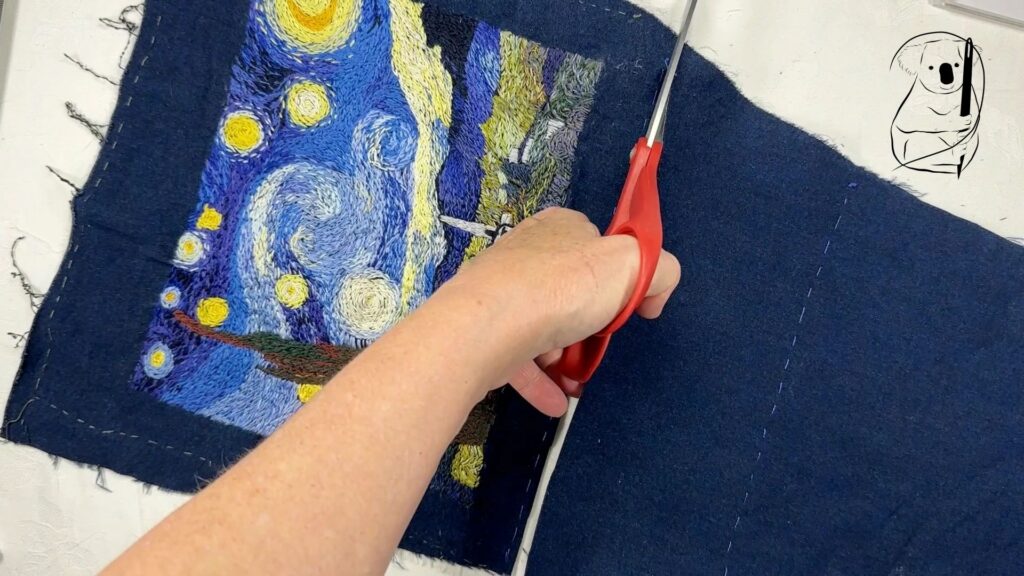
The jeans used for this project were a dark navy colour to serve as a background for a night sky. The fabric is stretchy so I used interfacing on the pieces to manage the stretch.
The actual sizing of the pieces was largely determined by the available fabric in the jeans. My dimensions are
Front flap 29cm by 26cm
Front and back same size, both 29cm by 22 cm
Sides 2 pieces 22cm by 5cm
Base 30 cm by 5 cm
Strap 2 pieces 114 cm by 5 cm.
My seam allowances are 1cm. For the strap, you will be unlikely to find single lengths of fabric to size. You may need to join several shorter pieces to make up the 114cm lengths.
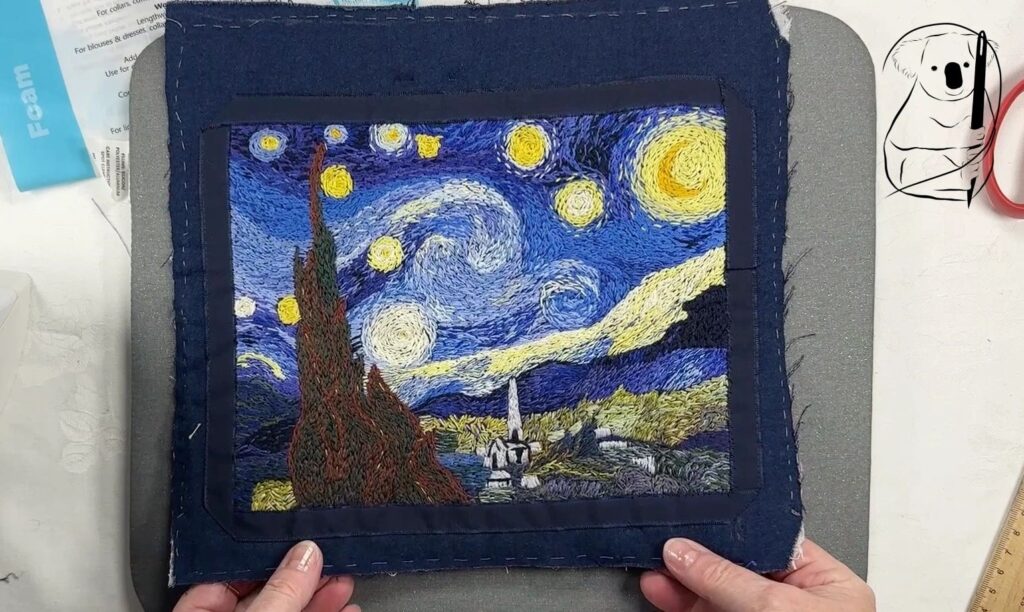
The picture on the left shows the placement of the image on the front flap. The fabric extends 4cm out from the image on the sides and base. At the top of the image the fabric extends about 5-6cm beyond the embroidery.
This allows for the flap to cover the opening of the bag as well as the front. The bag has a depth of 3cm.
I did consider putting a zipper opening in the bag as well however the wriggle room and number of layers of fabric made this really difficult.
At the end of the project I used a magnetic clasp instead to secure the flap.
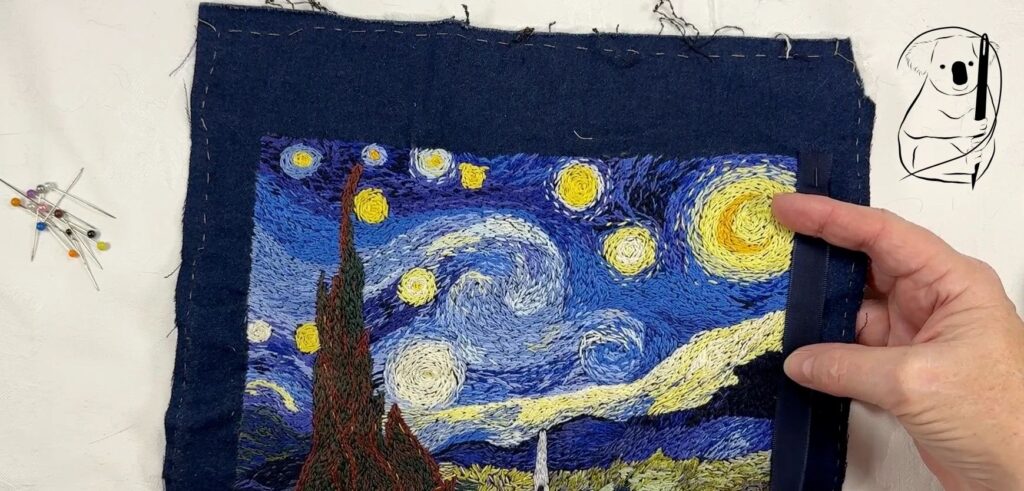
Once the flap was trimmed to size, I created a border with a ribbon to conceal the edges of the embroidery. The stitches were slightly uneven at the edges and the ribbon creates a clean, sharp edge.
I had wanted to use a natural coloured ribbon to represent a picture frame however could not find anything appropriate in my local fabric store. The navy ribbon works just as well, maybe even better.
The ribbon is sewn to front flap using sewing machine thread and a Whip Stitch.
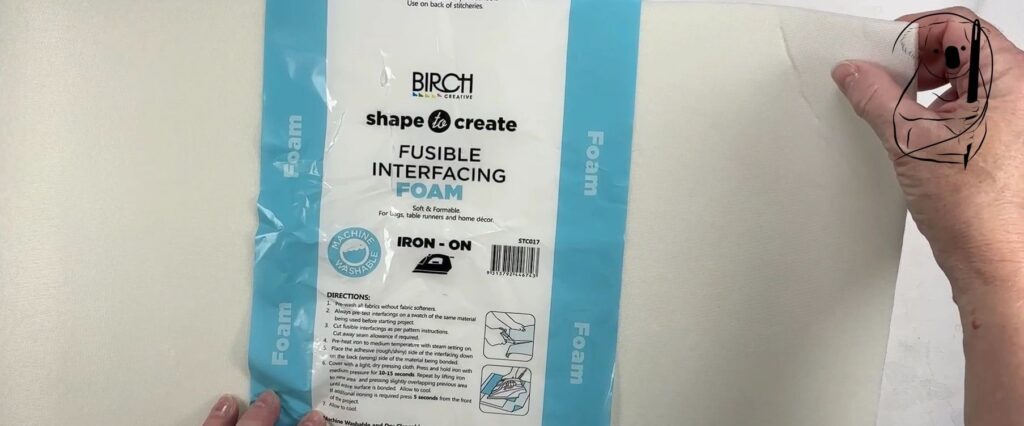
To give the bag some structure I used a Fusible Foam Interfacing from Birch. This is a first for me. These foams come in different weights and thicknesses however this was my only choice in my local shop.
It turned out to be exactly right in terms of stiffness and weight. The iron needs to be held over the foam for 10-15 seconds and as you can see in the video, I checked the foam several times until it was properly secured in place. Placing a cloth over the foam when ironing prevents the foam sticking to the iron.
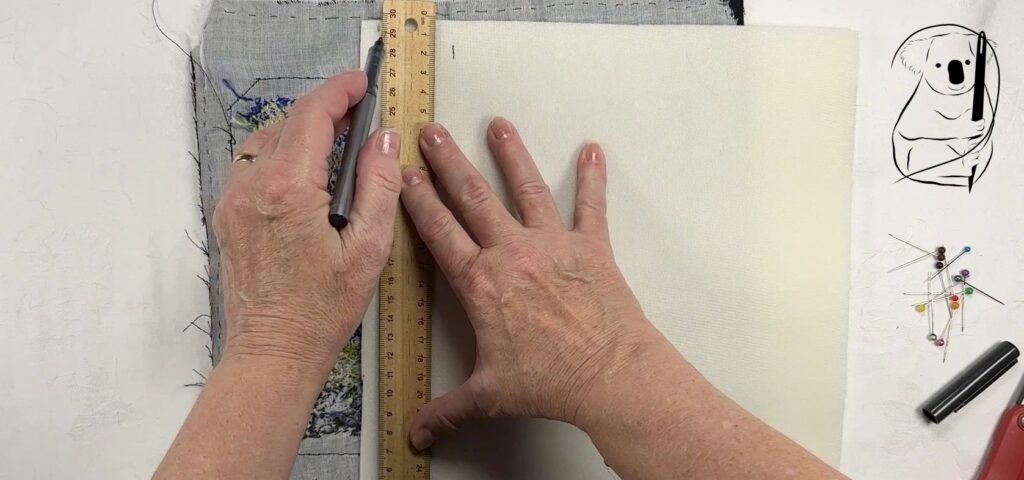
The foam was cut to the size of the pieces then trimmed for seam allowance (1cm) and ease (.5cm). Without ease, the pieces would not relax against each other and would bend and buckle. Also when sewing the pieces together, the ease helps to manoeuvre them into the right positions.
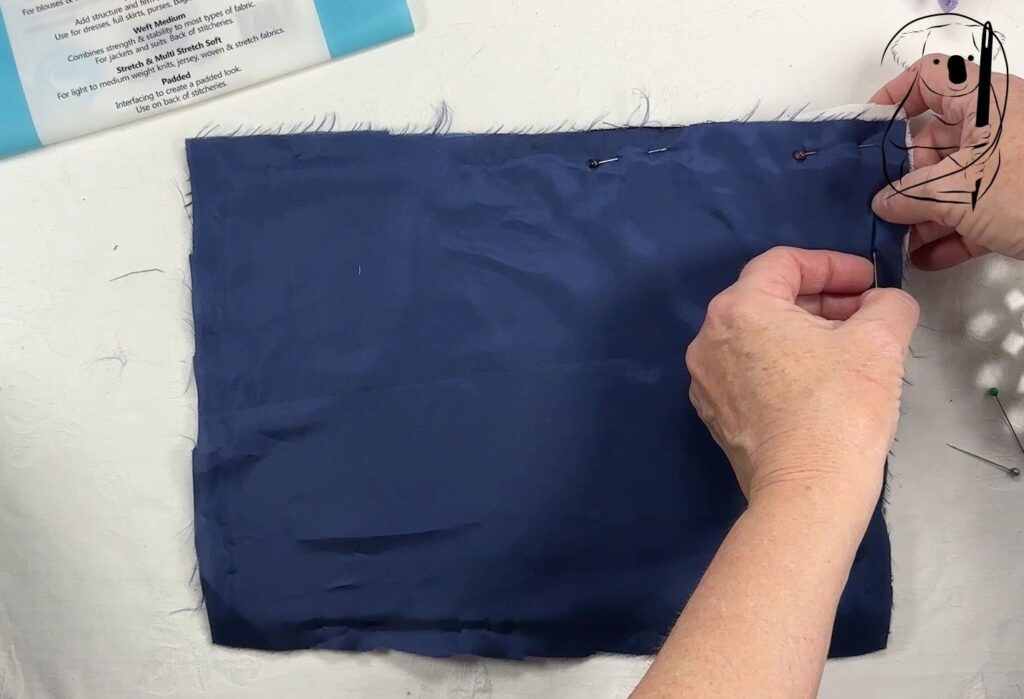
Each pattern piece except the strap, has foam and interfacing ironed onto the back. I enclosed these pieces with facings to form an envelope around the foam. I have seen this arrangement in old computer bags which I stripped. It may protect the foam or provide additional cushioning for electronic devices. It will also help stop the foam from lifting off at the sides during the sewing process.
The facings were made from polyester lining fabric. The facings are not seen in the finished bag as the actual lining will seal the inside of the bag.
Make sure that your seam is not too close to the edge of the foam.
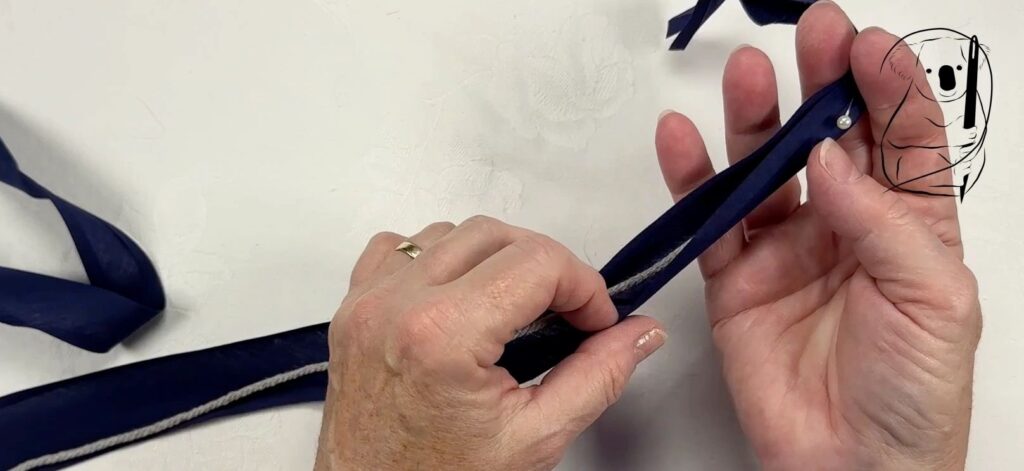
For this project I made my own piping to edge the front flap. This gives the finished bag a more professional look and protects the fabric from abrasions. Making piping is easy with a sewing machine. I measured a cotton cord around the outline of the front flap then trimmed it. Then using 15mm wide Bias Tape , in a matching navy colour, I ironed the tape flat.
Folding the tape in half length wise, I pinned the cord in the folded tape then sewed it close to the cord. For this you will need to use your zipper foot on your sewing machine.
Once the piping cord has been made, pin it to the edge of the fabric flap where the seam allowance sits. The piping runs along the 2 sides and the bottom of the piece only. I had the piping following the edge of the ribbon as a guide. When the piping is folded back later, the distance between the piping and the edge of the image should be consistent around the 3 sides. see below
Machine sew the piping in place using your zipper foot. Any excess length in the piping should be trimmed.
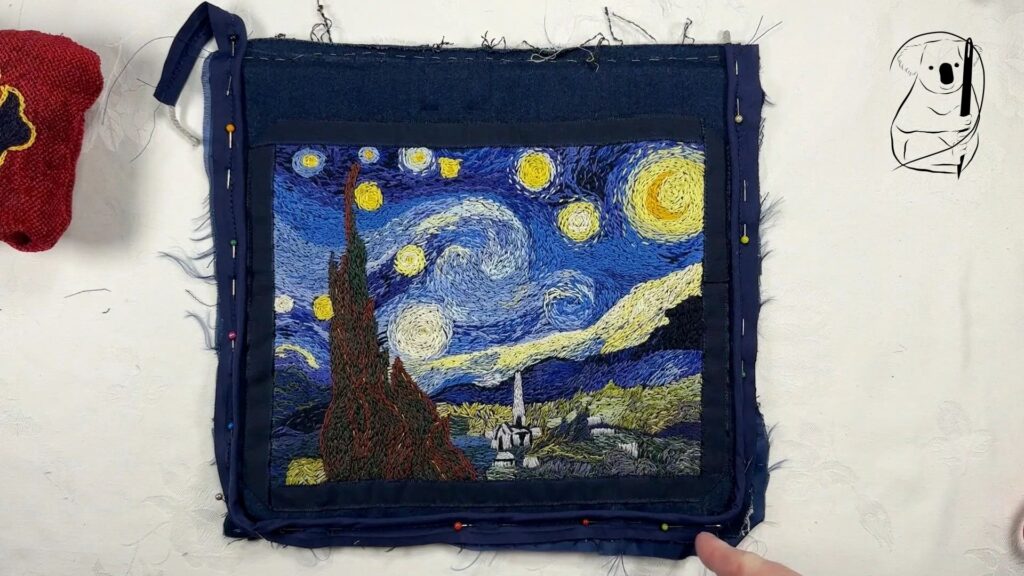
When joining the denim sides, base and strap, I took care to try and match up the colour of the denim at the seams. Many jeans today come with faded patches as part of their character. It improves the look of your finished item if these colour changes match across the finished product.
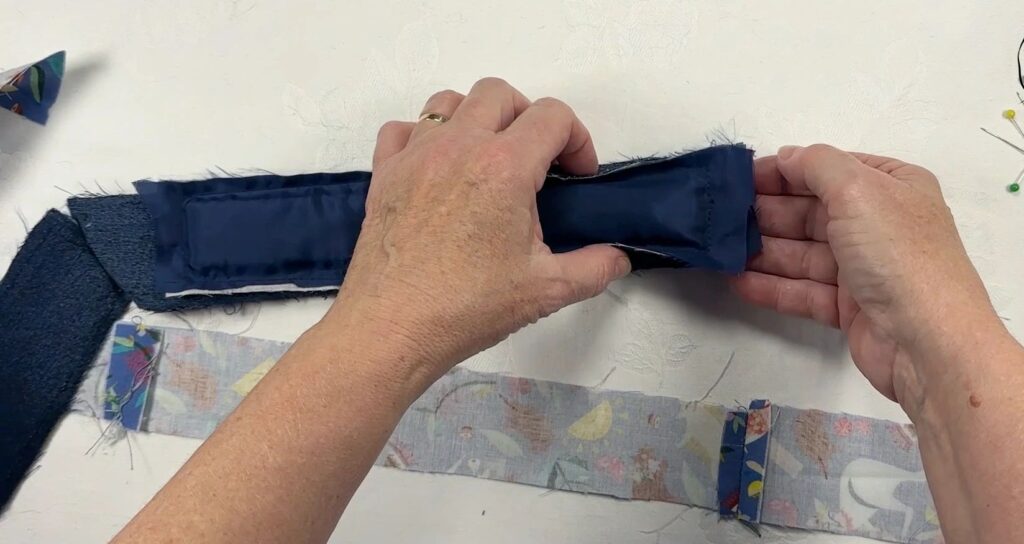
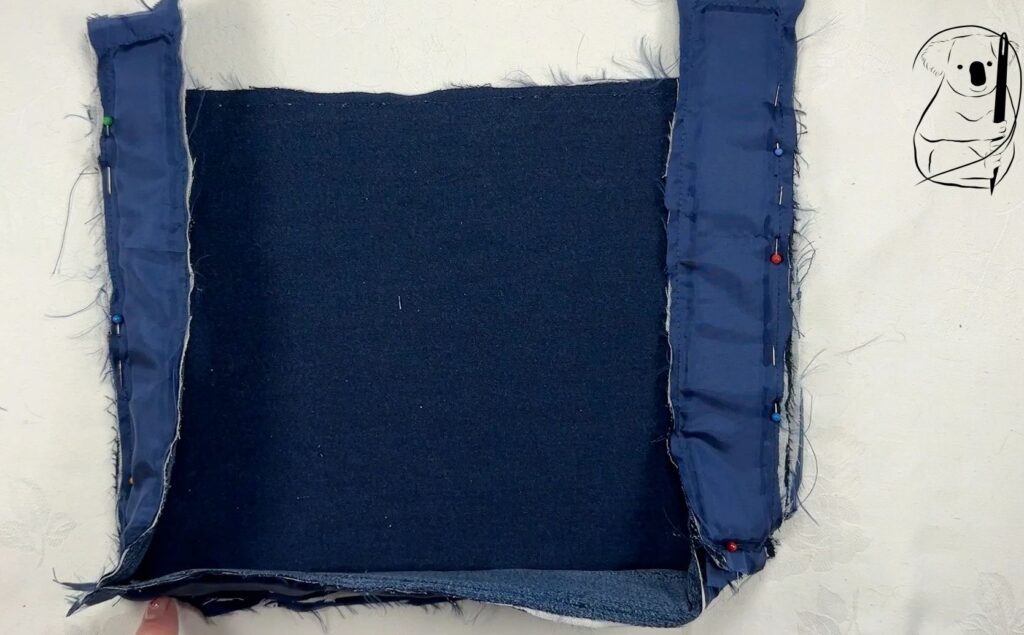
Okay, you can see to the right that there is a big problem with my side pattern pieces. My original pattern had an additional 3 cm in length. I have the correct dimensions now included at the start of this blog. I had matched the sides measurement to the front flap measurements instead of the front and back piece. My mistake.
At the time I was unsure how this error occurred and so left the side pieces as they were. At the end of the day I simply folded the pieces down into the bag which worked out OK. I also considered folding the fabric over to hold a metal ring as part of a strap arrangement. If I had followed that plan I would also have had to deal with the exposed seams. That would have been possible but definitely more work.
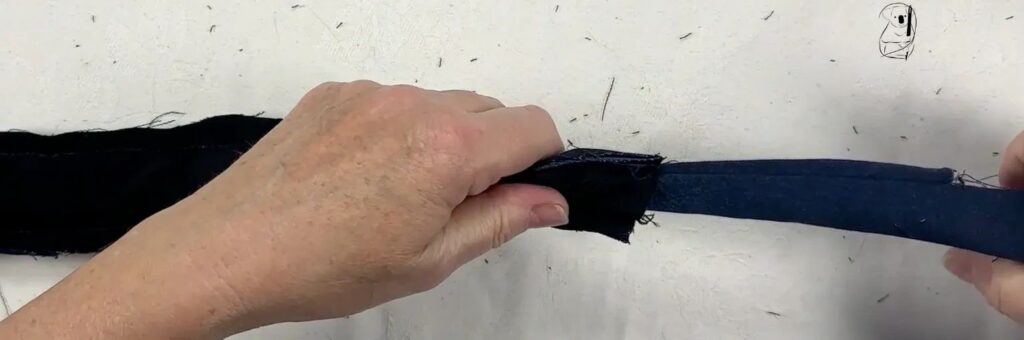
The strap was made using whatever fabric was left in the jeans. I joined 4 strips of fabric from the jeans to make up the 2 sides of the strap. Jeans just aren't long enough to get the required length in one piece.
If you haven't made a strap before, the method is very simple. When your 2 pieces are stitched right sides together, attach a safety pin at one end through a single layer of fabric. Then feed the safety pin inside the tube of fabric. With your fingers, feel for the safety pin and inside the fabric work it through the tube of fabric to the other end.
The fabric will be pulled up the tube behind the safety pin. You may need to massage and work the fabric at the end where it turns inside.
When the safety pin appears through the other end gently work the rest of the fabric through .
It was fortunate that the stretch of the denim was sideways on the jeans. Taking fabric lengthwise provided a strap with no stretch at all. If your fabric does have stretch along the strap you will need to add interfacing to obtain a firm strap.
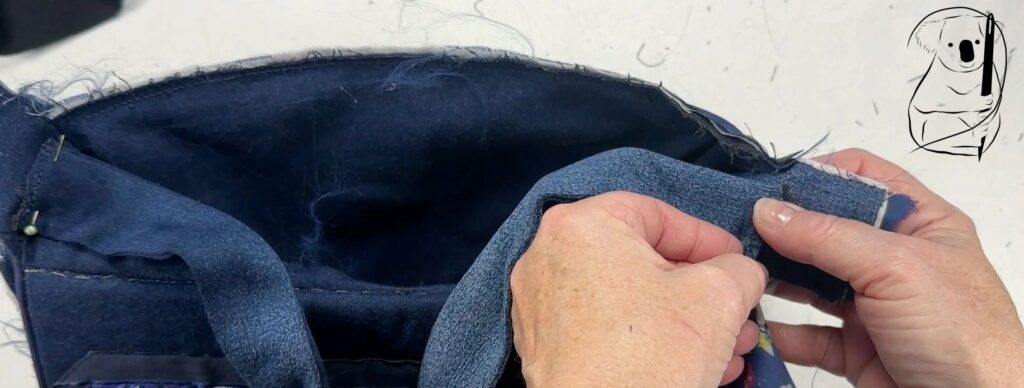
After ironing the strap it is pinned to the sides of the bag with the strap ends pointing upwards. When stitched in this position hold the strap up and hang the bag. The strap now covers the previous stitching and you will need to stitch the strap again to cover the old row of stitches.
This is a simple way to attach a handle or strap. No hardware needed but no extra length is available on the strap to lengthen it if required.
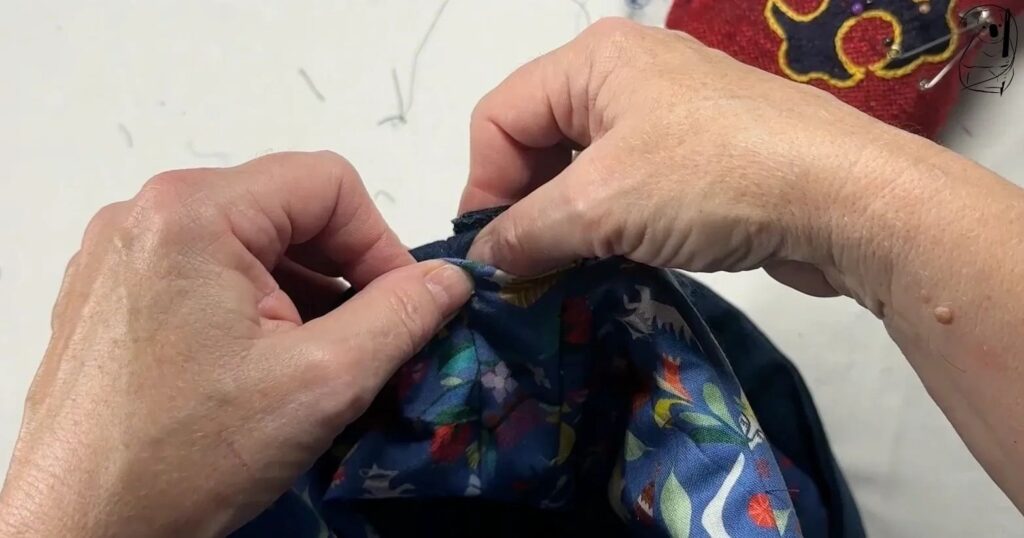
Our next step in the bags construction is to sew the lining in place. I machine sewed the lining to the front flap then hand sewed the remaining lining after folding the edges down.
Finally I hand sewed the magnetic clasp to the front and front flap pieces.
As a concluding note, here are some more tips:
- as you sew pieces together, iron the seams to keep them flat and reduce bulk.
-when sewing the denim pieces together, there is limited room and the denim is bulky. I broke a sewing machine needle sewing all these layers of denim and facings, and ended up hand cranking the sewing machine at times.
- remember that when repurposing jeans the amount of fabric is absolutely limited. Check to see that you have enough fabric to match the pattern pieces. If you don't have enough fabric, reduce the size of your pattern or use a contrasting fabric for some pattern pieces.
-check the way the fabric stretches - no stretch, one way stretch or stretchy in all directions. Interface accordingly.
- my strap length works both over one shoulder and across my body. Use a favourite bag to see what length of strap is ideal for you. The strap here is basic and easy to make but not really adjustable.
Happy Stitching
Watch the making of the bag on YouTube
See the stitching of The Starry Night in straight stitch
Read about stitching The Starry Night on our web site
Watch our video tutorial on Straight Stitch
Look at our web photo tutorial for Straight Stitch